jenkins部署python语言webUI自动化项目
-
前置条件:我使用的系统是ubuntu20.04,linux系统,使用的war包本地安装jenkins
-
本地PyCharm运行WebUI项目
-
下载项目代码
git clone https://gitee.com/iread9527/iSelenium_Python.git -
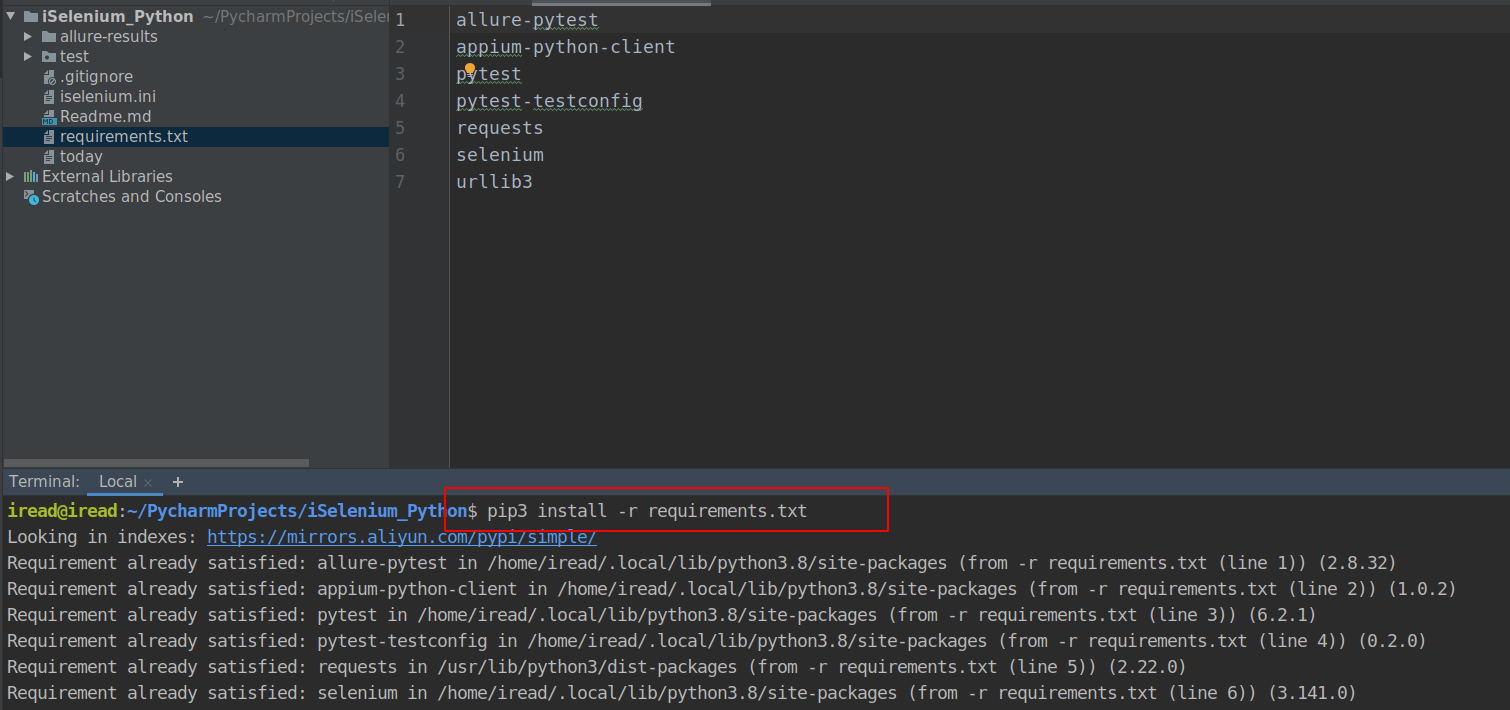
使用pycharm打开项目,本地安装selenium以及项目依赖的第三方库
pip3 install -r requirements.txt
-
本地安装chromedriver,阿里云镜像地址
https://npm.taobao.org/mirrors/chromedriver/,选择跟自己本地chrome浏览器大版本相同的chromedriver版本,我本地是88.xxx版本的sudo mv chromedriver /usr/local/bin chromedriver --version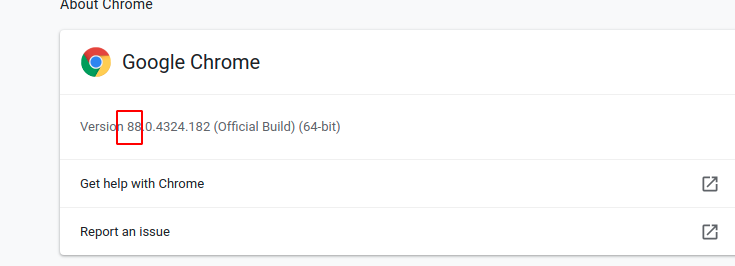


-
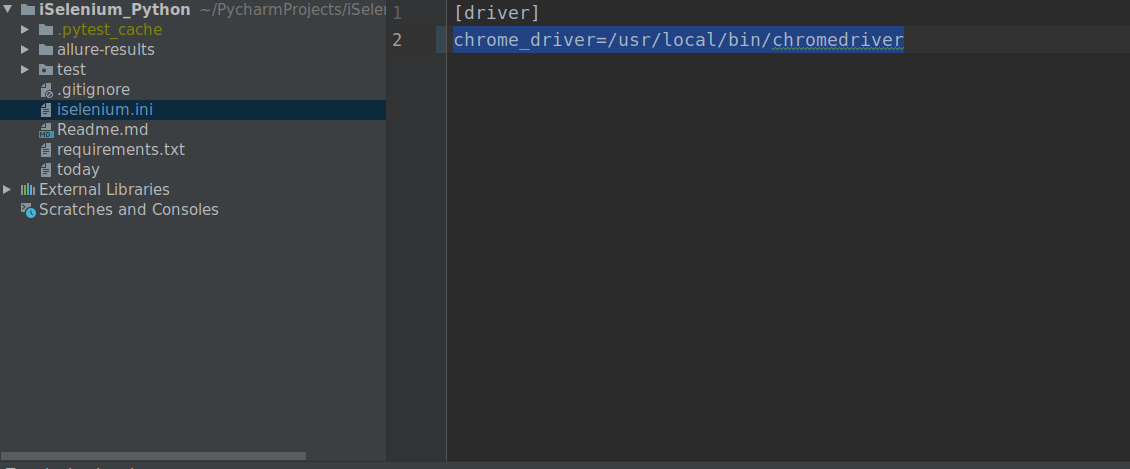
修改配置文件为chromedriver的安装路径,
chrome_driver=/usr/local/bin/chromedriver,修改完路径记得push自己的修改,后面jenskins部署会用到
-
参考这篇,jenkins配置allure
-
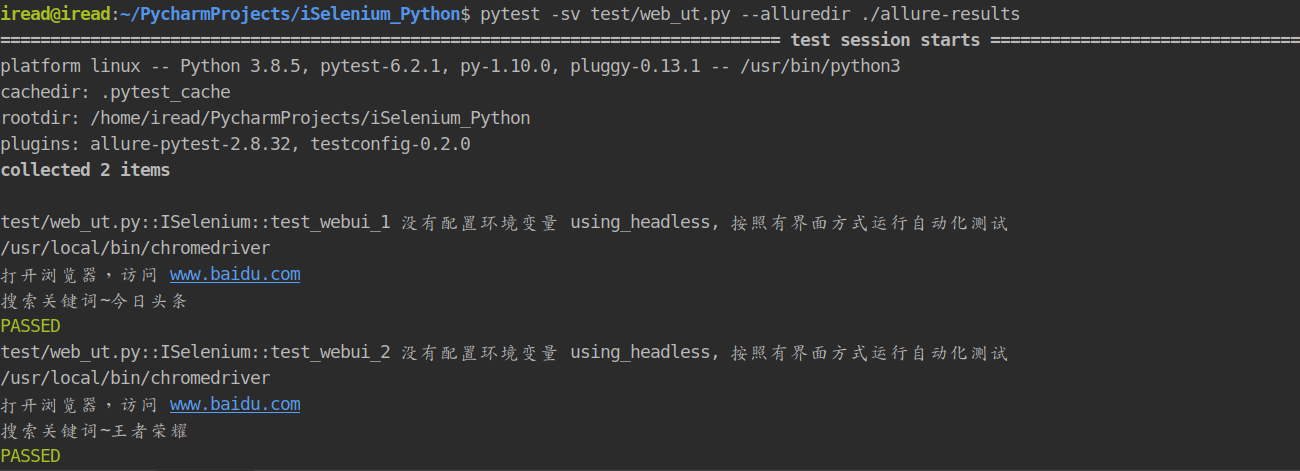
在项目目录下,运行pytest命令执行WebUI自动化,
pytest -sv test/web_ut.py --alluredir ./allure-results
-
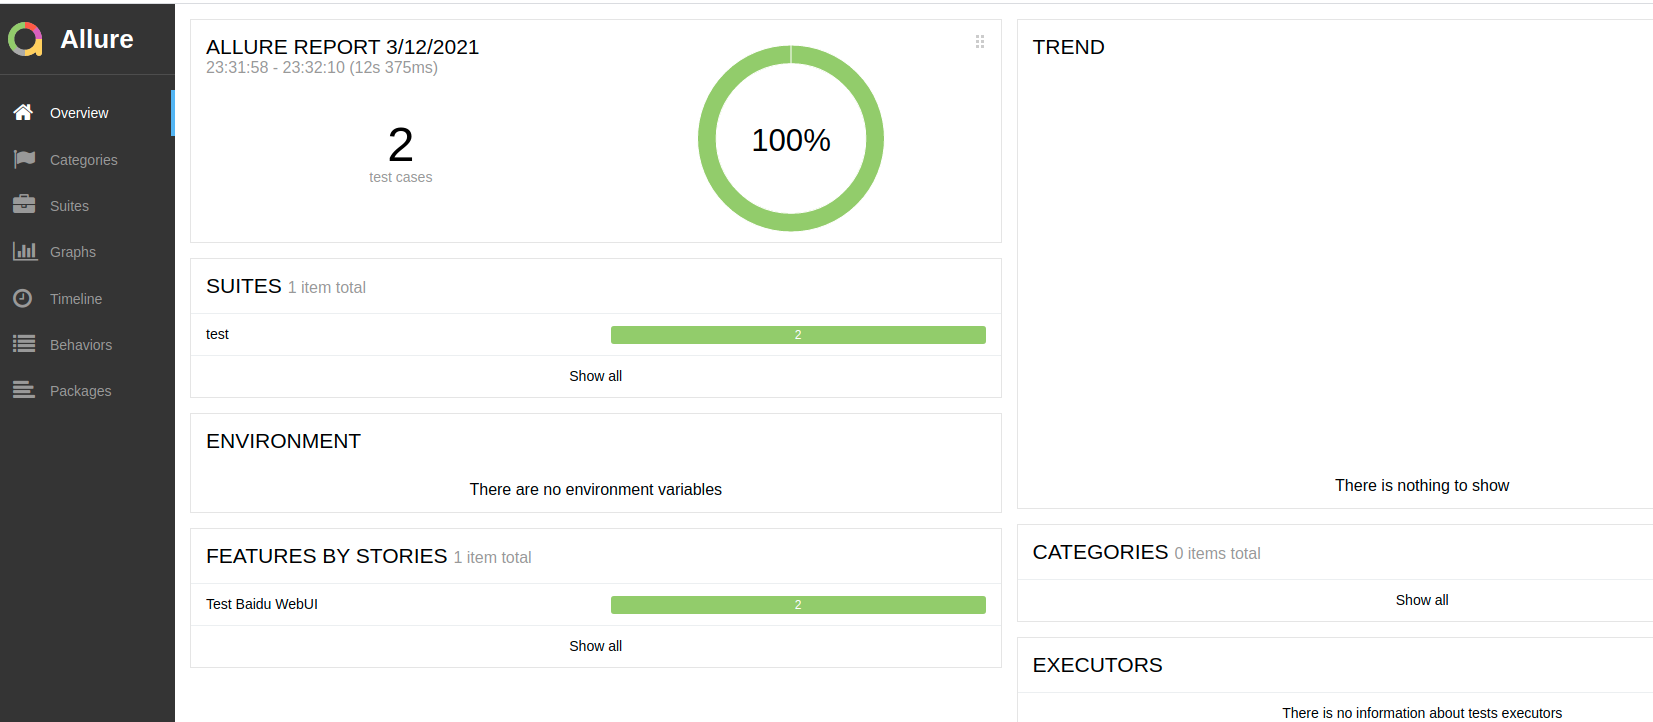
使用
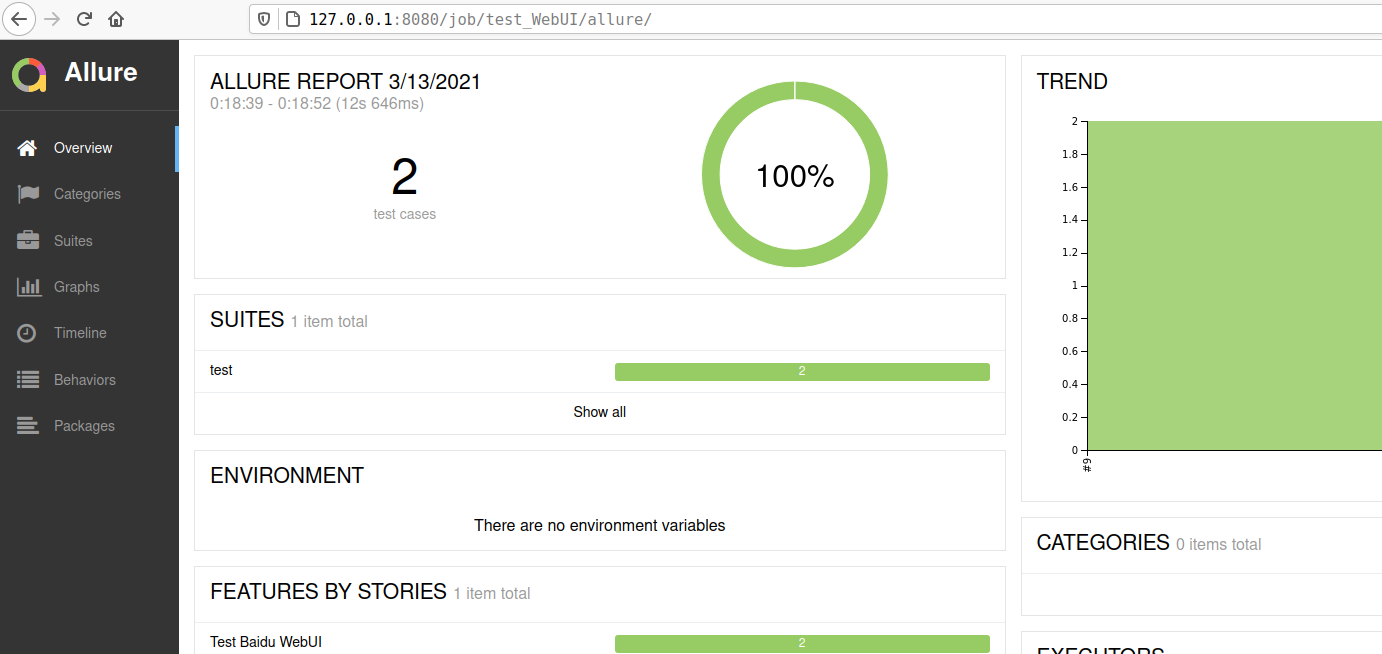
allure serve allure-results查看生成的测试报告

-
-
jenkins部署python语言webUI自动化项目
-
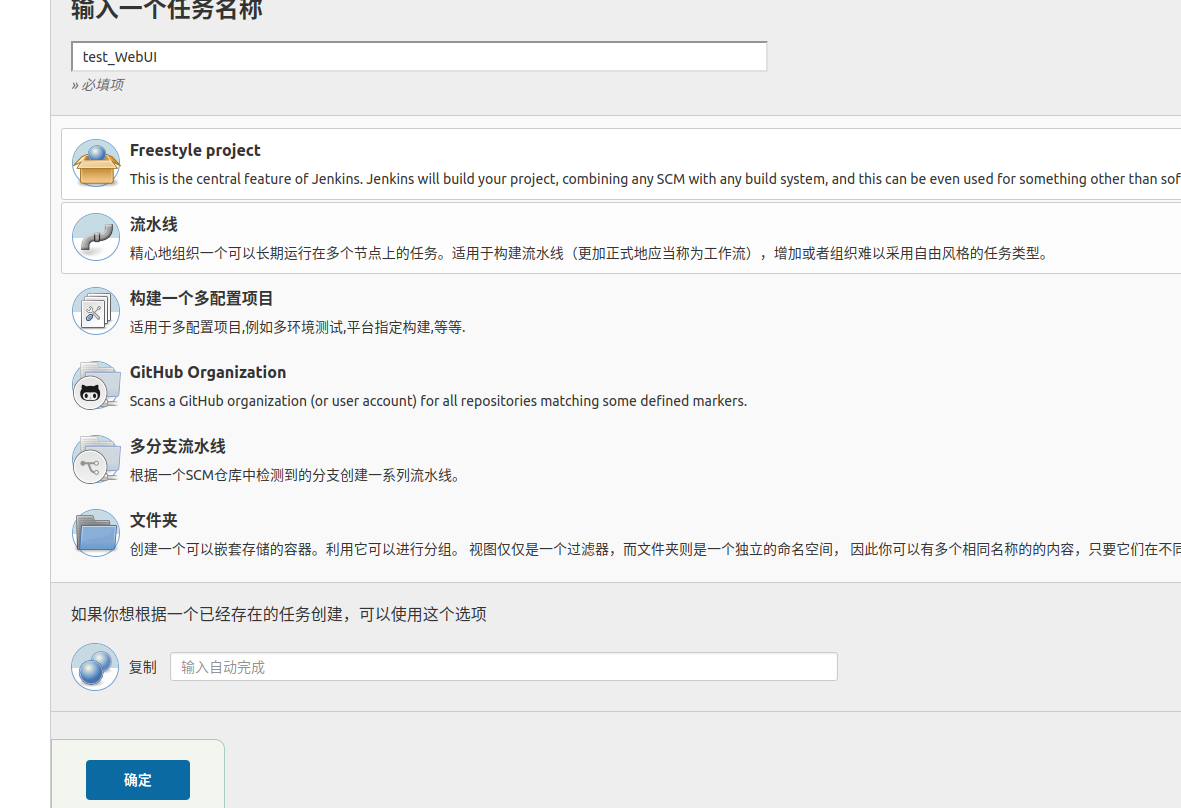
创建一个自由风格的项目
-
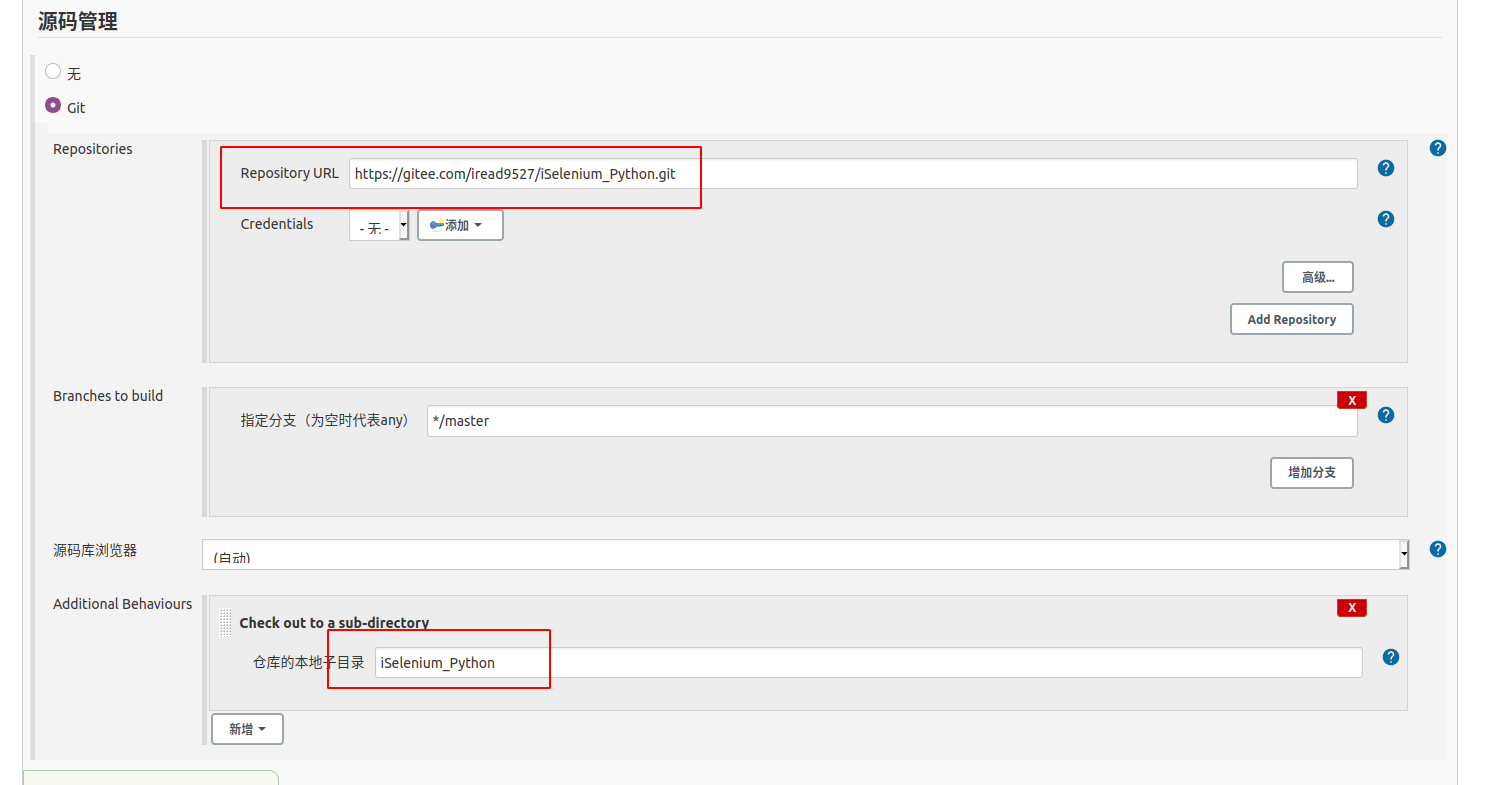
下载源码,
https://gitee.com/iread9527/iSelenium_Python.git,并切换到新的项目目录,下载的源码会在这个目录下
-
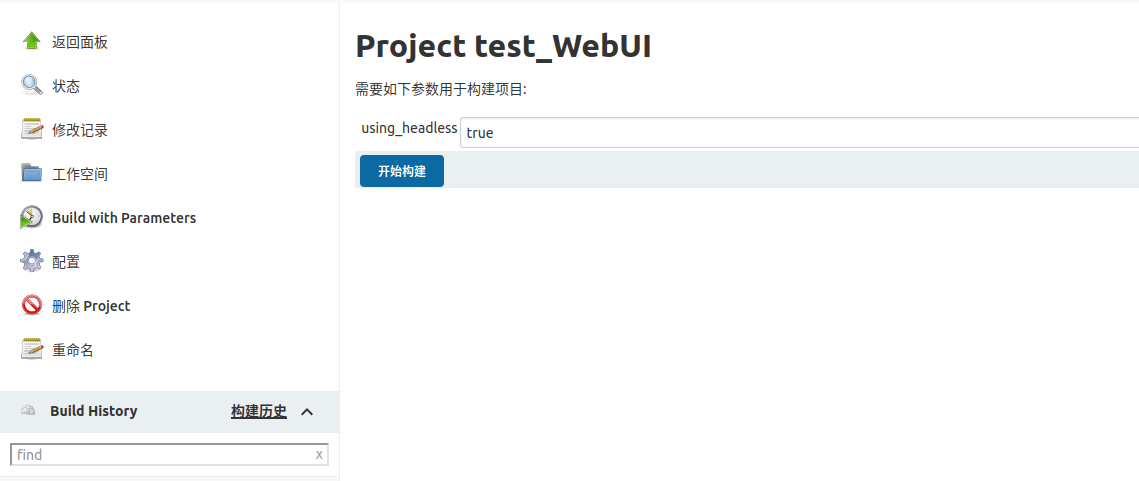
配置项目参数
using_headless

-
安装依赖,运行webUI项目
cd iSelenium_Python
pip3 install -r requirements.txt
pytest -sv test/web_ut.py --alluredir ./allure-results
-
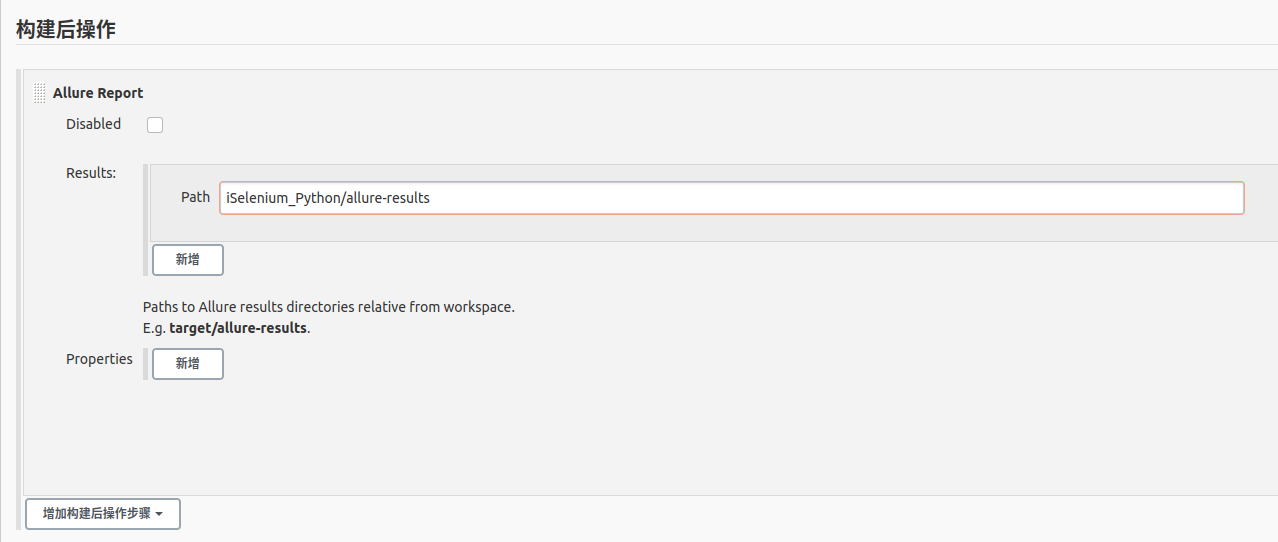
配置allure报告,点击保存
-
根据参数,配置是否无头运行,using_headless为true是无头运行,无头运行就是不打开浏览器运行webUI自动化用例,using_headless为false是有头运行,有头运行就是有浏览器界面运行
-


