
SSM项目中单元测试的配置
SSM项目中单元测试的配置
一、导入依赖
	<dependency>
      <groupId>org.springframework</groupId>
      <artifactId>spring-test</artifactId>
      <version>5.0.3.RELEASE</version>
      <scope>test</scope>
    </dependency>


    <dependency>
      <groupId>junit</groupId>
      <artifactId>junit</artifactId>
      <version>4.12</version>
      <scope>test</scope>
    </dependency>
二、测试(注解方式)
我们为了方便,写一个测试的父类,让其他测试类继承这个父类就行,不用每次都加配置了。
package com.ssm.test;

import org.junit.runner.RunWith;
import org.springframework.test.context.ContextConfiguration;
import org.springframework.test.context.junit4.SpringJUnit4ClassRunner;

//@RunWith是JUnit的一个注解, 用来告诉JUnit不要使用内置的方式进行单元测试, 而应该使用指定的类做单元测试 对于Spring单元测试总是要使用SpringJUnit4ClassRunner.class
@RunWith(SpringJUnit4ClassRunner.class)
//告诉junit spring配置文件
//如果有多个配置文件他的value是接受一个String数组 String支持通配符
//@ContextConfiguration({"classpath:application.xml","classpath:spring-mvc.xml"})
@ContextConfiguration(locations = {"classpath:applicationContext.xml"})
public class TestParent{

}
测试子类
package com.ssm.test;
import com.ssm.dao.UserInfoDao;
import org.junit.Test;
import org.springframework.beans.factory.annotation.Autowired;


public class userInfoTest extends TestParent{

    @Autowired
    UserInfoDao userInfoDao;	//数据访问层接口
    @Test
    public void testUserInfo(){
        System.out.println(userInfoDao.selectUserInfoById("001"));
    }
}
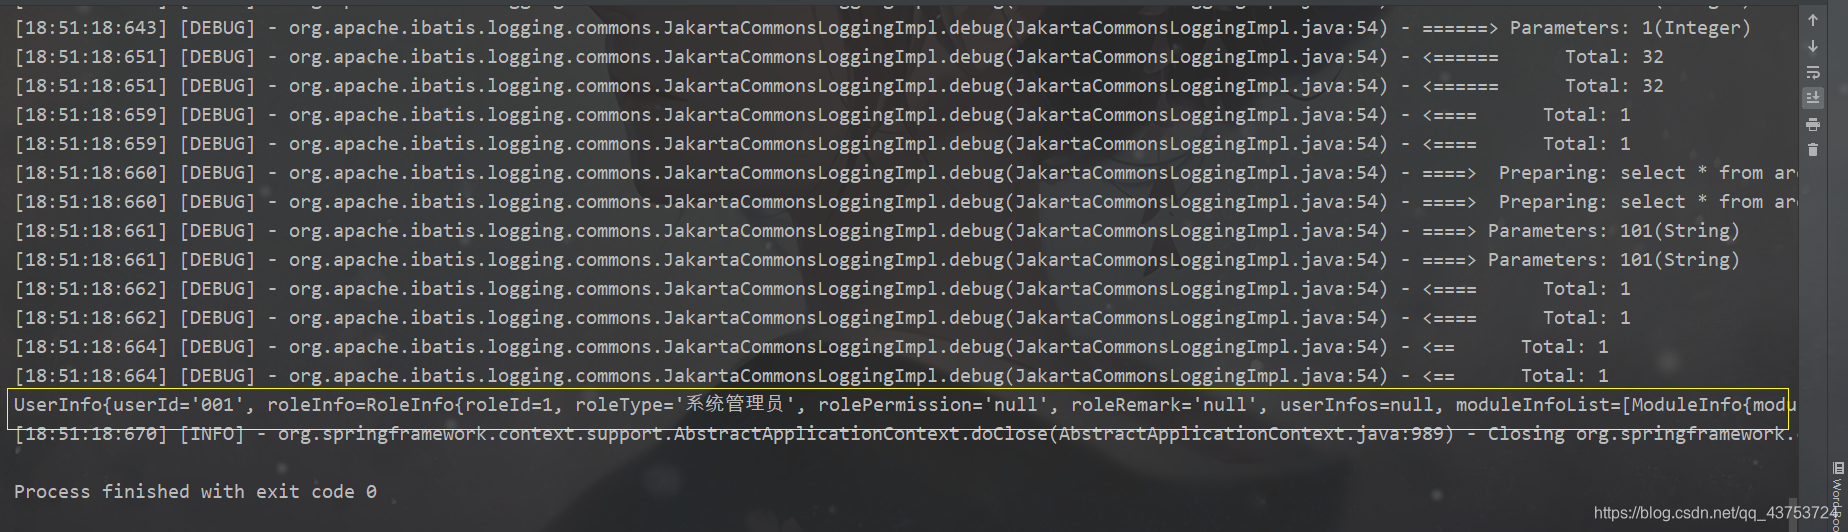
测试结果
三、测试(非注解)
package com.ssm.test;

import com.ssm.dao.UserInfoDao;
import org.springframework.context.ApplicationContext;
import org.springframework.context.support.ClassPathXmlApplicationContext;

public class test1 {
    public static void main(String[] args) {
        ApplicationContext context=new ClassPathXmlApplicationContext("applicationContext.xml");
        UserInfoDao userInfoDao=context.getBean(UserInfoDao.class);
        System.out.println(userInfoDao.selectUserInfoById("001"));
    }
}
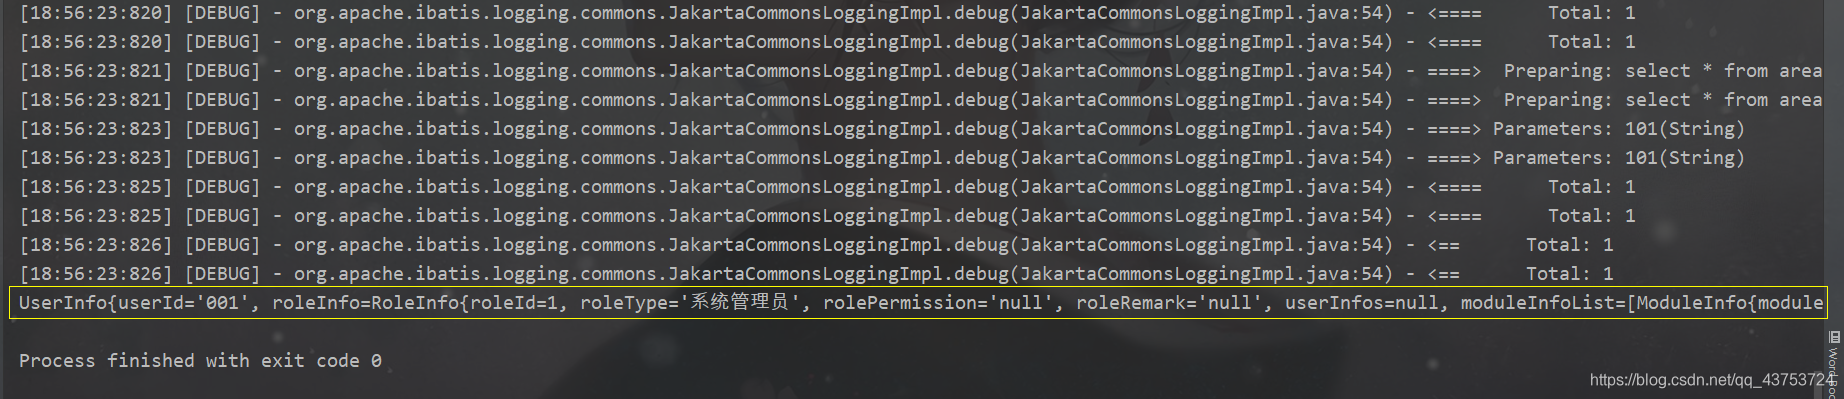
测试结果
四、总结
1、@RunWith和@ContextConfiguration注解
@RunWith就是一个运行器
@RunWith(JUnit4.class)就是指用JUnit4来运行
@RunWith(SpringJUnit4ClassRunner.class),让测试运行于Spring测试环境
@RunWith(Suite.class)的话就是一套测试集合,
@ContextConfiguration Spring整合JUnit4测试时,使用注解引入多个配置文件
单个文件
@ContextConfiguration(Locations=“classpath:applicationContext.xml”)
@ContextConfiguration(classes = SimpleConfiguration.class)多个文件时,可用{}
@ContextConfiguration(locations = { “classpath:spring1.xml”,
“classpath:spring2.xml” })
参考文章:

 浙公网安备 33010602011771号