
windows openresty 的安装
1 windows openresty 的安装
前面提到,OpenResty 的依赖库有: perl 5.6.1+, libreadline, libpcre, libssl。
1.1 下载安装 openresty
打开openresty的中文官网,下载网站为:http://openresty.org/cn/download.html 。具体如下图

下载合适的版本, 然后解压即可。
解压到要安装的目录,这里我选择e:/tool目录,你可以根据自己的喜好选择位置。
使用 openresty-start.bat 启动,然后,在浏览器的地址栏输入 http://localhost:80/,理论上,会有 nginx 的欢迎页面。
但是,也有可能启动失败,如下图:
在浏览器的地址栏输入 localhost,加载 nginx 的欢迎页面。成功加载说明 nginx 正在运行。如下图:
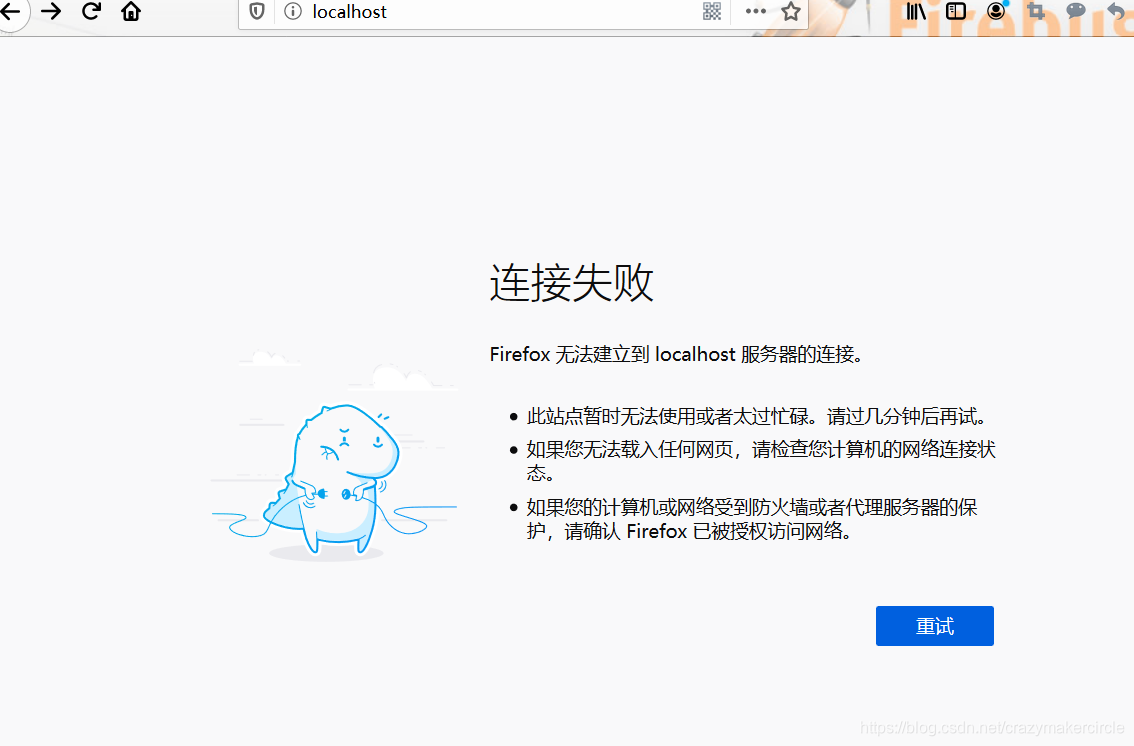
可能的原因是,缺少依赖包。
1.2:需要安装 perl
前面提到,OpenResty 的依赖库有: perl 5.6.1+, libreadline, libpcre, libssl。
首先要安装Perl。 Perl 是 Practical Extraction and Report Language 的缩写,可翻译为 "实用报表提取语言"。Perl 是高级、通用、直译式、动态的程序语言。
如果没有安装perl,启动会报如下错误:
 PS E:\tool\openresty-1.15.8.2-win64\conf> resty.bat
'perl' 不是内部或外部命令,也不是可运行的程序
或批处理文件。
You do not have Perl in your PATH.
PS E:\tool\openresty-1.15.8.2-win64\conf>
打开浏览器在搜索栏里面输入: http://strawberryperl.com/ 进入到 perl 官网进行下

双击打开下载好的 perl安装文件,安装到自己喜欢的目录。这里使用了 e:/tool
使用快捷键 win + r 打开 windows 应用程序, 输入 cmd 来查看是否安装成功
在 cmd 里面输入: perl -version 查看安装版本
PS E:\tool\openresty-1.15.8.2-win64\conf> perl -version

This is perl 5, version 30, subversion 1 (v5.30.1) built for MSWin32-x64-multi-thread

Copyright 1987-2019, Larry Wall

Perl may be copied only under the terms of either the Artistic License or the
GNU General Public License, which may be found in the Perl 5 source kit.

Complete documentation for Perl, including FAQ lists, should be found on
this system using "man perl" or "perldoc perl".  If you have access to the
Internet, point your browser at http://www.perl.org/, the Perl Home Page.
注意:不能如果安装之前已经打开的cmd窗口,安装之后,需要开启新的cmd窗口
2 windows openresty 的主要命令
考虑到操作方便性,先后建议建立个bat文件,放入系统目录中。
bat文件的脚本如下,已经经过很多次使用。
openresty 启动脚本
openresty 启动: openresty-start.bat
@echo off
set flag=0
set installPath="E:\tool\openresty-1.15.8.2-win64"
set configPath="E:\tool\openresty-1.15.8.2-win64"
tasklist|find /i "nginx.exe" > nul
if %errorlevel%==0 (
echo "openresty/nginx already running ! "
exit /b
) else set flag=1

cd /d %installPath%
if %flag%==1 (
start nginx.exe -p %configPath%
ping localhost -n 2 > nul
)

tasklist /fi "imagename eq nginx.exe"
tasklist|find /i "nginx.exe" > nul
if %errorlevel%==0 (
echo "openresty/nginx  starting  succeced!"
)
主要修改:
1: installPath 为安装目录;
2:configPath为 包含 nignx配置路径 /config 等路径的web工程目录。默认和installPath 相同即可。
openresty 停止脚本
openresty 启动脚本 openresty-stop.bat
@echo off
tasklist|find /i "nginx.exe"  > nul
if  %errorlevel%==0 (
    taskkill /f /t /im nginx.exe > nul
    echo "openresty/nginx stoped!"
)else echo "openresty/nginx not running!"
执行的示例如下:

openresty 状态脚本
openresty-status.bat
@echo off
tasklist|find /i "nginx.exe" > nul
if %errorlevel%==0 (
tasklist /fi "imagename eq nginx.exe"
echo "openresty/nginx is running!"
exit /b
) else echo "openresty/nginx is stoped!"
openresty 重启脚本
openresty-restart.bat
@echo off
call openresty-stop.bat
call openresty-start.bat
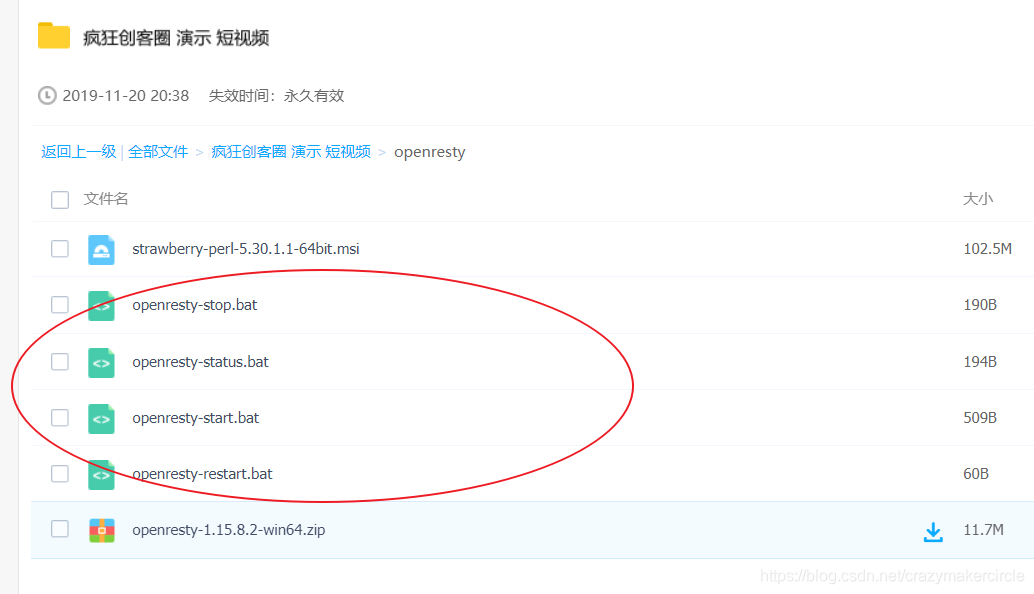
可以提前从疯狂创客圈的网盘,下载以上的脚本。
3 正式启动openresty
3.1 脚本修改和启动
前面讲到了 openresty 启动: openresty-start.bat
修改其中的路径,到自己的安装路径,然后启动

脚本中,使用了 tasklist /fi "imagename eq nginx.exe" 输出了 nginx 进程,其中一个是 master 进程,另一个是 worker 进程
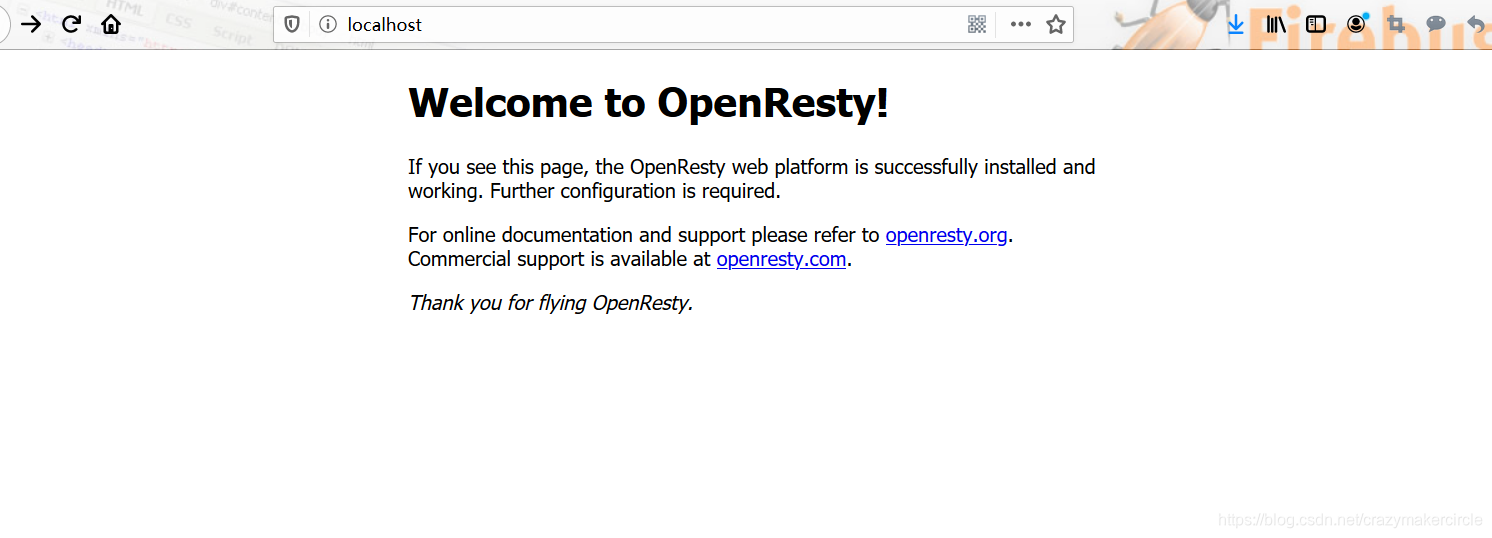
3.2 查看浏览器界面
在浏览器输入 在浏览器的地址栏输入 http://localhost:80/,可以看到启动成功后的结果:
转自:https://www.cnblogs.com/crazymakercircle/p/12111283.html

 浙公网安备 33010602011771号