


(九)Jenkins应用案例
环境准备
系统:Centos 7.9 x64
1台:web应用服务器
1、准备PHP博客项目
2、安装mysql数据库
3、安装nginx服务
4、安装php-fpm服务
1台:Jenkins服务器+git库服务器
准备工作
1、配置好服务器之前的SSH秘钥对认证。
2、提前下载好博客项目
百度云:https://pan.baidu.com/s/1Cad-7sKVZ_gW7G7B6G2Gww
密码:fpm0
web应用服务器:搭建博客项目环境
一、安装mariadb数据库
数据库版本:mariadb-server.x86_64 1:5.5.64-1.el7
1、通过yum安装数据库
yum -y install mariadb-server
2、启动数据库
systemctl start mariadb
3、修改数据库root密码
mysqladmin -uroot password '123456'
4、登录数据库、并创建数据库
mysql -uroot -p123456
create database wordpress;
quit
二、安装nginx与phpfpm服务
服务版本:nginx-1.16.1-1.el7.x86_64
服务版本:php-fpm-5.4.16-46.1.el7_7.x86_64
1、通过yum安装nginx与php-fpm
# 安装扩展yum源
yum install epel-release -y
# 安装服务
yum install nginx php-fpm php-mysql
2、添加新的nginx配置文件
vim /etc/nginx/conf.d/web.conf

server {
    listen 8000;
    server_name 192.168.1.113;
    root /usr/share/nginx/html/web;
    index index.htm index.html index.php;
    location ~ \.php$ {
        root           /usr/share/nginx/html/web;
        fastcgi_pass   127.0.0.1:9000;
        fastcgi_index  index.php;
        fastcgi_param  SCRIPT_FILENAME  /usr/share/nginx/html/web$fastcgi_script_name;
        include        fastcgi_params;
    }
}
3、创建网站访问目录
mkdir -p /usr/share/nginx/html/web
4、启动服务
systemctl start nginx
systemctl start php-fpm
5、解压项目包、并将文件移动到网站目录、赋予权限
unzip wordpress.zip
cp -rf wordpress/* /usr/share/nginx/html/web/
chown -R apache:apache /usr/share/nginx/html/web/
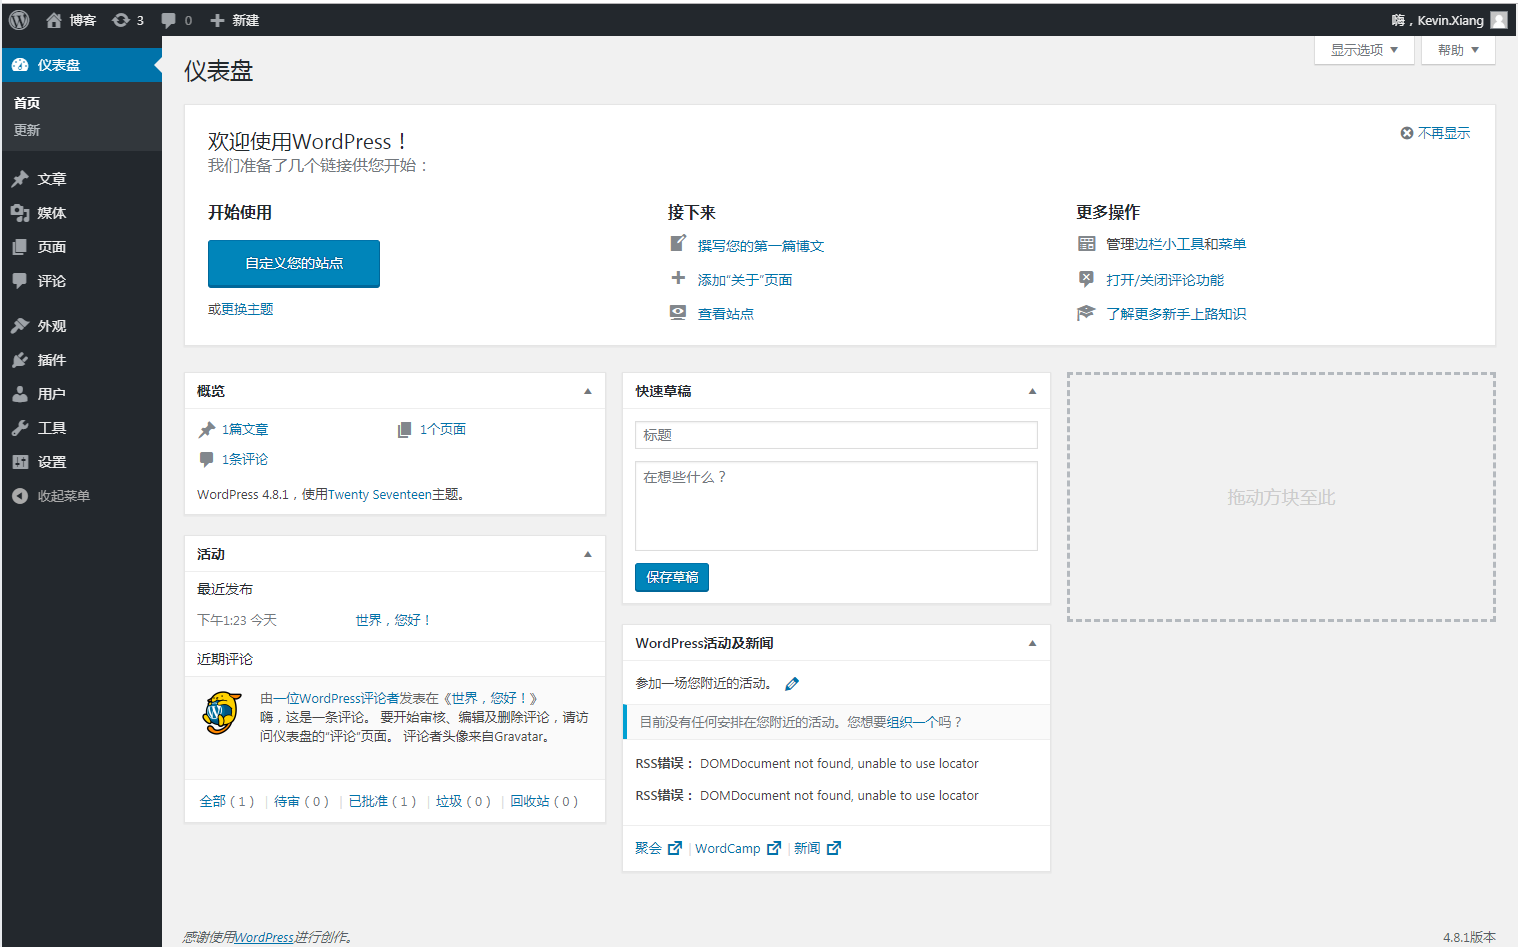
6、访问网站安装
http://192.168.1.113:8000/index.php
7、填写数据库信息
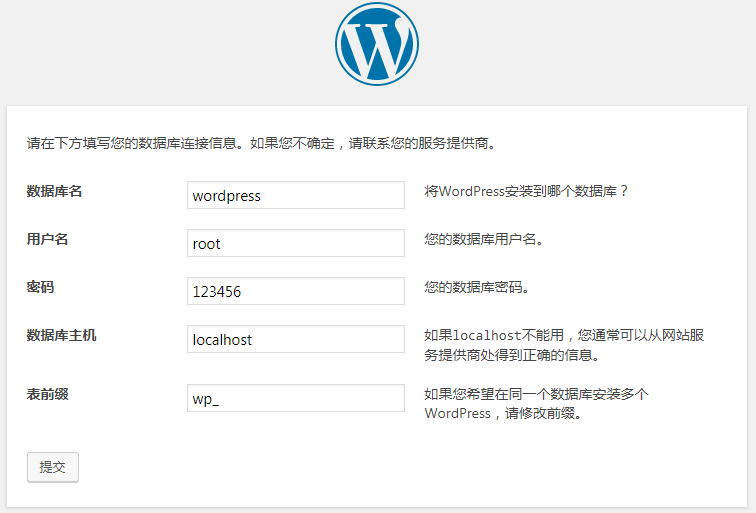
8、填写网站信息
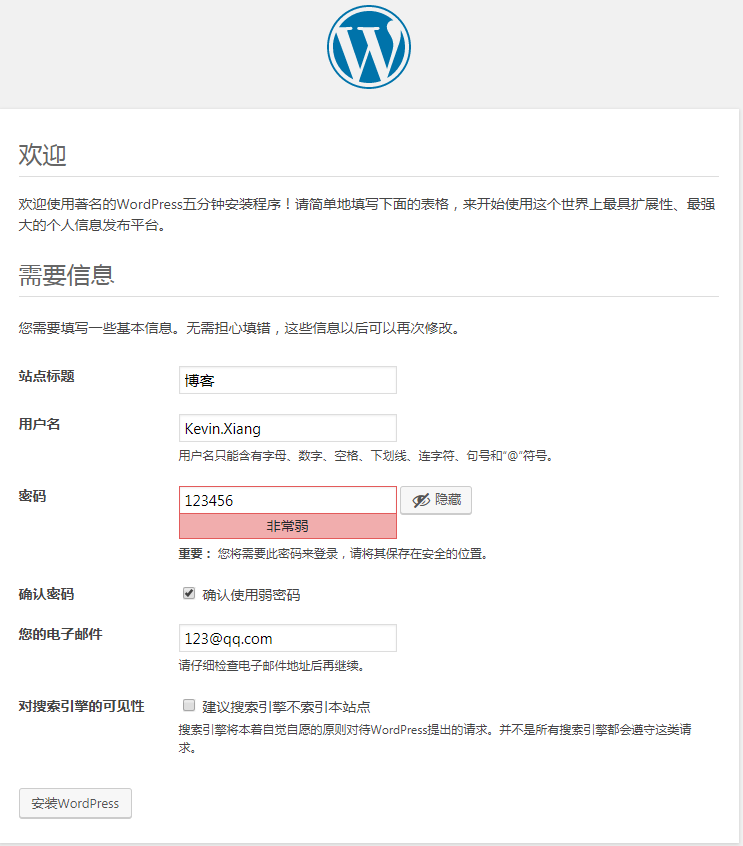
9、安装成功后登陆测试
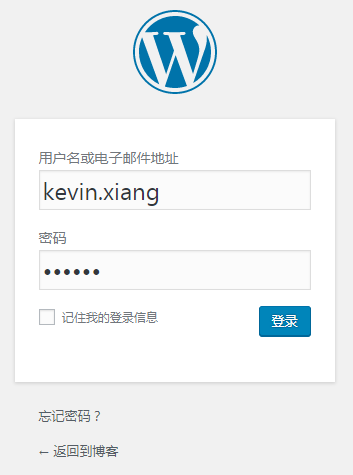
10、完成
安装Jenins+git服务并配置
Jenins 安装配置:https://www.cnblogs.com/xiangsikai/p/12244819.html
Git 安装配置:https://www.cnblogs.com/xiangsikai/p/12244782.html
Git服务配置添加Git仓库
一、创建存放web网站源码仓库
1、git服务器操作:通过git创建web仓库
# 1、切换git
su - git
# 2、创建web仓库
mkdir web
cd web
# 3、初始话git仓库
git --bare init
2、git客户端操作:下载git仓库
# 下载仓库
git clone git@118.31.225.36:/home/git/web
3、将web源代码导入git仓库并提交、这里我在web服务器内提交作为git客户端演示
# 1、进入拉取的web仓库
cd web/
# 2、将代码拷贝到当前目录
cp -rf /usr/share/nginx/html/web/* .
# 3、提交到git仓库
git add .
git commit -m "all"
git push origin master
二、创建存放Jenkins Pipeline脚本仓库
1、git服务器操作:通过git创建jenkinsfile仓库
# 1、切换git
su - git
# 2、创建jenkinsfile仓库
mkdir jenkinsfile
cd jenkinsfile
# 3、初始话git仓库
git --bare init
2、客户端操作:下载git仓库提交pipeline脚本
# 1、下载仓库
git clone git@118.31.225.36:/home/git/jenkinsfile
cd jenkinsfile/
# 2、创建文件
vi jenkinsfile
node {
   stage('git checkout') {
        checkout([$class: 'GitSCM', branches: [[name: '${branch}']], doGenerateSubmoduleConfigu
   }
   stage('code copy') {
        sh '''rm -rf ${WORKSPACE}/.git
        ssh root@192.168.1.113 "mv /usr/share/nginx/html/web /backup/web-$(date +"%F_%T")"
        scp -r ${WORKSPACE} root@192.168.1.113:/usr/share/nginx/html/web'''
   }
   stage('test') {
       sh "curl http://192.168.1.113:8000/status.html"
   }
}
# 3、提交文件
git add .
git commit -m "jenkinsfile"
git push origin master
配置jenkins CI/CD
一、创建与pipeline相关连文件
1、git客户端操作:创建status.html测试文件到web项目中,并提交到git仓库
# 1、创建文件
cd web
vim status.html
OK !!!
# 2、提交文件
git add .
git commit -m "status.html"
git push origin master
2、jenkins服务端操作:创建版本备份目录
mkdir /backup/
二、配置Jenkins流水线任务
1、进入Jenkins网站
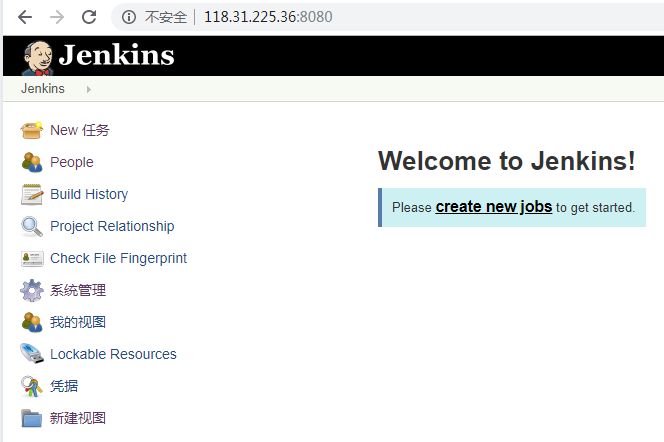
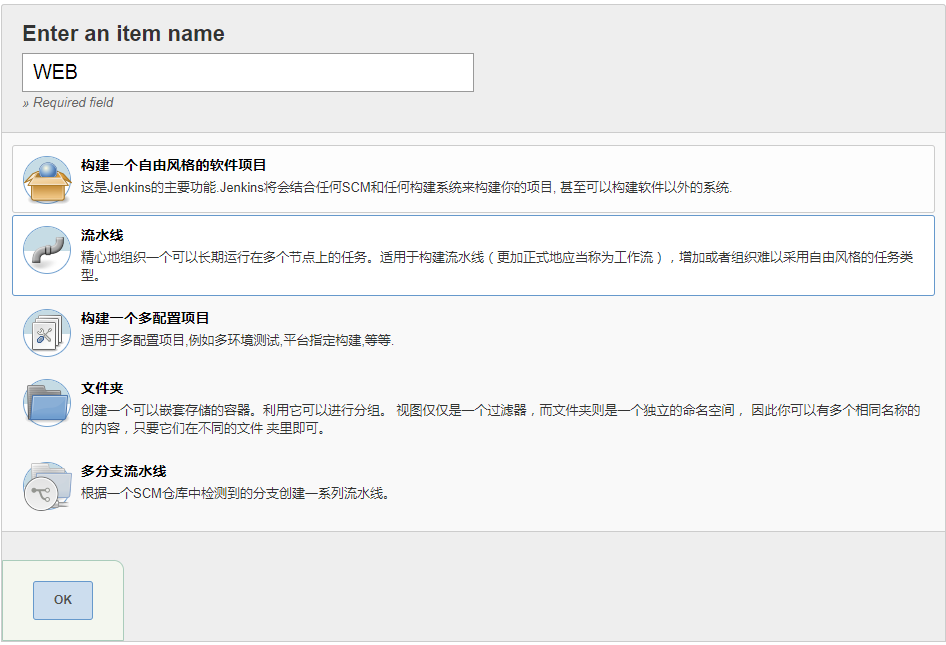
2、创建新的任务、并命名、使用流水线工程
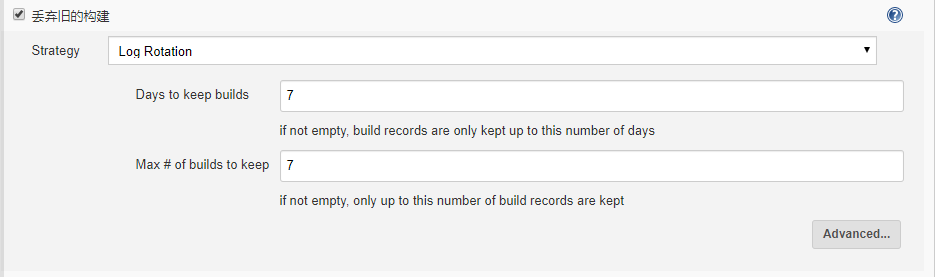
3、设置丢弃就得构建 阈值为七
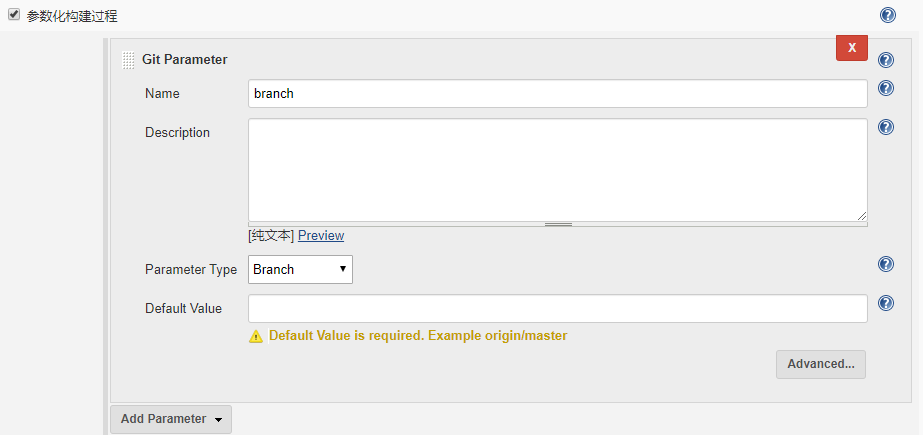
4、设置参数化构建过程选择git Parameter、根据branch类型构建
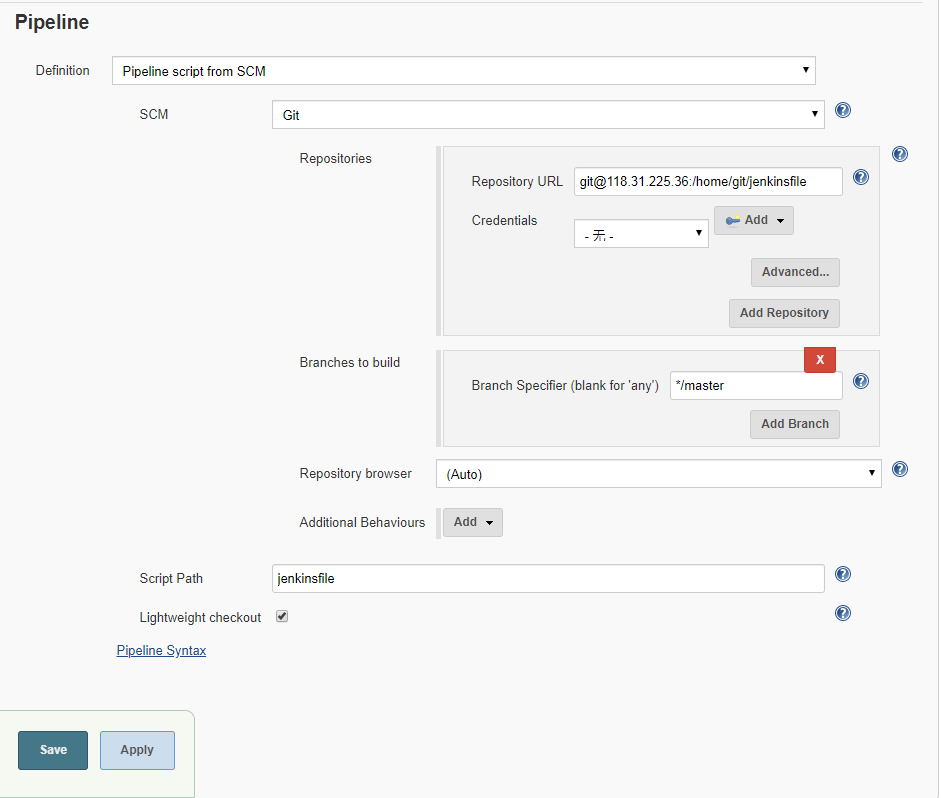
5、配置Pipeline根据SCM访问git仓库下的pipeline脚本文件、保存
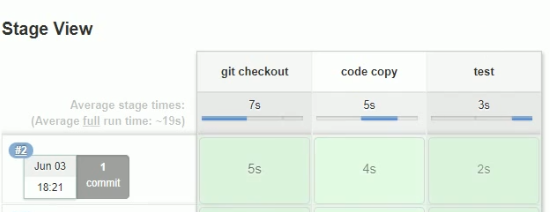
6、执行任务 --> Build with Parameters --> 选择分支 --> Build
问题说明:通过jenkins任务来启动tomcat时,无法成功启动。
原因:当jenkins使用Pipeline任务执行完成后他会关闭所有派生进程,导致派生进程在关闭时也关闭掉了tomcat启动进程,造成tomcat无法启动。
解决方案:JENKINS_NODE_COOKIE=dontkillme
作用说明:传入该变量后它会去告诉jenkins完成任务后不要去关闭派生进程。
其他 Pipline案例
JAVA+Maven 案例
node {
   //def mvnHome = '/usr/local/maven'
        stage('git checkout') {
        checkout([$class: 'GitSCM', branches: [[name: '${branch'}]], doGenerateSubmoduleConfigurations: false, extensions: [], submoduleCfg: [], user
        }
        stage('maven build') {
        sh '''export JAVA_HOME=/usr/local/java
                /opt/apache-maven-3.6.0/bin/mvn clean package -Dmaven.test.skip=true'''''
   }
        stage('deploy') {
        JENKINS_NODE_COOKIE=dontkillme
        sh '''export JAVA_HOME=/usr/local/java
        TOMCAT_NAME=tomcat
        TOMCAT_HOME=/usr/local/$TOMCAT_NAME
        WWWROOT=$TOMCAT_HOME/webapps/ROOT

        if [ -d $WWWROOT  ]; then
        ¦  mv $WWWROOT /data/backup/${TOMCAT_NAME}-$(date +"%F_%T")
        fi
        unzip ${WORKSPACE}/target/*.war -d $WWWROOT
        PID=$(ps -ef |grep $TOMCAT_NAME |egrep -v "grep|$$" |awk \'{print $2}\')
        [ -n "$PID"  ] && kill -9 $PID
        /bin/bash $TOMCAT_HOME/bin/startup.sh'''''
   }
   stage('test') {
       sh "curl http://xxxxx/status.html"
   }
}


【推荐】国内首个AI IDE,深度理解中文开发场景,立即下载体验Trae
【推荐】编程新体验,更懂你的AI,立即体验豆包MarsCode编程助手
【推荐】抖音旗下AI助手豆包,你的智能百科全书,全免费不限次数
【推荐】轻量又高性能的 SSH 工具 IShell:AI 加持,快人一步
· 无需6万激活码!GitHub神秘组织3小时极速复刻Manus,手把手教你使用OpenManus搭建本
· Manus爆火,是硬核还是营销?
· 终于写完轮子一部分:tcp代理 了,记录一下
· 别再用vector<bool>了!Google高级工程师:这可能是STL最大的设计失误
· 单元测试从入门到精通