linux安装oracle12c
配置机器名和IP映射
1、查看机器名,hostname
[root@localhost ~]# hostname
查看IP,ifconfig -a
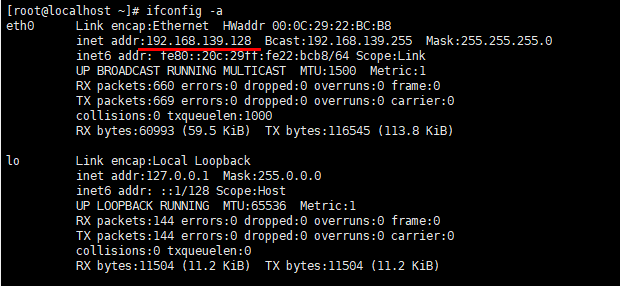
如果需要修改机器名,则修改hosts文件,将hosts文件中所有原来机器名换为想要的名称,并增加ip映射
[root@localhost ~]# vi /etc/hosts

修改network文件
[root@localhost ~]# vi /etc/sysconfig/network
把里面的hostname换为要改的名称
重启机器
[root@localhost ~]# reboot
Oracle安装先决条件
参见https://oracle-base.com/articles/12c/oracle-db-12cr2-installation-on-oracle-linux-6-and-7
一、操作系统软硬件要求
1、内存要求
最小值为1G,我自己虚拟机设置的是2G;
在命令行查询:查询命令:grep MemTotal /proc/meminfo

2、系统内核版本
针对非oracle linux系统查看版本,并确保在oracle12c支持的范围内。
1) 查询系统位数命令:# uname -m;
2) 查询系统版本命令:# cat /proc/version;
3) 查询系统内核版本:# uname -r。

3、磁盘空间要求
我虚拟机练习用的不到30G
使用df -h查询

4. /tmp空间至少1GB
查询命令:# df -h /tmp,/tmp目录是根文件系统的一部分,查询结果显示根目录还剩余20G

二、系统要求
1、配置内核参数
[root@oralinux ~]# vi /etc/sysctl.conf
添加:
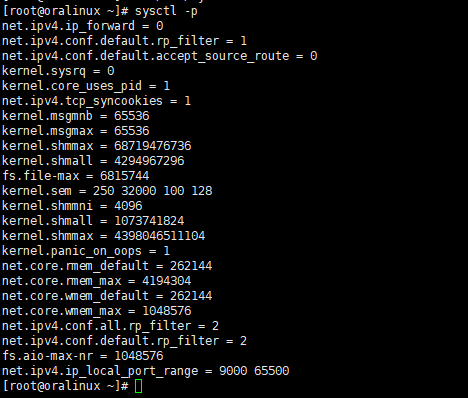
fs.file-max = 6815744 kernel.sem = 250 32000 100 128 kernel.shmmni = 4096 kernel.shmall = 1073741824 kernel.shmmax = 4398046511104 kernel.panic_on_oops = 1 net.core.rmem_default = 262144 net.core.rmem_max = 4194304 net.core.wmem_default = 262144 net.core.wmem_max = 1048576 net.ipv4.conf.all.rp_filter = 2 net.ipv4.conf.default.rp_filter = 2 fs.aio-max-nr = 1048576 net.ipv4.ip_local_port_range = 9000 65500
更改当前内核参数
[root@oralinux ~]# sysctl -p
配置ulimit参数,限制oracle用户资源使用
[root@oralinux ~]# vi /etc/security/limits.conf
添加:
oracle soft nofile 1024
oracle hard nofile 65536
oracle soft nproc 16384
oracle hard nproc 16384
oracle soft stack 10240
oracle hard stack 32768
oracle hard memlock 134217728
oracle soft memlock 134217728
安装依赖软件包
yum install binutils -y yum install compat-libcap1 -y yum install compat-libstdc++-33 -y yum install compat-libstdc++-33.i686 -y yum install glibc -y yum install glibc.i686 -y yum install glibc-devel -y yum install glibc-devel.i686 -y yum install ksh -y yum install libaio -y yum install libaio.i686 -y yum install libaio-devel -y yum install libaio-devel.i686 -y yum install libX11 -y yum install libX11.i686 -y yum install libXau -y yum install libXau.i686 -y yum install libXi -y yum install libXi.i686 -y yum install libXtst -y yum install libXtst.i686 -y yum install libgcc -y yum install libgcc.i686 -y yum install libstdc++ -y yum install libstdc++.i686 -y yum install libstdc++-devel -y yum install libstdc++-devel.i686 -y yum install libxcb -y yum install libxcb.i686 -y yum install make -y yum install nfs-utils -y yum install net-tools -y yum install smartmontools -y yum install sysstat -y yum install unixODBC -y yum install unixODBC-devel -y |
检查rpm是否安装成功
命令:rpm -q package_name
rpm -q binutils compat-libcap1 compat-libstdc++-33 gcc gcc-c++ glibc glibc-devel ksh libaio libaio-devel libgcc libstdc++ libstdc++-devel libXi libXtst make sysstat unixODBC unixODBC-devel |
创建用户组和用户oracle
|
[root@oralinux /]# groupadd -g 54321 oinstall [root@oralinux /]# passwd oracle [root@oralinux /]# id oracle |
设置selinux
[root@oralinux /]# vi /etc/selinux/config
设置SELINUX=permissive
重启让更改生效
[root@oralinux /]# setenforce Permissive
创建安装目录并授权
|
[root@oralinux /]# mkdir -p /u01/app/oracle/product/12.2.0/dbhome_1 |
禁用防火墙
|
[root@oralinux ~]# service iptables stop |
切换oracle用户
配置环境变量
[oracle@oralinux ~]$ vi .bash_profile
添加以下内容
|
export ORACLE_BASE=/u01/app/oracle export ORACLE_HOME=$ORACLE_BASE/product/12.2.0/dbhome_1 export ORACLE_SID=orcl export PATH=$ORACLE_HOME/bin:$PATH:$HOME/bin export LD_LIBRARY_PATH=$ORACLE_HOME/lib:/lib:/usr/lib |
使配置立即生效
[oracle@oralinux ~]$ source .bash_profile
三、开始安装
下载拷贝oracle文件
https://www.oracle.com/database/technologies/oracle-database-software-downloads.html
将下载的文件上传到虚拟机并解压
解压对应的文件
[oracle@oralinux soft]$ unzip linuxx64_12201_database.zip
cd到解压的database目录
[oracle@oralinux soft]$ cd database/
[oracle@oralinux database]$ ls
install response rpm runInstaller sshsetup stage welcome.html
[oracle@oralinux database]$ ./runInstaller
出现图形化安装界面
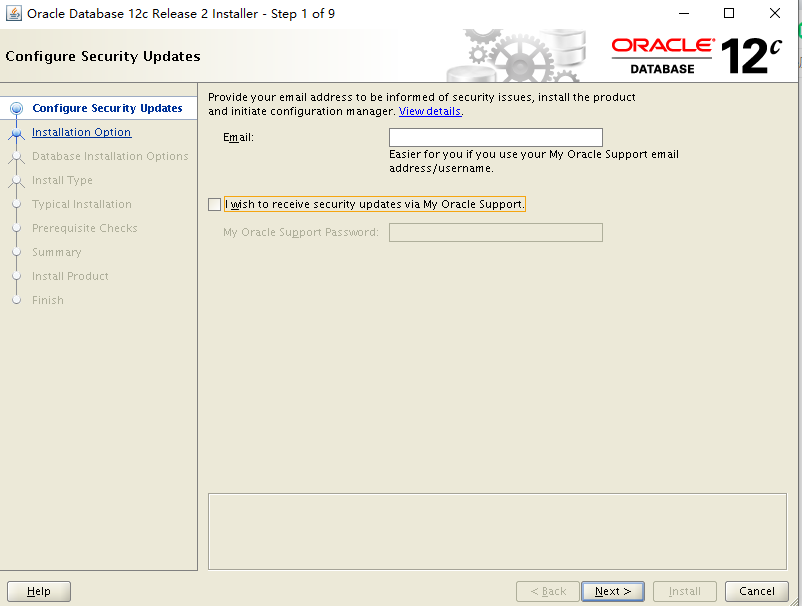
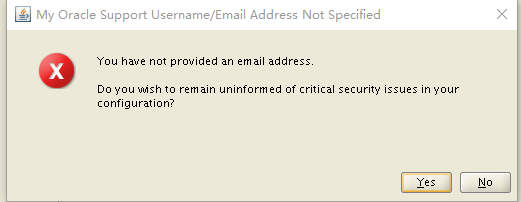
因未选接收安全更新,next会弹出警告,点击yes
1、创建并配置新数据库
2、只安装数据库软件,可以仅安装软件,后续./dbca配置数据库
3、升级已有数据库
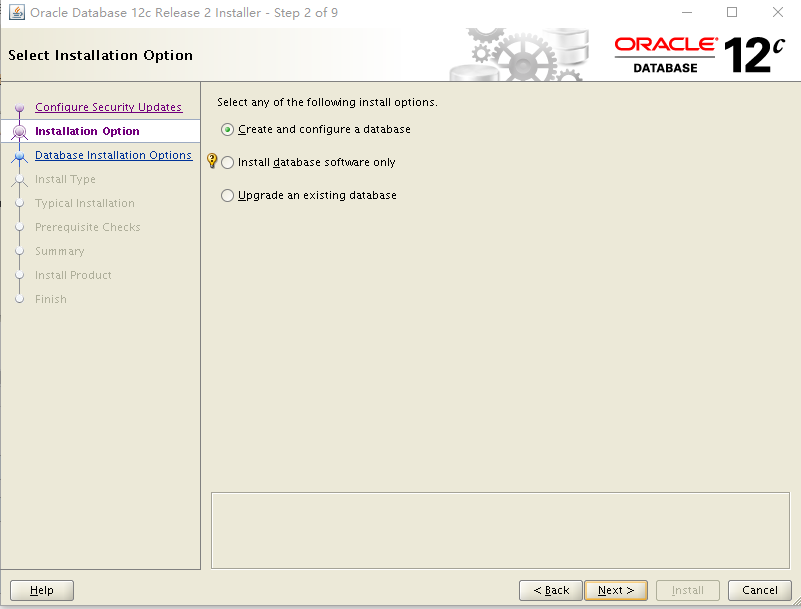
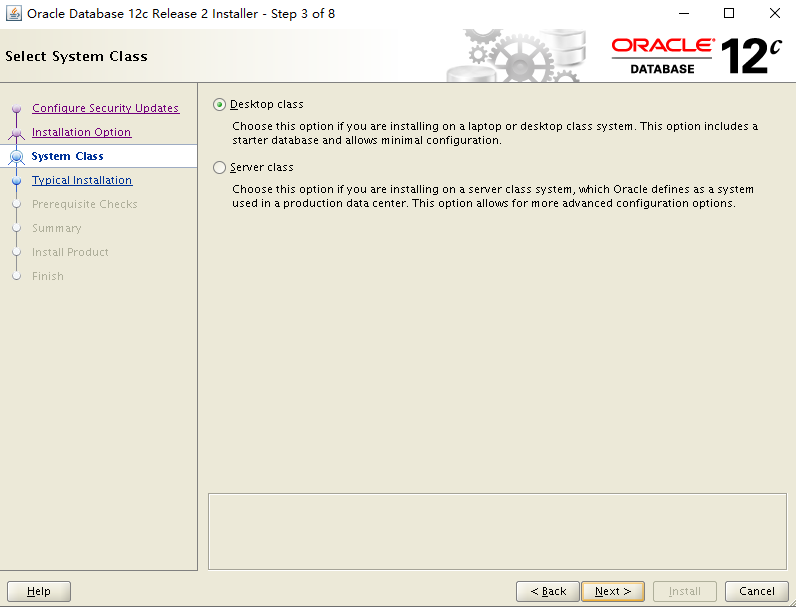
选server class

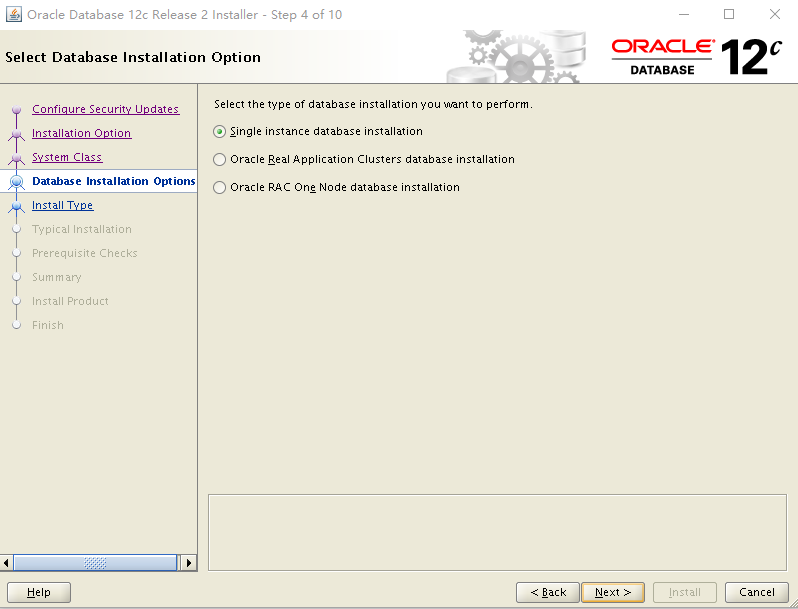
选单实例安装
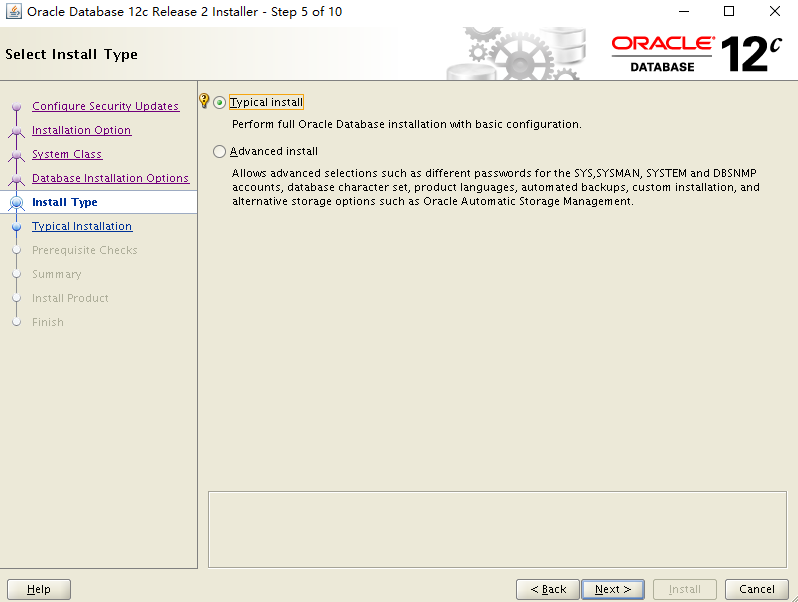
选典型安装
输入自定义密码,其他默认
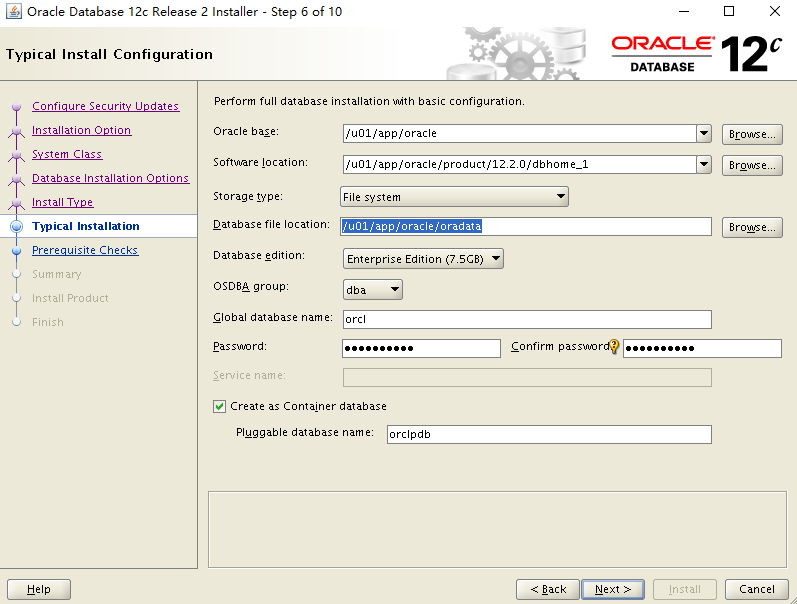
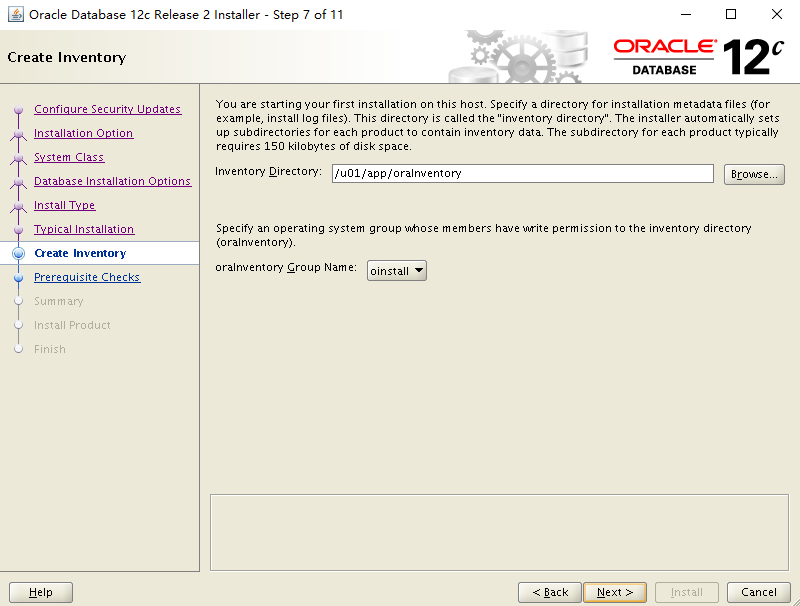
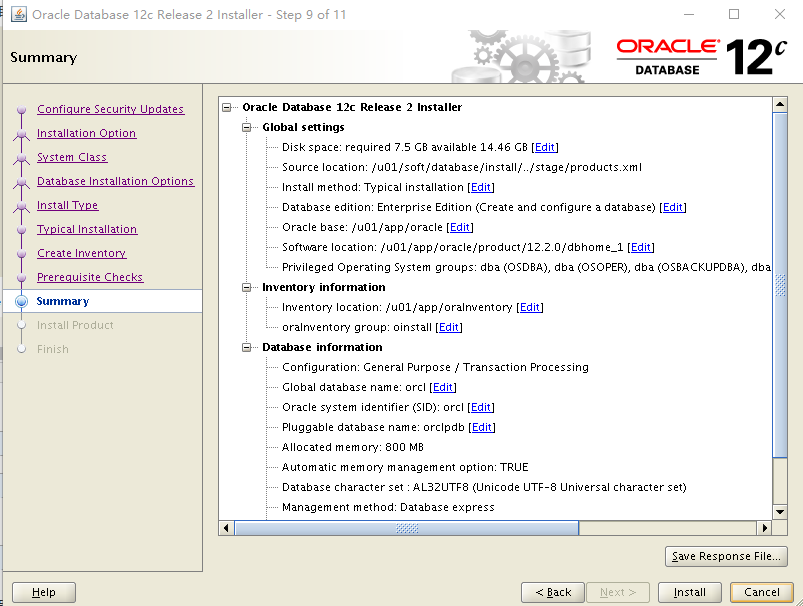
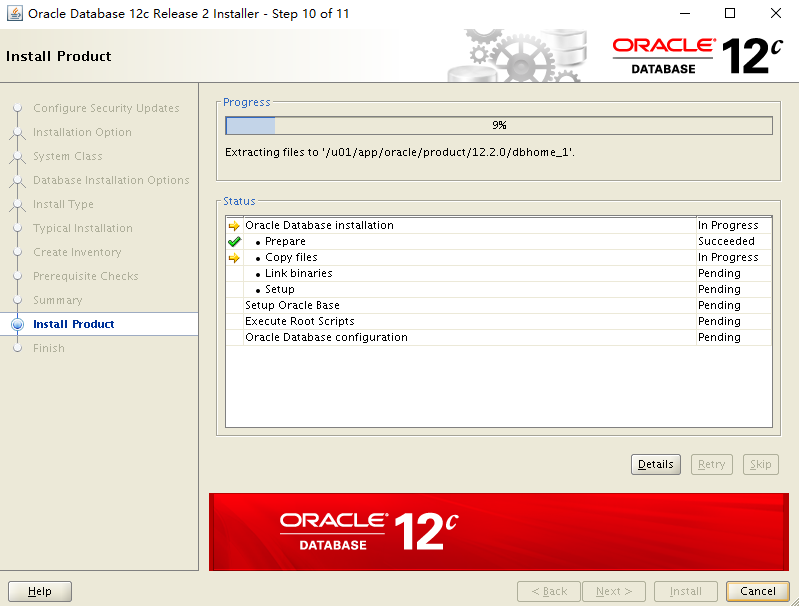
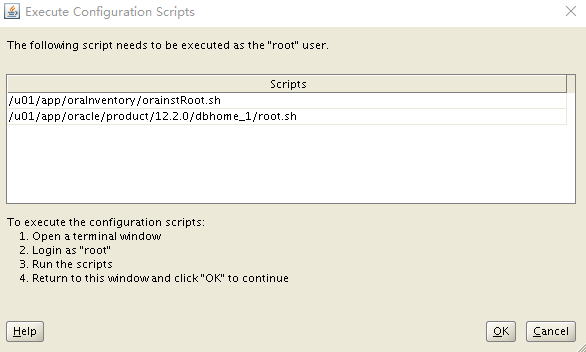
用根用户执行
|
[root@oralinux ~]# /u01/app/oraInventory/orainstRoot.sh Changing groupname of /u01/app/oraInventory to oinstall. |
|
[root@oralinux ~]# /u01/app/oracle/product/12.2.0/dbhome_1/root.sh The following environment variables are set as: Enter the full pathname of the local bin directory: [/usr/local/bin]: Entries will be added to the /etc/oratab file as needed by |
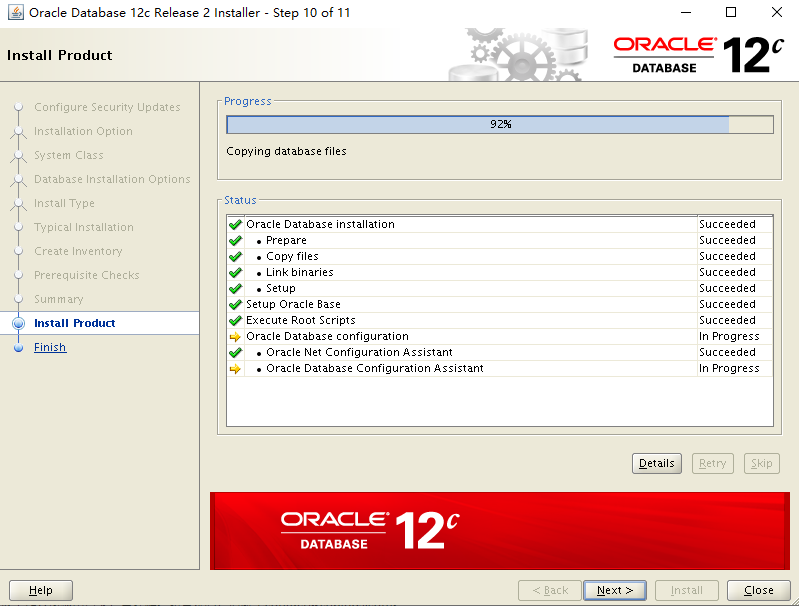
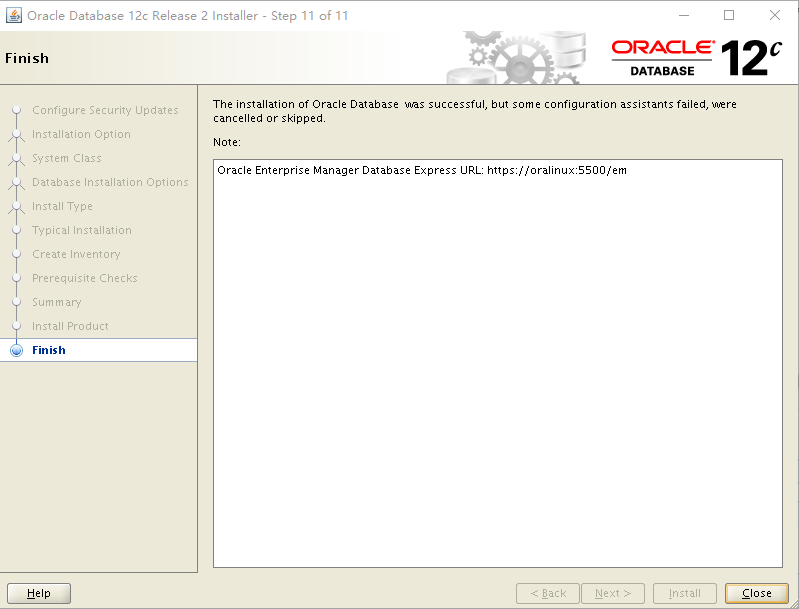
安装完成。


