
Spring Cloud 2022.0.1 Spring Cloud Zookeeper4.0
官网:
https://spring.io/
更多spring cloud zookeeper 参考
https://docs.spring.io/spring-cloud-zookeeper/docs/current/reference/html
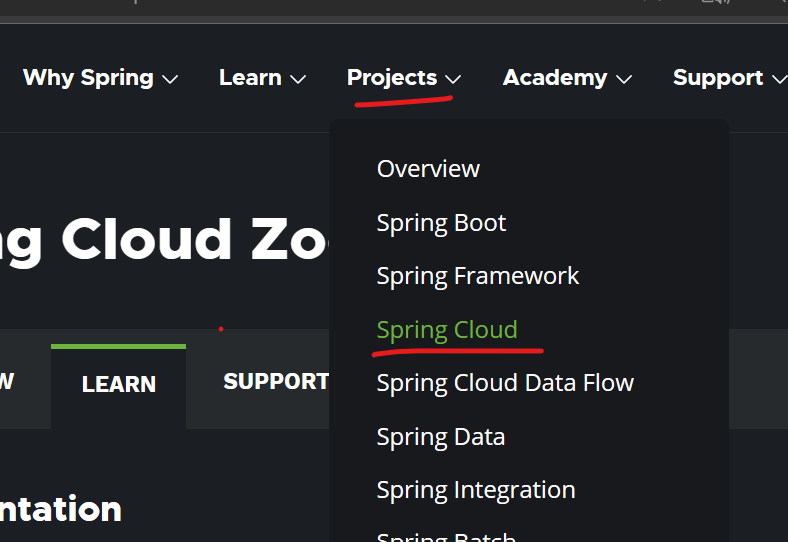

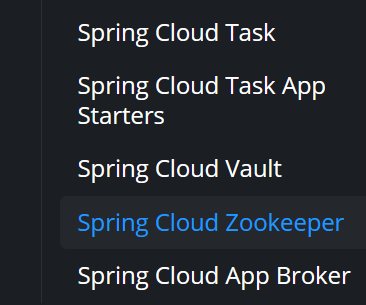
左侧菜单 向下找到 spring Cloud Zookeeper
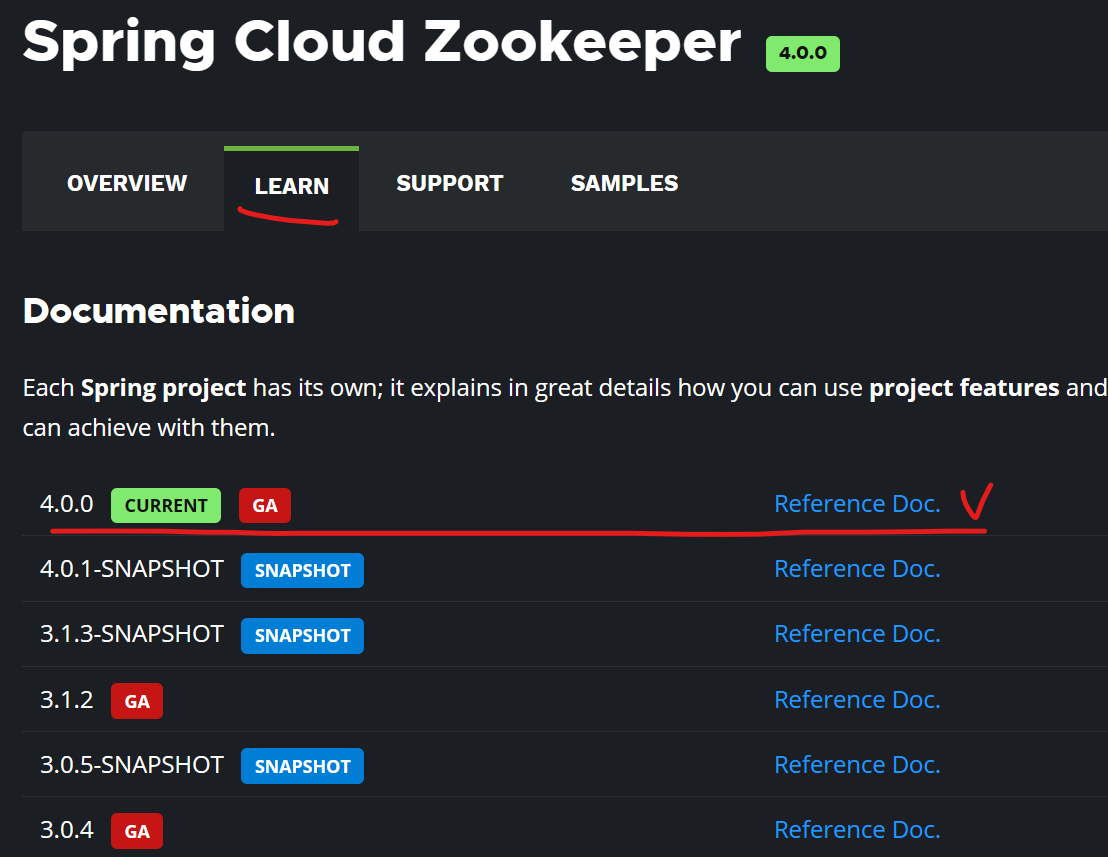
所有我们希望看到的都在 Reference Doc 中,点击进入
连接zookeeper服务器
First, run Zookeeper on your machine. Then you can access it and use it as a Service Registry and Configuration source with Spring Cloud Zookeeper.
首先,安装zookeeper ,然后 就可以利用spring cloud zookeeper 把zookeeper服务器,当做注册服务器访问
在程序中要启用zookeeper可以在spring boot 程序中依赖 spring-cloud-zookeeper-core and spring-cloud-zookeeper-discovery 来实现,
The most convenient way to add the dependency is with a Spring Boot starter: org.springframework.cloud:spring-cloud-starter-zookeeper-discovery.
但是最方便的的方式是 依赖 spring-cloud-starter-zookeeper-discovery.
修改zookeeper服务器地址
When this HTTP server runs, it connects to Zookeeper, which runs on the default local port (2181). To modify the startup behavior, you can change the location of Zookeeper by using application.properties, as shown in the following example:
spring:
  cloud:
    zookeeper:
      connect-string: localhost:2181
从zookeeper获取数据
You can now use DiscoveryClient, @LoadBalanced RestTemplate, or @LoadBalanced WebClient.Builder to retrieve services and instances data from Zookeeper, as shown in the following example:
@Autowired
private DiscoveryClient discoveryClient;

public String serviceUrl() {
    List<ServiceInstance> list = discoveryClient.getInstances("STORES");
    if (list != null && list.size() > 0 ) {
        return list.get(0).getUri().toString();
    }
    return null;
}


服务提供者(provider)Pom.xml<?xml version="1.0" encoding="UTF-8"?> <project xmlns="http://maven.apache.org/POM/4.0.0" xmlns:xsi="http://www.w3.org/2001/XMLSchema-instance" xsi:schemaLocation="http://maven.apache.org/POM/4.0.0 http://maven.apache.org/xsd/maven-4.0.0.xsd"> <parent> <artifactId>springcloud19</artifactId> <groupId>com.hztech</groupId> <version>1.0-SNAPSHOT</version> </parent> <modelVersion>4.0.0</modelVersion> <artifactId>consumer-zk-order80</artifactId> <properties> <maven.compiler.source>19</maven.compiler.source> <maven.compiler.target>19</maven.compiler.target> <project.build.sourceEncoding>UTF-8</project.build.sourceEncoding> <zookeeper.version>4.0.0</zookeeper.version> </properties> <dependencies> <!-- zookeeper client --> <dependency> <groupId>org.springframework.cloud</groupId> <artifactId>spring-cloud-starter-zookeeper</artifactId> <version>${zookeeper.version}</version> </dependency> <dependency> <groupId>org.springframework.cloud</groupId> <artifactId>spring-cloud-zookeeper-discovery</artifactId> <version>${zookeeper.version}</version> </dependency> <!-- 引入公用模块--> <dependency> <groupId>com.hztech</groupId> <artifactId>common-api</artifactId> <version>1.0-SNAPSHOT</version> </dependency> <dependency> <groupId>org.springframework.boot</groupId> <artifactId>spring-boot-starter-web</artifactId> </dependency> <dependency> <groupId>org.springframework.boot</groupId> <artifactId>spring-boot-starter-actuator</artifactId> </dependency> <dependency> <groupId>org.mybatis.spring.boot</groupId> <artifactId>mybatis-spring-boot-starter</artifactId> </dependency> <dependency> <groupId>org.springframework.boot</groupId> <artifactId>spring-boot-devtools</artifactId> <scope>runtime</scope> <optional>true</optional> </dependency> <dependency> <groupId>org.projectlombok</groupId> <artifactId>lombok</artifactId> <optional>true</optional> </dependency> <dependency> <groupId>org.springframework.boot</groupId> <artifactId>spring-boot-starter-test</artifactId> <scope>test</scope> </dependency> </dependencies> </project>
服务提供者(provider)application.yml
![]()
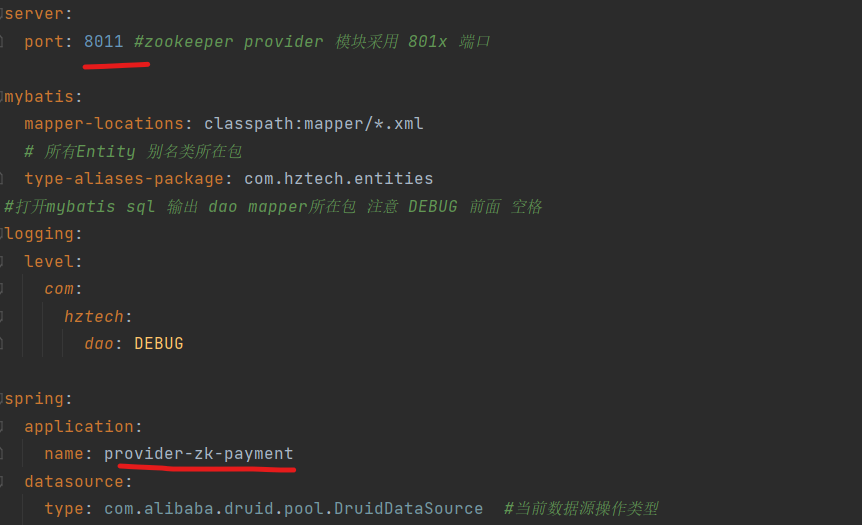
服务提供者(provider) Main()@SpringBootApplication @EnableDiscoveryClient public class PaymentZkMain8011 { public static void main(String[] args) { SpringApplication.run( PaymentZkMain8011.class, args); } }
运行效果
启动程序
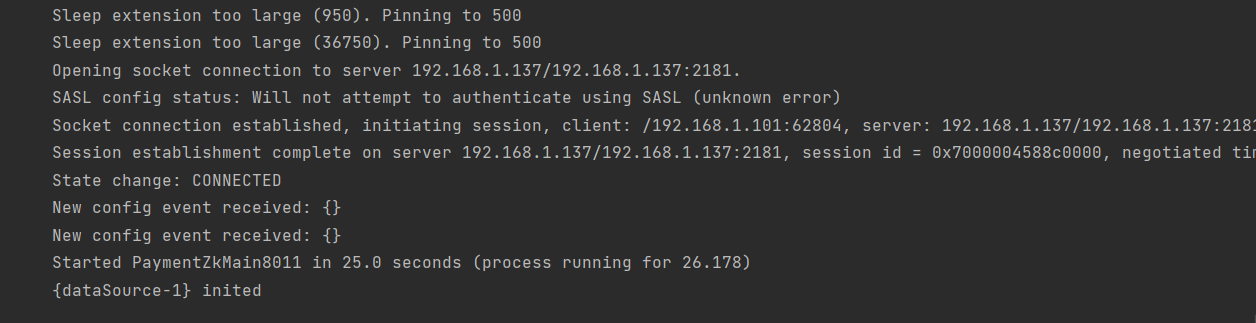
登录zookeeper客户端( bin/zkCli.sh -server IP)

可以看到服务已经成功注册到zookeeper服务中
读取数据
[zk: machine136(CONNECTED) 4] get /services/provider-zk-payment/6ab8deaf-b6bd-4597-84fb-41d991c24636
{"name":"provider-zk-payment","id":"6ab8deaf-b6bd-4597-84fb-41d991c24636","address":"localhost","port":8011,"sslPort":null,"payload":{"@class":"org.springframework.cloud.zookeeper.discovery.ZookeeperInstance","id":"provider-zk-payment","name":"provider-zk-payment","metadata":{"instance_status":"UP"}},"registrationTimeUTC":1676184308283,"serviceType":"DYNAMIC","uriSpec":{"parts":[{"value":"scheme","variable":true},{"value":"://","variable":false},{"value":"address","variable":true},{"value":":","variable":false},{"value":"port","variable":true}]}}
[zk: machine136(CONNECTED) 5]
测试业务

用同样的方式创建第二个服务提供者模块(port:8012),并启用 客户端发现注解
启动后登录zookeeper client 查看注册的的服务 payment-zk-provider

已经可看到两个服务器在线了
创建消费模块(port:99) 完成对provider的调用,并完成负载均衡
1、mven 普通项目
2、添加依赖
 <dependencies>
        <!-- zookeeper client -->
        <dependency>
            <groupId>org.springframework.cloud</groupId>
            <artifactId>spring-cloud-starter-zookeeper-discovery</artifactId>
            <exclusions>
                <exclusion>
                    <groupId>org.apache.zookeeper</groupId>
                    <artifactId>zookeeper</artifactId>
                </exclusion>
            </exclusions>
        </dependency>
        <dependency>
            <groupId>org.apache.zookeeper</groupId>
            <artifactId>zookeeper</artifactId>
            <version>3.7.1</version>
        </dependency>

        <!-- 引入公用模块-->
        <dependency>
            <groupId>com.hztech</groupId>
            <artifactId>common-api</artifactId>
            <version>1.0-SNAPSHOT</version>
        </dependency>
        <dependency>
            <groupId>org.springframework.boot</groupId>
            <artifactId>spring-boot-starter-web</artifactId>
        </dependency>
        <dependency>
            <groupId>org.springframework.boot</groupId>
            <artifactId>spring-boot-starter-actuator</artifactId>
        </dependency>
        <dependency>
            <groupId>org.mybatis.spring.boot</groupId>
            <artifactId>mybatis-spring-boot-starter</artifactId>
        </dependency>


        <dependency>
            <groupId>org.springframework.boot</groupId>
            <artifactId>spring-boot-devtools</artifactId>
            <scope>runtime</scope>
            <optional>true</optional>
        </dependency>
        <dependency>
            <groupId>org.projectlombok</groupId>
            <artifactId>lombok</artifactId>
            <optional>true</optional>
        </dependency>
        <dependency>
            <groupId>org.springframework.boot</groupId>
            <artifactId>spring-boot-starter-test</artifactId>
            <scope>test</scope>
        </dependency>


    </dependencies>
3、application.yml
server:
  port: 99
spring:
  application:
    name: order-Service-zk

  cloud:
    zookeeper:
      connect-string: 192.168.1.136:2181,192.168.1.137:2181,192.168.1.138:2181 # zk地址 192.168.1.x是linux zookeeper服务地址
4、main()方法
@SpringBootApplication(exclude = DataSourceAutoConfiguration.class)
@EnableDiscoveryClient
public class OrderZkMain80 {

    public static void main(String[] args) {

        SpringApplication.run( OrderZkMain80.class, args);

    }

}
5、创建restTemplate Bean
@Configuration

public class AppContextConfig {
    @Bean
    @LoadBalanced
    public RestTemplate getRestTmp()
    {

        return new RestTemplate();

    }

}
注意:
controller中的请求地址 直接为服务名称,地址和端口交给zookeeper +restTemplate 完成转换
http://provider-zk-payment
6、启用项目 并验证
服务注册

接口调用
第一次请求

第二次请求

结束

 浙公网安备 33010602011771号