Android Studio中Switch控件有关 thumb 和 track 用法
 要是觉得内容枯燥,您可以点击左下角的播放按钮,让您在音乐的熏陶下愉快的阅读
 本文总字数:3507
•任务
•属性
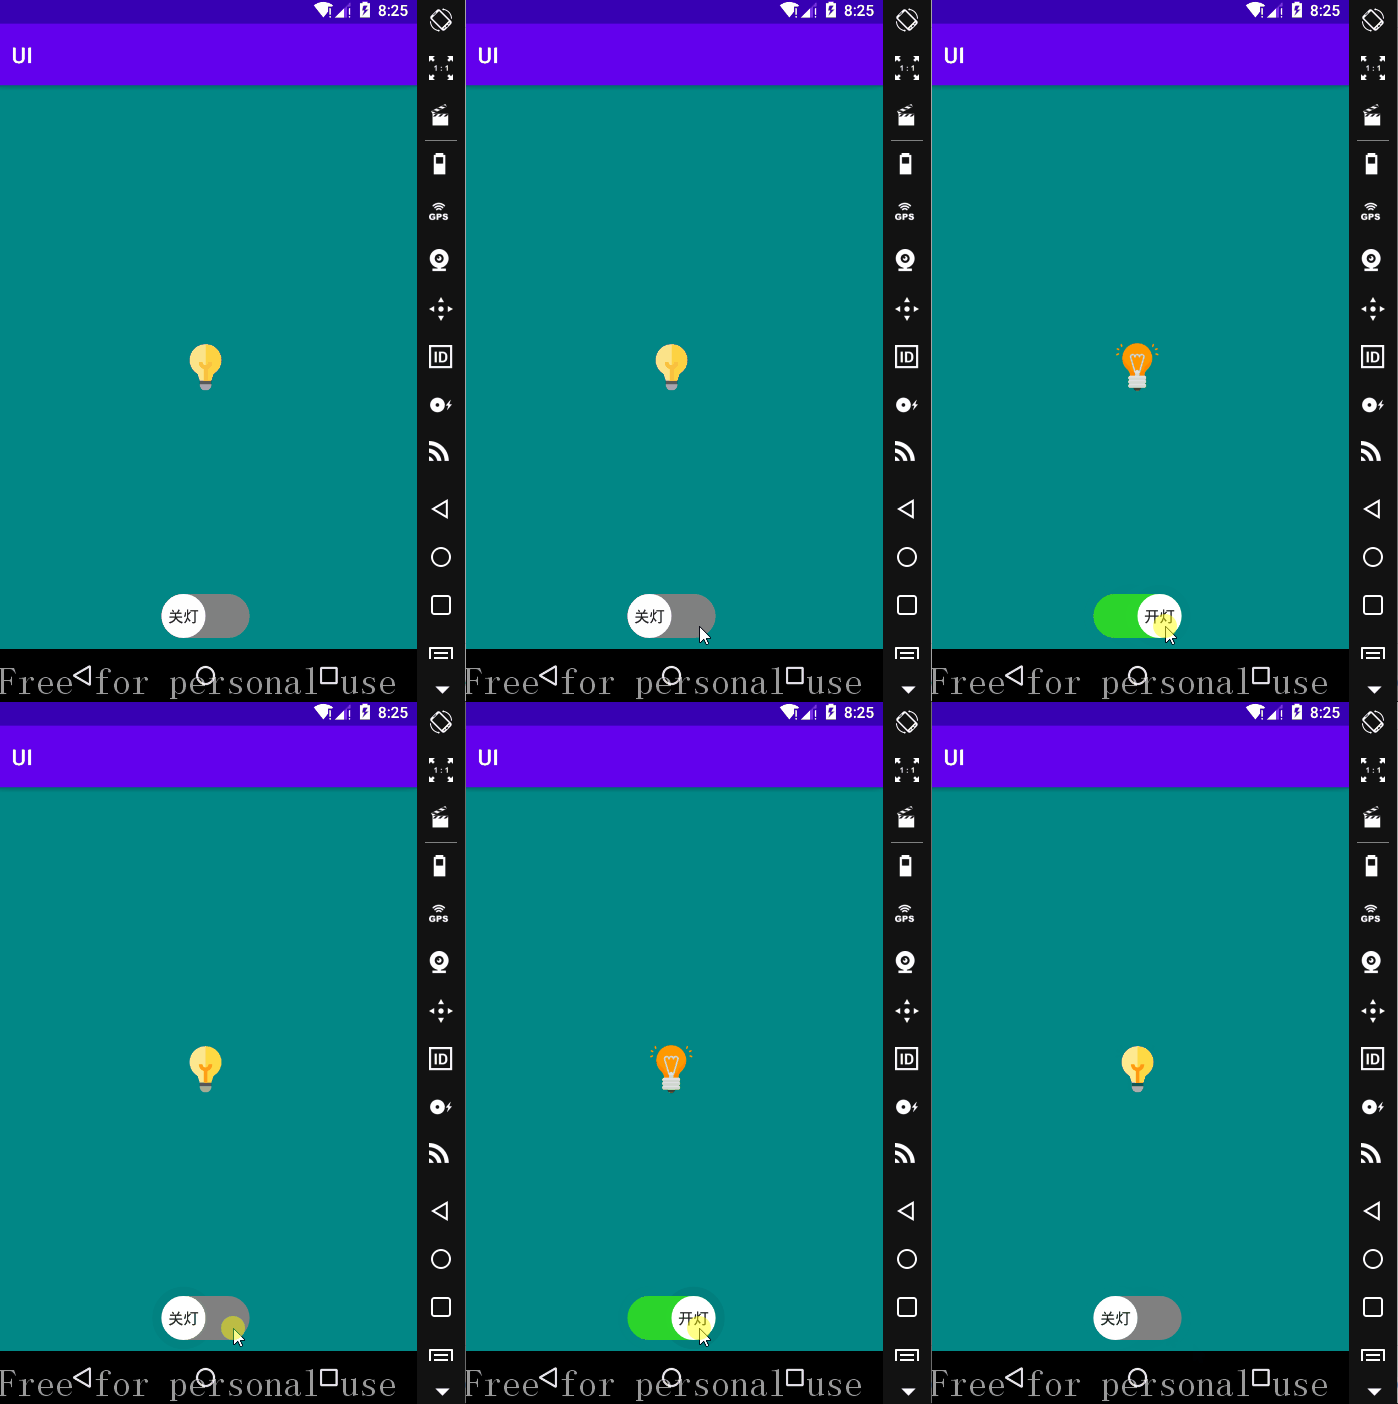
android:track:底部的图片(灰->绿)
android:thumb:设置 Switch 上面滑动的滑块,也就是上图中的白色圆形滑块
•switch_thumb
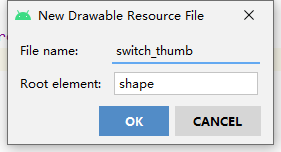
点击 app/src/res 找到 drawable 文件夹,右击->New->Drawable Resource File;
在该文件中添加如下代码:
<?xml version="1.0" encoding="utf-8"?>
<shape xmlns:android="http://schemas.android.com/apk/res/android"
    android:shape="oval">

    <size
        android:width="40dp"
        android:height="40dp"/>
    <solid
        android:color="@color/white"/>
</shape>
该代码完成了上图中白色的圆圈部分。
•switch_track
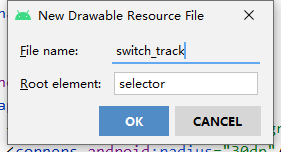
接着新建一个 Drawable Resource File 文件。
在该文件下添加如下代码:
<?xml version="1.0" encoding="utf-8"?>
<selector xmlns:android="http://schemas.android.com/apk/res/android">

    <item android:state_checked="false">
        <shape android:shape="rectangle">
            <solid
                android:color="@color/gray"/>
            <corners
                android:radius="30dp"/>
        </shape>
    </item>

    <item android:state_checked="true">
        <shape android:shape="rectangle">
            <solid
                android:color="@color/green"/>
            <corners
                android:radius="30dp"/>
        </shape>
    </item>
</selector>
@color/gray 和 @color/green 我定义在了 color 下,分别代表灰色和绿色。
- android:state_checked="false" : 定义了 Switch 在未点击状态下的界面显示效果,灰色的圆角矩形
- android:state_checked="true" : 定义了 Switch 再点击状态下的界面显示效果,绿色的圆角矩形
•main_activity.xml
修改 main_activity.xml 代码,如下所示:
<?xml version="1.0" encoding="utf-8"?>
<RelativeLayout xmlns:android="http://schemas.android.com/apk/res/android"
    android:layout_width="match_parent"
    android:layout_height="match_parent"
    android:padding="10dp"
    android:background="@color/teal_700">

    <ImageView
        android:id="@+id/mImgView"
        android:layout_width="wrap_content"
        android:layout_height="wrap_content"
        android:layout_gravity="center"
        android:layout_centerInParent="true"/>

    <Switch
        android:id="@+id/mSwitch"
        android:layout_width="wrap_content"
        android:layout_height="wrap_content"
        android:layout_alignParentBottom="true"
        android:layout_centerHorizontal="true"
        android:textOn="开灯"
        android:textOff="关灯"
        android:showText="true"
        android:thumb="@drawable/switch_thumb"
        android:track="@drawable/switch_track"
        />

</RelativeLayout>
我在该布局中放置了两个控件:ImageView 和 Switch,其中 ImageViewe 用于放置灯泡;
•为 Switch 设置点击事件
修改 MainActivity.java 中的代码,如下所示:
public class SwitchActivity extends AppCompatActivity {

    private Switch mSwitch;
    private ImageView mImgView;
    @Override
    protected void onCreate(Bundle savedInstanceState) {
        super.onCreate(savedInstanceState);
        setContentView(R.layout.activity_switch);

        mSwitch = findViewById(R.id.mSwitch);
        mImgView = findViewById(R.id.mImgView);
        mImgView.setImageResource(R.drawable.take_off);

        mSwitch.setOnCheckedChangeListener(new CompoundButton.OnCheckedChangeListener() {
            @Override
            public void onCheckedChanged(CompoundButton buttonView, boolean isChecked) {
                mImgView.setImageResource(isChecked ? R.drawable.take_on:R.drawable.take_off);
            }
        });
    }
}
通过 findViewById() 找到 mSwitch 和 mImgView 对应的控件;
然后,对 mSwitch 设置点击事件 mSwitch.setOnCheckedChangeListener ;
然后通过 isChecked 这个变量判断 Switch 处于何种状态:
- isChecked = true : 为 ImageView 设置 take_on 图片
- isChecked = false : 为 ImageView 设置 take_off 图片
take_on 和 take_off 是我从网上下载的图标,我放在了 drawable 文件夹下:

分类:
Android


【推荐】国内首个AI IDE,深度理解中文开发场景,立即下载体验Trae
【推荐】编程新体验,更懂你的AI,立即体验豆包MarsCode编程助手
【推荐】抖音旗下AI助手豆包,你的智能百科全书,全免费不限次数
【推荐】轻量又高性能的 SSH 工具 IShell:AI 加持,快人一步
· 从 HTTP 原因短语缺失研究 HTTP/2 和 HTTP/3 的设计差异
· AI与.NET技术实操系列:向量存储与相似性搜索在 .NET 中的实现
· 基于Microsoft.Extensions.AI核心库实现RAG应用
· Linux系列:如何用heaptrack跟踪.NET程序的非托管内存泄露
· 开发者必知的日志记录最佳实践
· TypeScript + Deepseek 打造卜卦网站:技术与玄学的结合
· Manus的开源复刻OpenManus初探
· AI 智能体引爆开源社区「GitHub 热点速览」
· 从HTTP原因短语缺失研究HTTP/2和HTTP/3的设计差异
· 三行代码完成国际化适配,妙~啊~