linux笔记(3):东山哪吒STU开发板(全志D-1H)开箱初体验helloworld
双11下单后,经过多日的等待,终于在昨天下午收到了开发板。在等待的过程中,看了一下文档和B站东山老师的视频,制作了tf(SD)启动系统。之前也安装过全志的USB驱动,串口芯片CH9102的驱动也不用安装(估计是windows系统自带驱动)。上电后,直接使用《MobaXterm_Personal_20.5.exe》观察输出。
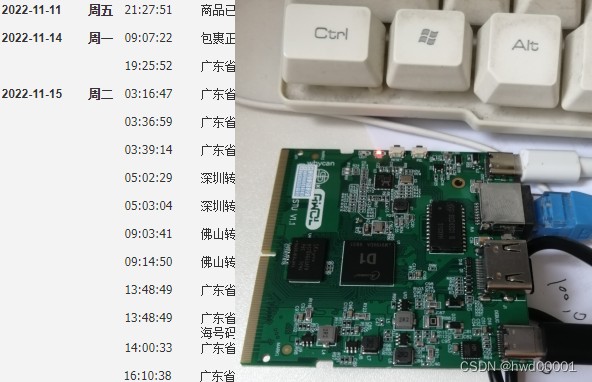
1.开发板上电观察串口
我的板子已经焊接了nand flash,不用插SD卡也可以启动。如果插了SD卡,优先启动SD卡系统。
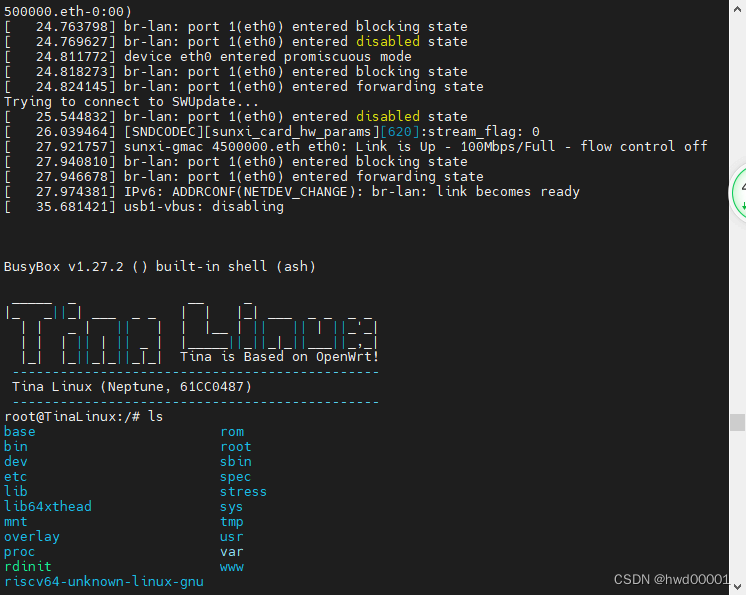
1.1 从nand flash启动
不插入SD卡,上电就从nand flash 启动,好多信息,现在还看不懂:
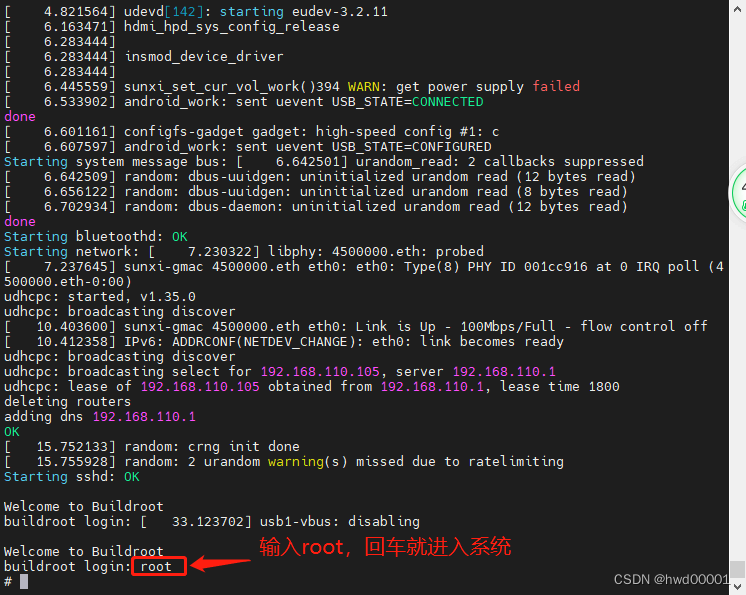
1.2 从SD卡启动
插上SD卡,就会优先启动SD卡系统:
2.上传文件到开发板
开发手册介绍了4种连接开发板的方法:
- tftp
- nfs
- 使用FileZilla软件通过ssh连接
- adb(Android Debug Bridge)
我使用前面2种都没有成功。第三种是最方便的,只要修改一下配置文件 /etc/ssh/sshd_config,直接在windows通过鼠标操作就可以完成。
使用vim修改:
>vim /etc/ssh/sshd_config
PermitRootLogin
prohibit-password
改为:
PermitRootLogin yes
PermitEmptyPasswords
no
改为:
PermitEmptyPasswords yes
然后 保存,重启开发板就可以了。
2.1 使用FileZilla软件连接开发板
贴一个《嵌入式Linux应用开发完全手册V5.1_D1H开发板.pdf》上面的图:
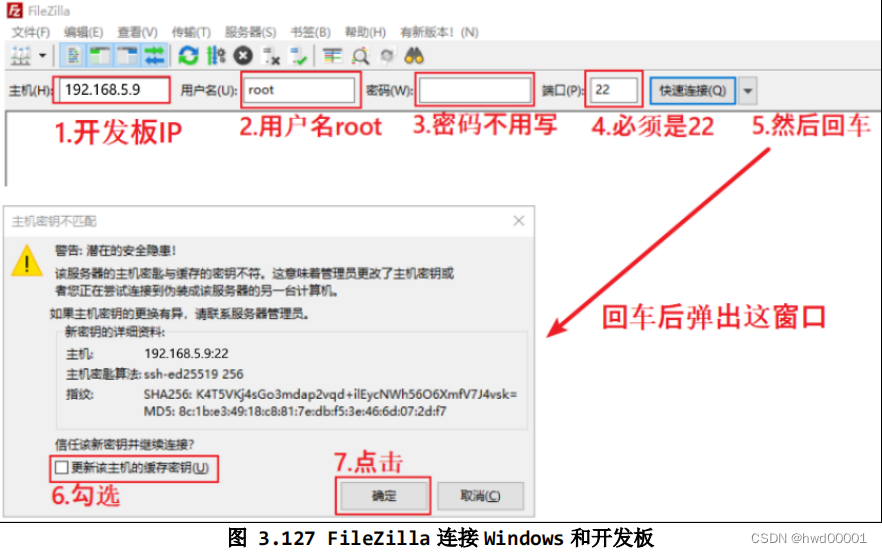
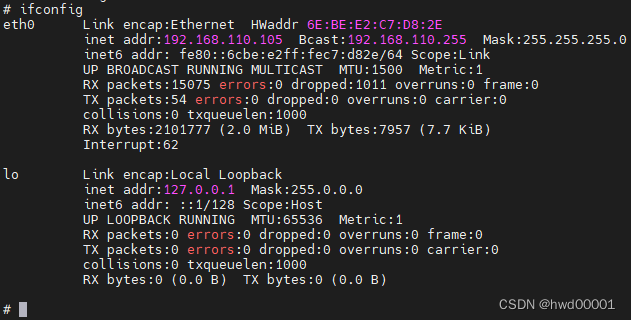
先查看开发板的ip(开发板已经插上网上,和windows处于同一个局域网):
输入:
ifconfig
回车:
然后就可以连上了,此时就可以通过拖拽的方式把文件上传到开发板。
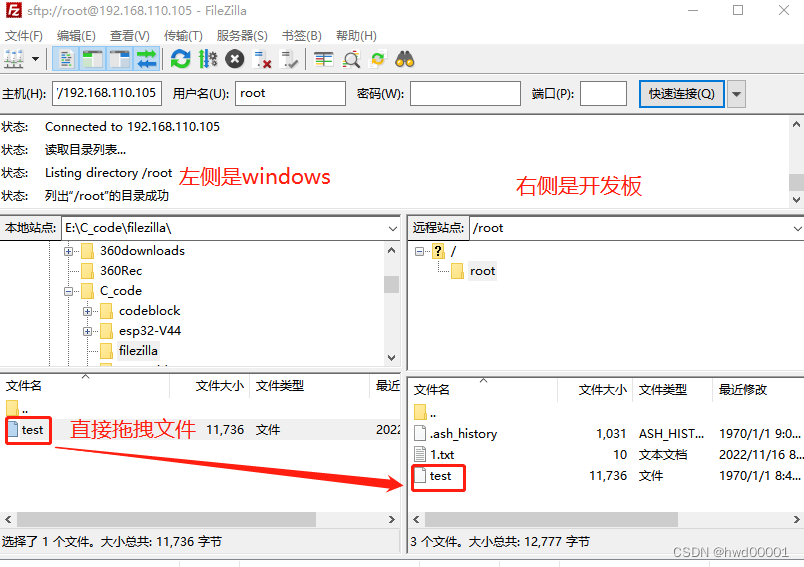
这个 test文件是上一篇文章《linux笔记(2):vscode插件remote WSL远程使用交叉编译工具链(全志D1-H)》使用交叉编译工具链编译好的hello程序。
直接运行会出错,要修改一下权限(+x 表示允许用户执行):
# ./test
-sh: ./test: Permission denied
#  chmod +x test
# ./test
helloword!
2.2 使用ADB软件
在官网下载ADB软件:https://android-sdk.en.softonic.com/download。
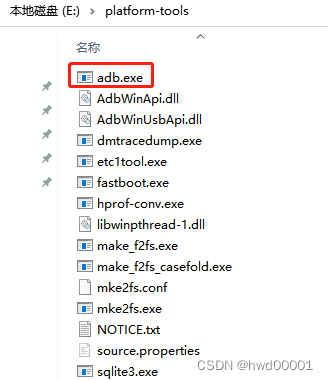
解压后可以直接使用,我只是测试一下,按照网友的介绍,要添加环境变量PATH,我直接使用绝对路径操作。
解压后的路径 E:\platform-tools\adb.exe :
测试一下上传 《1.txt》文件:
PS C:\Users\Administrator> E:\platform-tools\adb.exe version
Android Debug Bridge version 1.0.41
Version 33.0.3-8952118
Installed as E:\platform-tools\adb.exe
PS C:\Users\Administrator> E:\platform-tools\adb.exe devices
* daemon not running; starting now at tcp:5037
* daemon started successfully
List of devices attached
0402101560      device

PS C:\Users\Administrator> E:\platform-tools\adb.exe push D:\nfs\1.txt /root
D:\nfs\1.txt: 1 file pushed, 0 skipped. 0.0 MB/s (10 bytes in 0.048s)

体验结束,下面开始app的学习。


【推荐】国内首个AI IDE,深度理解中文开发场景,立即下载体验Trae
【推荐】编程新体验,更懂你的AI,立即体验豆包MarsCode编程助手
【推荐】抖音旗下AI助手豆包,你的智能百科全书,全免费不限次数
【推荐】轻量又高性能的 SSH 工具 IShell:AI 加持,快人一步
· 无需6万激活码!GitHub神秘组织3小时极速复刻Manus,手把手教你使用OpenManus搭建本
· Manus爆火,是硬核还是营销?
· 终于写完轮子一部分:tcp代理 了,记录一下
· 别再用vector<bool>了!Google高级工程师:这可能是STL最大的设计失误
· 单元测试从入门到精通