CKS考试学习笔记 by 2022.12-2023.01
本人于2023年1月14日参加cks考试并通过考试,这是考试前的学习笔记,题目基本一样,主要是名称和顺序有些变化;笔记最后有附在B站有几个大佬分享的视频学习链接。
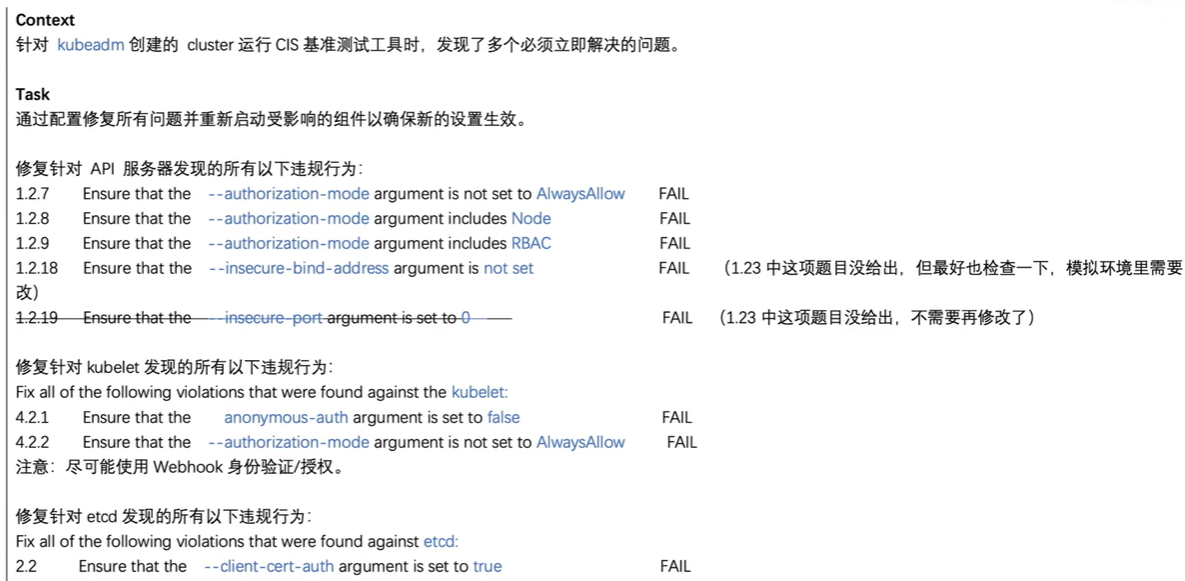
第1题 kube-bench 修复不安全项
#1.环境准备
# 安装kube-bench
wget https://github.com/aquasecurity/kube-bench/releases/download/v0.4.0/kube-bench_0.4.0_linux_amd64.tar.gz
tar -zxvf kube-bench_0.4.0_linux_amd64.tar.gz
cp kube-bench /usr/bin/
kube-bench --config-dir /root/cks/cfg --config ./config.yaml  master
kube-bench --config-dir /root/cks/cfg --config ./config.yaml  node

#2.答题
1、先备份kube-apiserver.yaml,etcd.yaml,config.yaml三个文件;
2、修改kube-apiserver.yaml文件,执行vim /etc/kubernetes/manifests/kube-apiserver.yaml
   - --authorization-mode=Node,RBAC   #修改成Node,RBAC
   - --insecure-bind-address=0.0.0.0  #删除这行
3、修改config.yaml文件,执行vim /var/lib/kubelet/config.yaml
   authentication:
      anonymous:
        enabled: false     #true修改成false
   ...
   authorization:
      mode: Webhook        #把AlwaysAllow修改成Webhook
4、修改etcd.yaml文件, vim /etc/kubernetes/manifests/etcd.yaml
   - --client-cert-auth=true   #修改成true
5、重启kubelet服务
[root@k8s-master manifests]# systemctl daemon-reload
[root@k8s-master manifests]# systemctl restart kubelet
第2题 Pod 指定 ServiceAccount

# 解答:
1、官网搜关键字serviceaccount --》 为 Pod 配置服务账号
2、创建sa
# kubectl create ns qa
# vim sa.yaml
apiVersion: v1
kind: ServiceAccount
metadata:
  name: backend-sa
  namespace: qa
automountServiceAccountToken: false               #该行是重点,注意事项

3、创建pod
# cat pod1.yaml
apiVersion: v1
kind: Pod
metadata:
  name: backend
  namespace: qa
spec:
  serviceAccountName: backend-sa                  #给pod配置serviceaccount
  containers:
  - image: nginx:alpine
    imagePullPolicy: IfNotPresent
    name: backend
# kubectl create -f pod1.yaml

4、删除没有使用的sa
# kubectl -n qa get sa
# kubectl -n qa delete sa test01
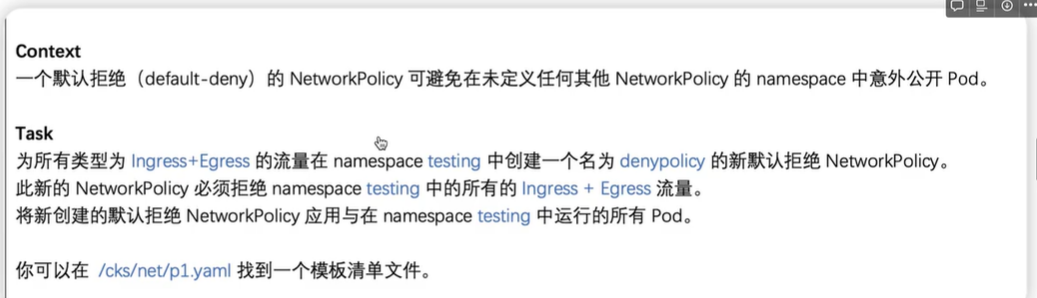
第3题 默认网络策略
#解答
1、创建默认网络策略
# kubectl create ns testing
# cat networkpolicy.yaml
apiVersion: networking.k8s.io/v1
kind: NetworkPolicy
metadata:
  name: denypolicy
  namespace: testing
spec:
  podSelector: {}                        #拒绝所有pod
  policyTypes:
    - Ingress
    - Egress

# kubectl apply -f networkpolicy.yaml

2、检查
# kubectl -n testing describe netpol denypolicy
Name:         denypolicy
Namespace:    testing
Created on:   2022-12-28 15:18:22 +0800 CST
Labels:       <none>
Annotations:  <none>
Spec:
  PodSelector:     <none> (Allowing the specific traffic to all pods in this namespace)
  Allowing ingress traffic:
    <none> (Selected pods are isolated for ingress connectivity)
  Allowing egress traffic:
    <none> (Selected pods are isolated for egress connectivity)
  Policy Types: Ingress, Egress
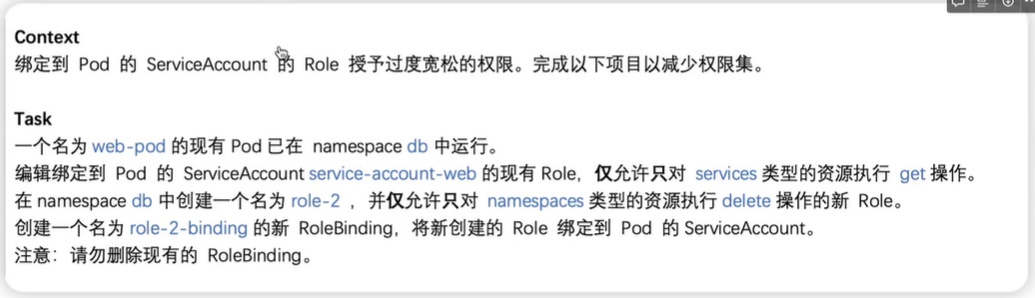
第4题 RBAC - RoleBinding
1、环境准备
# kubectl create ns db
# kubectl -n db create sa service-account-web
# kubectl -n db create role role-1
# kubectl -n db create role role-1 --verb=get,list,watch --resource='*'
# kubectl -n db create rolebinding role-1-binding --role='role-1' --serviceaccount='db:service-account-web'
# cat pod1.yaml
apiVersion: v1
kind: Pod
metadata:
  name: web-pod
  namespace: db
spec:
  serviceAccountName: service-account-web
  containers:
  - image: nginx:alpine
    imagePullPolicy: IfNotPresent
    name: web-pod

# kubectl apply -f pod1.yaml

2、答题
# kubectl -n db edit role role-1
apiVersion: rbac.authorization.k8s.io/v1
kind: Role
metadata:
  creationTimestamp: "2022-12-28T07:48:59Z"
  name: role-1
  namespace: db
  resourceVersion: "224470"
  uid: 3406bbfb-25aa-4930-ab29-9abad1e1de77
rules:
- apiGroups:
  - ""
  resources:
  - services                        #按题目要求修改此处
  verbs:
  - get                             #按题目要求修改此处

检查
# kubectl -n db describe role role-1
Name:         role-1
Labels:       <none>
Annotations:  <none>
PolicyRule:
  Resources  Non-Resource URLs  Resource Names  Verbs
  ---------  -----------------  --------------  -----
  services   []                 []              [get]

创建role-2
# kubectl -n db create role role-2 --resource='namespace' --verb='delete'
role.rbac.authorization.k8s.io/role-2 created
# kubectl -n db describe role role-2
Name:         role-2
Labels:       <none>
Annotations:  <none>
PolicyRule:
  Resources   Non-Resource URLs  Resource Names  Verbs
  ---------   -----------------  --------------  -----
  namespaces  []                 []              [delete]

创建新rolebinding
# kubectl -n db create rolebinding role-2-binding --role='role-2' --serviceaccount='db:service-account-web'
# kubectl -n db describe rolebindings.rbac.authorization.k8s.io role-2-binding
Name:         role-2-binding
Labels:       <none>
Annotations:  <none>
Role:
  Kind:  Role
  Name:  role-2
Subjects:
  Kind            Name                 Namespace
  ----            ----                 ---------
  ServiceAccount  service-account-web  db
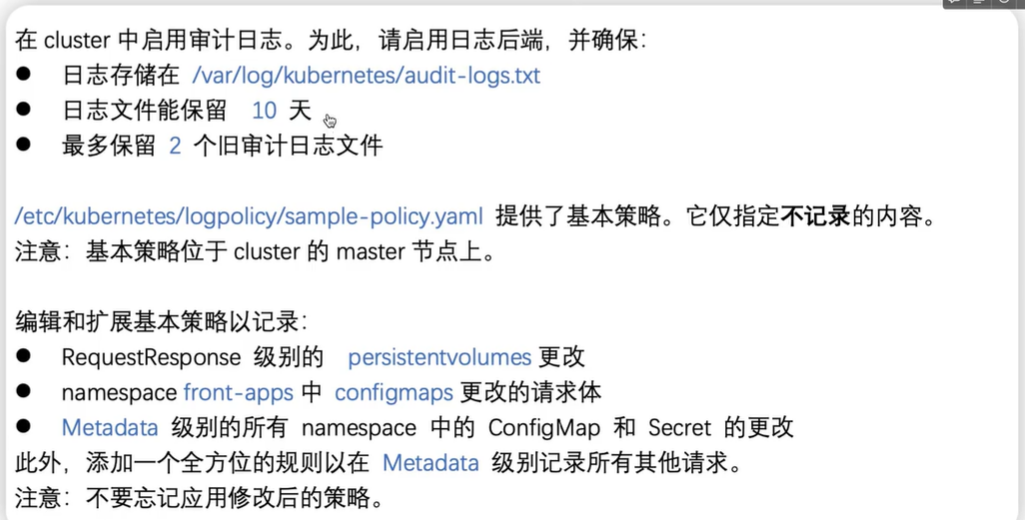
第5题 日志审计 log audit【易错,费时,最后做】
1、准备环境
# kubectl create ns front-apps

2、答题
2.1 参考官网audit log示例,创建策略policy文件
# cat /etc/kubernetes/logpolicy/sample-policy.yaml
apiVersion: audit.k8s.io/v1
kind: Policy
omitStages:
  - "RequestReceived"
rules:
  - level: RequestResponse
    resources:
    - group: ""
      resources: ["persistentvolumes"]

  - level: Request
    resources:
    - group: ""
      resources: ["configmaps"]
    namespaces: ["front-apps"]

  - level: Metadata
    resources:
    - group: ""
      resources: ["secrets", "configmaps"]

  - level: Metadata
    omitStages:
      - "RequestReceived"

2.2 备份kube-apiserver.yaml文件,然后修改/etc/kubernetes/manifests/kube-apiserver.yaml,增加如下内容:
    - --audit-log-path=/var/log/kubernetes/audit-log.txt
    - --audit-log-maxage=10
    - --audit-log-maxbackup=2
    - --audit-policy-file=/etc/kube
    ...
    volumeMounts:
      - mountPath: /var/log/kubernetes
        name: audit-log
        readOnly: false
      - mountPath: /etc/kubernetes/logpolicy
        name: audit
        readOnly: true
    volumes:
      - hostPath:
          path: /var/log/kubernetes
          type: DirectoryOrCreate
        name: audit-log
      - hostPath:
          path: /etc/kubernetes/logpolicy
          type: DirectoryOrCreate
        name: audit

2.3 重启kubelet
# systemctl daemon-reload
# systemctl restart kubelet

2.4 检查
# tail -f /var/log/kubernetes/audit-log.txt
第6题 创建Secret
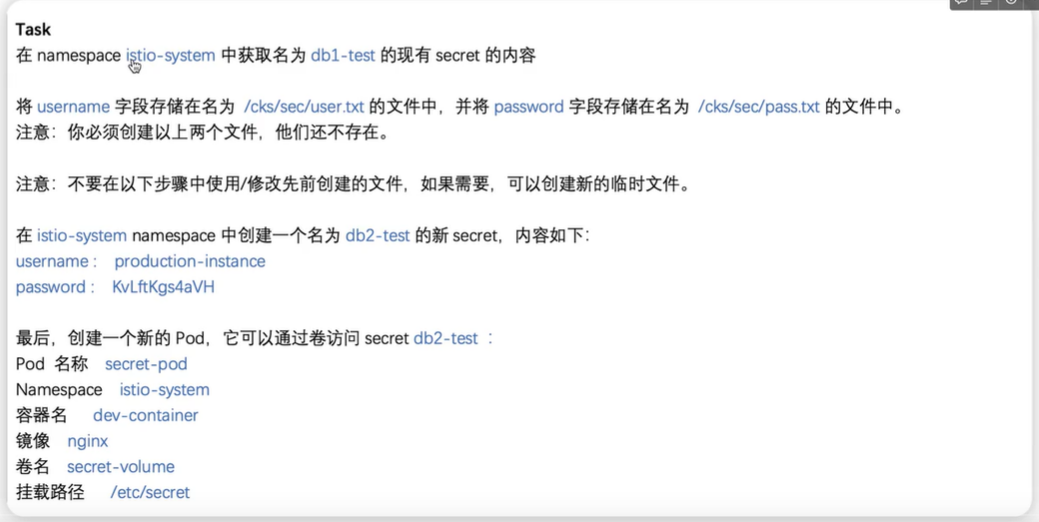
Task
在 namespace istio-system 中获取名为 db1-test 的现有 secret 的内容
将 username字段存储在名为 /cks/sec/user.txt 的文件中,并将 password 字段存储在名为 /cks/sec/pass.txt的文件 中。

注意:你必须创建以上两个文件,他们还不存在。
注意:不要在以下步骤中使用/修改先前创建的文件,如果需要,可以创建新的临时文件。

在 istio-system namespace 中创建一个名为 db2-test 的新 secret,内容如下:
username :production-instance
password : KvLftKgs4aVH
最后,创建一个新的 Pod,它可以通过卷访问secret db2-test :
Pod 名称 secret-pod Namespace istio-system
容器名dev-container
镜像 nginx
卷名 secret-volume
挂载路径 /etc/secret

#1、环境准备
# kubectl create ns istio-system
# kubectl -n istio-system create secret generic db1-test --from-literal=username=db1 --from-literal=password=hello

#2、答题
# kubectl -n istio-system get  secrets db1-test -o yaml
apiVersion: v1
data:
  password: aGVsbG8=
  username: ZGIx
kind: Secret
metadata:
  creationTimestamp: "2022-12-29T08:24:22Z"
  name: db1-test
  namespace: istio-system
  resourceVersion: "252538"
  uid: 1821cc24-a8a1-4a81-ab80-a1a4ad787ccf
type: Opaque

# mkdir -p /cks/sec
# echo "ZGIx" |base64 -d > /cks/sec/user.txt
# echo "aGVsbG8=" |base64 -d > /cks/sec/pass.txt
# kubectl -n istio-system create secret generic db2-test --from-literal=username=production-instance --from-literal=password=KvLftKgs4aVH

在官网文档搜secret关键字,参考文档创建pod
# cat pod.yaml
apiVersion: v1
kind: Pod
metadata:
  name: secret-pod
  namespace: istio-system
spec:
  containers:
  - name: dev-container
    image: nginx
    volumeMounts:
    - name: secret-volume
      mountPath: "/etc/secret"
      readOnly: true
  volumes:
  - name: secret-volume
    secret:
      secretName: db2-test
第7题 dockerfile检测
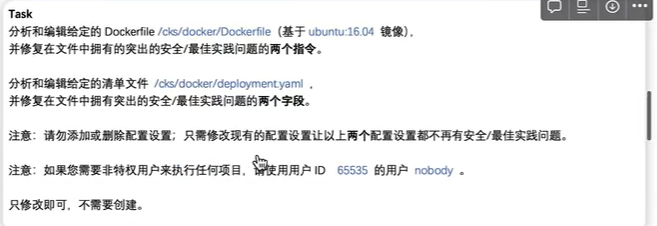
Task
分析和编辑给定的 Dockerfile /cks/docker/Dockerfile(基于 ubuntu:16.04 镜像),并修复在文件中拥有的突出的安全/最佳实践问题的两个指令。

分析和编辑给定的清单文件 /cks/docker/deployment.yaml, 并修复在文件中拥有突出的安全/最佳实践问题的两个字段。

注意:请勿添加或删除配置设置;只需修改现有的配置设置让以上两个配置设置都不再有安全/最佳实践问题。
注意:如果您需要非特权用户来执行任何项目,请使用用户 ID 65535 的用户 nobody 。

答题: 注意,本次的 Dockerfile和 deployment.yaml 仅修改即可,无需部署。
# 答题
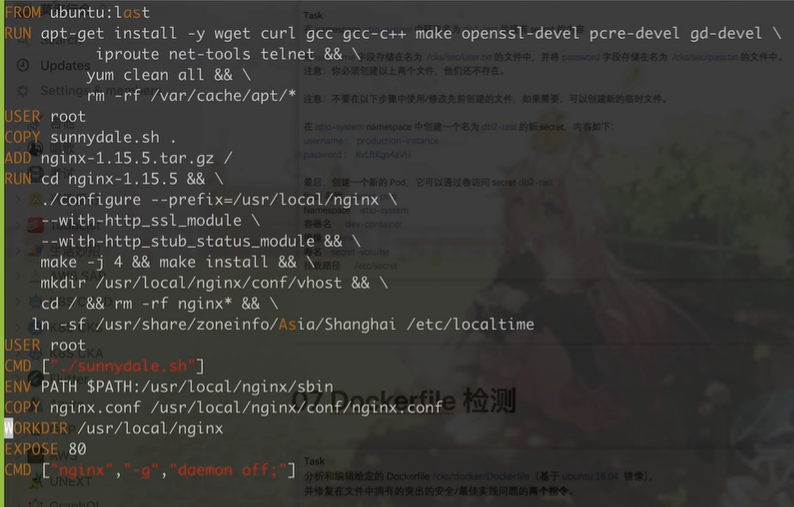
1、修改/cks/docker/Dockerfile文件,如上截图,vim /cks/docker/Dockerfile, 修改如下:
USER root --》 USER nobody
FROM ubuntu:last -->FROM ubuntn:16.04
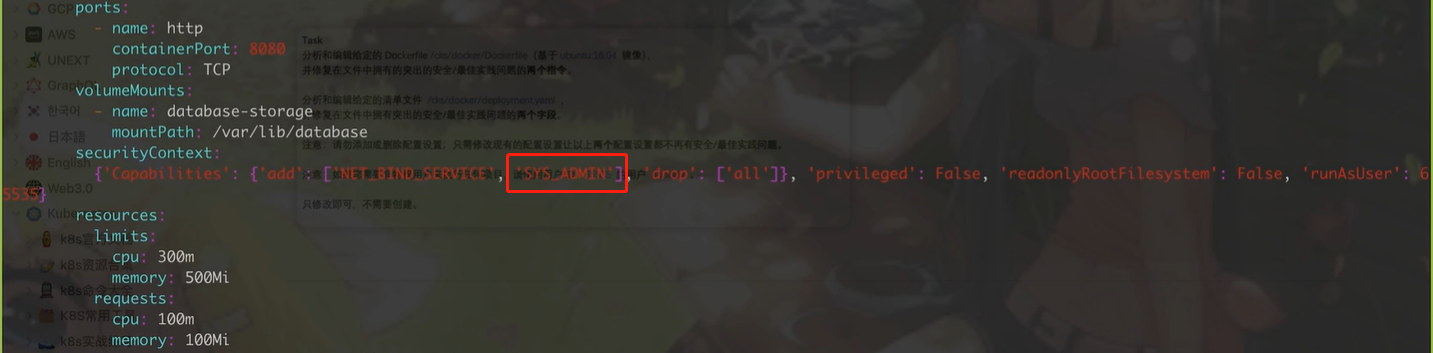
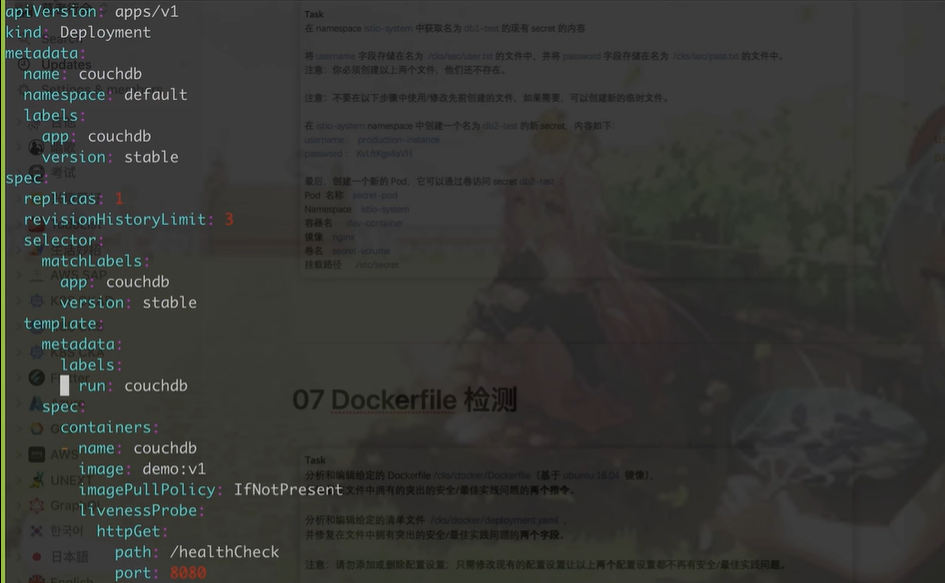
2、修改/cks/docker/deployment.yaml文件,文件内容如下截图,vim /cks/docker/deployment.yaml,修改如下:
在安全内容里删除'SYS_ADMIN';
在template字段里把lables标签的run: couchdb 改成 app: couchdb,并增加一行:version: stable
第8题 沙箱运行容器gVisor

Context
该 cluster 使用 containerd 作为 CRI 运行时。containerd 的默认运行时处理程序是runc。
containerd 已准备好支持额外的运行时处理程序 runsc (gVisor)。

Task
使用名为 runsc的现有运行时处理程序,创建一个名为 untrusted 的 RuntimeClass。 更新 namespace server 中的所有Pod 以在 gVisor 上运行。
您可以在 /cks/gVisor/rc.yaml 中找到一个模版清单
# 环境准备
# kubectl create ns server
# kubectl -n server create deploy nginx-host --image=nginx:alpine --replicas=2

# 答题
创建runtimeclass
# cat rc.yaml
apiVersion: node.k8s.io/v1
kind: RuntimeClass
metadata:
  name: untrusted
handler: runsc
# kubectl apply -f rc.yaml

更新namespace server中的所有pod以在gvisor上运行
# kubectl -n server edit deploy nginx-host
runtimeClassName: untrusted    # 增加这一行
第9题 容器安全,删除特权 Pod【旧题】
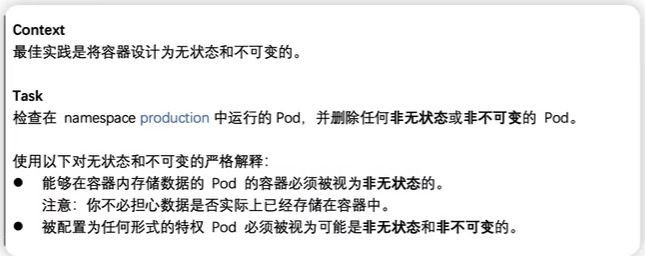
Task
检查在 namespace production 中运行的 Pod,并删除任何非无状态或非不可变的 Pod。

使用以下对无状态和不可变的严格解释:
⚫ 能够在容器内存储数据的 Pod 的容器必须被视为非无状态的。
    注意:你不必担心数据是否实际上已经存储在容器中。
⚫ 被配置为任何形式的特权 Pod 必须被视为可能是非无状态和非不可变的。
# kubectl create namespace production
# kubectl -n production run pri001 --image=nginx:alpine --privileged=true
# kubectl -n production run pri002 --image=nginx:1.19 --privileged=true
# vim pod.yaml
apiVersion: v1
kind: Pod
metadata:
name: test-pd
namespace: production
spec:
containers:
- image: nginx:alpine
name: test-container
volumeMounts:
- mountPath: /test-pd
name: test-volume
volumes:
- name: test-volume
hostPath:
path: /data
# kubecrl apply -f pod.yaml
# 答题
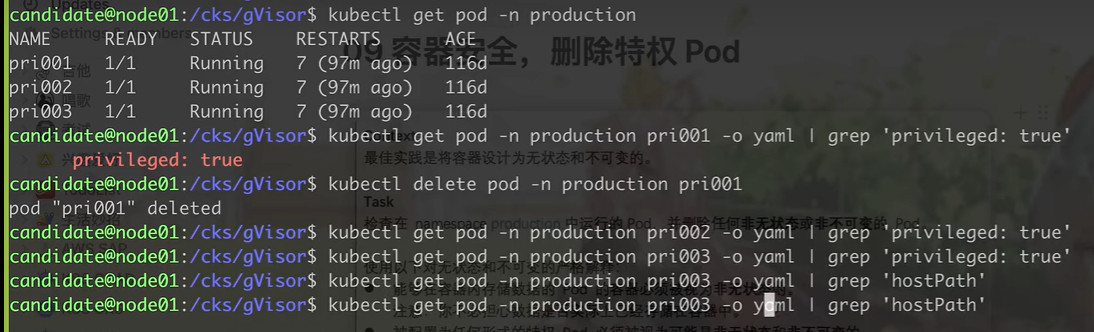
[root@k8s-master 09]# kubectl get pod -n production
NAME READY STATUS RESTARTS AGE
pri001 1/1 Running 0 28m
pri002 1/1 Running 0 6m55s
test-pd 1/1 Running 0 2m23s
[root@k8s-master 09]# kubectl -n production get pod pri001 -o yaml |grep -i 'privileged: true'
privileged: true
[root@k8s-master 09]# kubectl -n production delete pod pri001
pod "pri001" deleted
[root@k8s-master 09]# kubectl -n production get pod pri002 -o yaml |grep -i 'privileged: true'
privileged: true
[root@k8s-master 09]# kubectl -n production delete pod pri002
pod "pri002" deleted
[root@k8s-master 09]# kubectl -n production get pod test-pd -o yaml |grep -i 'privileged: true'
[root@k8s-master 09]# kubectl -n production get pod test-pd -o yaml |grep -i 'hostPath'
{"apiVersion":"v1","kind":"Pod","metadata":{"annotations":{},"name":"test-pd","namespace":"production"},"spec":{"containers":[{"image":"nginx:alpine","name":"test-container","volumeMounts":[{"mountPath":"/test-pd","name":"test-volume"}]}],"volumes":[{"hostPath":{"path":"/data"},"name":"test-volume"}]}}
- hostPath:
[root@k8s-master 09]# kubectl -n production delete pod test-pd
pod "test-pd" deleted
第9题 contaoner安全上下文【新题】
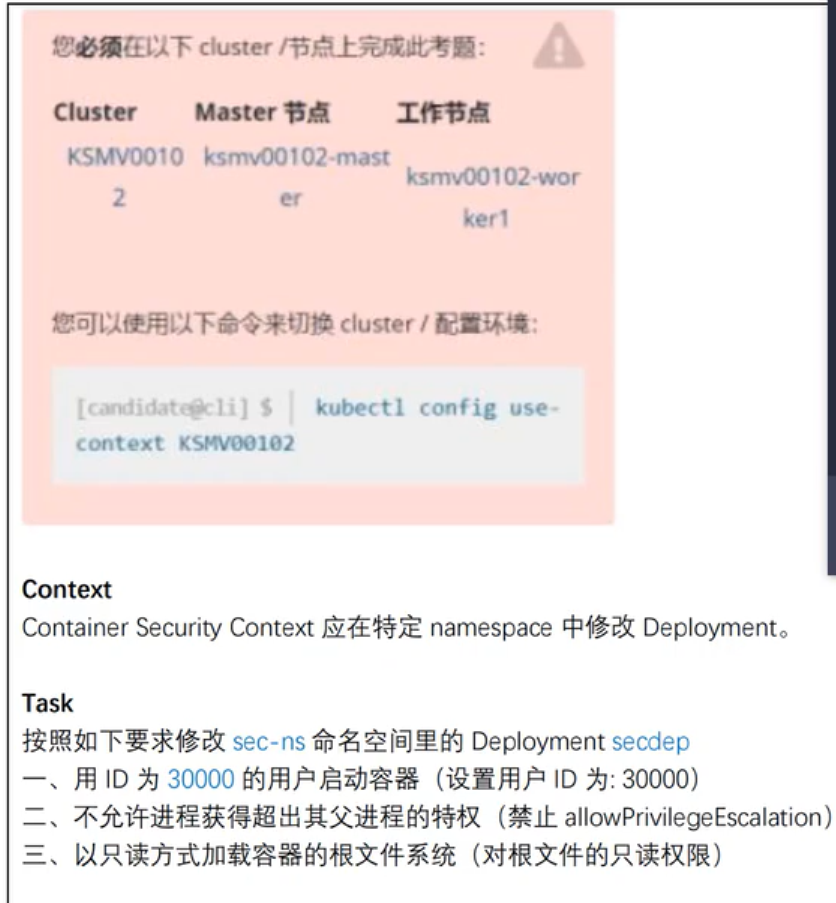
# 搜关键字context,找到为Pod或容器配置安全上下文

# kubectl -n sec-ns edit deploy secdep
...
spec:
  securityContext:                        #增加这两行完成任务1
    runAsUser: 30000
  ...
  containers:
    securityContext:                      #增加这三行完成任务2,3
      allowPrivilegeEscalation: false
      readOnlyRootFilesystem: true
  ...
  containers:                             #如果有多个容器,每个容器都要增加这三行
    securityContext:
      allowPrivilegeEscalation: false
      readOnlyRootFilesystem: true

# 查看状态是否都正常运行
# kubectl -n sec-ns get all
第10题 网络策略 NetworkPolicy
Task
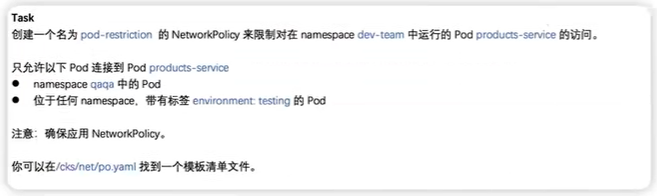
创建一个名为 pod-restriction 的 NetworkPolicy 来限制对在 namespace dev-team中运行的 Pod products-service 的访问。
只允许以下 Pod 连接到 Pod products-service
⚫ namespace qa 中的 Pod
⚫ 位于任何 namespace,带有标签 environment: testing 的 Pod
注意:确保应用 NetworkPolicy。 你可以在/cks/net/po.yaml 找到一个模板清单文件。
# 准备环境
# kubectl create namespace dev-team
# kubectl label ns qaqa name=qaqa #如果没有对命名空间打标签,则需要手动打标签
# 答题
# kubecrl get pod -n dev-team --show-label
# cat netpol.yaml
apiVersion: networking.k8s.io/v1
kind: NetworkPolicy
metadata:
name: pod-restriction
namespace: dev-team
spec:
podSelector:
matchLabels:
environment: testing
policyTypes:
- Ingress
ingress:
- from:
- namespaceSelector:
matchLabels:
name: qaqa
- from:
- namespaceSelector: {}
podSelector:
matchLabels:
environment: testing
# kubectl create -f netpol.yaml
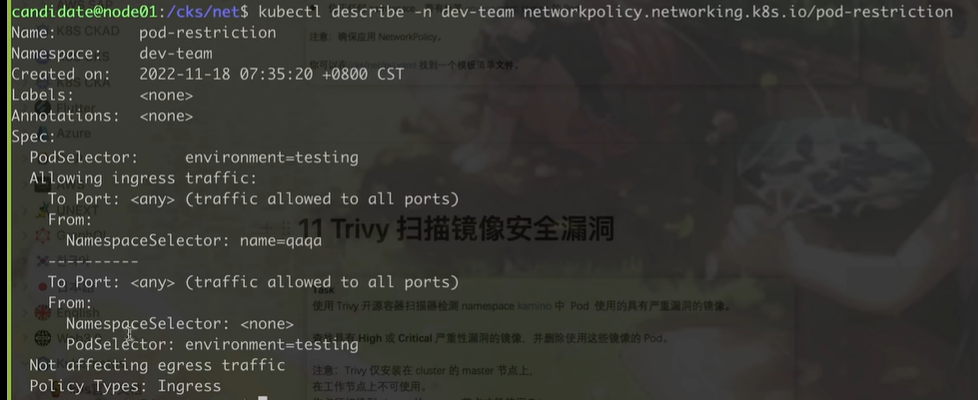
# kubectl -n dev-team describe networkpolicies.networking.k8s.io pod-restriction
Name: pod-restriction
Namespace: dev-team
Created on: 2022-12-29 19:56:59 +0800 CST
Labels: <none>
Annotations: <none>
Spec:
PodSelector: environment=testing
Allowing ingress traffic:
To Port: <any> (traffic allowed to all ports)
From:
NamespaceSelector: name=qa
----------
To Port: <any> (traffic allowed to all ports)
From:
NamespaceSelector: <none>
PodSelector: environment=testing
Not affecting egress traffic
Policy Types: Ingress

第11题 Trivy 扫描镜像安全漏洞
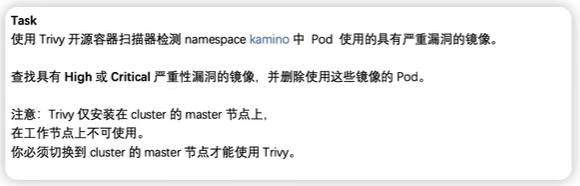
Task
使用 Trivy 开源容器扫描器检测 namespace kamino 中 Pod 使用的具有严重漏洞的镜像。

查找具有 High或 Critical 严重性漏洞的镜像,并删除使用这些镜像的 Pod。
注意:Trivy 仅安装在 cluster 的 master节点上, 在工作节点上不可使用。
你必须切换到 cluster 的 master 节点才能使用 Trivy
# 环境准备
# kubectl create ns kamino
安装trivy漏洞扫描工具
# rpm -ivh https://github.com/aquasecurity/trivy/releases/download/v0.22.0/trivy_0.22.0_Linux-64bit.rpm
# kubectl -n kamino run nginx-11-pod --image=nginx:1.13

# 答题
# kubectl -n kamino get pod nginx-11-pod -o yaml|grep -i "image:"
  - image: nginx:1.13
    image: docker.io/library/nginx:1.13

# trivy image --severity HIGH,CRITICAL docker.io/library/nginx:1.13

# kubectl get pods --namespace default --output=custom-columns="NAME:.metadata.name,IMAGE:.spec.containers[*].image"
第12题 AppArmor【易错】
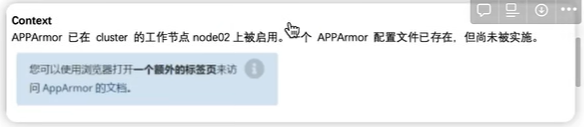
Context
APPArmor 已在 cluster 的工作节点上被启用。一个 APPArmor 配置文件已存在,但尚未被实施
Task
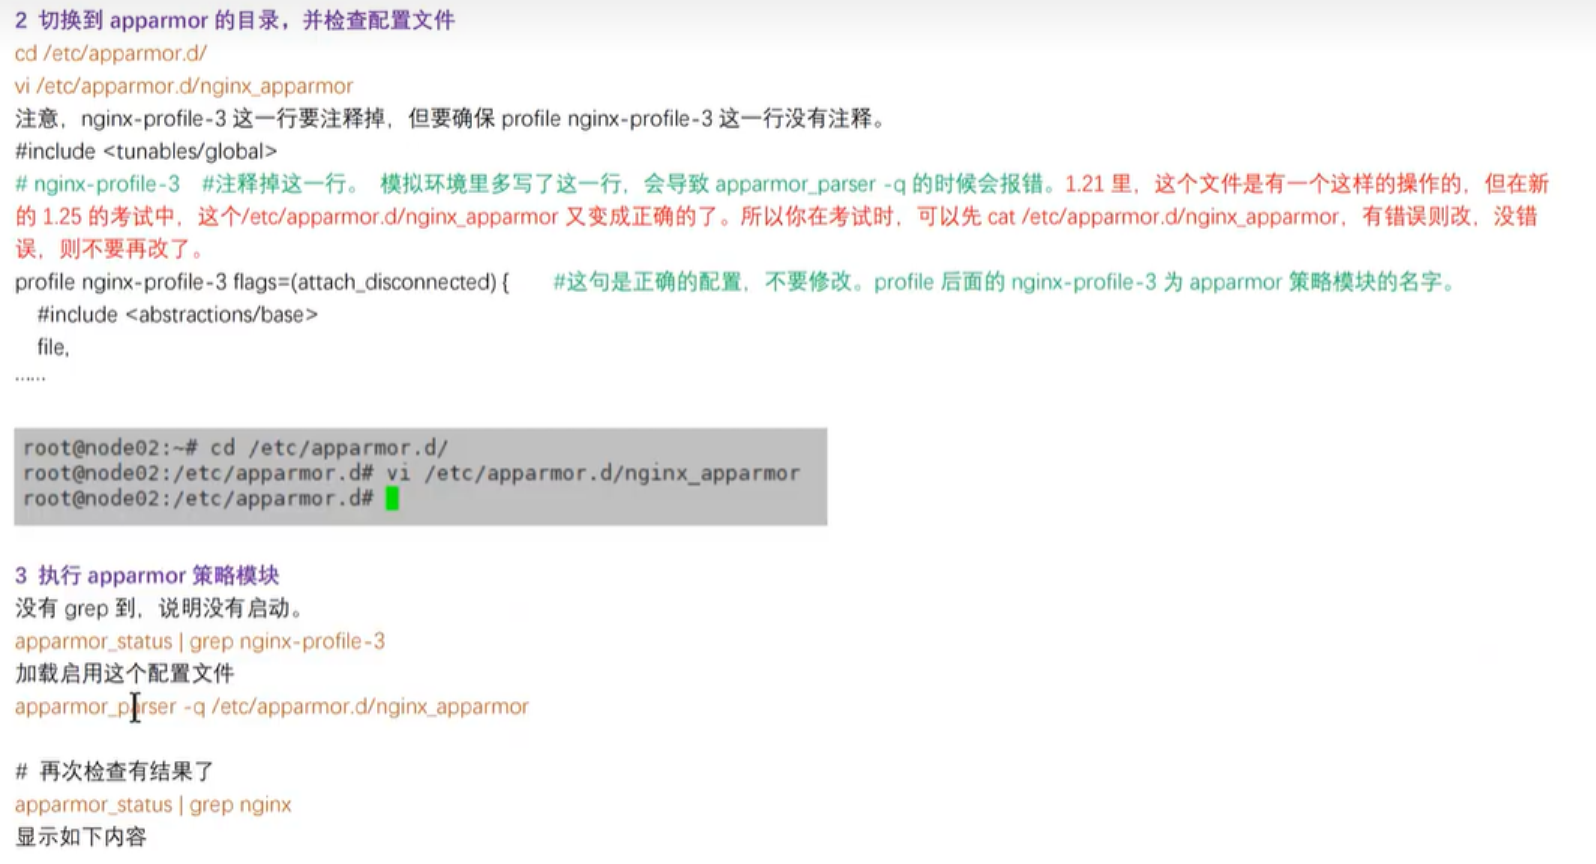
在 cluster 的工作节点上,实施位于 /etc/apparmor.d/nginx_apparmor 的现有 APPArmor配置文件。
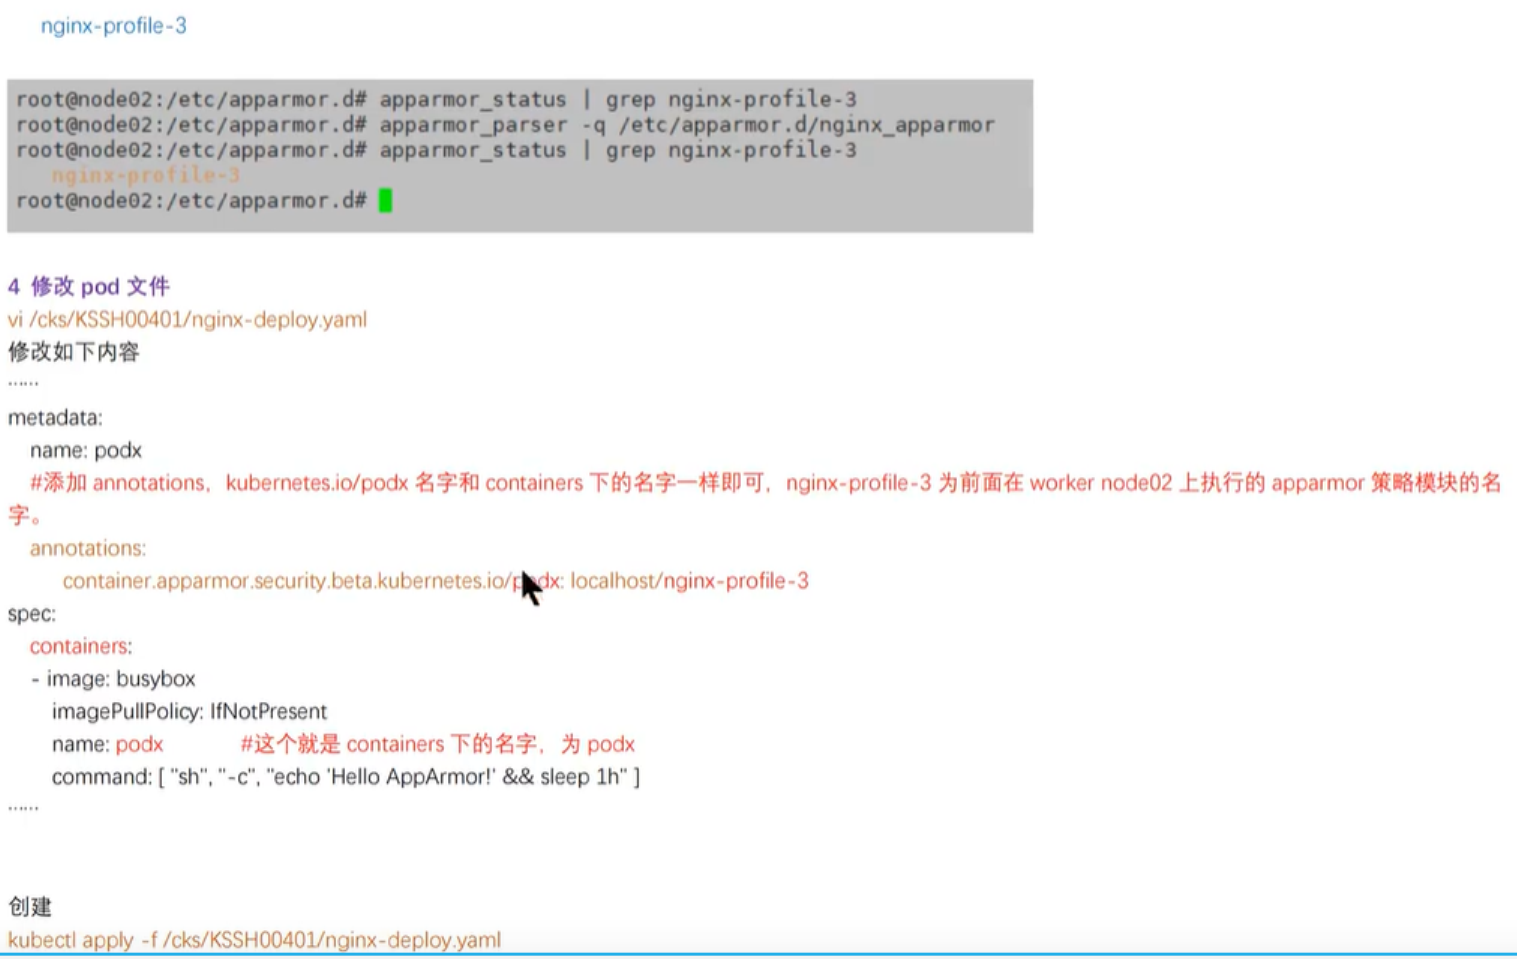
编辑位于 /home/candidate/KSSH00401/nginx-deploy.yaml 的现有清单文件以应用AppArmor 配置文件。 最后,应用清单文件并创建其中指定的 Pod 。
apparmor_status
vim /etc/apparmor.d/nginx_apparmor
nginx-profile-3        #删除此行
#include <tunables/global>
profile nginx-profile flags=(attach_disconnected) {
  #include <abstractions/base>
  file,
  # Deny all file writes.
  # 拒绝所有对文件写的操作
  deny /** w,
}

ssh node1
apparmor_parser -q /etc/apparmor.d/nginx_apparmor
apparmor_status | grep nginx
exit

apparmor_status |grep nginx

注意必须加入这一串:container.apparmor.security.beta.kubernetes.io/<容器名>: localhost/<策略>表示该容器启动时必须遵守配置的Apparmor策略规则。
# 官网搜关键字apparmor,参考官网提示

# 验证
# kubectl exec -it podx -- cat -- cat /proc/1/attr/current
# kubectl exec podx -- touch /tmp/test
第13题 Sysdig & falco
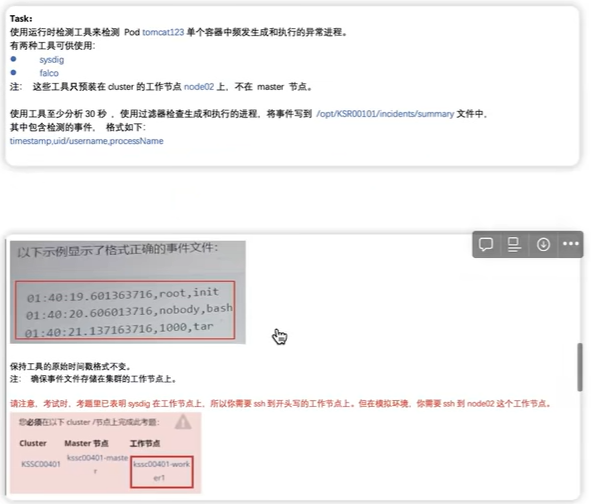
Task: 使用运行时检测工具来检测 Pod tomcat123 单个容器中频发生成和执行的异常进程。

有两种工具可供使用:
⚫ sysdig
⚫ falco
注: 这些工具只预装在 cluster 的工作节点,不在 master 节点。

使用工具至少分析 30 秒,使用过滤器检查生成和执行的进程,将事件写到 /opt/KSR00101/incidents/summary 文 件中,其中包含检测的事件, 格式如下: [timestamp],[uid],[processName] 保持工具的原始时间戳格式不变。
注:确保事件文件存储在集群的工作节点上。
# 1.环境准备
# 在工作节点上一键安装sysdig
# curl -s https://s3.amazonaws.com/download.draios.com/stable/install-sysdig | sudo bash
# 2.答题
# sysdig -l |grep time
# sysdig -l |grep uid
# sysdig -l |grep proc
# crictl info|grep sock
WARN[0000] runtime connect using default endpoints: [unix:///var/run/dockershim.sock unix:///run/containerd/containerd.sock unix:///run/crio/crio.sock unix:///var/run/cri-dockerd.sock]. As the default settings are now deprecated, you should set the endpoint instead.
ERRO[0000] unable to determine runtime API version: rpc error: code = Unavailable desc = connection error: desc = "transport: Error while dialing dial unix /var/run/dockershim.sock: connect: no such file or directory"
"containerdEndpoint": "/run/containerd/containerd.sock",
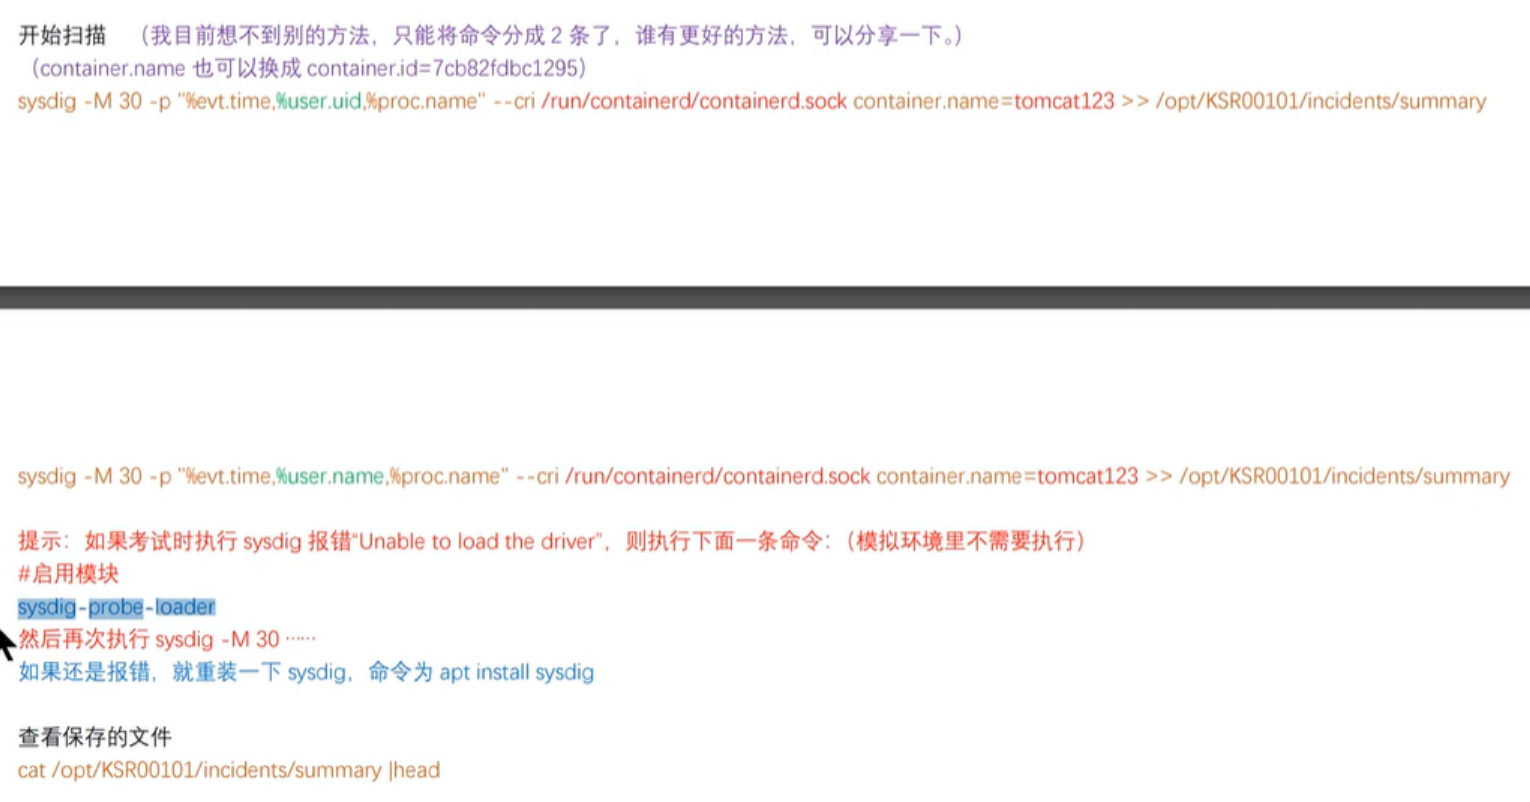
# sysdig -M 30 -p '%evt.time,%user.uid,%proc.name' --cri /run/containerd/containerd.sock container.name=tomcat789 >> /opt/KSR00101/incidents/summary
第14题 TLS通信加强【新题】
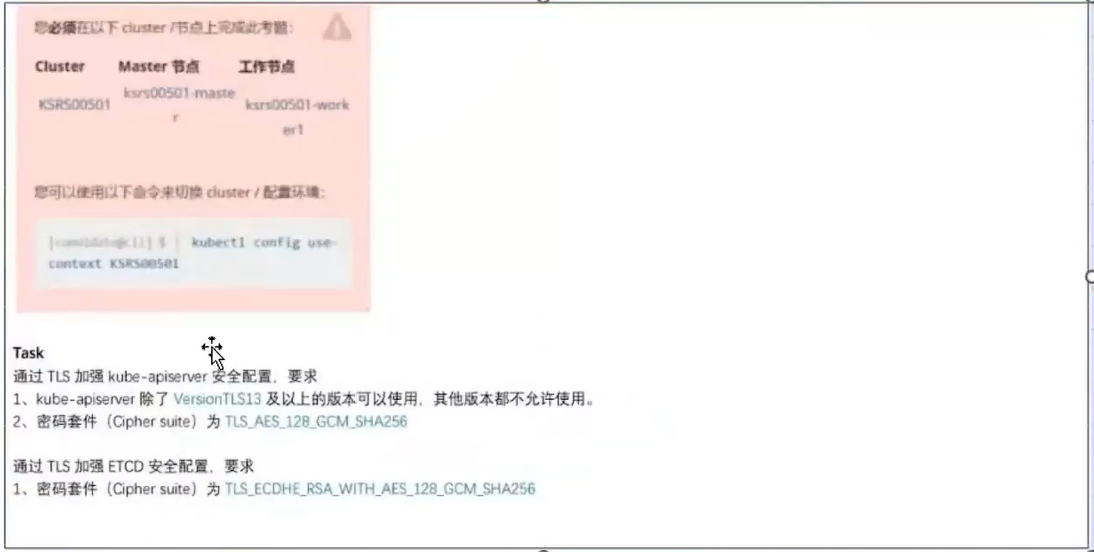
Task
通过TLS加强kube-apiserver安全配置,要求
1、kube-apiserver除了VersionTLS13及以上的版本可以使用,其他版本都不允许使用。
2、密码套件(Cipher suite)为TLS_AES_128_GCM_SHA256

通过TLS加强ETCD安全配置,要求
1、密码套件(Cipher suite)为TLS_AES_128_GCM_SHA256
# 答题
# 修改kube-apiserver.yaml, vim /etc/kubernetes/manifests/kube-apiserver.yaml,增加如下两行,
    - --tls-min-version=VersionTLS13
    - --tls-cipher-suites=TLS_AES_128_GCM_SHA256

# 修改etcd.yaml, vim /etc/kubernetes/manifests/etcd.yaml,参考etcd命令帮助,增加如下一行,
    - --cipher-suites=TLS_AES_128_GCM_SHA256
第15题 启用 API server 认证
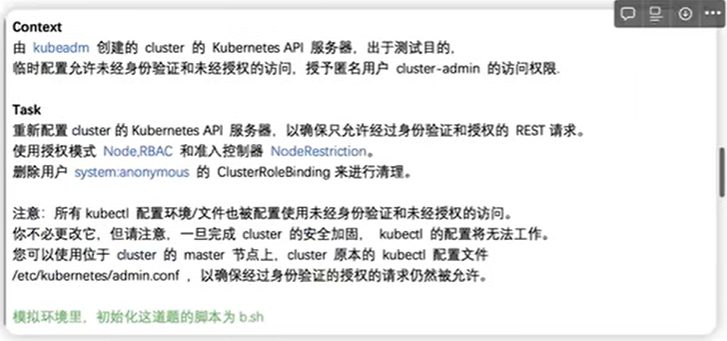
Context
由 kubeadm 创建的 cluster 的 Kubernetes API 服务器,出于测试目的,临时配置允许未经身份验证和未经授权的访问,授予匿名用户 cluster-admin 的访问权限.

Task
重新配置 cluster 的Kubernetes APl 服务器,以确保只允许经过身份验证和授权的 REST 请求。
使用授权模式 Node,RBAC 和准入控制器NodeRestriction。
删除用户 system:anonymous 的 ClusterRoleBinding 来进行清理。

注意:所有 kubectl 配置环境/文件也被配置使用未经身份验证和未经授权的访问。 你不必更改它,但请注意,一旦完成 cluster的安全加固, kubectl 的配置将无法工作。 您可以使用位于 cluster 的 master 节点上,cluster 原本的kubectl 配置文件 /etc/kubernetes/admin.conf ,以确保经过身份验证的授权的请求仍然被允许。
# 答题
修好kube-apiserver.yaml文件
# vim /etc/kubernetes/manifests/kube-apiserver.yaml
    - --authorization-mode=Node,RBAC
    - --enable-admission-plugins=NodeRestriction
# systemctl daemon-reload
# systemctl restart kubelet
# kubectl delete clusterrolebinding system:anonymous
# kubectl get pod -A --kube-config=/etc/kubernetes/admin.conf
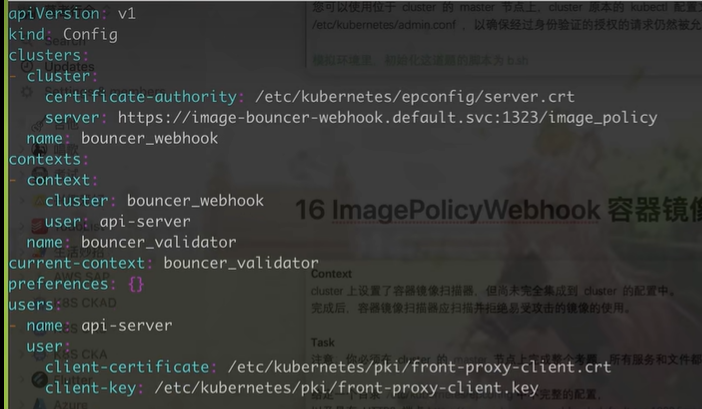
第16题 ImagePolicyWebhook容器镜像扫描
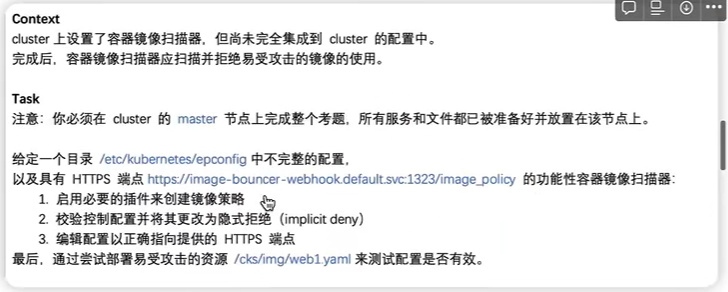
Context
cluster 上设置了容器镜像扫描器,但尚未完全集成到 cluster 的配置中。
完成后,容器镜像扫描器应扫描并拒绝易受攻击的镜像的使用。

Task
注意:你必须在 cluster 的 master节点上完成整个考题,所有服务和文件都已被准备好并放置在该节点上。
给定一个目录 /etc/kubernetes/epconfig中不完整的配置以及具有 HTTPS 端点 https://acme.local:8082/image_policy 的功能性容器镜像扫描器:
	1. 启用必要的插件来创建镜像策略
	2. 校验控制配置并将其更改为隐式拒绝(implicit deny)
	3. 编辑配置以正确指向提供的 HTTPS 端点
最后,通过尝试部署易受攻击的资源 /cks/img/web1.yaml 来测试配置是否有效。
你可以在/var/log/imagepolicy/roadrunner.log 找到容器镜像扫描仪的日志文件。
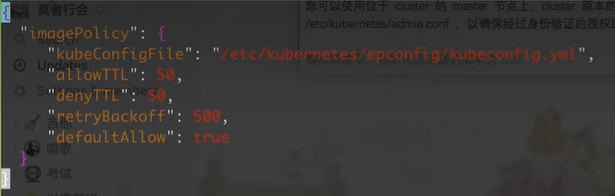
# 答题
# vim /etc/kubernetes/epconfig/admission_configuration.json
   "defaultAllow": true     # ture改为false

# 官网搜索关键字ImagePolicyWebhook,
# vim /etc/kubernetes/epconfig/kubeconfig.yml
  ...
  cluster:
    certificate-authority: /path/to/ca.pem
    server: https://acme.local:8082/image_policy   # 增加该行,如下截图
  ...

备份并修改kube-apiserver.yaml文件,修改如下内容
# vim /etc/kubernetes/manifests/kube-apiserver.yaml          # 搜索关键字apiserver和plugins
    - --enable-admission-plugins=NodeRestriction,ImagePolicyWebhook
    - --admission-control-config-file=/etc/kubernetes/epconfig/admission_configuration.json
    - mountPath: /etc/kubernetes/epconfig
      name: epconfig
      readOnly: true
    - hostPath:
      path: /etc/kubernetes/epconfig
      type: DirectoryOrCreate
    name: epconfig
# systemctl daemon-reload
# systemctl restart kubelet

# 验证
# kubectl apply -f /cks/img/web1.yaml
附 学习链接:
新版PSI系统下CKS考试注意事项及考题分析:
cks真题-1小时挑战:
2022年12月份cks真题讲解:

 浙公网安备 33010602011771号