一篇文章图文并茂地带你轻松实践 HTML5 history api
HTML5 history api
前言
由于笔者在网络上没有找到比较好的关于 history api 的实践案例,有的案例过于杂乱,没有重点,有些案例只是告诉读者 api 是什么,却没告诉怎么用,本文章从零开始带读者实践 history api ,建议和笔者一起写一遍。
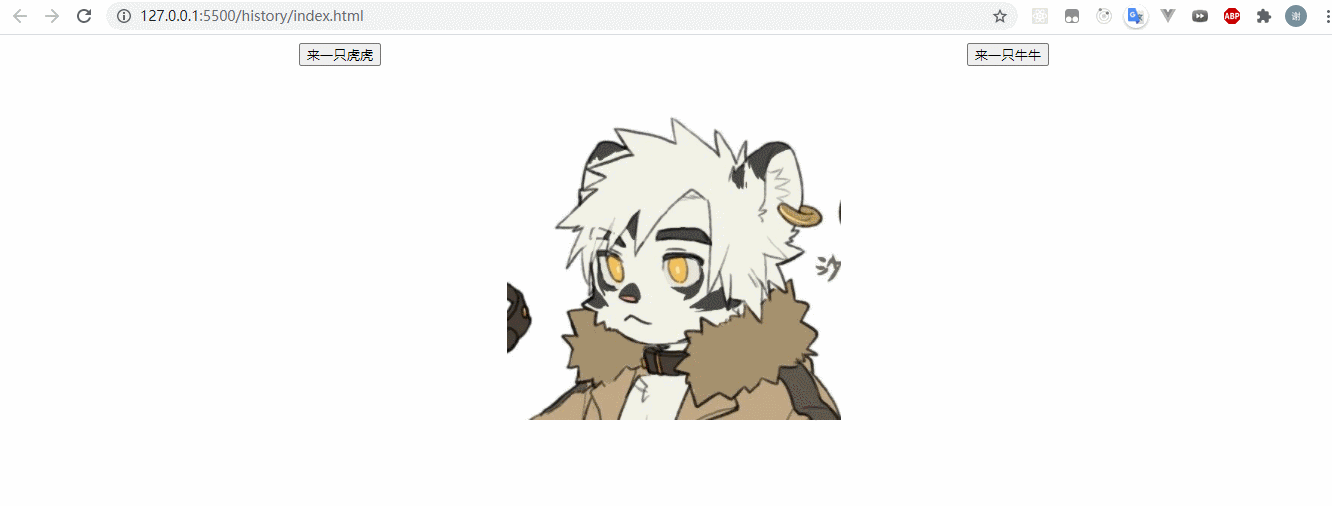
效果
注意 url 变化,另外用到了 虎裤里老师 和 狼大老师 的图,侵权马上删。
流程
-
html部分需要引入
jquery
<!DOCTYPE html>
<html lang="en">
  <head>
    <meta charset="UTF-8" />
    <meta http-equiv="X-UA-Compatible" content="IE=edge" />
    <meta name="viewport" content="width=device-width, initial-scale=1.0" />
    <link rel="stylesheet" href="./index.css" />
    <script src="./jquery.js"></script>
    <script src="./index.js"></script>
    <title>history html5</title>
  </head>
  <body>
    <div class="row">
      <button data-id="1" data-name="tiger" class="btn">来一只虎虎</button>
      <button data-id="0" data-name="cow" class="btn">来一只牛牛</button>
    </div>
    <div class="row">
      <img class="image" />
    </div>
  </body>
</html>
css部分
.row {
  display: flex;
  justify-content: space-around;
}

.image {
  width: 25%;
  height: 25%;
  padding: 20px;
  cursor: pointer;
}
- 等待页面
dom加载完毕再执行JS
window.onload = () => {
 	// ...
}
-
获取
btn添加事件获取请求所需的
id以及界面需要展示的url路径
  const btns = document.querySelectorAll(".btn");
  btns.forEach(btn => {
    const dataId = btn.getAttribute("data-id");		// 请求 id
    const dataName = btn.getAttribute("data-name");	// 页面 url 路径

    btn.addEventListener("click", () => {
      // ...
    });
  });
-
模拟网络请求
接上方的代码,这里的话我写了一份模拟数据
{
  "images": [
    "./images/牛牛.jpg",
    "./images/虎虎.jpg"
  ]
}
并在对应文件夹下存放了图片,接下来进行 ajax 网络请求
btn.addEventListener("click", () => {
      $.ajax({
        url: "./mock/mock.json",
        success: (res) => {
          const { images } = res;
          const state = images[dataId];
          displayContent(state);					// 接下来会提到这个函数
          history.pushState(state, null, dataName);	  // 接下来会提到这个函数
        },
      });
    });
这里的话,一般来说是传入 id 给服务端返回一个图片的 url 由于为了实现简单,全部返回后,根据先前从 dom 属性上获得的 dataId 获取图片的 url
- 根据获得的
url进行展示
const image = document.querySelector(".image");
const displayContent = (src) => {
    image.setAttribute("src", src);
 };
- 页面变化后,利用
html5 history api进行修改页面地址,并传入state
history.pushState(state, null, dataName);
其中第一个参数后面有个监听事件会用到,而第二个参数代表标题,没必要传,第三个参数是路径。
如果当前路径是 /history 则如果传入的路径是 cow 则会变成 /history/cow
经过上面的几个步骤,已经成功完成了利用按钮切换界面的时候,展示不同的图片信息。
这个时候,如果点击返回或者页面的前进按钮,跳转到上一页或下一页,是无法显示网页信息的。
- 前进后退显示网页信息
window.addEventListener("popstate", (e) => {
    const { state } = e;
    if (state) displayContent(state);
});
这里的 state 就是前面 pushState 传的 state,可以根据这个 state 渲染当前界面,这就保证了在前进后退的时候渲染对应的图像。
这个时候当我们点击前进和后退的时候,基本是已经可以展示对应的界面的,这样非常好,但是仍然有个问题,当后退到第一个界面的时候,没有数据
- 替换第一个界面的数据
 history.replaceState("./images/虎虎.jpg", null, location.href);
 image.setAttribute("src", "./images/虎虎.jpg");
这里的话,把第一个界面的数据补充上,其实一般都是经过网络请求的,这里省略了。现在还存在一个问题,如果跳到某个界面后,刷新,可能会出现获取不到资源的情况。
这很正常,例如我们在 /history 下有一个 index.html 文件,那么访问 /history 是可以直接访问到这个文件的,但是当我们通过上述方法跳转路由的时候 /history/cow 并不存在 index.html 文件,这意味刷新界面后获取不到对应的资源了,这个时候上线后还需要 nginx 的辅助配置
- 通过
nginx的urlrewrite配置,使得总是命中history/
总结
不知道大家有没有用过之前的 vue router 里面如果开启了 mode: history 的话,最后还要通过 nginx 进行辅助配置,可能就是这个原理。

 浙公网安备 33010602011771号