Flutter - 创建侧滑菜单
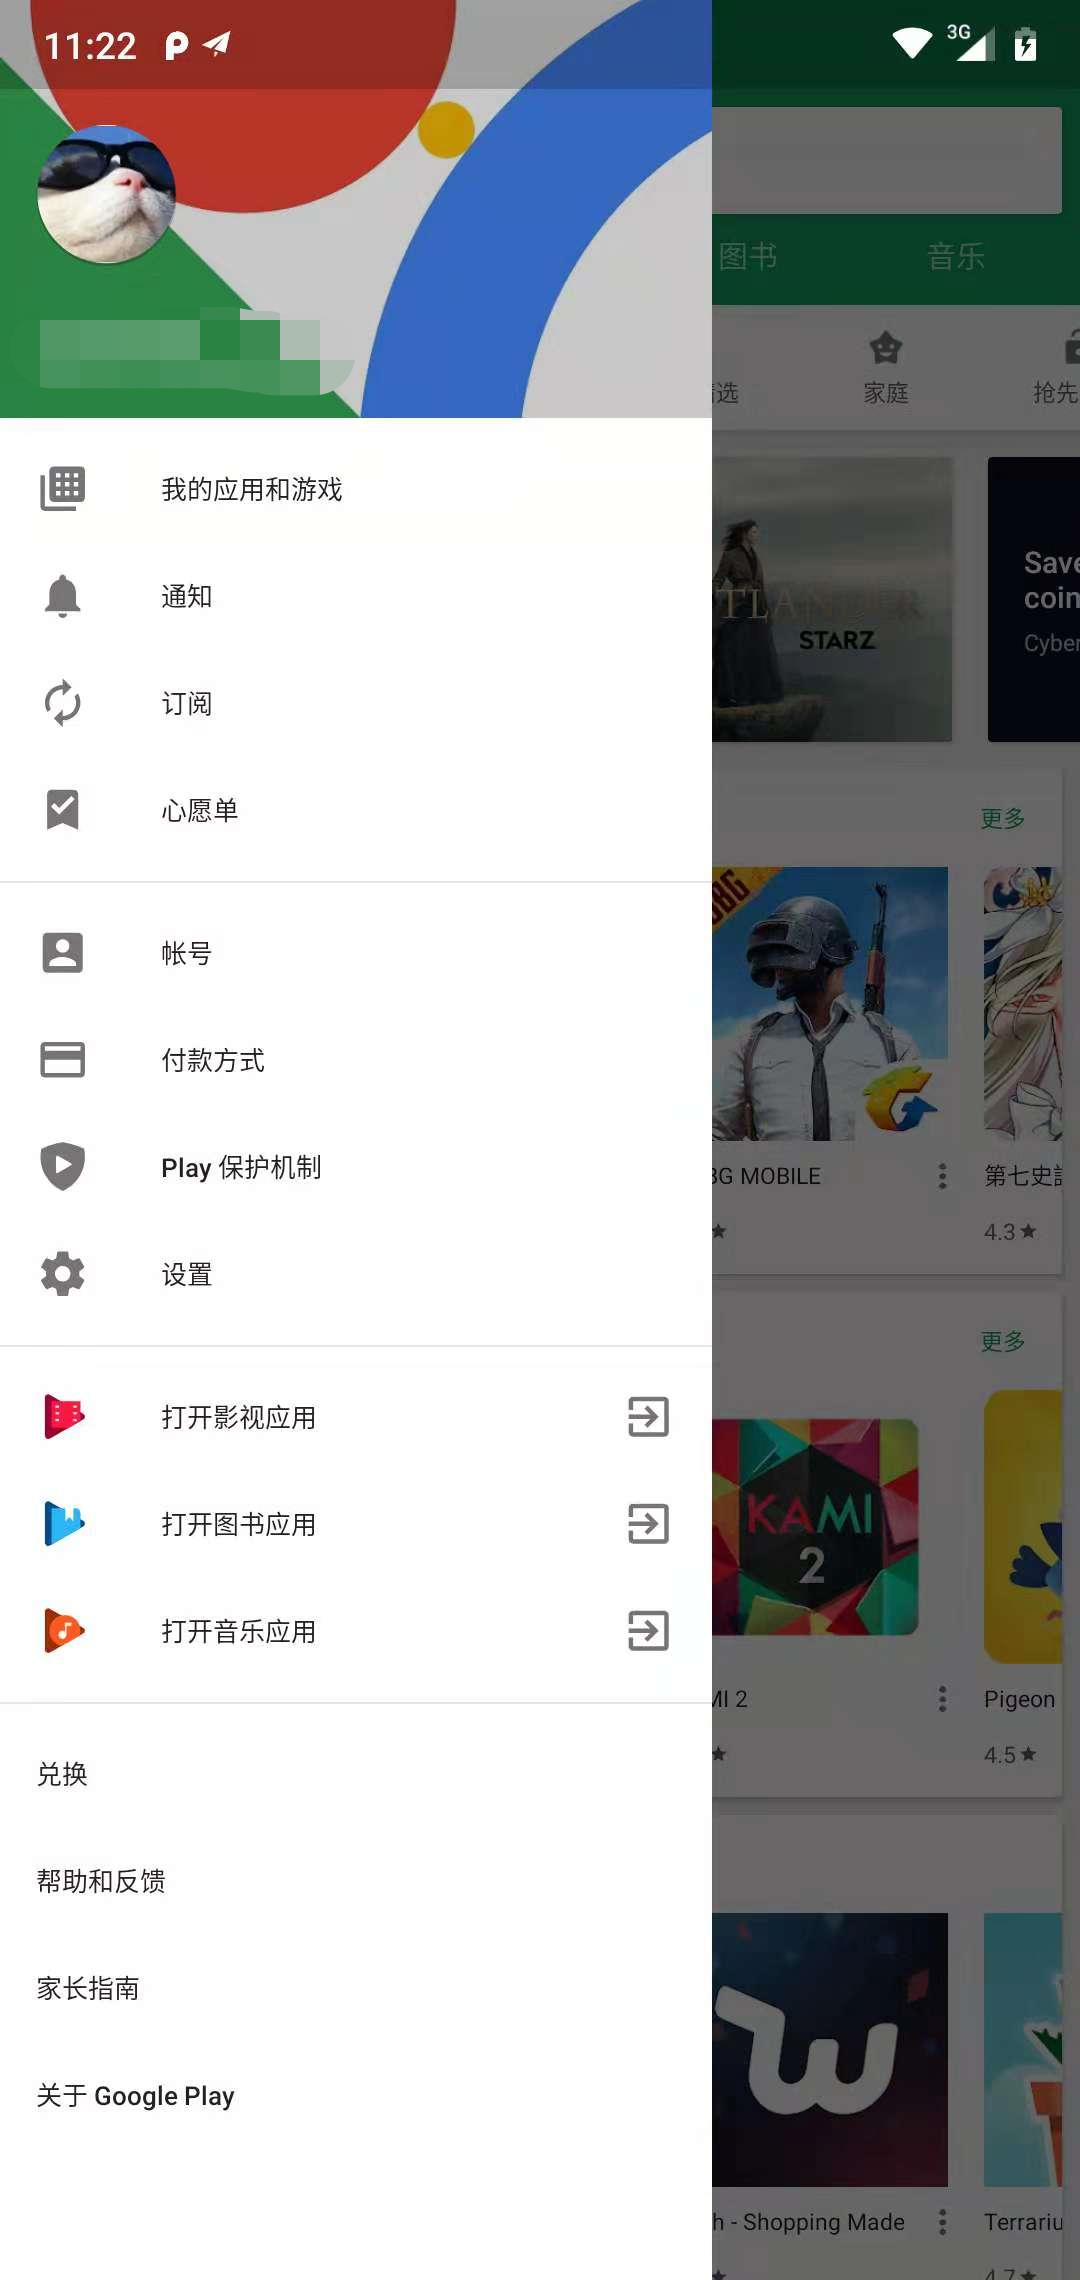
侧滑菜单在安卓App里面非常常见,比如Gmail,Google Play,Twitter等。看下图

网上也有很多创建侧滑菜单的教程,我也来记录一下,自己学习创建Drawer的过程。
1. 创建一个空的App
import 'package:flutter/material.dart';

class HomePage extends StatefulWidget{
  @override
  _HomePageState createState() => _HomePageState();
}

class _HomePageState extends State<HomePage> {

  @override
  Widget build(BuildContext context) {
    return new Scaffold(
      appBar: new AppBar(
        title: new Text('Hello Flutter'),
      ),
      body: new Center(
        child: new Text('Hello, Flutter!😍😍😍'),
      ),
    );
  }
}
2.添加drawer侧滑菜单
给Scaffold添加一个drawer的属性即可。
  @override
  Widget build(BuildContext context) {
    return new Scaffold(
      appBar: new AppBar(
        title: new Text('Hello Flutter'),
      ),
      drawer: new Drawer(//New added
        child: new Text('I'm a drawer),//New added
      ),//New added
      body: new Center(
        child: new Text('Hello, Flutter!😍😍😍'),
      ),
    );
  }
可以看到drawer里面的child,而不是children。说明一个drawer里面,只能存放一个widget。
那刚才的图片中,Google Play侧滑菜单怎么那么多项?
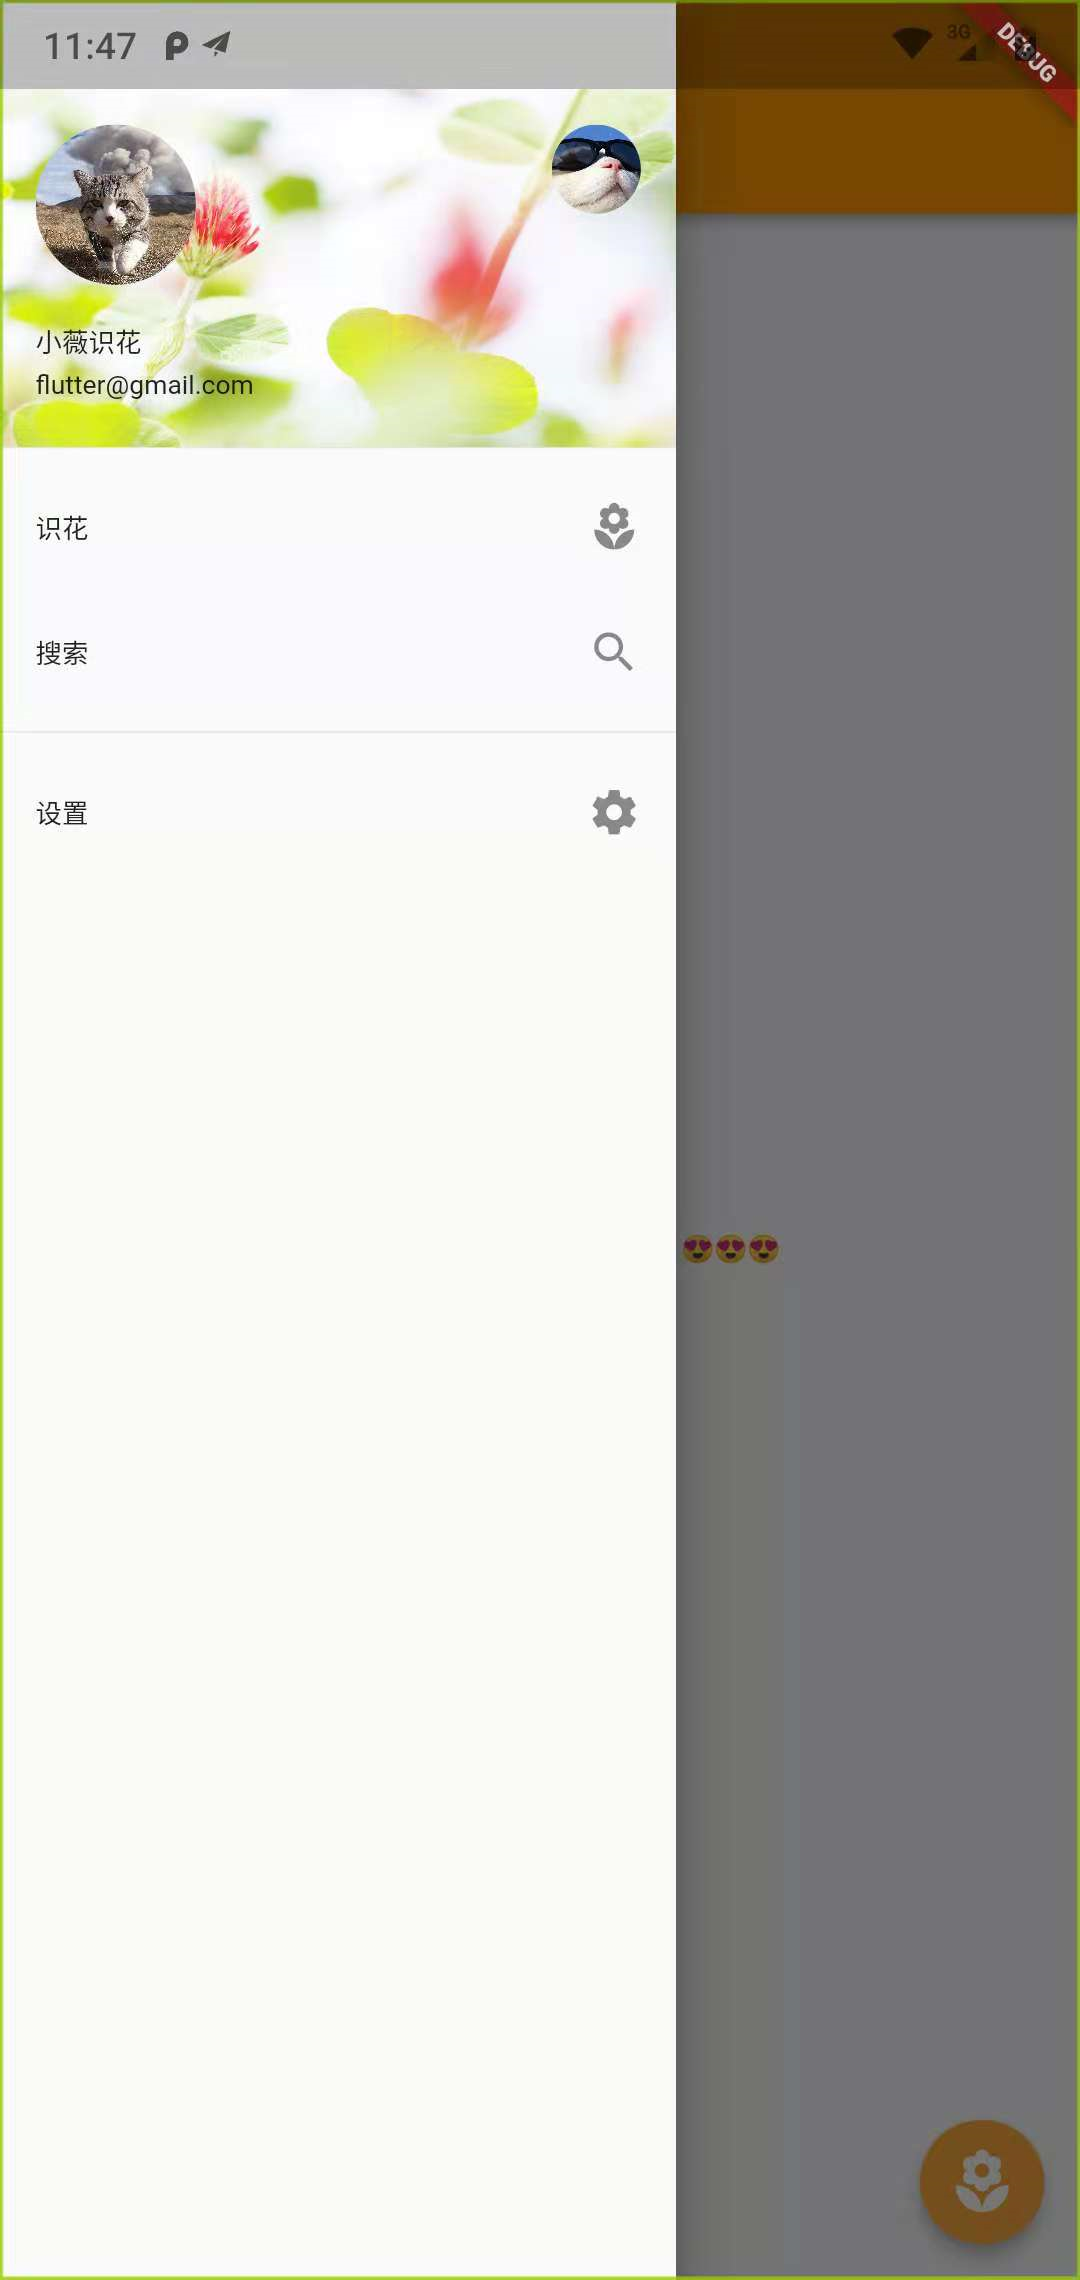
这里我们可以用一个ListView来实现呢,ListView可以包含一个children,我们就可以放很多元素了。
      drawer: new Drawer(
        child: new ListView(
          children: <Widget>[
            new ListTile(
              title: new Text("识花"),
              trailing: new Icon(Icons.local_florist),
            ),
            new ListTile(
              title: new Text("搜索"),
              trailing: new Icon(Icons.search),
            ),
            new Divider(),
            new ListTile(
              title: new Text("设置"),
              trailing: new Icon(Icons.settings),
            ),
          ],
        ),
      ),
每一项通过ListTile相加,分割线用Divider即可。
3.添加点击事件
前两部就基本实现了侧滑菜单。
但是只是添加了而已,并没有点击事件,没有点击,就没法导航到其他页面。所以我们给ListTile添加onTap事件。
            new ListTile(
              title: new Text("设置"),
              trailing: new Icon(Icons.settings),
              onTap: (){
                Navigator.of(context).pop();
                Navigator.of(context).push(new MaterialPageRoute(builder: (BuildContext context) => new SettingsPage('Settings Center')));
              },
            ),
其中,Navigator.of(context).pop();
这句话尤为重要。如果不添加的话,导航进其他的页面后,再返回来,这个侧滑菜单还是傻愣愣的在那儿,并没有自动关闭。这样用户体验就不好了。
4.点缀
添加和Google Play侧滑菜单顶部一样的用户头像。
再ListTile前面添加UserAccountsDrawerHeader即可。
            new UserAccountsDrawerHeader(
              accountName: Text("小薇识花"),
              accountEmail: Text("flutter@gmail.com"),
              currentAccountPicture: new GestureDetector(
                child: new CircleAvatar(
                  backgroundImage: new ExactAssetImage("images/Head0.png"),
                ),
              ),
              decoration: new BoxDecoration(
                image: new DecorationImage(
                  fit: BoxFit.fill,
                  image: new ExactAssetImage("images/mm.jpg"),),),
            ),
5.完成

分类:
Flutter


【推荐】国内首个AI IDE,深度理解中文开发场景,立即下载体验Trae
【推荐】编程新体验,更懂你的AI,立即体验豆包MarsCode编程助手
【推荐】抖音旗下AI助手豆包,你的智能百科全书,全免费不限次数
【推荐】轻量又高性能的 SSH 工具 IShell:AI 加持,快人一步
· AI与.NET技术实操系列:向量存储与相似性搜索在 .NET 中的实现
· 基于Microsoft.Extensions.AI核心库实现RAG应用
· Linux系列:如何用heaptrack跟踪.NET程序的非托管内存泄露
· 开发者必知的日志记录最佳实践
· SQL Server 2025 AI相关能力初探
· 震惊!C++程序真的从main开始吗?99%的程序员都答错了
· winform 绘制太阳,地球,月球 运作规律
· 【硬核科普】Trae如何「偷看」你的代码?零基础破解AI编程运行原理
· 上周热点回顾(3.3-3.9)
· 超详细:普通电脑也行Windows部署deepseek R1训练数据并当服务器共享给他人