

实践笔记_J2EE_Server_Tomcat_tomcat域名绑定_1_单域名绑定
Tomcat域名绑定(1)单域名绑定
1. 测试环境说明
| 名称 | 版本 | 备注 |
| 操作系统 | win10 教育版1803 | |
| web服务器 | tomcat7.0 | |
| 浏览器 | Google Chrome71.0.3578.98 | |
2.简单方式一:操作步骤
预期的结果是: 通过www.slm.cn 直接访问到tomcat中的项目的首页
2.1 实现访问时用 域名 代替 localhost或ip
2.1.1 修改host文件
A. 打开运行 输入 C:\WINDOWS\system32\drivers\etc

![]()
B.记事本打开host文件,添加域名映射
这里我用的是一个测试过还在外租售的域名 www.slm.cn (PS:不是我的)
#代表注释
以下面的方式映射:
127.0.0.1 www.slm.cn

![]()

![]()
2.1.2 保存host文件 访问
ps:
到目前为止已经完成了ip和域名的绑定,这时候我们通过www.slm.cn就能访问到本机了.
以tomcat为例访问项目, 现在的访问地址就是: http://www.slm.cn:8080/项目名
但是这样端口和项目名还是暴露了,下面来解决这个问题
2.2 隐藏8080端口
这个很简单,就是将tomcat响应端口从8080端口修改为80端口
2.2.1 操作步骤如下:
A.打开tomcat server.xml文件,找到下行代码:
<Connector port="8080" protocol="HTTP/1.1" connectionTimeout="20000" redirectPort="8443" URIEncoding="UTF-8" />
B.将上述代码中的 8080 修改为 80 .如下:
<Connector port="80" protocol="HTTP/1.1" connectionTimeout="20000" redirectPort="8443" URIEncoding="UTF-8" />
C.保存 server.xml文件
这时访问地址中的端口就隐藏成功了.访问地址就变成了: http://www.slm.cn/项目名
但是项目名还是存在,所以接下来我们还要隐藏项目名.
2.3 隐藏项目名
同样是修改server.xml文件.操作如下
2.3.1 操作步骤:
A.打开server.xml,找到 host节点

![]()
B.将一个host节点中的localhost 全部改为www.slm.cn
并添加子节点:<Context path="" docBase="/项目名/" reloadable="true" />
比如我的项目名叫WEBTEST 所以修改后就是:
<Host name="www.slm.com" appBase="webapps"unpackWARs="true" autoDeploy="true" xmlValidation="false" xmlNamespaceAware="false">
		<Valve className="org.apache.catalina.valves.AccessLogValve" directory="logs"
               prefix="localhost_access_log." suffix=".txt"
               pattern="%h %l %u %t "%r" %s %b" />
		<Context path="" docBase="/WEBTEST/" reloadable="true" ></Context>
</Host>
C.找到
<Engine name="Catalina" defaultHost="localhost">
将defaultHost 的值 localhost 更改为 www.slm.cn 如下:
<Engine name="Catalina" defaultHost="www.slm.cn">
从这里可以看到,它其实是映射关系,所以HOST其实可以有多个,但默认的就只有一个.
这就为后面配置多个项目日共了便利.这里我们只设置单个项目的映射.
2.3.2 完整的示例
以tomcat为服务器,www.slm.cn为访问域名 crm为项目名 ,那么完整修改后的server.xml如下

![]()
2.4 保存修改的server.xml文件 重启tomcat
3.测试
3.1 这个时候加端口号的这个访问就访问不到了:

![]()
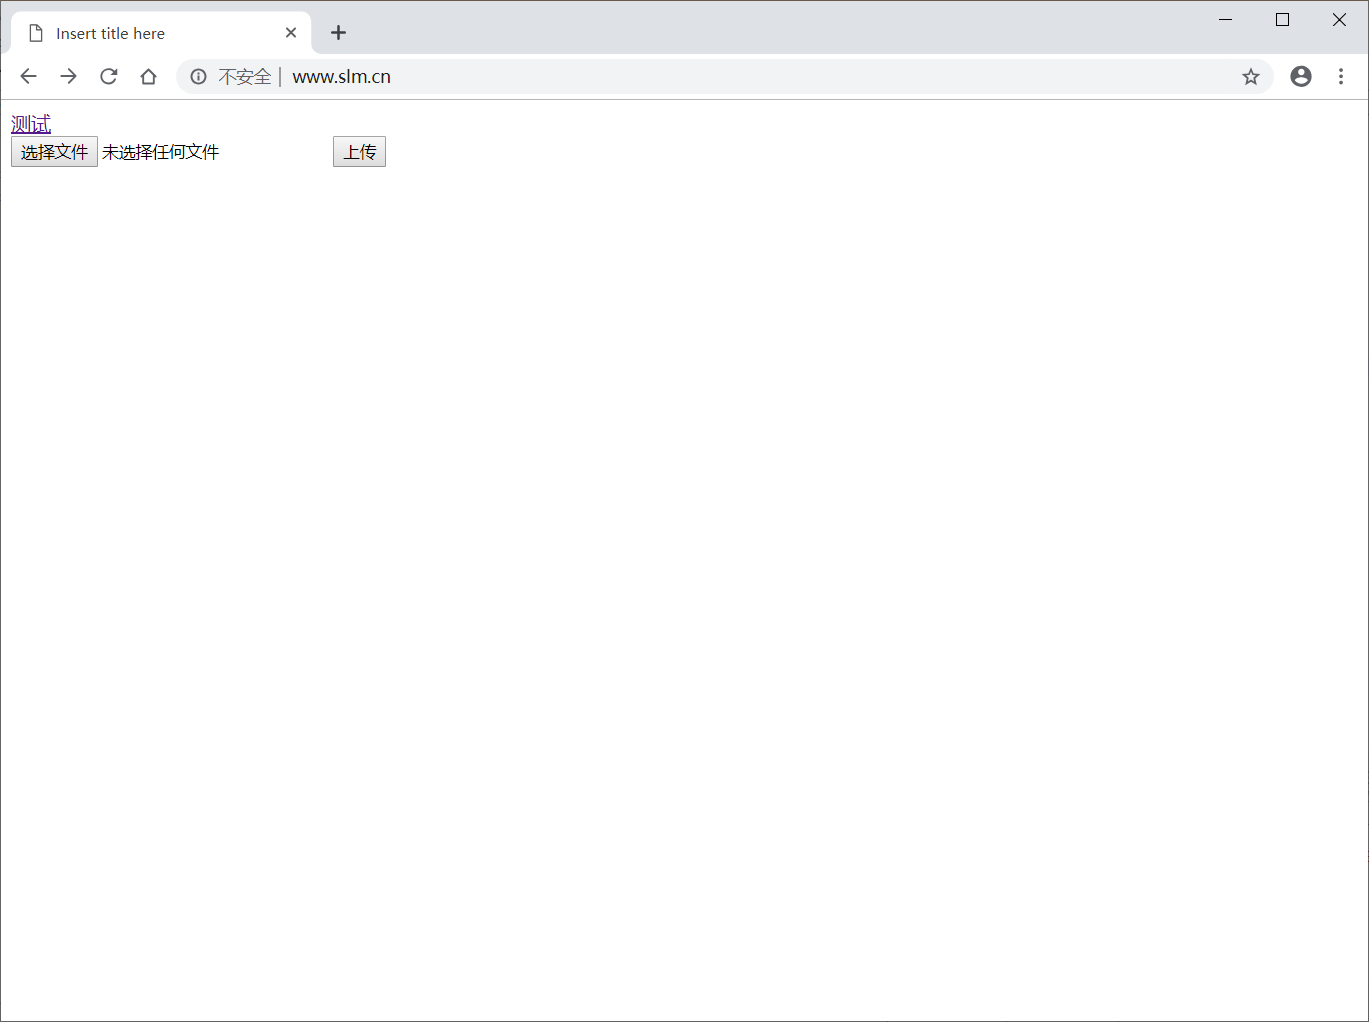
3.2 我们访问域名: http://www.slm.cn 结果如下:

![]()
<?xml version="1.0" encoding="UTF-8"?>
<!--
  Licensed to the Apache Software Foundation (ASF) under one or more
  contributor license agreements.  See the NOTICE file distributed with
  this work for additional information regarding copyright ownership.
  The ASF licenses this file to You under the Apache License, Version 2.0
  (the "License"); you may not use this file except in compliance with
  the License.  You may obtain a copy of the License at

      http://www.apache.org/licenses/LICENSE-2.0

  Unless required by applicable law or agreed to in writing, software
  distributed under the License is distributed on an "AS IS" BASIS,
  WITHOUT WARRANTIES OR CONDITIONS OF ANY KIND, either express or implied.
  See the License for the specific language governing permissions and
  limitations under the License.
--><!-- Note:  A "Server" is not itself a "Container", so you may not
     define subcomponents such as "Valves" at this level.
     Documentation at /docs/config/server.html
 --><Server port="8005" shutdown="SHUTDOWN">
  <Listener className="org.apache.catalina.startup.VersionLoggerListener"/>
  <!-- Security listener. Documentation at /docs/config/listeners.html
  <Listener className="org.apache.catalina.security.SecurityListener" />
  -->
  <!--APR library loader. Documentation at /docs/apr.html -->
  <Listener SSLEngine="on" className="org.apache.catalina.core.AprLifecycleListener"/>
  <!-- Prevent memory leaks due to use of particular java/javax APIs-->
  <Listener className="org.apache.catalina.core.JreMemoryLeakPreventionListener"/>
  <Listener className="org.apache.catalina.mbeans.GlobalResourcesLifecycleListener"/>
  <Listener className="org.apache.catalina.core.ThreadLocalLeakPreventionListener"/>

  <!-- Global JNDI resources
       Documentation at /docs/jndi-resources-howto.html
  -->
  <GlobalNamingResources>
    <!-- Editable user database that can also be used by
         UserDatabaseRealm to authenticate users
    -->
    <Resource auth="Container" description="User database that can be updated and saved" factory="org.apache.catalina.users.MemoryUserDatabaseFactory" name="UserDatabase" pathname="conf/tomcat-users.xml" type="org.apache.catalina.UserDatabase"/>
  </GlobalNamingResources>

  <!-- A "Service" is a collection of one or more "Connectors" that share
       a single "Container" Note:  A "Service" is not itself a "Container",
       so you may not define subcomponents such as "Valves" at this level.
       Documentation at /docs/config/service.html
   -->
  <Service name="Catalina">

    <!--The connectors can use a shared executor, you can define one or more named thread pools-->
    <!--
    <Executor name="tomcatThreadPool" namePrefix="catalina-exec-"
        maxThreads="150" minSpareThreads="4"/>
    -->


    <!-- A "Connector" represents an endpoint by which requests are received
         and responses are returned. Documentation at :
         Java HTTP Connector: /docs/config/http.html
         Java AJP  Connector: /docs/config/ajp.html
         APR (HTTP/AJP) Connector: /docs/apr.html
         Define a non-SSL/TLS HTTP/1.1 Connector on port 8080
    -->
    <Connector connectionTimeout="20000" port="80" protocol="HTTP/1.1" redirectPort="8443"/>
    <Connector port="8009" protocol="AJP/1.3" redirectPort="8443" URIEncoding="utf-8"/>
    <Engine defaultHost="www.slm.cn" name="Catalina">
      <Realm className="org.apache.catalina.realm.LockOutRealm">
        <Realm className="org.apache.catalina.realm.UserDatabaseRealm" resourceName="UserDatabase"/>
      </Realm>

      <Host appBase="webapps" autoDeploy="true" name="www.slm.cn" unpackWARs="true">
        <Valve className="org.apache.catalina.valves.AccessLogValve" directory="logs" pattern="%h %l %u %t "%r" %s %b"
        prefix="localhost_access_log" suffix=".txt"/>


      <Context docBase="/SpringMVCDemo/" path="" reloadable="true" /></Host>
    </Engine>
  </Service>
</Server>
5.参考文献
5.1 tomcat设置直接通过域名访问项目(不需要接 /项目名)
https://blog.csdn.net/qq_33647275/article/details/52585489
5.2 一个Tomcat下部署两个,甚至多个项目
https://blog.csdn.net/junhou5/article/details/61923837
5.3 同一个Tomcat部署多个项目
https://blog.csdn.net/dreamstar613/article/details/75282962/
5.4 把域名和IP地址绑定后,利用域名+端口号访问自己搭建的网站
https://blog.csdn.net/liuzhongyefirst/article/details/81946686
