Apache 服务搭建
Apache
一.了解apache
Apache(或httpd)是Internet上使用最多的Web服务器技术之一,使用的传输协议是http(Hypertext Transfer Protocol),超文本传输协议,这是一个基于超文本的协议,用于通过网络连接来发送和接受对象。【还有一个是httpds(http的加密版本)】
-
http使用80/tcp端口
-
https使用443/tcp端口
搭建httpd服务
1.有用镜像yum源(大多数linux镜像自带httpd软件包)
2.安装httpd服务
3.关闭防火墙
4.开启httpd服务且设置开机自启
5.访问httpd默认访问界面(测试服务)
实操:
1.配置yum仓库
[root@server ~]# vim /etc/yum.repos.d/local.repo

[local]
name=redhat
baseurl=file:///media
enabled=1
gpgcheck=0
2.安装httpd服务
[root@server ~]# yum install -y httpd
Loaded plugins: langpacks, product-id, search-disabled-repos, subscription-manager
This system is not registered to Red Hat Subscription Management. You can use subscription-manager to register.
Repodata is over 2 weeks old. Install yum-cron? Or run: yum makecache fast
local                                                      | 4.1 kB  00:00:00
Resolving Dependencies
--> Running transaction check
---> Package httpd.x86_64 0:2.4.6-45.el7 will be installed
--> Processing Dependency: httpd-tools = 2.4.6-45.el7 for package: httpd-2.4.6-45.el7.x86_64
--> Processing Dependency: /etc/mime.types for package: httpd-2.4.6-45.el7.x86_64
--> Running transaction check
---> Package httpd-tools.x86_64 0:2.4.6-45.el7 will be installed
---> Package mailcap.noarch 0:2.1.41-2.el7 will be installed
--> Finished Dependency Resolution

Dependencies Resolved

==================================================================================
 Package              Arch            Version                Repository      Size
==================================================================================
Installing:
 httpd                x86_64          2.4.6-45.el7           local          1.2 M
Installing for dependencies:
 httpd-tools          x86_64          2.4.6-45.el7           local           84 k
 mailcap              noarch          2.1.41-2.el7           local           31 k

......

Complete!
3.关闭防火墙
[root@server ~]# systemctl  stop firewalld.service
或者
firewall-cmd --permanent --add-service=http
4.开启服务且设置开机自启
[root@server conf]# systemctl start httpd

[root@server conf]# systemctl enable httpd
Created symlink from /etc/systemd/system/multi-user.target.wants/httpd.service to /usr/lib/systemd/system/httpd.service.
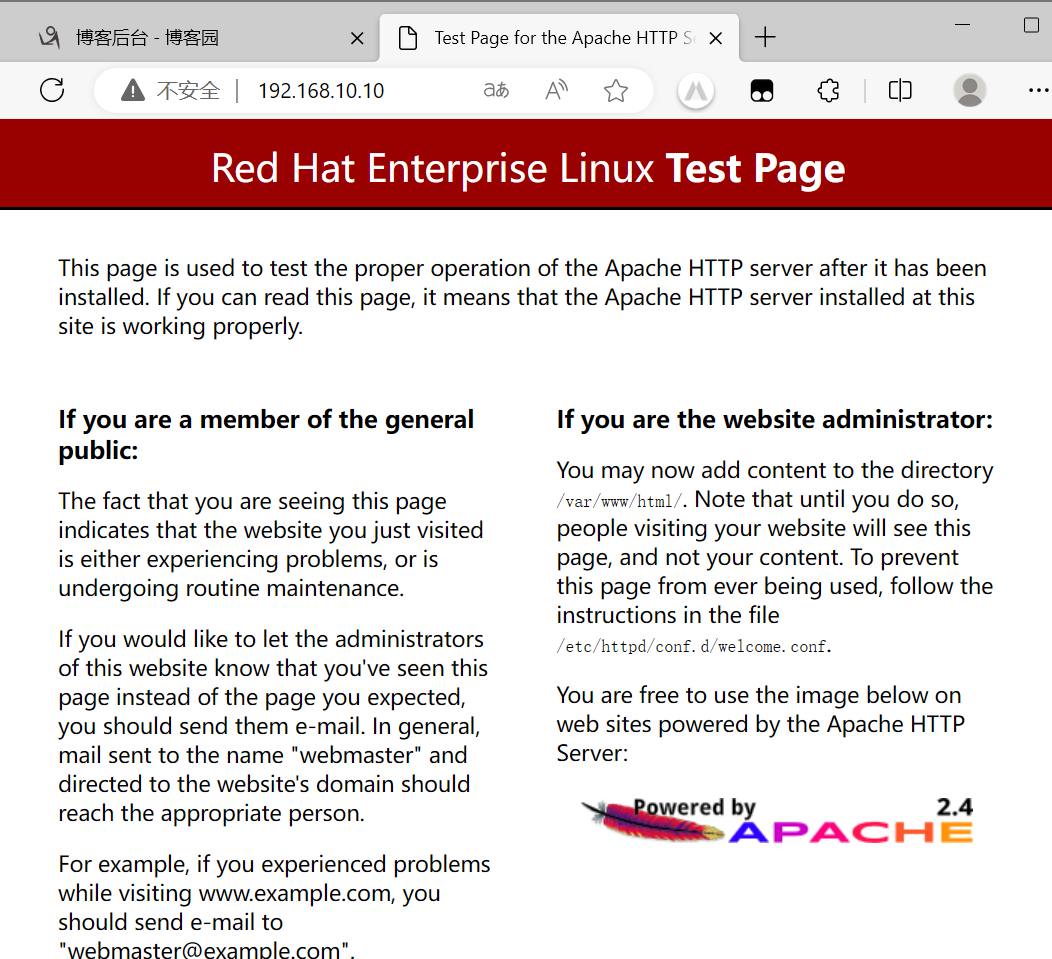
5.访问默认网站
在客户端访问
windows:
打开浏览器输入http://192.168.10.10(配有apache服务的主机ip)
linux:
curl http://192.168.10.10(或者使用火狐浏览器同windows)
搭建个人网站
1.新建用户
2.修改用户的配置文件
3.为用户编写一个网页文件
4.修改网页文件的访问权限
5.重启apache服务
6.客户端访问测试
1.新建用户
[root@server ~]# useradd  sum
[root@server ~]# passwd sum
Changing password for user sum.
New password:
BAD PASSWORD: The password is a palindrome
Retype new password:
passwd: all authentication tokens updated successfully.
2.修改用户的配置文件
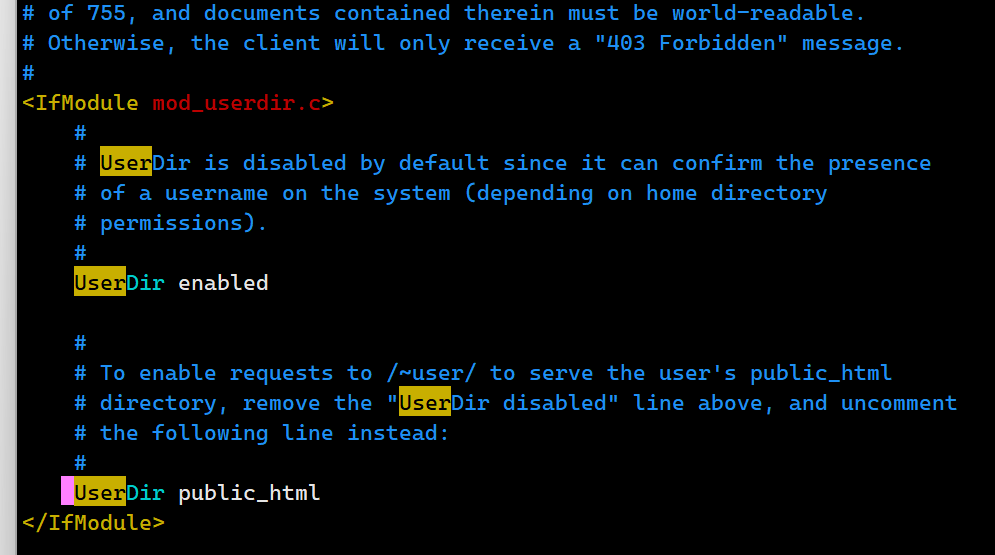
UserDir enabled (改disabled为enabled) 开启
UserDir public_html (去#注释)
3.为用户编写一个网页文件
[root@server conf.d]# cd /home/sum/
[root@server sum]# mkdir public_html
[root@server sum]# cd public_html
[root@server sum]# echo "hello,this's my first web" >> index.html
[root@server sum]# ls
index.html
4.修改网页文件的访问权限
[root@server sum]# chmod o+x /home/sum/
(修改其他人的访问权写)
5.重启apache服务
[root@server sum]# systemctl restart httpd.service
6.客户端访问测试
在客户端浏览器里 访问server端IP
http://192.168.10.10/~sum/
eg:
课堂小组任务二:
请每位同学以自己姓名为域名来创建一个虚拟网站,需求如下:
1)网站域名格式为:www.XXX.com,如,“www.zhangsan.com”;
2)网页数据存放在/www/XXX/下;
3)网站主页内容为一条文字信息:“welcome to chenglu's website,our domain name is www.XXX.com ”,例如“welcome to chenglu's website,our domain name is www.zhangsan.com”。

[root@server /]# mkdir www
[root@server /]# cd www/
[root@server www]# ls
[root@server www]# mkdir hm
[root@server www]# cd hm/
[root@server hm]# touch index.html
[root@server hm]# echo "welcome to hm's website,our domain name is www.hm.com" > index.html
[root@server hm]# cd /etc/httpd/conf.f
[root@server conf.d]# vim hm.conf

<Directory  /www/hm>
        require all granted
</Directory>
<VirtualHost 192.168.10.10>
        ServerName www.hm.com
        DocumentRoot /www/hm/
</VirtualHost>

[root@server conf.d]# vim /etc/hosts

127.0.0.1   localhost localhost.localdomain localhost4 localhost4.localdomain4
::1         localhost localhost.localdomain localhost6 localhost6.localdomain6
192.168.10.10 www.hm.com
课堂小组任务三:
请在上一个任务的基础上,配置两个新的访问端口,分别为8088和8089,需求如下:
1)网站域名格式为:www.XXX.com,如,“www.zhangsan.com”;
2)网页数据分别存放在/www/8088/和/www/8089/下;
3)每个端口主页内容分别为一条文字信息:“this is new port 8088 for website www.zhangsan.com";“this is new port 8089 for website www.zhangsan.com".
实操:
1.创建网页内容文件
2.创建配置文件(/etc/httpd/conf.d)
3.修改文件及其文件夹的其他人访问权限(o+x)
4.修改文件selinux属性
(httpd_sys_content_t 这个类型)
【文件,端口,服务的配置文件必须要与httpd服务的上下文类型类似,才能被httpd服务加载】
5.增加主配置文件的端口
(主配置文件里面增加)
6.防火墙的放行#或者直接关了
7.主机名的映射
8.重启服务
配置TLS加密的虚拟主机(443/TLS)
SSl提供了3中服务,保证数据的安全传输
认证用户和服务器,确保数据发送到正确的客户机和服务器;
加密数据以防止数据中途被窃取;
维护数据的完整性,确保数据在传输过程中不被改变
客户使用https的URL访问Web服务器,要求与Web服务器建立SSL连接。
Web服务器收到客户端请求后,会将网站的证书信息(证书中包含公钥)传送一份给客户端。
客户端的浏览器与Web服务器开始协商SSL连接的安全等级,也就是信息加密的等级。
客户端的浏览器根据双方同意的安全等级,建立会话密钥,然后利用网站的公钥将会话密钥加密,并传送给网站。
Web服务器利用自己的私钥解密出会话密钥。
Web服务器利用会话密钥加密与客户端之间的通信。
1.安装加密软件(使网站不用明文传输)
yum -y install mod_ssl
2.生成密钥
openssl genrsa >tlsweb.key
3.生成证书请求文件
[root@server ~]# openssl req -new -key tlsweb.key  >tlsweb.csr
You are about to be asked to enter information that will be incorporated
into your certificate request.
What you are about to enter is what is called a Distinguished Name or a DN.
There are quite a few fields but you can leave some blank
For some fields there will be a default value,
If you enter '.', the field will be left blank.
-----
Country Name (2 letter code) [XX]:
State or Province Name (full name) []:
Locality Name (eg, city) [Default City]:
Organization Name (eg, company) [Default Company Ltd]:
Organizational Unit Name (eg, section) []:
Common Name (eg, your name or your server's hostname) []:
Email Address []:

Please enter the following 'extra' attributes
to be sent with your certificate request
A challenge password []:
An optional company name []:
[root@server ~]#
4.生成证书文件
openssl req -x509 -days 365 -key tlsweb.key -in tlsweb.csr >tlsweb.crt
5.修改ssl.conf配置文件
vim /etc/httpd/conf.d/ssl.conf

 SSLCertificateFile /etc/pki/tls/certs/tlsweb.crt
      SSLCertificateKeyFile /etc/pki/tls/private/tlsweb.key
6.把证书文件copy到ssl.conf配置文件里的对应路径
cp tlsweb.crt /etc/pki/tls/certs/
7.把密钥文件copy到ssl.conf配置文件里的对应路径
cp tlsweb.key /etc/pki/tls/private/
8.重启服务
systemctl restart httpd
9.访问
创建虚拟主机https
1.创建页面文件
[root@server conf.d]# vim /var/www/html/index.html
this is www.hubtvu.edu.c
2.创建配置文件
[root@server conf.d]# vim /etc/httpd/conf.d/hubei.conf
<Directory  /var/www/html>
        require all granted
</Directory>
<VirtualHost 192.168.10.10>
        ServerName www.hubtvu.edu.cn
        DocumentRoot /var/www/html
     SSLEngine on
	SSLCertificateFile /etc/pki/tls/certs/tlsweb.crt
	SSLCertificateKeyFile /etc/pki/tls/private/tlsweb.key
</VirtualHost>
3.修改selinux上下文类型
 [root@server conf.d]# semanage fcontext -a -t cert_t '/etc/pki/tls/certs/tlsweb.crt(/.*)?'
 [root@server conf.d]# restorecon -RFv /etc/pki/tls/certs/
 [root@server conf.d]# semanage fcontext -a -t cert_t '/etc/pki/tls/private/tlsweb.key(/.*)?'
 [root@server conf.d]# restorecon -RFv /etc/pki/tls/private/
访问
hhtps://www.hubvtu.edu.cn/

 浙公网安备 33010602011771号