Golang中Gin框架学习记录——(三)
5、获取请求参数
在Go语言中,获取请求参数非常的简单
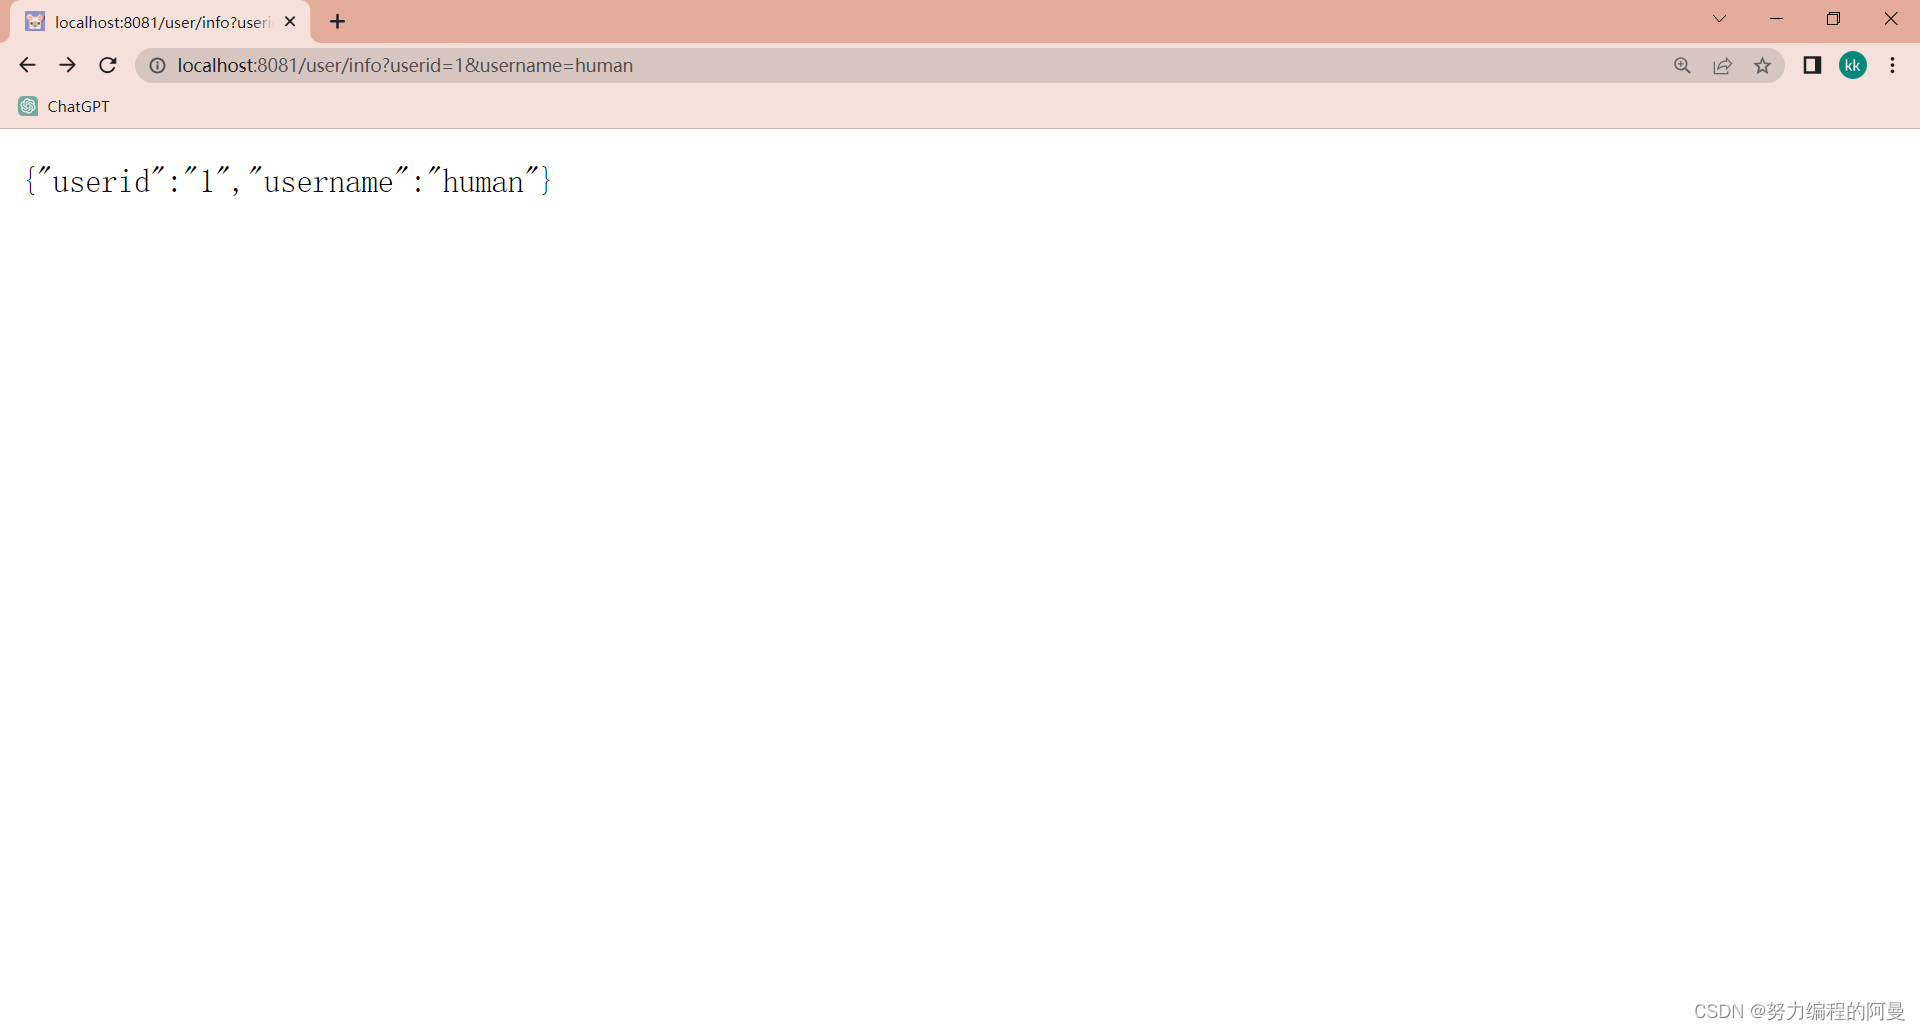
对于接受前端的数据有两种方式,比如这里接受userid和username,可以有usl?userid=xxx&username=xxx或者/user/info/xxx/xxx,对于前者我们可以使用Query函数来完成譬如以下代码块
	//usl?userid=xxx&username=xxx
	ginServer.GET("/user/info", func(context *gin.Context) {
		userid := context.Query("userid")
		username := context.Query("username")
		context.JSON(http.StatusOK, gin.H{
			"userid":   userid,
			"username": username,
		})
	})
运行以后通过浏览器可以看到结果
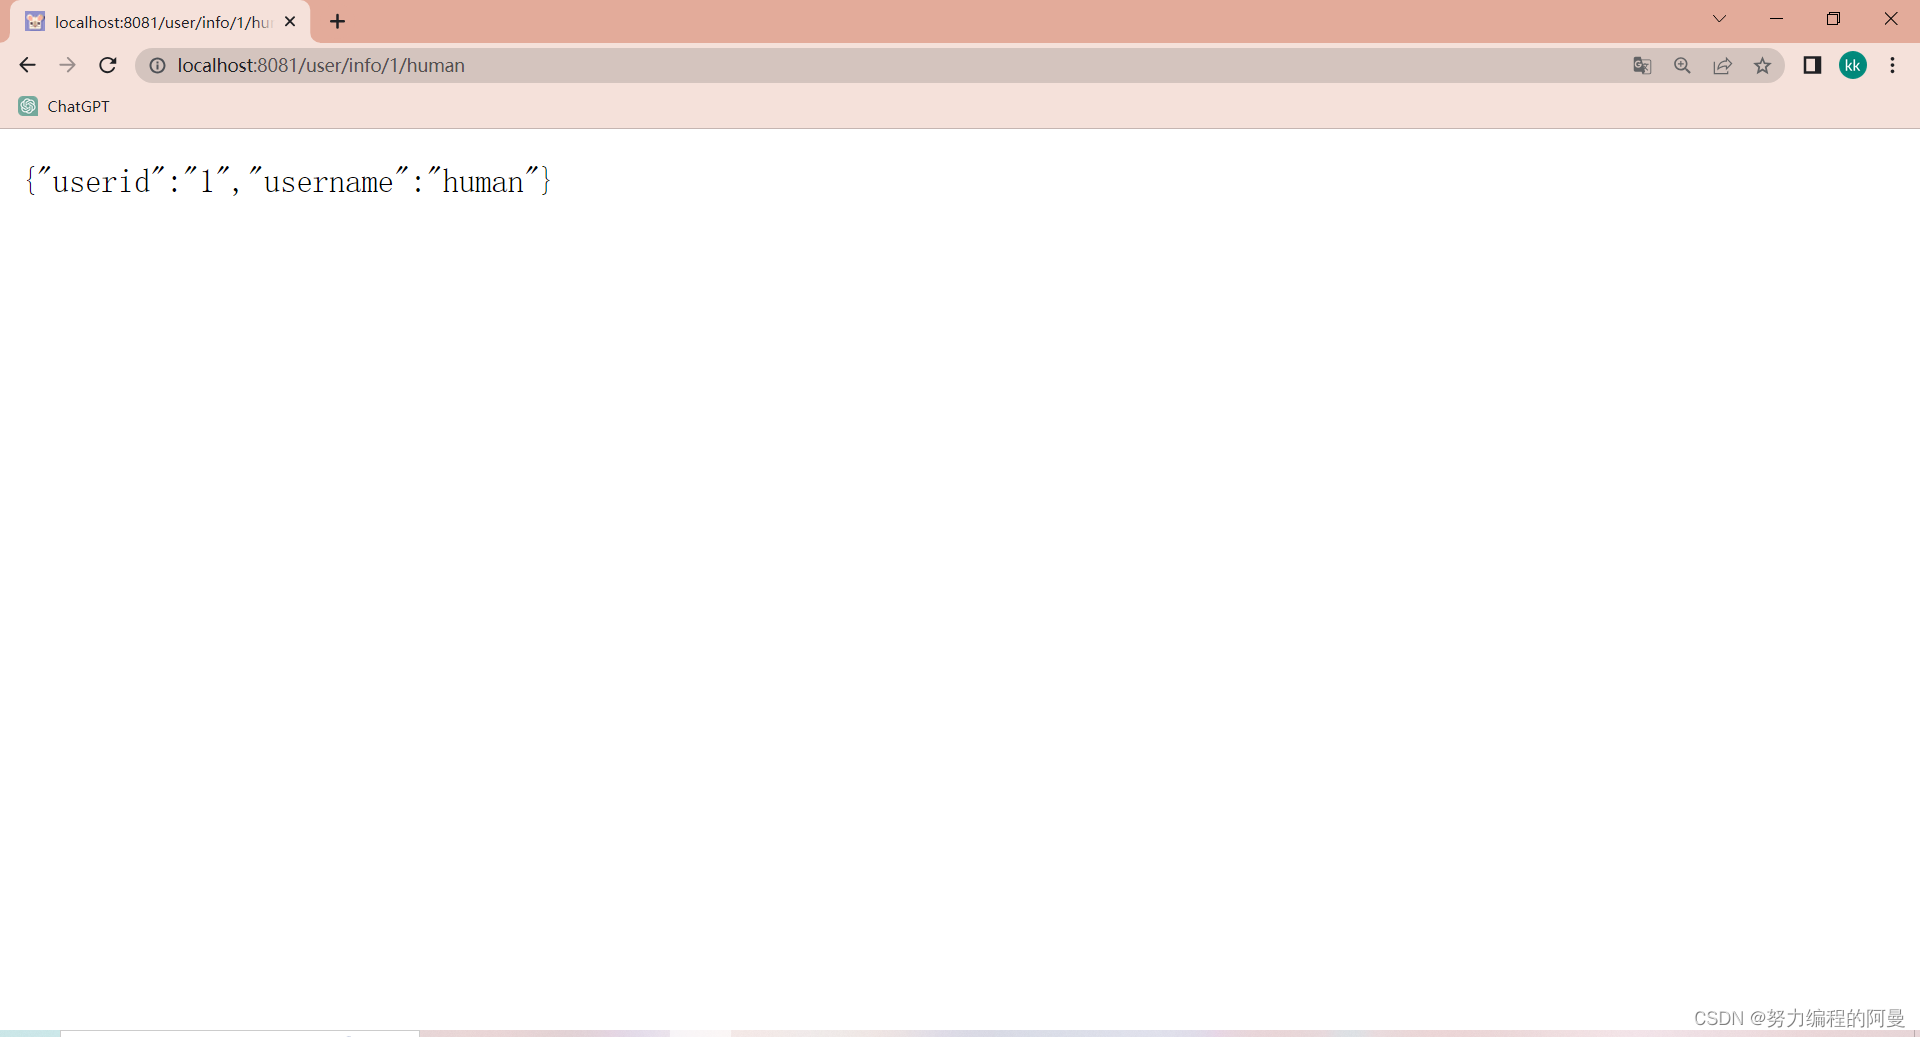
对于后者,可以使用param函数来完成,如以下代码块
	// /user/info/xxx/xxx

	ginServer.GET("/user/info/:userid/:username", func(context *gin.Context) { //冒号可以直接把userid和username取出来使用
		userid := context.Param("userid")
		username := context.Param("username")
		context.JSON(http.StatusOK, gin.H{
			"userid":   userid,
			"username": username,
		})
	})
最后也可以在浏览器中看到结果
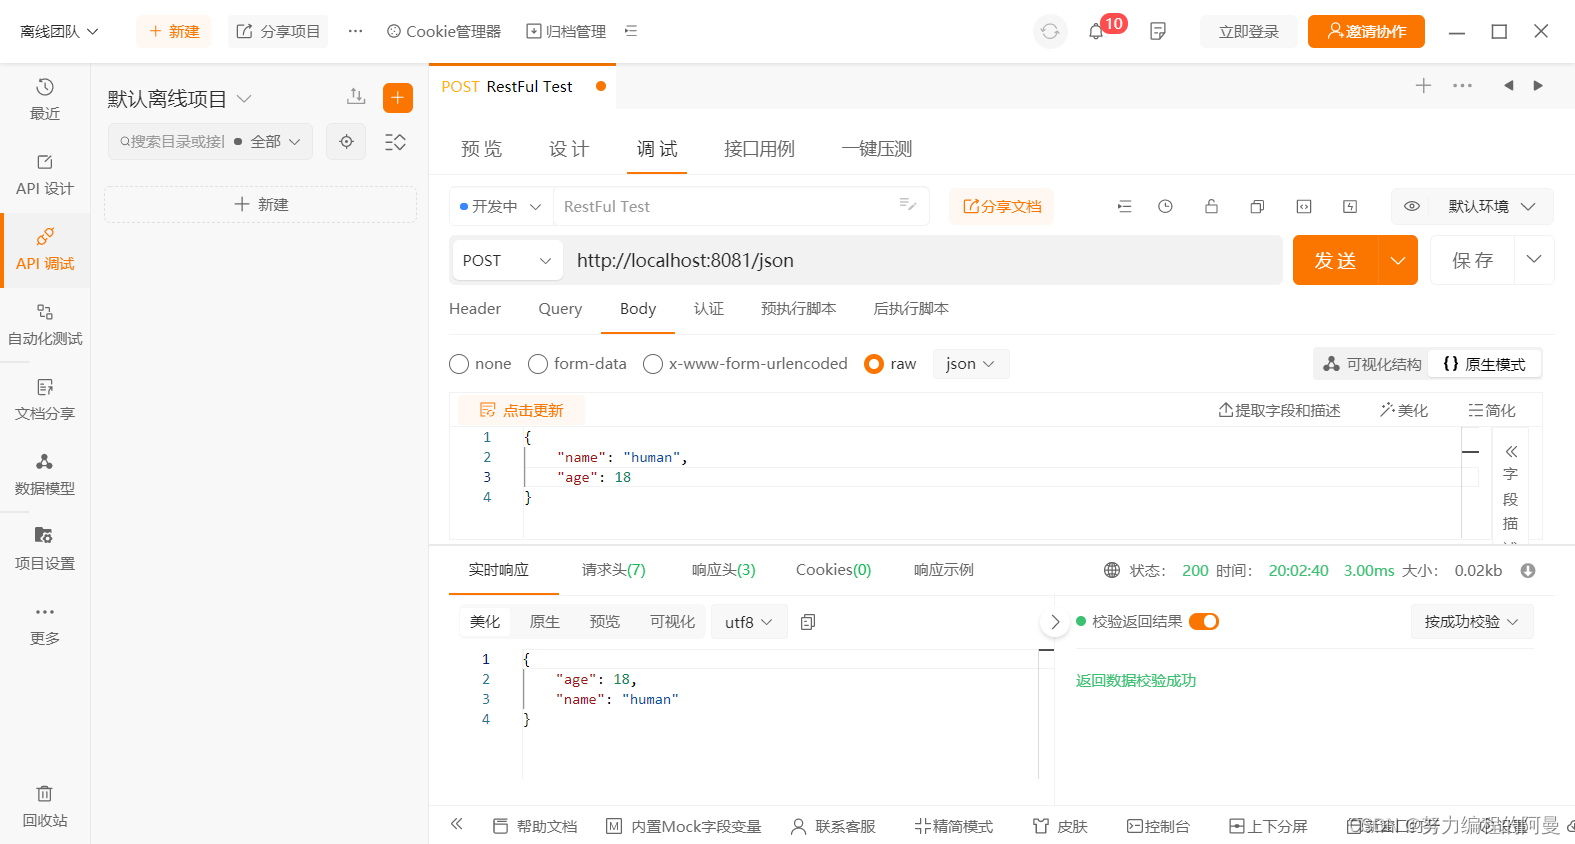
当然,前端也可以为后端传递一个JSON,首先使用POST接受前端的请求,前端传来一个JSON数据并进行操作,获取JSON使用GetRawData函数来完成,这个函数返回两个值,一个是我们所需要的data另一个是产生的erro,然后使用map类型的对象来接受,前端一般传来一个string和一个object,object使用interface(空接口)来接收(它可以接受一切数据),然后使用JSON来解析
如以下的代码块
	//前端给后端传递JSON
	ginServer.POST("/json", func(context *gin.Context) {
		//request body
		b, _ := context.GetRawData()

		//Go语音的body用map接受
		var m map[string]interface{}
		//包装json数据 []byte
		_ = json.Unmarshal(b, &m)
		context.JSON(http.StatusOK, m)
	})
使用apipost进行测试得到结果
接着还有表单,如下面的form表单
<!DOCTYPE html>
<html lang="en">
<head>
<meta charset="UTF-8">
<title>我的GO web页面</title>
<link rel="stylesheet" href="/static/css/style.css">
<script src="/static/js/commom.js"></script>
</head>
<body>
<h1>hello world!</h1>
<form action="/user/add" method="post">
<p>username:<input type="text" name="username"></p>
<p>password:<input type="text" name="password"></p>
<button type="submit"> 提交 </button>
</form>
后端的数据为
{{.msg}}
</body>
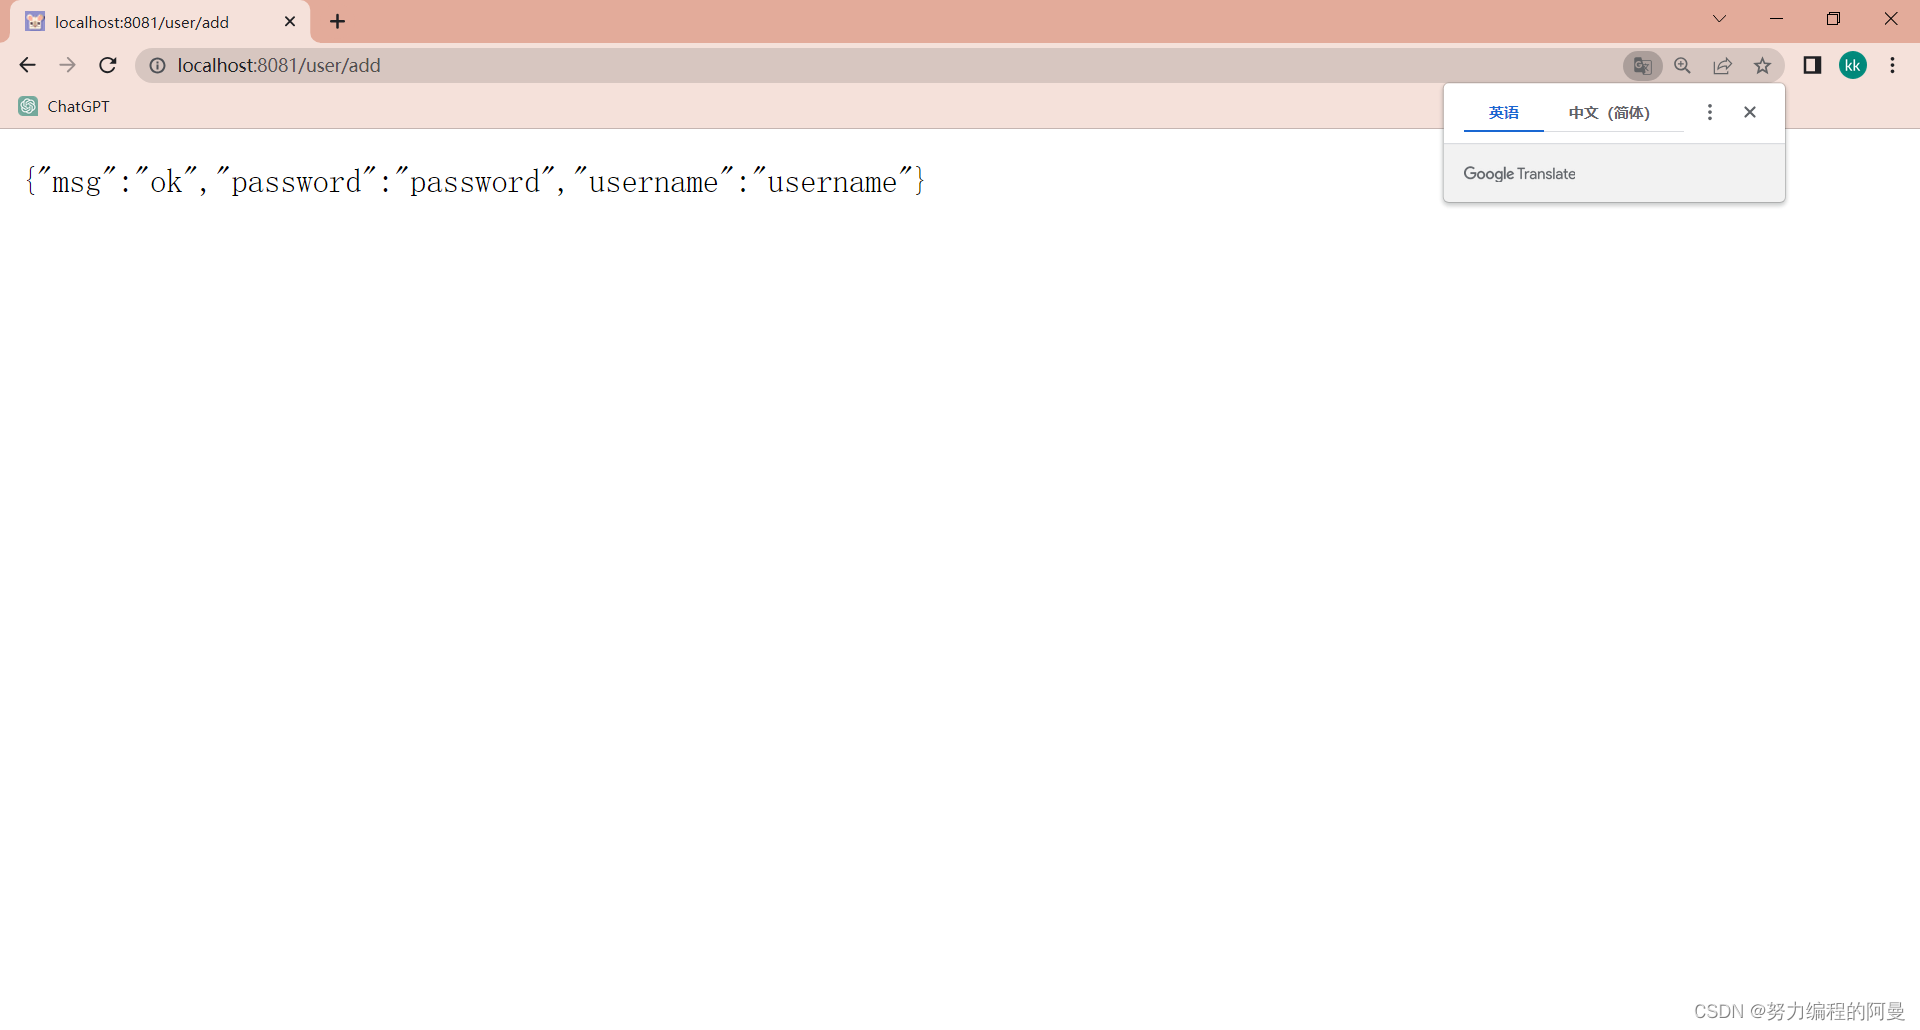
</html>同样使用POST来接收数据,并使用PostForm来对表单进行处理,如以下的代码
	ginServer.POST("/user/add", func(context *gin.Context) {
		username := context.PostForm("username")
		password := context.PostForm("password") //取出username和password
		context.JSON(http.StatusOK, gin.H{
			"msg":      "ok",
			"username": username,
			"password": password,
		})
	})
可以在浏览器中看到

输入username和password后提交可以看到
在context.JSON中或者获取到username和password后可以对我们的username和password进行校验等操作 (因为这里的post的参数为函数)

 浙公网安备 33010602011771号