Golang中Gin框架开发学习记录——(一)
1、环境配置
在GO语言中,使用"go get"命令获取相关包"go get"命令的作用与“git clone”类似,这里使用:
go get -u github.com/gin-gonic/gin
来获取,相关代理问题可以参考以下链接:
(19条消息) 解决GO安装gin框架(go get -u github.com/gin-gonic/gin)超时问题_力不竭!!!战不止!!!的博客-CSDN博客
在获取到相关包,导入时会发现无法识别(报红)

这时可以在setting中选择代理

环境可以在cmd中使用“go env”命令获得

复制粘贴就好
2、打印出“hello world”
接下来尝试在网页中打印出“hello world”
package main
import (
"github.com/gin-gonic/gin"
"github.com/thinkerou/favicon"
)
func main() {
//创建一个服务
ginServer := gin.Default()
ginServer.Use(favicon.New("./aevr4-fg4ao-001.ico"))//改变图标使用ico文件
//访问地址
ginServer.GET("/hello", func(context *gin.Context) {
context.JSON(200,gin.H{"msg":"hello world"})
})//context接受JSON数据
//服务器端口
ginServer.Run(":8081")
}
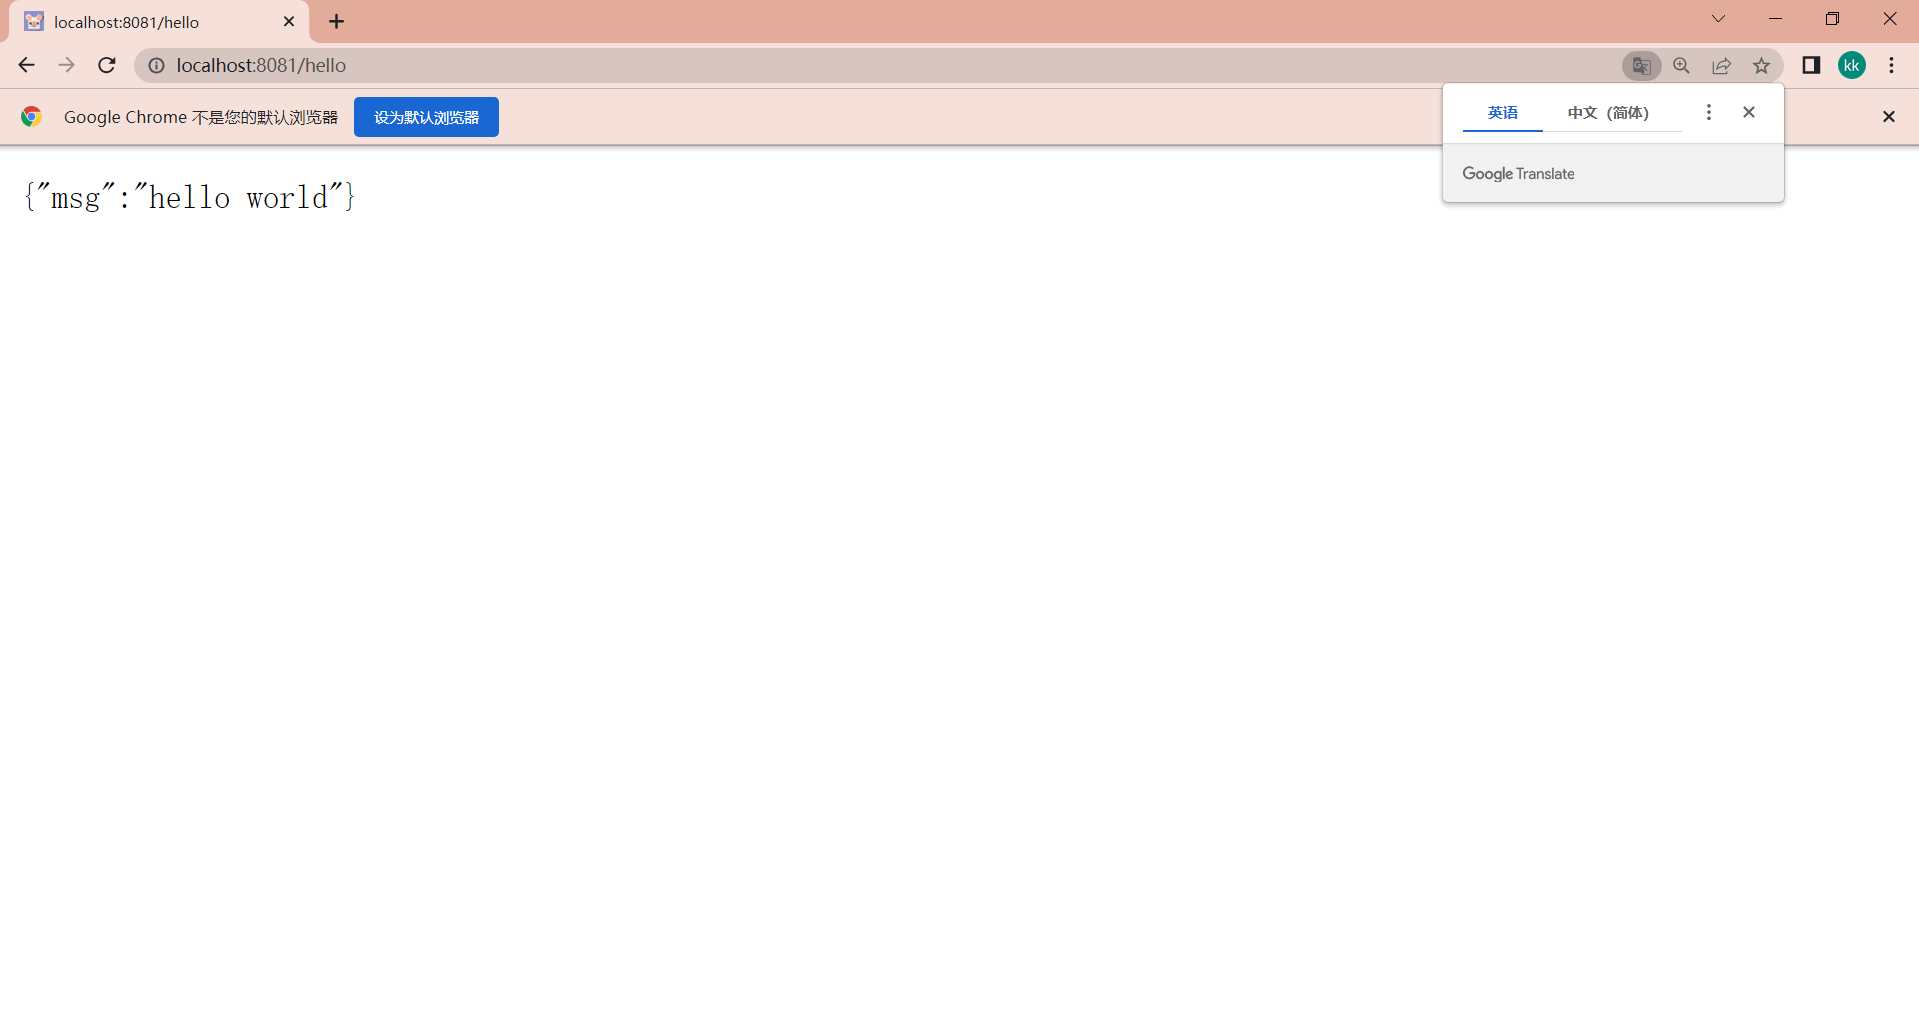
启动程序以后在浏览器输入“localhost:8081/hello“看到结果

3、RESTful API
直接使用:get,post,put,delet对网页进行操作
package main
import (
"github.com/gin-gonic/gin"
"github.com/thinkerou/favicon"
)
func main() {
//创建一个服务
ginServer := gin.Default()
ginServer.Use(favicon.New("./aevr4-fg4ao-001.ico"))
//访问地址,处理请求 Request Response
//Gin Restful
ginServer.GET("/hello", func(context *gin.Context) {
context.JSON(200, gin.H{"msg": "hello,world"})
})
ginServer.GET("/user")
ginServer.POST("/user", func(context *gin.Context) {
context.JSON(200, gin.H{"msg": "post user1"})
})
ginServer.PUT("/user")
ginServer.DELETE("/user")
//服务器端口
ginServer.Run(":8081")
}
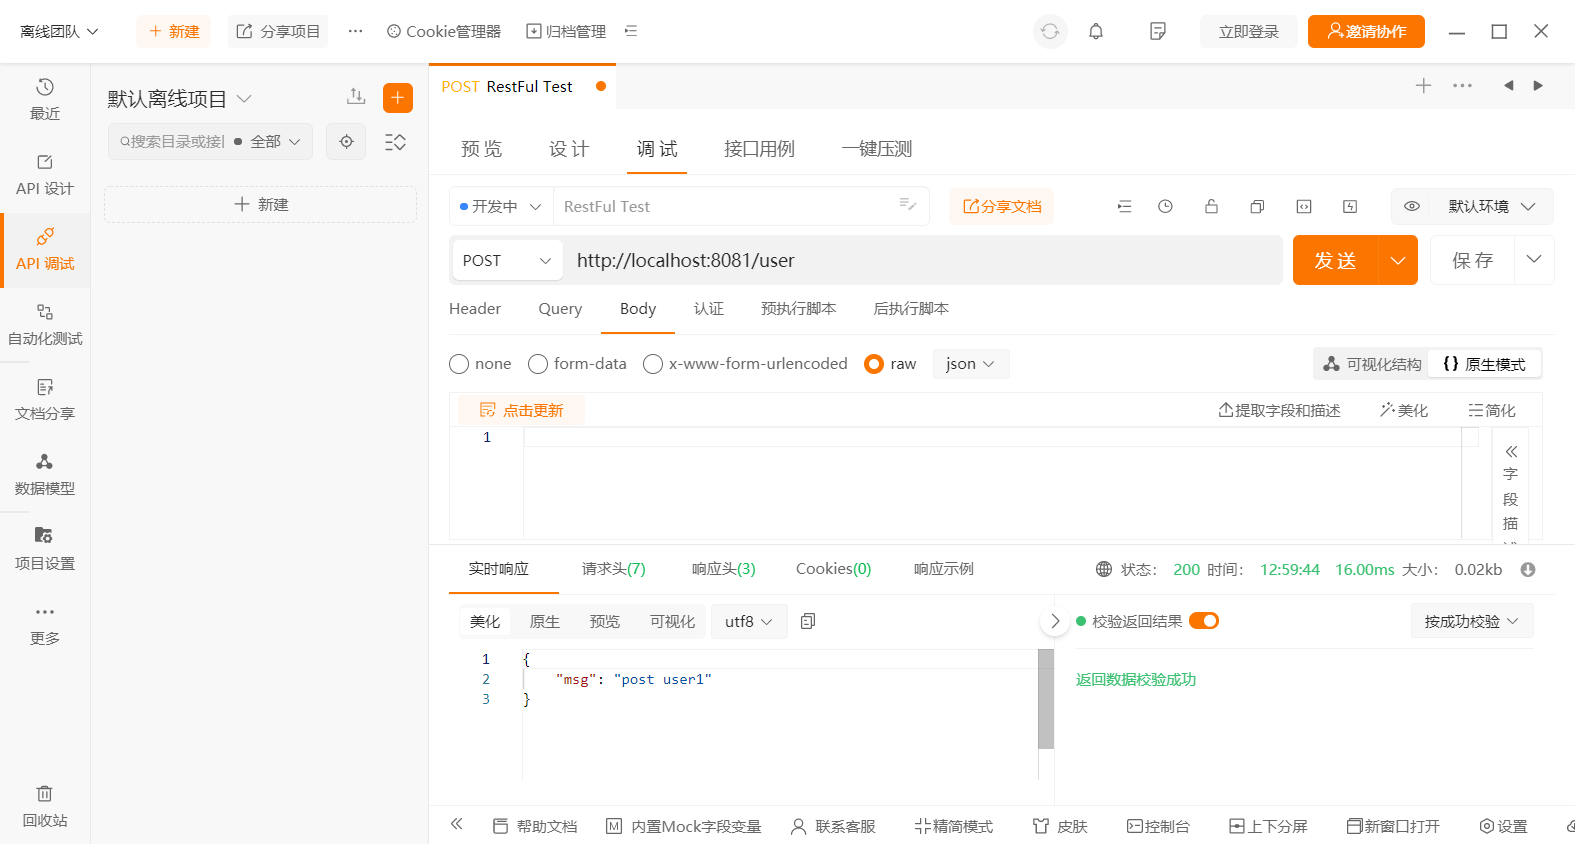
这里我使用Apipost进行测试

可以看见post请求按我们所设想的进行工作


 浙公网安备 33010602011771号