Nginx虚拟主机
虚拟主机
1、基于域名
编辑nginx.conf
worker_processes  1;
events {
    worker_connections  1024;
}
http {
    include       mime.types;
    default_type  application/octet-stream;
    sendfile        on;
    keepalive_timeout  65;
    server {
        listen       80;
        server_name  www.hello.com;
        location / {
            root   html/www;
            index  index.html index.htm;
        }
        error_page   500 502 503 504  /50x.html;
        location = /50x.html {
            root   html;
        }
    }
}
创建域名对应的站点目录及文件
#创建目录
mkdir /appliction/nginx/html/www -p
#创建文件
echo "http://www.hello.com" > /appliction/nginx/html/index.htm
检查修改过的nginx配置文件语法是否正确
#执行
/appliction/nginx/sbin/nginx -t

#返回信息
nginx: the configuration file /appliction/nginx-1.14.0//conf/nginx.conf syntax is ok
nginx: configuration file /appliction/nginx-1.14.0//conf/nginx.conf test is successful


#没有问题重启nginx(reload平滑重启)
/appliction/nginx/sbin/nginx -s reload

#检查nginx启动是否正常
ps -ef|grep nginx

#检查端口
netstat -lnt|grep 80

##客户端访问需要在hosts文件内做解析
添加多个虚拟主机
#只需要配置多个server,和对应的页面文件路径

worker_processes  1;
events {
    worker_connections  1024;
}

http {
    include       mime.types;
    default_type  application/octet-stream;
    sendfile        on;
    keepalive_timeout  65;

    server {
        listen       80;
        server_name  www.hello.com;
        location / {
            root   html/hello;
            index  index.html index.htm;
        }
    }


    server {
        listen       80;
        server_name  www.world.com;
        location / {
            root   html/world;
            index  index.html index.htm;
        }
        error_page   500 502 503 504  /50x.html;
        location = /50x.html {
            root   html;

        }
    }
}
创建对应的文件和目录

mkdir /appliction/nginx/html/hello -p

echo "http://www.hello.com" > /appliction/nginx/html/hello/index.html

mkdir //appliction/nginx/html/world -p
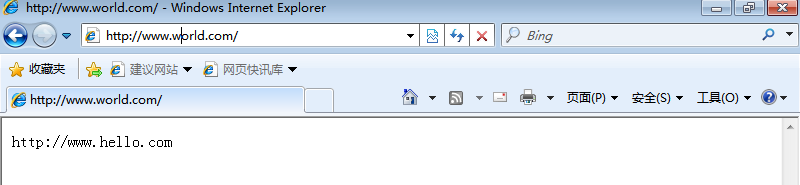
echo "http://www.world.com" > /appliction/nginx/html/hello/index.html
/appliction/nginx/sbin/nginx -s reload

2、基于端口
基于端口,就需要每个虚拟主机配置的端口不同,nginx.conf配置文件中的listen端口。
编辑nginx.conf配置文件
#默认访问为80端口,添加一个server端口修改为9998和9999端口

worker_processes  1;
events {
    worker_connections  1024;
}

http {
    include       mime.types;
    default_type  application/octet-stream;
    sendfile        on;
    keepalive_timeout  65;

    server {
        listen      9998 ;
        server_name  www.hello.com;
        location / {
            root   html/hello;
            index  index.html index.htm;
        }
    }


    server {
        listen       9999;
        server_name  www.world.com;
        location / {
            root   html/world;
            index  index.html index.htm;

        }
    }
}


3、基于IP
基于IP,需要多个IP地址,配置nginx.conf配置文件
worker_processes  1;
events {
    worker_connections  1024;
}

http {
    include       mime.types;
    default_type  application/octet-stream;
    sendfile        on;
    keepalive_timeout  65;

    server {
        listen      192.168.8.132:80 ;
        server_name  www.hello.com;
        location / {
            root   html/hello;
            index  index.html index.htm;
        }
    }


    server {
        listen       192.168.8.133:80;
        server_name  www.world.com;
        location / {
            root   html/world;
            index  index.html index.htm;

        }
    }
}
在listen端口号前加上IP地址,前提服务器要分配有两个IP地址
设置好后重启nginx
#先检查配置文件是否正确
/appliction/nginx/sbin/nginx -t

#重启
/appliction/nginx/sbin/nginx -s reload
测试:
地址:
192.168.8.132:80
192.168.8.133:80

 浙公网安备 33010602011771号