QT自定义UI组件_窗口阴影
实现1: 两边有阴影
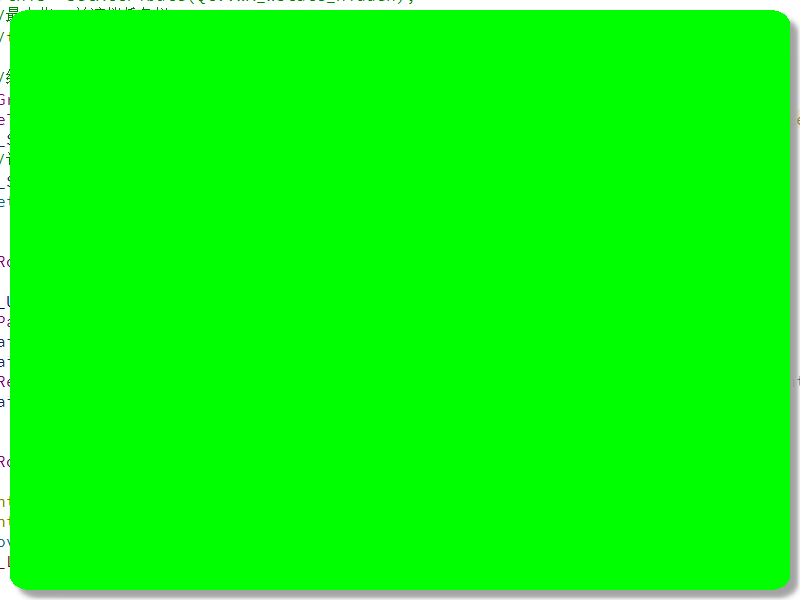
直接使用QGraphicsDropShadowEffect实现widget阴影部分
如下图:

代码实现:
    QGraphicsDropShadowEffect* m_Shadow = new QGraphicsDropShadowEffect;
  //设置阴影颜色
    m_Shadow->setColor(QColor(160, 160,160));
    //设置模糊度, 值越大, 越模糊
    m_Shadow->setBlurRadius(10);
    setGraphicsEffect(m_Shadow);
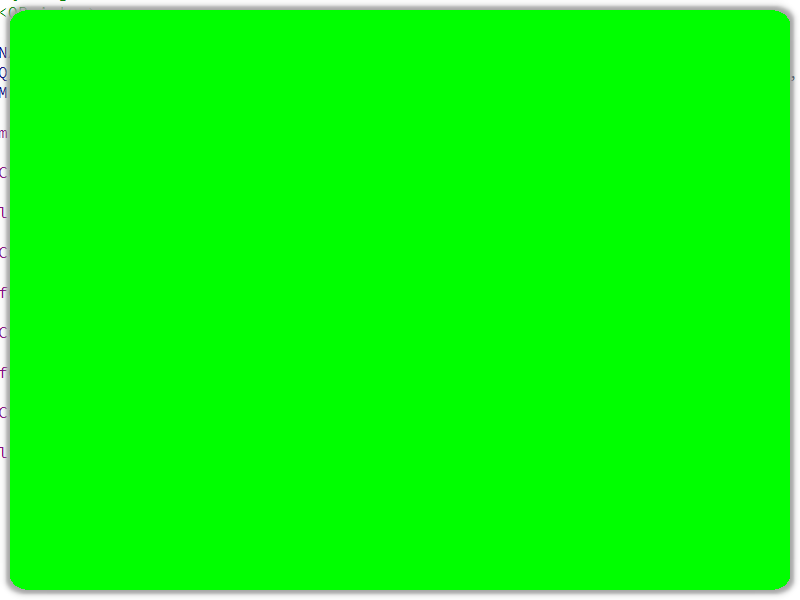
实现2: 四边都有阴影
如下图:

实现方法: 继承QGraphicsEffect, 先保存原窗口pixmap信息, 然后根据原窗口的pixmap信息,计算出阴影信息, 阴影的长度, 模糊度等信息后, 先画出阴影部分qpixmap,最后将最开始保存的pixmap绘制出来, 就实现了四边的阴影部分
代码如下: 以下代码源自https://blog.csdn.net/ly305750665/article/details/79209774?utm_source=blogxgwz8
#include <QObject>
#include <QColor>
#include <QGraphicsDropShadowEffect>
#include <QGraphicsEffect>

class SelfCustomEffect : public QGraphicsEffect
{
    Q_OBJECT
public:
    explicit SelfCustomEffect(QObject *parent = nullptr);

    void draw(QPainter *painter);
    QRectF boundingRectFor(const QRectF &sourceRect);
public:
    void setDistance(qreal distance);
    qreal distance();
    void setBlurRadius(qreal );
    qreal blurRadius();
    void setColor(const QColor&);
    QColor color();
private:
    //阴影边距
    qreal m_distance;
    //模糊度, 值越大, 越模糊
    qreal m_blurRadius;
    //阴影颜色
    QColor m_color;
signals:

public slots:
};
cpp文件如下:
#include "SelfCustomEffect.h"
#include <QImage>
#include <QDebug>
#include <QPainter>

QT_BEGIN_NAMESPACE
  extern Q_WIDGETS_EXPORT void qt_blurImage(QPainter *p, QImage &blurImage, qreal radius, bool quality, bool alphaOnly, int transposed = 0 );
QT_END_NAMESPACE

SelfCustomEffect::SelfCustomEffect(QObject *parent) : QGraphicsEffect(parent)
{
    m_color = QColor(160, 160,160);
    m_blurRadius = 10.0;
    m_distance = 4.0;
}

void SelfCustomEffect::draw(QPainter *painter)
{
    if(distance() + blurRadius() <= 0)
    {
        drawSource(painter);
        return;
    }

    PixmapPadMode mode = QGraphicsEffect::PadToEffectiveBoundingRect;
    QPoint offset;
    QPixmap pixmap = sourcePixmap(Qt::DeviceCoordinates, &offset, mode);
    qDebug() <<"x:" << offset.x() <<"y:" << offset.y();
    if(pixmap.isNull())
        return;

    //计算背景图片大小
    QSize size(pixmap.size().width() + 2*distance(), pixmap.size().height() + 2*distance());
    QImage tmpImg(size, QImage::Format_ARGB32_Premultiplied);
    QPixmap scaled = pixmap.scaled(size);
    tmpImg.fill(0);
    QPainter tmpPainter(&tmpImg);
    tmpPainter.setCompositionMode(QPainter::CompositionMode_Source);
    tmpPainter.drawPixmap(QPointF(-distance(), -distance()), scaled);
    tmpPainter.end();

    //设置模糊度
    QImage blurred(tmpImg.size(), QImage::Format_ARGB32_Premultiplied);
    blurred.fill(0);
    QPainter blurPainter(&blurred);
    qt_blurImage(&blurPainter, tmpImg, blurRadius(), false, true);
    blurPainter.end();

    tmpImg = blurred;
    // 设置阴影部分
    tmpPainter.begin(&tmpImg);
    tmpPainter.setCompositionMode(QPainter::CompositionMode_SourceIn);
    tmpPainter.fillRect(tmpImg.rect(), color());
    tmpPainter.end();

    //画阴影部分
    painter->drawImage(offset, tmpImg);
    //画原图
    painter->drawPixmap(offset, pixmap, QRectF());

}

QRectF SelfCustomEffect::boundingRectFor(const QRectF &rect)
{
    qreal delta = blurRadius() + distance();
    return rect.united(rect.adjusted(-delta, -delta, delta, delta));
}

void SelfCustomEffect::setDistance(qreal distance)
{
    m_distance = distance;
}

qreal SelfCustomEffect::distance()
{
    return m_distance;
}

void SelfCustomEffect::setBlurRadius(qreal blurRadius)
{
    m_blurRadius = blurRadius;
}

qreal SelfCustomEffect::blurRadius()
{
    return m_blurRadius;
}

void SelfCustomEffect::setColor(const QColor& color)
{
    m_color = color;
}

QColor SelfCustomEffect::color()
{
    return m_color;
}
调用代码部分:
SelfCustomEffect* m_SelfShadow = new SelfCustomEffect;
m_SelfShadow->setColor(QColor(160, 160,160));
//设置模糊度
m_SelfShadow->setBlurRadius(10);
setGraphicsEffect(m_SelfShadow);


