在html 中,我们可以给元素设置自定义属性,格式: data-属性="属性值",可以设置一个,也可以设置多个
1.获取元素属性的常规方法:直接获取元素,然后使用getAttribute()函数获取元素属性的值
<!DOCTYPE html>
<html lang="en">
<head>
    <meta charset="UTF-8">
    <meta name="viewport" content="width=device-width, initial-scale=1.0">
    <meta http-equiv="X-UA-Compatible" content="ie=edge">
    <title>Document</title>
    <style>
        ul {
            background: #ccc;
            width: 500px;
            height: 200px;
        }
    </style>
    <script>
        window.onload = function() {
            // var aInput = document.getElementsByTagName("input");  //不知道为什么,这样获取的元素不能使用遍历 forEach
            var aInput = document.querySelectorAll("input");
            var oUl = document.getElementById("box");
            aInput.forEach(function(val, index) {
                val.onclick = function() {
                    if (index == 0) {
                        oUl.innerHTML = oUl.getAttribute('data-name');
                    } else if (index == 1) {
                        oUl.innerHTML = oUl.getAttribute('data-sex');
                    } else {
                        oUl.innerHTML = oUl.getAttribute('data-age');
                    }
                }
            });
        }
    </script>
</head>
<body>
    <input type="button" value="姓名"><input type="button" value="性别"><input type="button" value="年龄">
    <ul id="box" data-name="huanying2015" data-sex="man" data-age="25"></ul>
</body>
</html>
或者:
 1  <script>
 2         window.onload = function() {
 3             // var aInput = document.getElementsByTagName("input");  //不知道为什么,这样获取的元素不能使用遍历 forEach
 4             var aInput = document.querySelectorAll("input");
 5             var oUl = document.getElementById("box");
 6             aInput[0].onclick = function() {
 7                 oUl.innerHTML = oUl.getAttribute('data-name');
 8             }
 9             aInput[1].onclick = function() {
10                 oUl.innerHTML = oUl.getAttribute('data-sex');
11             }
12             aInput[2].onclick = function() {
13                 oUl.innerHTML = oUl.getAttribute('data-age');
14             }
15         }
16 </script>
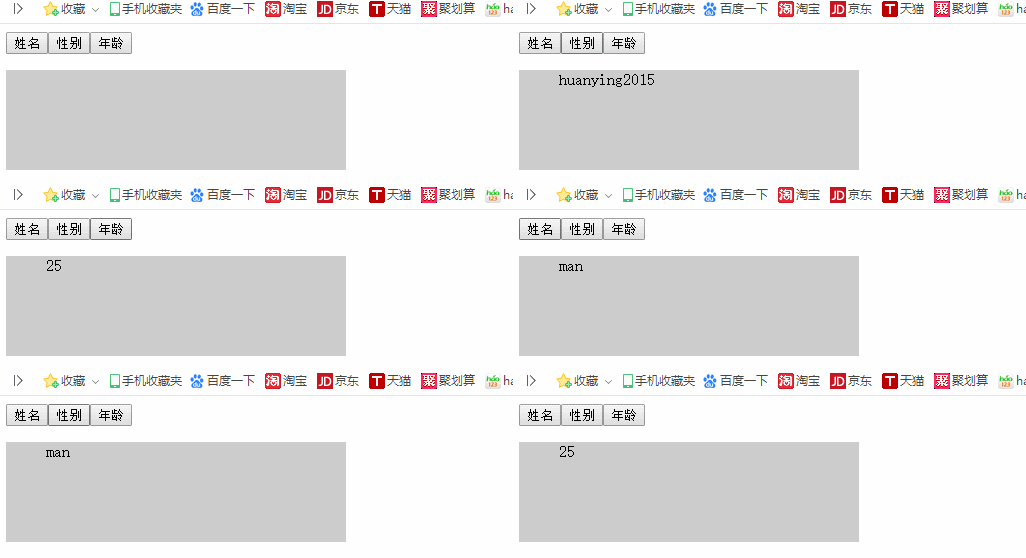
运行结果:

2. 不适用getAtrribute()函数,也可以获取元素属性的值,使用 dataset 来获取,例如:<div id="box" data-kkt="hello">hello world!</div> ;当要获取元素div中data-kkt属性的值时,可以 先获取元素 el = $("#box") ;然后 el.dataset.kkt ,这样就可以获取元素的属性值了
把上面这个获取属性值的函数改为 el.dataset.属性 改写如下:
 1 <script>
 2         window.onload = function() {
 3             // var aInput = document.getElementsByTagName("input");  //不知道为什么,这样获取的元素不能使用遍历 forEach
 4             var aInput = document.querySelectorAll("input");
 5             var oUl = document.getElementById("box");
 6             aInput.forEach(function(val, index) {
 7                 val.onclick = function() {
 8                     if (index == 0) {
 9                         oUl.innerHTML = oUl.dataset.name;
10                     } else if (index == 1) {
11                         oUl.innerHTML = oUl.dataset.sex;
12                     } else {
13                         oUl.innerHTML = oUl.dataset.age;
14                     }
15                 }
16             });
17
18             // aInput[0].onclick = function() {
19             //      oUl.innerHTML = oUl.dataset.name;
20             // }
21             // aInput[1].onclick = function() {
22             //      oUl.innerHTML = oUl.dataset.sex;
23             // }
24             // aInput[2].onclick = function() {
25             //      oUl.innerHTML = oUl.dataset.age;
26             // }
27         }
28 </script>
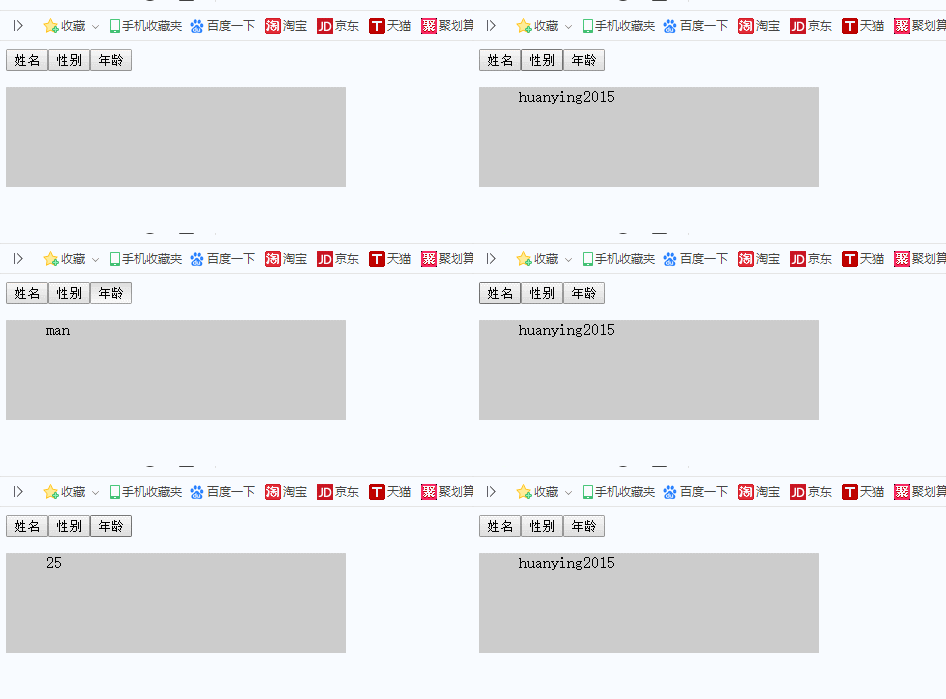
运行结果,也是一样的:

3. 使用自定义索引制作选项卡:
 1 <!DOCTYPE html>
 2 <html lang="en">
 3 <head>
 4     <meta charset="UTF-8">
 5     <meta name="viewport" content="width=device-width, initial-scale=1.0">
 6     <meta http-equiv="X-UA-Compatible" content="ie=edge">
 7     <title>Document</title>
 8     <style>
 9         div {
10             width: 300px;
11             height: 200px;
12             display: none;
13             text-align: center;
14             border: 1px solid #ccc;
15         }
16         div.php {
17             background: red;
18         }
19         div.javascript {
20             background: blue;
21         }
22         div.html {
23             background: green;
24         }
25         div.linux {
26             background: yellow;
27         }
28     </style>
29     <script>
30         window.onload = function() {
31             var aInput = document.querySelectorAll("input");
32             var aDiv = document.querySelectorAll("div");
33             aInput.forEach(function(val, key) {
34                 val.onclick = function() {
35                     for (var i = 0, len = aInput.length; i < len; i++) {
36                         aInput[i].style.background = "";
37                         aDiv[i].style.display = "none";
38                     }
39                     val.style.background = 'red';
40                     // val.dataset.target 获取val元素的自定义target属性,因为自定属性里前有一个#号,所以去掉#,就变成了val.dataset.target.substring(1)
41                     // 对应的div元素Id刚好是 val 的自定义索引data-target属性去掉# 号,所以可以按照如下方法获取元素,然后进行显示
42                     document.getElementById(val.dataset.target.substring(1)).style.display = 'block';
43                 }
44             });
45         }
46     </script>
47 </head>
48 <body>
49     <input type="button" value="点击1" data-index="1" data-target="#php" style="background:red;">
50     <input type="button" value="点击2" data-index="2" data-target="#javascript">
51     <input type="button" value="点击3" data-index="3" data-target="#html">
52     <input type="button" value="点击4" data-index="4" data-target="#linux">
53     <div id="php" style="display:block" class="php">php 是一门强大的后端脚本语言</div>
54     <div id="javascript" class="javascript"> javascript 是一门强大的前端脚本语言</div>
55     <div id="html" class="html">html 是一门浏览器语言</div>
56     <div id="linux" class="linux">linux 是一门强大的服务器脚本语言</div>
57 </body>
58 </html>
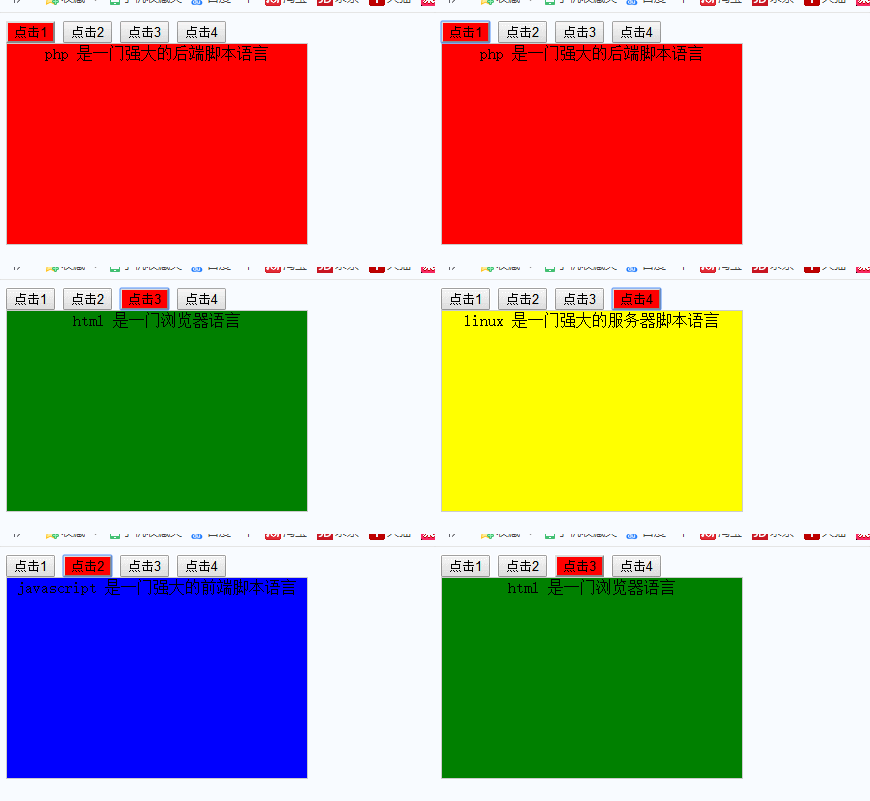
运行结果:

http://www.cnblogs.com/huanying2015 博客随笔大多数文章均属原创,欢迎转载,但未经作者同意必须保留此段声明,且在文章页面明显位置给出原文连接,否则保留追究法律责任的权利


