Vue Router(一)
1、认识路由
vue-router 基本使用
vue-router 嵌套路由
vue-router 参数传递
vue-router 导航守卫
keep-alive
2、什么是前端渲染,什么是后端渲染
1)后端渲染
jsp:java server page
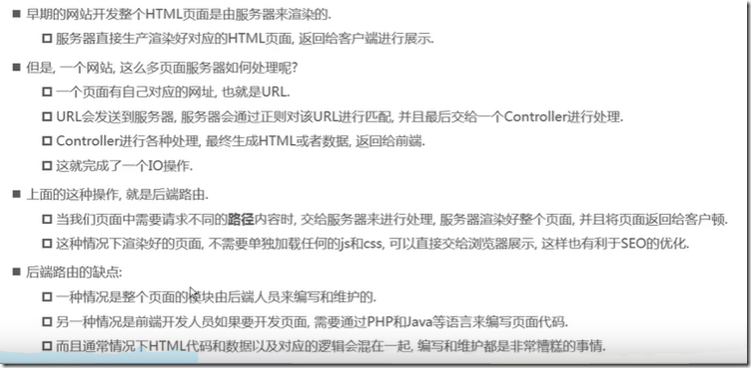
后端路由阶段:
早期的网站开发,整个HTML页面是由服务器来渲染的
服务器直接生产好对应的html页面,返回给客户端进行显示
2)前后端分离阶段
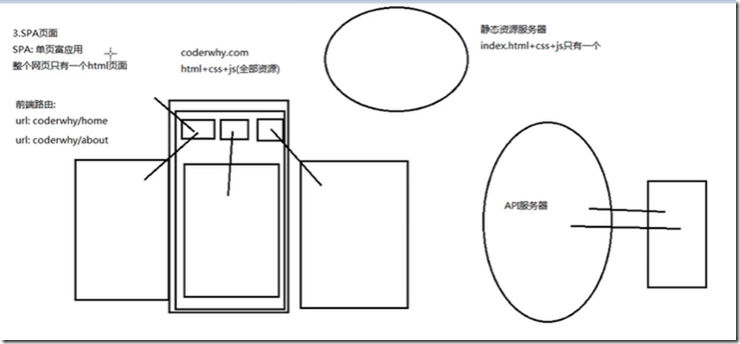
3)单页面富应用阶段
spa
其实 SPA 最主要的特点就是在前后端分离的基础上加了一层前端路由
也就是由前端来维护一套规则
3、url的hash 和 HTML5的history
1、URL的hash
URL的hash 也就是锚点,本质上是改变window.location的href属性
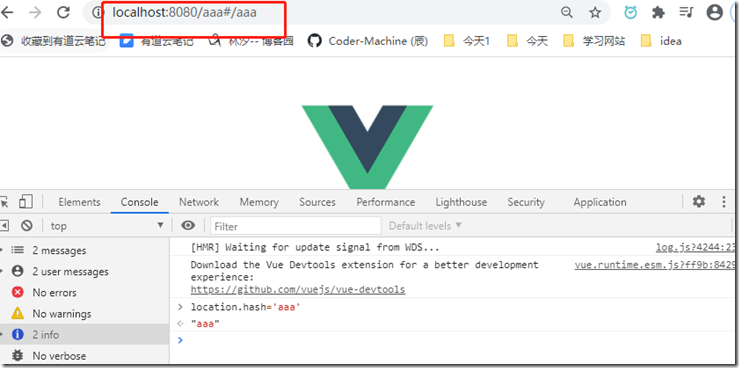
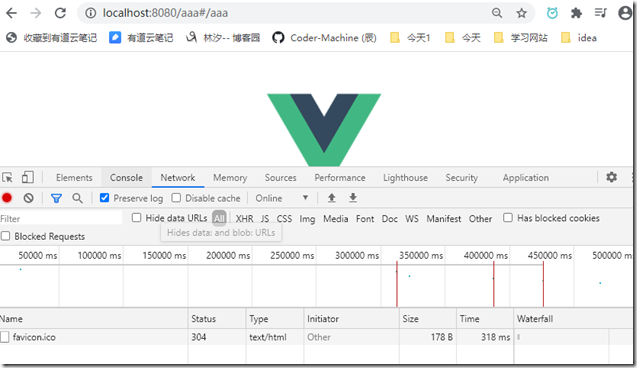
我们可以通过直接复制location.hash 来改变href,但是页面不发生刷新
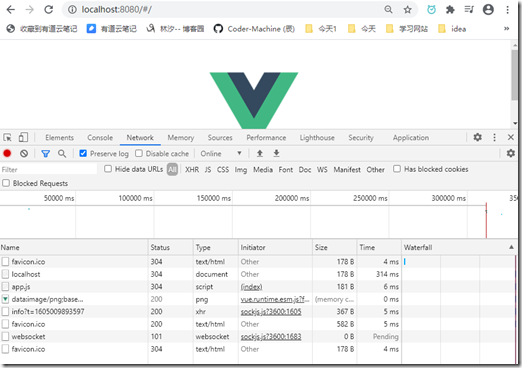
当清空network,并且在开发者模式中输入:location.hash='aaa',可以看到url改变了,而且network中并没有请求资源
2、HTML5的history
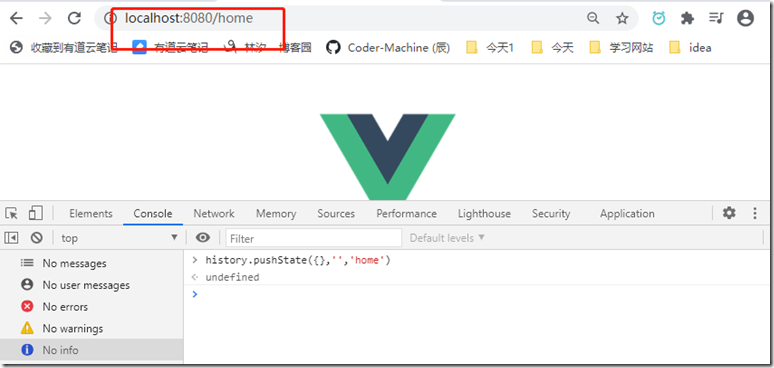
history.pushState({},'','home')
history.back() 返回上一层,等价于 go(-1)
history.replaceState({},'','home') : 不能后退
history.go(num) 当前页面前进、后退num个记录
history.foword() 等价于 go(1)
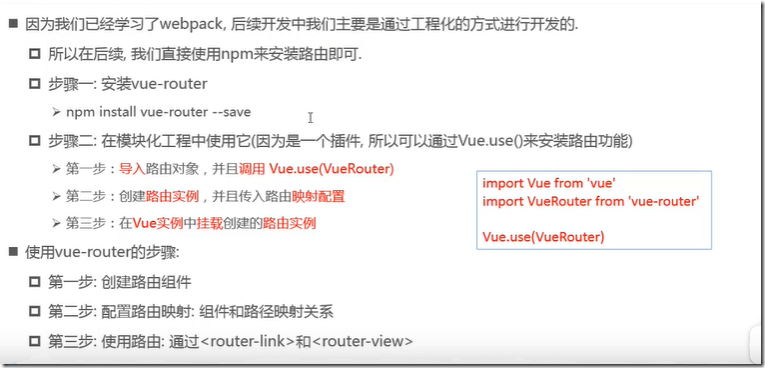
4、安装和使用vue-router
1、安装 vue-router
npm install vue-router –save
2、在模块化工程中使用vue-router
①、在router文件下的index.js文件中,导入路由对象,并且调用Vue.use(VueRouter)
import VueRouter from 'vue-router'
import Vue from 'vue'

//1、通过Vue.use(插件),来安装插件
Vue.use(VueRouter)
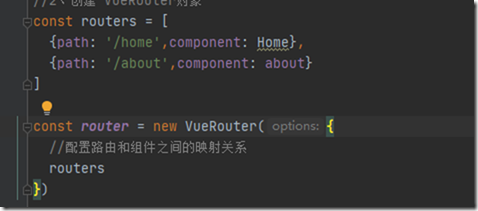
②、创建路由实例,并且传入路由映射配置
//2、创建 VueRouter对象
const routes = [
]

const router = new VueRouter({
  //配置路由和组件之间的映射关系
  routes
})
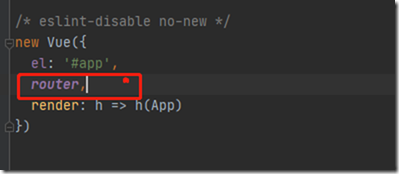
③、在index.js中导出router,在Vue实例中挂载创建的路由实例
3、使用vue-router
①、创建路由组件
②、配置路由的映射关系
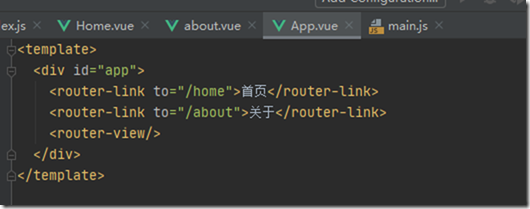
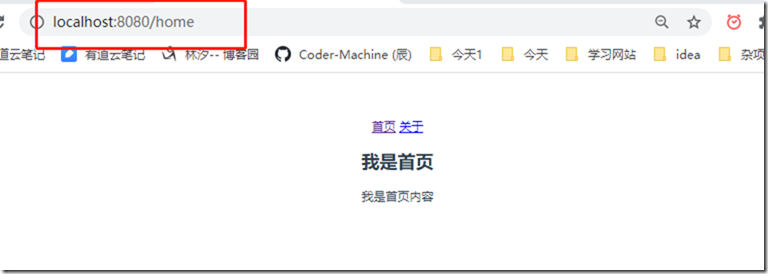
③、使用 <router-link>和 <router-view>
【备注】
router文件夹下的 index.js//配置路由的相关信息
import VueRouter from 'vue-router'
import Vue from 'vue'
import Home from '../components/Home'
import about from '../components/about'

//1、通过Vue.use(插件),来安装插件
Vue.use(VueRouter)

//2、创建 VueRouter对象
const routes = [
  {
    path: '',
    // redirect重定向
    redirect: '/home'
  },
  {
    path: '/home',
    component: Home
  },
  {
    path: '/about',
    component: About
  }
]

const router = new VueRouter({
  //配置路由和组件之间的映射关系
  routes  //默认是hash模式   [注意] 上面截图中这块错了

})

//3、将router对象传入到Vue对象中
export default router
5、路由的默认路径
const routes = [
  {
    path: '',
    // redirect重定向
    redirect: '/home'  //默认显示Home组件
  },
  {
    path: '/home',
    component: Home
  },
  {
    path: '/about',
    component: About
  }
]
将url的跳转改成history模式
const router = new VueRouter({
  //配置路由和组件之间的映射关系
  routes,
  mode: 'history'
})
router-link其他属性详解
tag = “button" 将router-link渲染成button
<router-link to="/home" tag="button">首页</router-link>
replace:不能使用浏览器的返回功能
<router-link to="/home" tag="button" replace>首页</router-link>
通过代码跳转路由
<template>
  <div id="app">
    <!--<router-link to="/home" tag="button" replace>首页</router-link>
    <router-link to="/about" tag="button" replace>关于</router-link>-->
    <button @click="homeClick">首页</button>
    <button @click="aboutClick">首页</button>
    <router-view/>
  </div>
</template>

<script>
export default {
  name: 'App',
  methods: {
    homeClick(){
      //通过代码的方式来修改路由
      this.$router.push('/home')
    },
    aboutClick(){
      //通过代码的方式来修改路由
      this.$router.push('/about')
    }

  }
}
</script>






 浙公网安备 33010602011771号