2、(深度学习)张量基础操作和基础和基本运算
1、构建项目
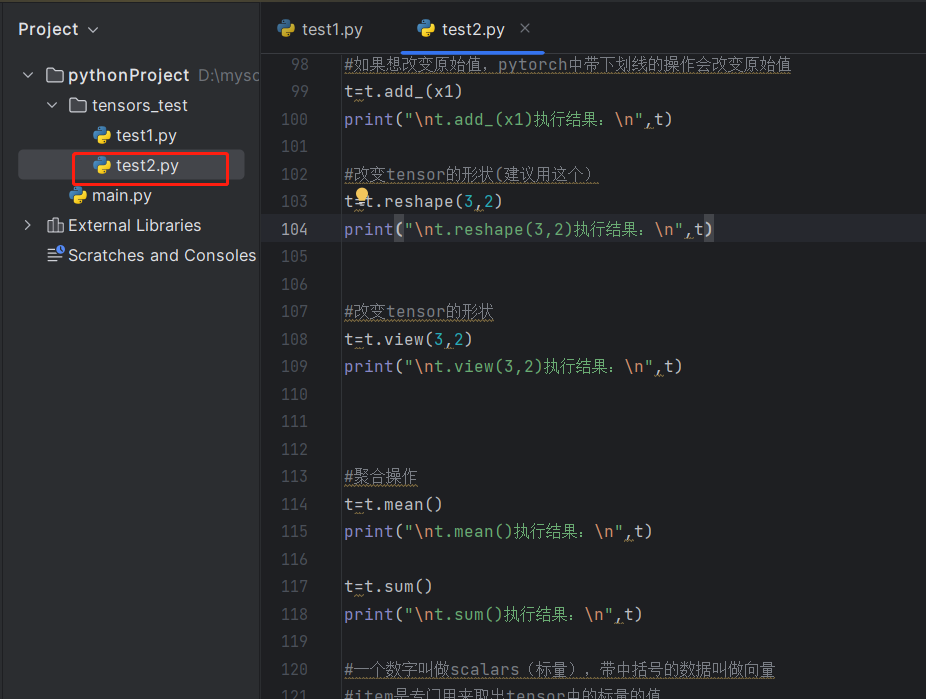
2、编辑test2.py


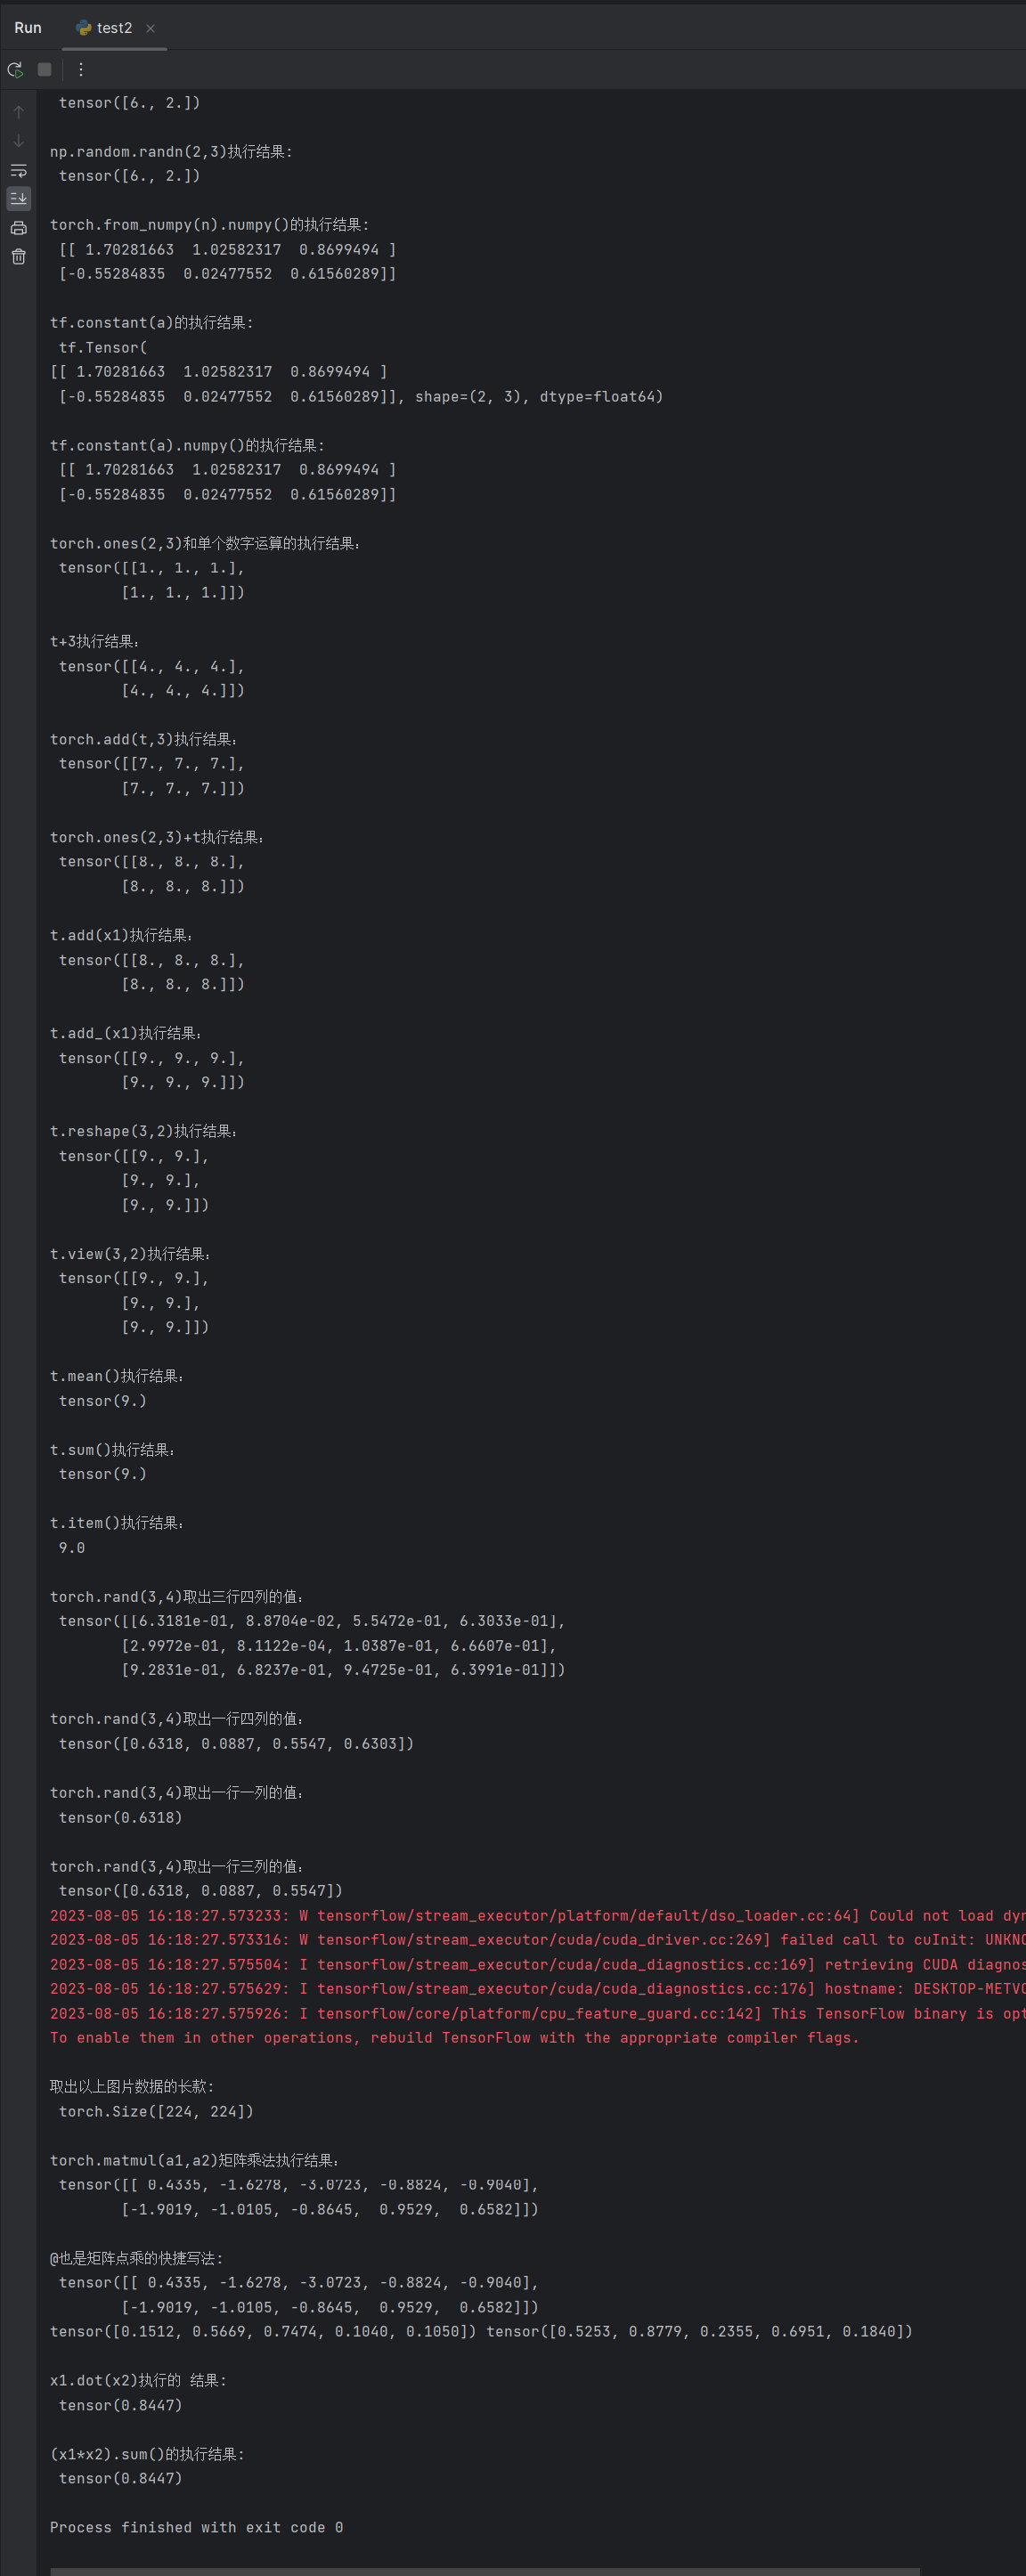
  1 import torch
  2 import numpy as np
  3 import tensorflow as tf
  4 #1. pytorch张量
  5 #pytorch中的张量和tensorflow的tensor是一样的,名字都一样
  6 #pytorch中的张量也叫tensor
  7 #tensor和numpy中的ndarray也是一个意思。只不过tensor可以在GPU上加速计算
  8 #创建tensor
  9 x=torch.tensor([6,2],dtype=torch.int32)
 10 print("\ntorch.tensor([6,2],dtype=torch.int32)执行结果:\n",x)
 11 #输出结果为:tensor([6, 2], dtype=torch.int32)
 12
 13 x=torch.tensor((6,2))
 14 print("\ntorch.tensor((6,2))执行结果:\n",x)
 15 #输出结果为:tensor([6, 2])
 16
 17 x=torch.tensor(np.array([6,2]))
 18 print("\ntorch.tensor(np.array([6,2]))执行结果:\n",x)
 19 #输出结果为:tensor([6, 2], dtype=torch.int32)
 20
 21 #快速创建tensor的方法,和numpy中的routines方法一样
 22 #ones,zeros,full,eye,random.randn,random.normal...arange...random.rand,random,random
 23 #创建一个0到1之间的随机数组成的tensor
 24 x=torch.rand(2,3)
 25 print("\ntorch.rand(2,3)执行结果:\n",x)
 26
 27 #标准正态分布
 28 x=torch.randn(2,3)
 29 print("\ntorch.randn(2,3)执行结果:\n",x)
 30
 31 x=torch.zeros(2,3)
 32 print("\ntorch.zeros(2,3)执行结果:\n",x)
 33
 34 x=torch.ones(2,3)
 35 print("\ntorch.ones(2,3)执行结果:\n",x)
 36
 37 #tensor的shape
 38 x=torch.ones(2,3,4)
 39 print("\ntorch.ones(2,3,4).shape执行结果:\n",x.shape)
 40
 41 #可以通过.size()方法获取形状
 42 print("\ntorch.ones(2,3,4).size()执行结果:\n",x.size())
 43
 44 #size中可以传shape的索引
 45 print("\ntorch.ones(2,3,4).size(1)执行结果:\n",x.size(1))
 46 # 输出结果为:
 47 # 3
 48
 49 #2.Tensor基本数据类型
 50 # pytorch中的tensor有以下基本数据类型
 51 #  32位浮点型: torch.float32
 52 #  64位浮点型: torch.float64
 53 #  32位整型: torch.int32
 54 #  16位整型: torch.int16
 55 #  64位整型: torch.int64
 56 #我们可以在创建tensor的时候指定数据类型
 57 x=torch.tensor([6,2],dtype=torch.float32)
 58 print("\ntorch.tensor([6,2],dtype=torch.float32)执行结果:\n",x)
 59 # 输出结果为:
 60 #tensor([6., 2.])
 61
 62 #tensorflow不能直接用tensor方法来创建tensor
 63 #tensorflow提供了constant,Variable,
 64 # tensor和ndarray很方便的进行转换
 65 n=np.random.randn(2,3)
 66 print("\nnp.random.randn(2,3)执行结果:\n",x)
 67
 68 a=torch.from_numpy(n)
 69 a=a.numpy()
 70 print("\ntorch.from_numpy(n).numpy()的执行结果:\n",a)
 71
 72 # numpy和tensor的数值进行转换
 73 t=tf.constant(a)
 74 print("\ntf.constant(a)的执行结果:\n",t)
 75
 76 print("\ntf.constant(a).numpy()的执行结果:\n",t.numpy())
 77
 78 #3.张量的运算
 79 #tensor运算规则和numpy的ndarray很像
 80 # 和单个数字运算
 81 t=torch.ones(2,3)
 82 print("\ntorch.ones(2,3)和单个数字运算的执行结果:\n",t)
 83
 84 t=t+3
 85 print("\nt+3执行结果:\n",t)
 86
 87 t=torch.add(t,3)
 88 print("\ntorch.add(t,3)执行结果:\n",t)
 89
 90 x1=torch.ones(2,3)
 91 #对应位置的元素相加,element-wise操作 残差网络的+ 就是element-wise相加
 92 print("\ntorch.ones(2,3)+t执行结果:\n",x1+t)
 93
 94 #有输出不会改变原始值
 95 t=t.add(x1)
 96 print("\nt.add(x1)执行结果:\n",t)
 97
 98 #如果想改变原始值,pytorch中带下划线的操作会改变原始值
 99 t=t.add_(x1)
100 print("\nt.add_(x1)执行结果:\n",t)
101
102 #改变tensor的形状(建议用这个)
103 t=t.reshape(3,2)
104 print("\nt.reshape(3,2)执行结果:\n",t)
105
106
107 #改变tensor的形状
108 t=t.view(3,2)
109 print("\nt.view(3,2)执行结果:\n",t)
110
111
112
113 #聚合操作
114 t=t.mean()
115 print("\nt.mean()执行结果:\n",t)
116
117 t=t.sum()
118 print("\nt.sum()执行结果:\n",t)
119
120 #一个数字叫做scalars(标量),带中括号的数据叫做向量
121 #item是专门用来取出tensor中的标量的值
122 t=t.item()
123 print("\nt.item()执行结果:\n",t)
124
125 # 取出三行四列的标量
126 x=torch.rand(3,4)
127 print("\ntorch.rand(3,4)取出三行四列的值:\n",x)
128 print("\ntorch.rand(3,4)取出一行四列的值:\n",x[0])
129 print("\ntorch.rand(3,4)取出一行一列的值:\n",x[0,0])
130 # rensor的切片和索引操作和ndarray是完全一致的
131 print("\ntorch.rand(3,4)取出一行三列的值:\n",x[0,:3])
132
133 # 写成卷积神经网络的写法,三维
134 x=torch.rand(32,224,224,3)
135 #取出以上图片数据的长款,
136 print("\n取出以上图片数据的长款:\n",x[0, :, :, 0].shape)
137
138 #矩阵乘法,2行5列
139 a1=torch.randn(2,3)
140 a2=torch.randn(3,5)
141 print("\ntorch.matmul(a1,a2)矩阵乘法执行结果:\n",torch.matmul(a1,a2))
142
143 #@也是矩阵点乘的快捷写法
144 print("\n@也是矩阵点乘的快捷写法:\n",a1@a2)
145
146 #pytorch中的dot是向量的乘法,必须是一致的向量
147 x1=torch.rand(5)
148 x2=torch.rand(5)
149 print(x1,x2)
150 # 求内积,x1和x2对应位置的数值两两相乘再相加
151 x3=x1.dot(x2)
152 print("\nx1.dot(x2)执行的 结果:\n",x3)
153
154 # 功能等
155 print("\n(x1*x2).sum()的执行结果:\n",(x1*x2).sum())
3、运行结果如下:

 浙公网安备 33010602011771号