

ajax(前端实现局部刷新) + JDBC(连接数据库查询数据) + jackson(处理json的工具库)
文章目录
简介
AJAX = Asynchronous JavaScript and XML(异步的 JavaScript 和 XML)。
AJAX 是一种在无需重新加载整个网页的情况下,能够更新部分页面内容的新方法
0. 总的工程目录

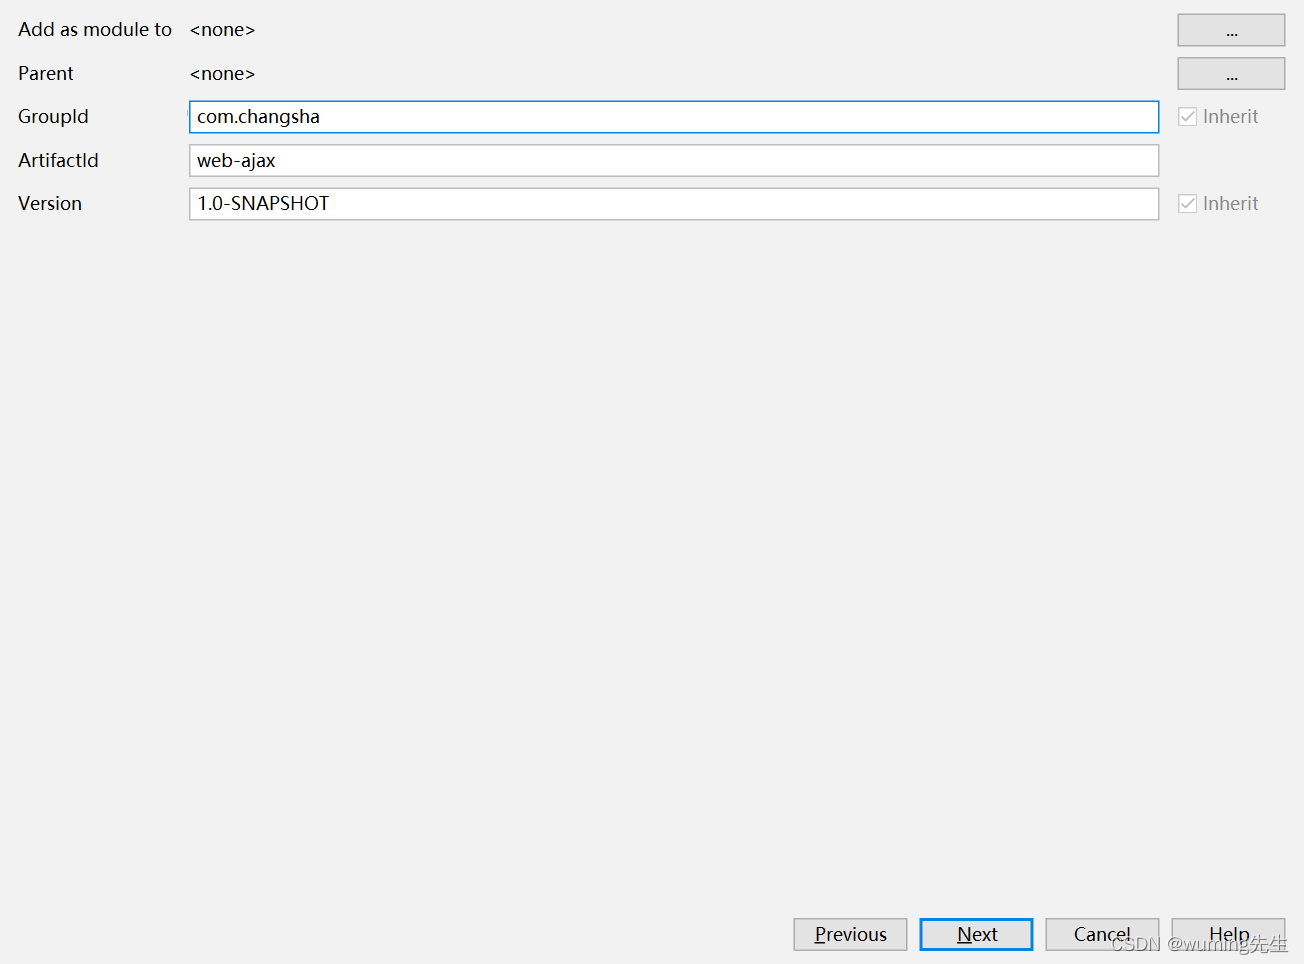
1. 创建maven工程


2. 加入依赖
<dependencies> <!--单元测试依赖--> <dependency> <groupId>junit</groupId> <artifactId>junit</artifactId> <version>4.11</version> <scope>test</scope> </dependency> <!--servlet--> <dependency> <groupId>javax.servlet</groupId> <artifactId>javax.servlet-api</artifactId> <version>3.1.0</version> <scope>provided</scope> </dependency> <!-- jsp 依赖 --> <dependency> <groupId>javax.servlet.jsp</groupId> <artifactId>jsp-api</artifactId> <version>2.2.1-b03</version> <scope>provided</scope> </dependency> <!--jackson--> <dependency> <groupId>com.fasterxml.jackson.core</groupId> <artifactId>jackson-core</artifactId> <version>2.9.0</version> </dependency> <dependency> <groupId>com.fasterxml.jackson.core</groupId> <artifactId>jackson-databind</artifactId> <version>2.9.0</version> </dependency> <!--mysql驱动--> <dependency> <groupId>mysql</groupId> <artifactId>mysql-connector-java</artifactId> <version>8.0.24</version> </dependency> </dependencies>
完整的pom.xml配置文件
<?xml version="1.0" encoding="UTF-8"?> <project xmlns="http://maven.apache.org/POM/4.0.0" xmlns:xsi="http://www.w3.org/2001/XMLSchema-instance" xsi:schemaLocation="http://maven.apache.org/POM/4.0.0 http://maven.apache.org/xsd/maven-4.0.0.xsd"> <modelVersion>4.0.0</modelVersion> <groupId>com.changsha</groupId> <artifactId>web-ajax</artifactId> <version>1.0-SNAPSHOT</version> <packaging>war</packaging> <properties> <project.build.sourceEncoding>UTF-8</project.build.sourceEncoding> <maven.compiler.source>1.8</maven.compiler.source> <maven.compiler.target>1.8</maven.compiler.target> </properties> <dependencies> <!--单元测试依赖--> <dependency> <groupId>junit</groupId> <artifactId>junit</artifactId> <version>4.11</version> <scope>test</scope> </dependency> <!--servlet--> <dependency> <groupId>javax.servlet</groupId> <artifactId>javax.servlet-api</artifactId> <version>3.1.0</version> <scope>provided</scope> </dependency> <!-- jsp 依赖 --> <dependency> <groupId>javax.servlet.jsp</groupId> <artifactId>jsp-api</artifactId> <version>2.2.1-b03</version> <scope>provided</scope> </dependency> <!--jackson--> <dependency> <groupId>com.fasterxml.jackson.core</groupId> <artifactId>jackson-core</artifactId> <version>2.9.0</version> </dependency> <dependency> <groupId>com.fasterxml.jackson.core</groupId> <artifactId>jackson-databind</artifactId> <version>2.9.0</version> </dependency> <!--mysql驱动--> <dependency> <groupId>mysql</groupId> <artifactId>mysql-connector-java</artifactId> <version>8.0.24</version> </dependency> </dependencies> <build> <resources> <resource> <directory>src/main/java</directory><!--所在的目录--> <includes><!--包括目录下的.properties,.xml 文件都会扫描到--> <include>**/*.properties</include> <include>**/*.xml</include> </includes> <filtering>false</filtering> </resource> </resources> <plugins> <plugin> <artifactId>maven-compiler-plugin</artifactId> <version>3.1</version> <configuration> <source>1.8</source> <target>1.8</target> </configuration> </plugin> </plugins> </build> </project>
3. 创建实体类(存储数据库表的一行数据)
package com.changsha.EntityClass; public class Student { private Integer id; private String name; private Integer age; public Student() { } public Student(Integer id, String name, Integer age) { this.id = id; this.name = name; this.age = age; } public Integer getId() { return id; } public void setId(Integer id) { this.id = id; } public String getName() { return name; } public void setName(String name) { this.name = name; } public Integer getAge() { return age; } public void setAge(Integer age) { this.age = age; } @Override public String toString() { return "Student{" + "id=" + id + ", name='" + name + '\'' + ", age=" + age + '}'; } }
4. 创建Dao类操作数据库(涉及数据库连接和操作数据库)
package com.changsha.ServletClass; import com.changsha.Dao.StudentDao; import com.changsha.EntityClass.Student; import com.fasterxml.jackson.databind.ObjectMapper; import javax.servlet.ServletException; import javax.servlet.http.HttpServlet; import javax.servlet.http.HttpServletRequest; import javax.servlet.http.HttpServletResponse; import java.io.IOException; import java.io.PrintWriter; public class DoAjaxServlet extends HttpServlet { private StudentDao studentDao = new StudentDao(); @Override protected void service(HttpServletRequest request, HttpServletResponse response) throws ServletException, IOException { System.out.println("接受请求"); String strJson = "{}"; String parm = request.getParameter("id"); System.out.println(parm); if(parm != null && !parm.equals("")) { Student student = studentDao.selectStudentById(Integer.valueOf(parm)); ObjectMapper om = new ObjectMapper(); strJson = om.writeValueAsString(student); } //将json数据传回浏览器 response.setContentType("application/json;charset=utf-8"); PrintWriter pw = response.getWriter(); pw.write(strJson); pw.flush(); pw.close(); } }
5. 创建jsp页面用ajax发送请求
<%@ page contentType="text/html;charset=UTF-8" language="java" %> <html> <head> <title>ajax更新数据</title> <script type="text/javascript"> function doAjaxRequst() { // 1.创建异步对象 let xmlHttp = new XMLHttpRequest(); // 2. 绑定事件(回调函数) xmlHttp.onreadystatechange = function () { // 处理返回数据,更新当前页面 if (xmlHttp.status == 200 && xmlHttp.readyState == 4){ let res = eval("("+xmlHttp.responseText+")"); document.getElementById("searchName").value = res.name document.getElementById("searchAge").value = res.age } } // 3.初始化参数 let parm = document.getElementById("searchId").value; xmlHttp.open("get","doSome?id=" + parm,true); // 4.发生请求 xmlHttp.send(); } </script> </head> <body> <h1>ajax请求</h1> <div> <table> <tr> <td>id:</td> <td><input type="text" name="id" id="searchId"></td> <td><input type="button" value="搜索" onclick="doAjaxRequst()"></td> </tr> <tr> <td>name:</td> <td><input type="text" name="name" id="searchName"></td> </tr> <tr> <td>age:</td> <td><input type="text" name="age" id="searchAge"></td> </tr> </table> </div> </body> </html>
AJAX 异步实现步骤
(1)创建对象方式
var xmlHttp = new XMLHttpRequest();
(2) onreadstatechange 事件
当请求被发送到服务器时,我们需要执行一些基于响应的任务。每当 readyState 改变时,就会触发 onreadystatechange 事件。此事件可以指定一个处理函数 function。
通过判断 XMLHttpReqeust 对象的状态,获取服务端返回的数据。
语法:
xmlHttp.onreadystatechange= function() { if( xmlHttp.readyState == 4 && xmlHttp.status == 200){ 处理服务器返回数据 } }
下面是 XMLHttpRequest 对象的三个重要的属性:
属性说明:
- onreadystatechange 属性:一个 js 函数名 或 直接定义函数,每当 readyState 属性改变时,就会调用该函数
- readyState 属性:
存有 XMLHttpRequest 的状态。从 0 到 4 发生变化。
• 0: 请求未初始化,创建异步请求对象 var xmlHttp = new XMLHttpRequest()
• 1: 初始化异步请求对象, xmlHttp.open(请求方式,请求地址,true)
• 2: 异步对象发送请求, xmlHttp.send()
• 3: 异步对象接收应答数据 从服务端返回数据。XMLHttpRequest 内部处理。
• 4: 异步请求对象已经将数据解析完毕。 此时才可以读取数据。 - status 属性:
200: “OK”
404: 未找到页面
(3) 初始化请求参数
方法:
open(method,url,async) : 初始化异步请求对象
参数说明:
• method:请求的类型;GET 或 POST
• url:服务器的 servlet 地址
• async:true(异步)或 false(同步)
例如:
xmlHttp.open(“get”,http:192.168.1.20:8080/myweb/query”,true)
(4) 发送请求
xmlHttp.send()
(5) 接收服务器响应的数据
如需获得来自服务器的响应,请使用 XMLHttpRequest 对象的 responseText 或responseXML 属性。
responseText:获得字符串形式的响应数据(json数据用这个)
responseXML:获得 XML 形式的响应数据
6. 创建后台处理数据的Servlet(对象数据转json,数据发回前端)
package com.changsha.ServletClass; import com.changsha.Dao.StudentDao; import com.changsha.EntityClass.Student; import com.fasterxml.jackson.databind.ObjectMapper; import javax.servlet.ServletException; import javax.servlet.http.HttpServlet; import javax.servlet.http.HttpServletRequest; import javax.servlet.http.HttpServletResponse; import java.io.IOException; import java.io.PrintWriter; public class DoAjaxServlet extends HttpServlet { private StudentDao studentDao = new StudentDao(); @Override protected void service(HttpServletRequest request, HttpServletResponse response) throws ServletException, IOException { System.out.println("接受请求"); String strJson = "{}"; String parm = request.getParameter("id"); System.out.println(parm); if(parm != null && !parm.equals("")) { //对象转JSON数据 Student student = studentDao.selectStudentById(Integer.valueOf(parm)); ObjectMapper om = new ObjectMapper(); strJson = om.writeValueAsString(student); } //将json数据传回浏览器 response.setContentType("application/json;charset=utf-8"); PrintWriter pw = response.getWriter(); pw.write(strJson); pw.flush(); pw.close(); } }
思维导图

本文来自博客园,作者:墨镜一戴谁也不爱,转载请注明原文链接:https://www.cnblogs.com/hnuzmh/p/16196497.html


【推荐】国内首个AI IDE,深度理解中文开发场景,立即下载体验Trae
【推荐】编程新体验,更懂你的AI,立即体验豆包MarsCode编程助手
【推荐】抖音旗下AI助手豆包,你的智能百科全书,全免费不限次数
【推荐】轻量又高性能的 SSH 工具 IShell:AI 加持,快人一步
· 被坑几百块钱后,我竟然真的恢复了删除的微信聊天记录!
· 没有Manus邀请码?试试免邀请码的MGX或者开源的OpenManus吧
· 【自荐】一款简洁、开源的在线白板工具 Drawnix
· 园子的第一款AI主题卫衣上架——"HELLO! HOW CAN I ASSIST YOU TODAY
· Docker 太简单,K8s 太复杂?w7panel 让容器管理更轻松!