简单的可上网微信小程序创建和布局——课程五
前继内容:https://www.cnblogs.com/hitWTJ/p/9865940.html
我们还想上网,从一个我们预先部署好的服务器去读取信息,那么怎么做呢??????
那就涉及到服务器了。
这部分我了解并不多,只能按我理解写写。。我用的是netbeans
做这一步之前,你还需要部署tomcat,mysql等等。
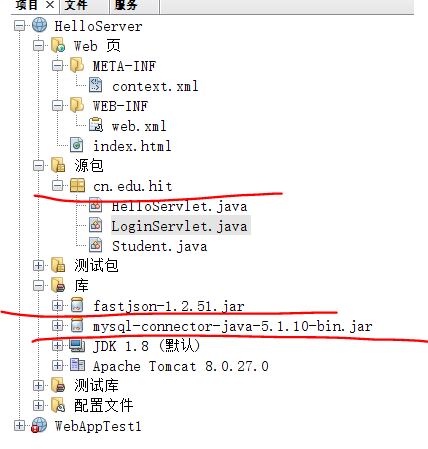
先导入fastjson包和mysql包,再在源包里建东西。
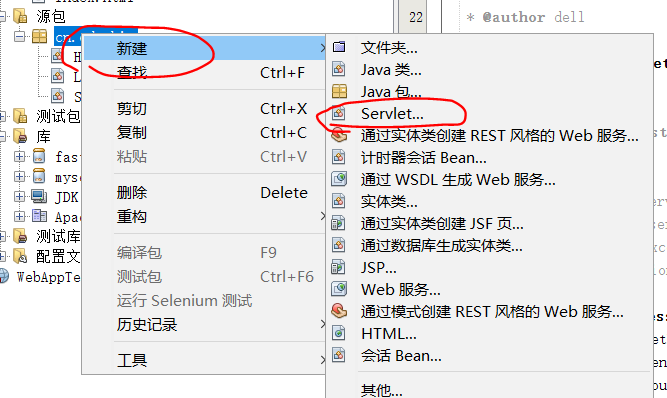
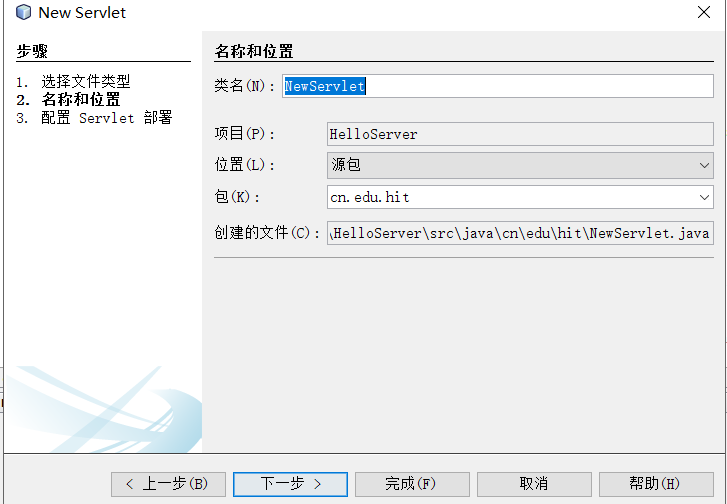
然后,记得打个勾。。。

然后就建好了。来在里面写代码。

/*
 * To change this license header, choose License Headers in Project Properties.
 * To change this template file, choose Tools | Templates
 * and open the template in the editor.
 */
package cn.edu.hit;

import java.io.IOException;
import java.io.PrintWriter;
import java.sql.Connection;
import java.sql.DriverManager;
import java.sql.ResultSet;
import java.sql.SQLException;
import java.sql.Statement;
import javax.servlet.ServletException;
import javax.servlet.http.HttpServlet;
import javax.servlet.http.HttpServletRequest;
import javax.servlet.http.HttpServletResponse;

/**
 *
 * @author dell
 */
public class LoginServlet extends HttpServlet{

    /**
     * Processes requests for both HTTP <code>GET</code> and <code>POST</code>
     * methods.
     *
     * @param request servlet request
     * @param response servlet response
     * @throws ServletException if a servlet-specific error occurs
     * @throws IOException if an I/O error occurs
     */
    protected void processRequest(HttpServletRequest request, HttpServletResponse response)
            throws ServletException, IOException{
        response.setContentType("text/html.charset=UTF-8");//设置源文本类型
        try(PrintWriter out =response.getWriter()){//捕获异常
         String username=request.getParameter("username");//获取参数
        String password=request.getParameter("password");//获取参数
         Class.forName("com.mysql.jdbc.Driver");//启动驱动
        Connection con = DriverManager.getConnection("jdbc:mysql:你的服务器地址。","你的服务器登陆名","你的服务器密码");//建立一个连接
        Statement stmt = con.createStatement();//描述符。
        ResultSet rs=stmt.executeQuery("select * from users where username='"+username+"'and password='"+password+"'");//在数据库查找。
                if(rs.next()){//假如找到了
                    out.print("success");//打印成功。
                }
                else{//不然就打印fail
                    out.print("fail!");
                }
                con.close();//关闭连接。
        }
        catch(Exception e)//捕获异常的catch框
        {
            e.printStackTrace();
        }
    }

    /**
     * Handles the HTTP <code>GET</code> method.
     *
     * @param request servlet request
     * @param response servlet response
     * @throws ServletException if a servlet-specific error occurs
     * @throws IOException if an I/O error occurs
     */
    @Override
    protected void doGet(HttpServletRequest request, HttpServletResponse response)
            throws ServletException, IOException {
        processRequest(request, response);
    }

    /**
     * Handles the HTTP <code>POST</code> method.
     *
     * @param request servlet request
     * @param response servlet response
     * @throws ServletException if a servlet-specific error occurs
     * @throws IOException if an I/O error occurs
     */
    @Override
    protected void doPost(HttpServletRequest request, HttpServletResponse response)
            throws ServletException, IOException {
        processRequest(request, response);
    }

    /**
     * Returns a short description of the servlet.
     *
     * @return a String containing servlet description
     */
    @Override
    public String getServletInfo() {
        return "Short description";
    }// </editor-fold>

}
然后进行调试。调试完成后,点击启动,应该出现下面的画面。

也就是登陆了服务器,并且返回了所需要的值。
这里的8084应该是8080的,看你的具体情况来。
如果有错误,排查下面几个:
1:库是否连接成功,
2:你所连接的服务器是否正常运行。
3:ResultSet rs=stmt.executeQuery("select * from users where username='"+username+"'and password='"+password+"'");//在数据库查找。
这句话有没有标点打错。
4.你是不是按照上面的步骤建立的servlet文件,有没有按我说的打勾???
5.网址有没有输错?
如果你是编程小白,多检查几次拼写。
这一步就说到这里。下面进入微信小程序的部署。
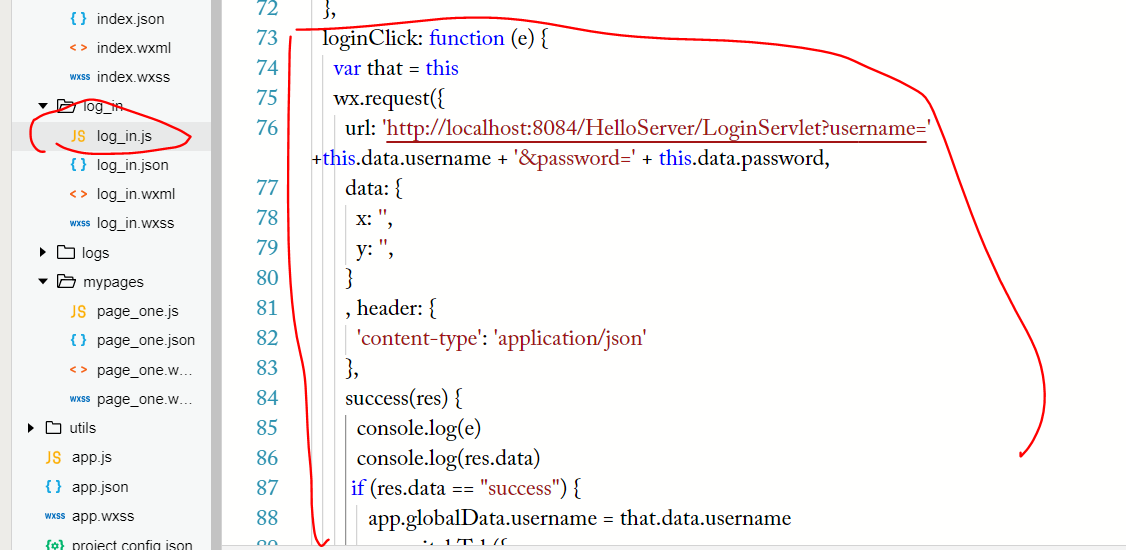
看看这里有没有问题。

然后最后对跳转和资源读取做一些设置就完成了。
  1 // pages/log_in/log_in.js
  2 const app = getApp()
  3 Page({
  4
  5   /**
  6    * 页面的初始数据
  7    */
  8   data: {
  9     username: null,
 10     password: null
 11   },
 12
 13   /**
 14    * 生命周期函数--监听页面加载
 15    */
 16   onLoad: function (options) {
 17
 18   },
 19
 20   /**
 21    * 生命周期函数--监听页面初次渲染完成
 22    */
 23   onReady: function () {
 24
 25   },
 26
 27   /**
 28    * 生命周期函数--监听页面显示
 29    */
 30   onShow: function () {
 31
 32   },
 33
 34   /**
 35    * 生命周期函数--监听页面隐藏
 36    */
 37   onHide: function () {
 38
 39   },
 40
 41   /**
 42    * 生命周期函数--监听页面卸载
 43    */
 44   onUnload: function () {
 45
 46   },
 47
 48   /**
 49    * 页面相关事件处理函数--监听用户下拉动作
 50    */
 51   onPullDownRefresh: function () {
 52
 53   },
 54
 55   /**
 56    * 页面上拉触底事件的处理函数
 57    */
 58   onReachBottom: function () {
 59
 60   },
 61
 62   /**
 63    * 用户点击右上角分享
 64    */
 65   onShareAppMessage: function () {
 66   },
 67   usernameInput: function (e) {
 68     this.setData({ username: e.detail.value })
 69   },
 70   passwordInput: function (e) {
 71     this.setData({ password: e.detail.value })
 72   },
 73   loginClick: function (e) {
 74     var that = this
 75     wx.request({
 76       url: 'http://localhost:8084/HelloServer/LoginServlet?username=' +this.data.username + '&password=' + this.data.password,
 77       data: {
 78         x: '',
 79         y: '',
 80       }
 81       , header: {
 82         'content-type': 'application/json'
 83       },
 84       success(res) {
 85         console.log(e)
 86         console.log(res.data)
 87        if (res.data == "success") {
 88           app.globalData.username = that.data.username
 89           wx.switchTab({
 90             //to do change page
 91             url: '../mypages/page_one',
 92             fail(e) {
 93               console.log(e)
 94             }
 95           })
 96         };
 97
 98        /* if (this.data.username == "admin" && this.data.password == "456") {
 99       app.globalData.username=this.data.username
100         wx.switchTab({
101           //to do change page
102           url: '../mypages/page_one',
103           fail(e){
104             console.log(e)
105           }
106         })
107         }*/
108       },
109     })
110   }
111 })
这样就完成了。
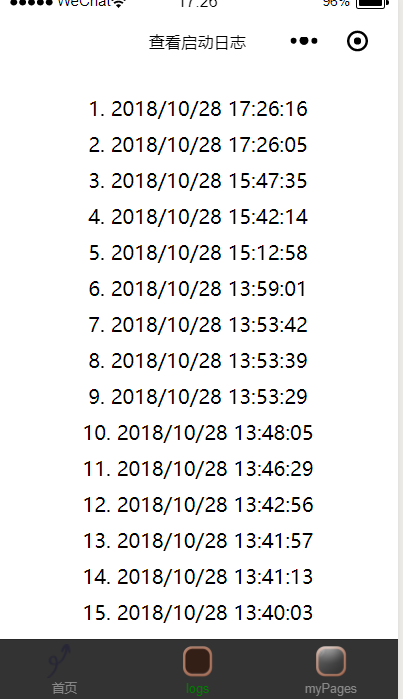
最后显示的结果:

点击logs:
点击mypages:
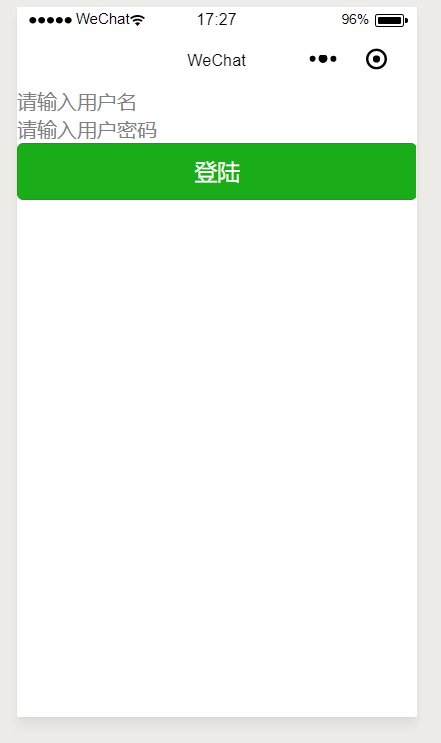
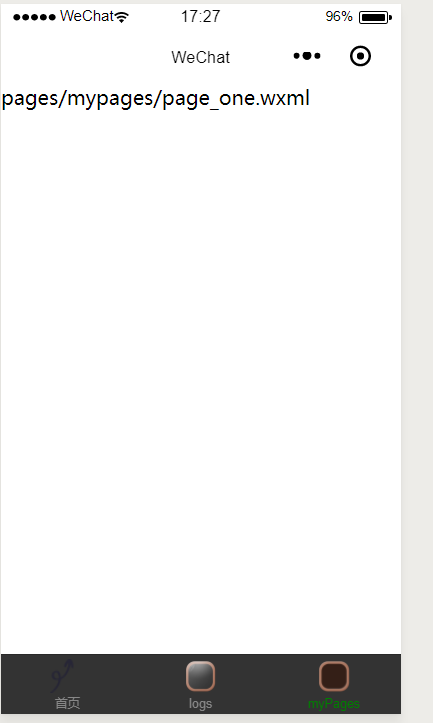
输入你的账号和密码,这里我的是:admin,密码:1234567
manager ,12345
跳转成功,完成了。
总代码网址:https://download.csdn.net/download/qinglingls/10749452
https://download.csdn.net/download/qinglingls/10749455


 浙公网安备 33010602011771号