QML文字灰飞烟灭效果
QML文字灰飞烟灭效果
1,目的
实现文字化作一缕青烟随风而逝的效果。
2,设计分析
在前面的章节中讲述了如何化作光斑碎片逐渐消失的效果,我们可以借鉴它将光斑换成烟雾,再加入端流产生微风浮动,加上字幕的减淡消失,最终组合成文字化作一缕青烟随风而逝的效果。
3,设计内容
我们先来看看效果
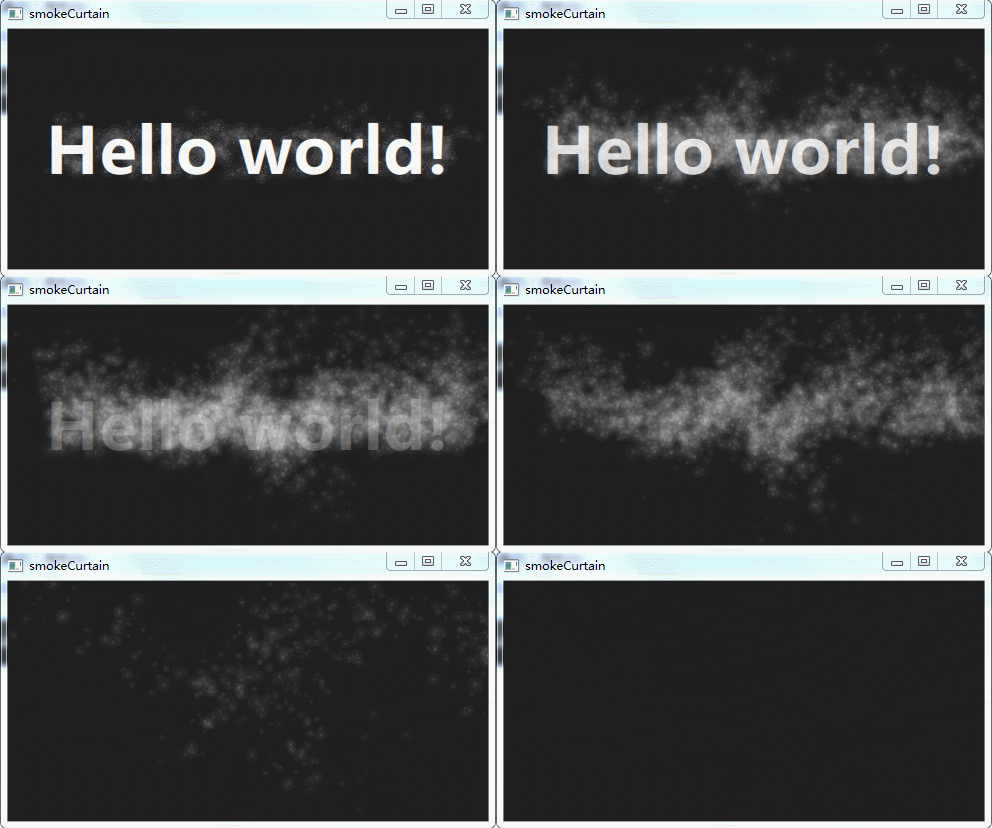
图1
首先创建一个480*240的窗口,背景色设置为深灰黑#1f1f1f,文字配置居中、白色、粗体、微软雅黑、64号。
import QtQuick 2.4
import QtQuick.Window 2.2

Window {
    visible: true

    width: 480
    height: 240

    Rectangle {
        id: root
        anchors.fill: parent
        color: "#1f1f1f"

        Text {
            id:myText
            anchors.centerIn: parent
            text: "Hello world!"
            font.bold: true
            font.pixelSize: 64
            font.family: "微软雅黑"
            color: "#ffffffff"
            opacity: 1;
        }
    }
}
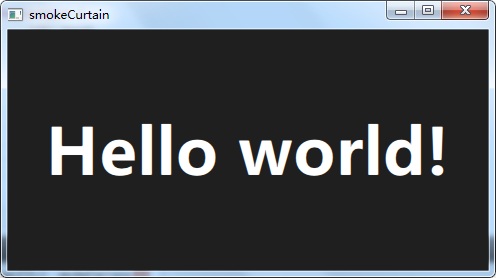
图2
然后添加粒子系统的三个重要组成:ParticleSystem、ImageParticle、Emitter。及粒子系统的引用文件QtQuick.Particles。其中ImageParticle使用外发光光斑,颜色使用#30333333,这里颜色由4个8位16进制数组成分别对应A:0x30 R:0x33 G:0x33 B:0x33。表示30%的灰色模仿烟雾的颜色。
 QtQuick 2.4
import QtQuick.Window 2.2
import QtQuick.Particles 2.0

Window {
    visible: true

    width: 480
    height: 240

    Rectangle {
        id: root
        anchors.fill: parent
        color: "#1f1f1f"

        Text {
            id:myText
            anchors.centerIn: parent
            text: "Hello world!"
            font.bold: true
            font.pixelSize: 64
            font.family: "微软雅黑"
            color: "#ffffffff"
            opacity: 1;
        }

        ParticleSystem {
            id: myParticleSystem
        }

        ImageParticle {
            system: myParticleSystem

            source: "qrc:///particleresources/glowdot.png"
            color: "#30333333"
        }
        Emitter {
            id: myEmitter
            system: myParticleSystem
            anchors.fill: myText

            lifeSpan: 1000
            emitRate: 4000
            size: 16
            sizeVariation: 8
            endSize: 8
        }
    }
}
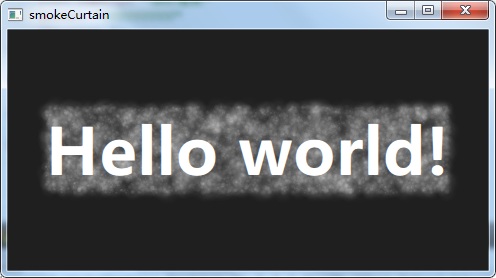
图3
现在烟雾环绕的状态已经完成,但是过于古板,而且烟雾区域超出文本区域。下面我们减小一半烟雾区域,并且对烟雾添加和水平45°升空的效果。
修改Emitter
Emitter {
	id: myEmitter
	system: myParticleSystem

	width: myText.width
	height: myText.height / 2
	anchors.left: myText.left
	y: root.height / 2 - 12

	lifeSpan: 1000
	emitRate: 4000
	size: 16
	sizeVariation: 8
	endSize: 8

	velocity: PointDirection {
		y: -48
		x: 48
		xVariation: 32
		yVariation: 32
	}
}
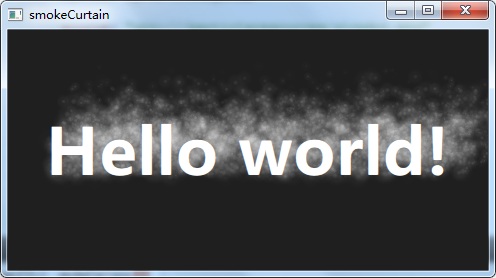
图4
现在烟雾不够自然,我们再增加点空气乱流吹散它,增加Turbulence效果
Turbulence {
	id: myTurb
	enabled: true
	anchors.fill: root
	strength: 128
	system: myParticleSystem
}
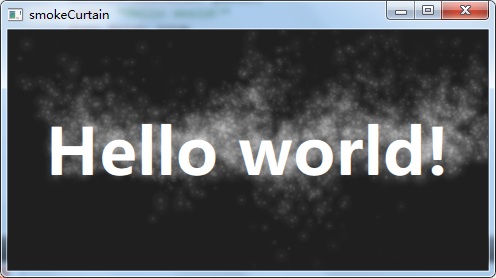
图5
我们让文本逐渐消失,并且在完全消失的瞬间停止粒子发射器发射,在粒子停止发射后已发射粒子会在生命周期结束后消失。我们需要用到SequentialAnimation顺序动画和ParallelAnimation进行组合完成。
动画的流程:在1秒内粒子发生器范围从0到4000,与此同时文字透明度降低到0.9,然后1秒时间内文字透明度降低到0,当透明度等于0时停止粒子发射器发射。最后为了方便演示增加鼠标触发效果,在触发效果之前先让显示内容的属性重置到初始状态。
最终代码如下
import QtQuick 2.4
import QtQuick.Window 2.2
import QtQuick.Particles 2.0

Window {
    visible: true

    width: 480
    height: 240

    Rectangle {
        id: root
        anchors.fill: parent
        color: "#1f1f1f"

        Text {
            id:myText
            anchors.centerIn: parent
            text: "Hello world!"
            font.bold: true
            font.pixelSize: 64
            font.family: "微软雅黑"
            color: "#ffffffff"
            opacity: 1;
        }

        ParticleSystem {
            id: myParticleSystem
        }

        ImageParticle {
            system: myParticleSystem

            source: "qrc:///particleresources/glowdot.png"
            color: "#30333333"
        }
        Emitter {
            id: myEmitter
            system: myParticleSystem
            enabled: false

            width: myText.width
            height: myText.height / 2
            anchors.left: myText.left
            y: root.height / 2 - 12

            lifeSpan: 1000
            lifeSpanVariation: 500
            emitRate: 4000
            size: 16
            sizeVariation: 8
            endSize: 8

            velocity: PointDirection {
                y: -48
                x: 48
                xVariation: 32
                yVariation: 32
            }
        }

        Turbulence {
            id: myTurb
            enabled: true
            anchors.fill: root
            strength: 128
            system: myParticleSystem
        }

        SequentialAnimation{
            id: myAnimation

            ParallelAnimation {
                PropertyAnimation  {
                    target: myEmitter
                    properties: "emitRate"
                    from: 0
                    to: 4000
                    duration: 1000
                }

                PropertyAnimation  {
                    target: myText
                    properties: "opacity"
                    to: 0.9
                    duration: 1000
                }
            }

            //数值动画
            PropertyAnimation  {
                target: myText
                properties: "opacity"
                to: 0.0
                duration: 1000
            }

            onStopped: myEmitter.enabled = false
        }

        MouseArea {
            anchors.fill: parent

            onClicked: {
                myEmitter.enabled = true
                myText.opacity = 1
                myEmitter.emitRate = 4000
                myAnimation.restart()
            }
        }
    }
}
4,总结
对于一些飘散效果,重点是飘散主体的消失和飘散散落的过程,只要把握好了这一点配合就能让整个过程很自然。下来大家也可以优化上述代码达到更加真实的效果,可以在简书、博客园、或邮箱将问题进行留言,我会及时修正和更新。
邮箱: whqcxz@163.com
原创:https://www.simbahiker.com/news/0220200508001.html


