windows10 MongoDb集群搭建
1.前言
mongodb集群至少需要三个节点,master(主),slaver(副),arbiter(仲裁者),由于我没有3台服务器,所以将三个节点都部署在一台服务器上。
2.单节点安装
1.首先下载安装包(mongodb-windows-x86_64-5.0.2-signed.msi)安装,mongodb的默认安装是在C盘的,安装过程中会让用户选择data和log得到存放路径,可以选择其他盘符,如下图所示
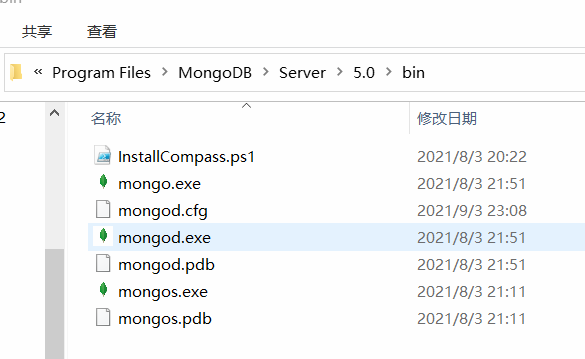
然后这里有个bin文件夹,里面有很多操作MongoDb的工具,如果不想安装在C盘,卸载命令如下
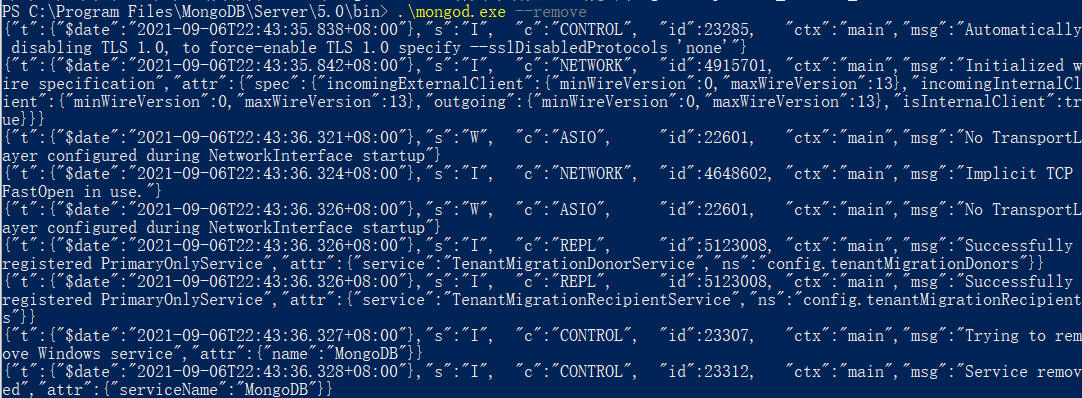
命令为.\mongod.exe --remove --serviceName (mongodb),这里需要管理员模式打开cmd或者PowerShell,注意这种方式默认读取的配置是当前bin文件夹下的mongod.cfg文件的内容。
# mongod.conf

# for documentation of all options, see:
#   http://docs.mongodb.org/manual/reference/configuration-options/

# Where and how to store data.
storage:
  dbPath: D:\Program Files\MongoDB\Server\5.0\data
  journal:
    enabled: true
#  engine:
#  wiredTiger:

# where to write logging data.
systemLog:
  destination: file
  logAppend: true
  path:  D:\Program Files\MongoDB\Server\5.0\log\mongod.log

# network interfaces
net:
  port: 27017
  bindIp: 127.0.0.1


#processManagement:

#security:

#operationProfiling:

#replication:

#sharding:

## Enterprise-Only Options:

#auditLog:

#snmp:
配置文件是安装包默认为我们生成好的,其中dbpath和systemlogpath是用户选择的存放路径。
3.集群配置
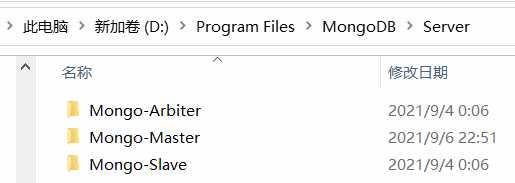
分别复制三个文件夹,名字随便取
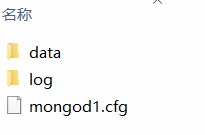
每个文件夹下有如右侧所示的文件夹和配置文件,其中data文件夹用于存放mongodb产生的文档,log存放日志,mongod1.cfg为配置文件
# mongod.conf

# for documentation of all options, see:
#   http://docs.mongodb.org/manual/reference/configuration-options/

# Where and how to store data.
storage:
  dbPath: D:\Program Files\MongoDB\Server\Mongo-Master\data
  journal:
    enabled: true
#  engine:
#  mmapv1:
#  wiredTiger:

# where to write logging data.
systemLog:
  destination: file
  logAppend: true
  path:  D:\Program Files\MongoDB\Server\Mongo-Master\log\mongod.log

# network interfaces
net:
  port: 27017
  bindIp: 0.0.0.0
  bindIpAll: true

# 集群设置
replication:
  replSetName: rs0


#processManagement:

#security:

#operationProfiling:

#replication:

#sharding:

## Enterprise-Only Options:

#auditLog:

#snmp:
然后执行安装命令

.\mongod.exe --config "D:\Program Files\MongoDB\Server\Mongo-Master\mongod1.cfg" --install --serviceName Mongodb-Master --serviceDisplayName Mongodb-Master
执行成功即可看到服务已经注册成功,按项目的步骤在执行安装slave和arbiter,


3.1 节点配置
.\mongo.exe --host 127.0.0.1:27017进入其中一个节点
use admin切换到admin用户

设置config,config={_id:"rs0", members:[{_id:0, host:"127.0.0.1:27017",priority:2},{_id:1, host:"127.0.0.1:27018",priority:1},{_id:2,host:"127.0.0.1:27019",arbiterOnly:true}]},
然后执行rs.initiate(config)
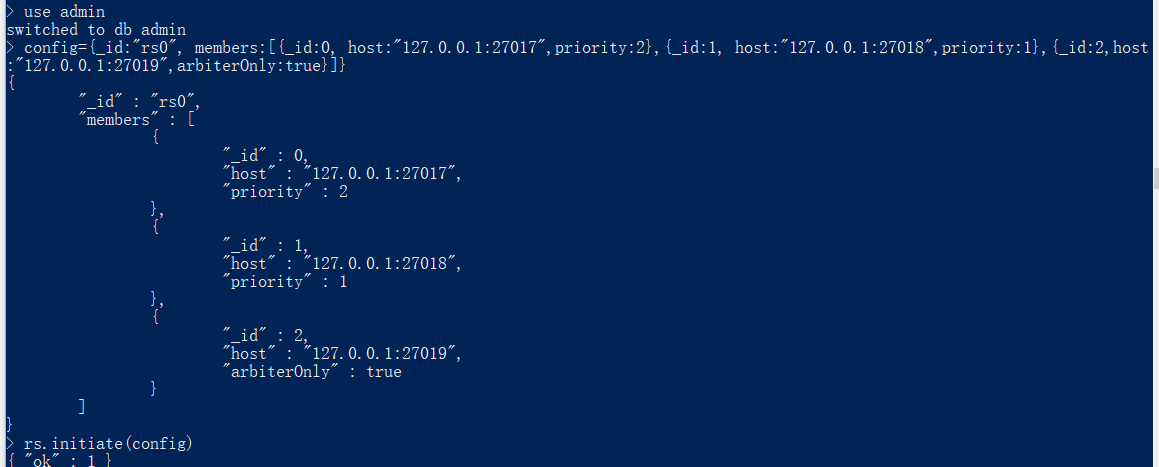
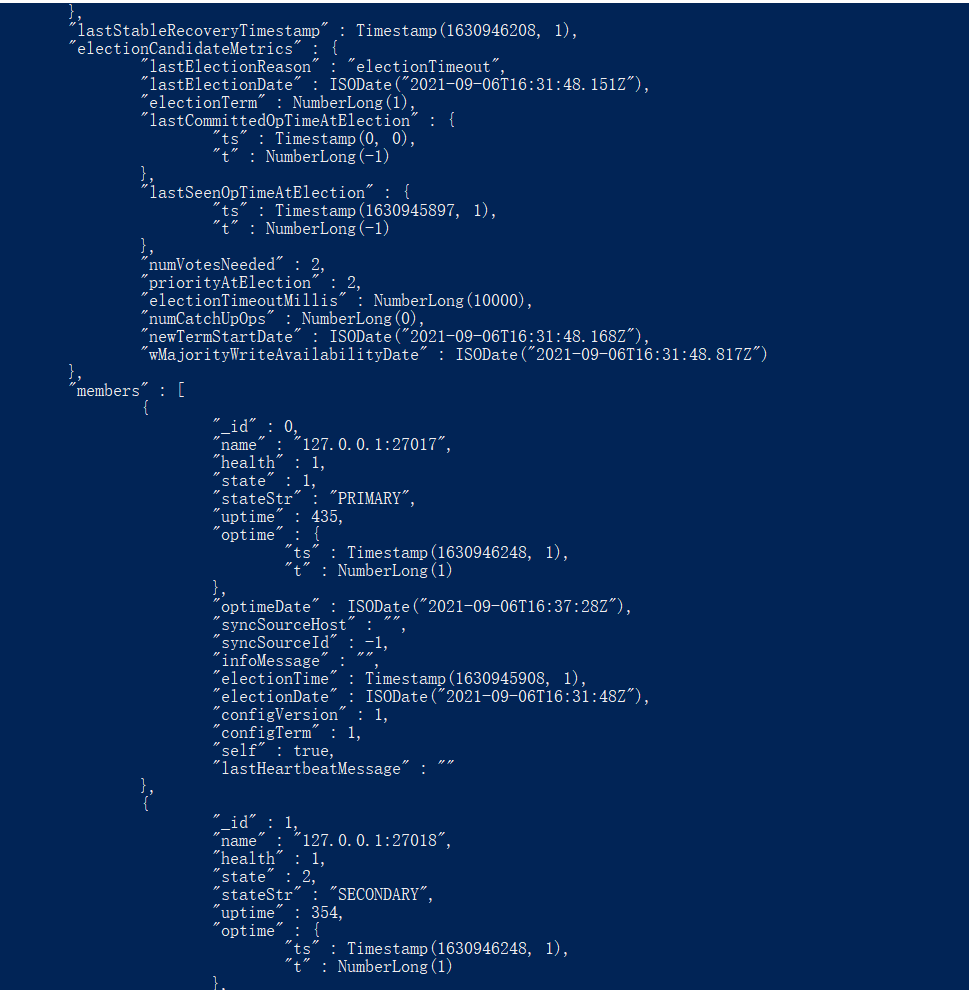
执行成功查看集群状态rs.status()
rs0:SECONDARY> rs.status()
{
        "set" : "rs0",
        "date" : ISODate("2021-09-06T16:31:44.896Z"),
        "myState" : 2,
        "term" : NumberLong(0),
        "syncSourceHost" : "",
        "syncSourceId" : -1,
        "heartbeatIntervalMillis" : NumberLong(2000),
        "majorityVoteCount" : 2,
        "writeMajorityCount" : 2,
        "votingMembersCount" : 3,
        "writableVotingMembersCount" : 2,
        "optimes" : {
                "lastCommittedOpTime" : {
                        "ts" : Timestamp(0, 0),
                        "t" : NumberLong(-1)
                },
                "lastCommittedWallTime" : ISODate("1970-01-01T00:00:00Z"),
                "appliedOpTime" : {
                        "ts" : Timestamp(1630945897, 1),
                        "t" : NumberLong(-1)
                },
                "durableOpTime" : {
                        "ts" : Timestamp(1630945897, 1),
                        "t" : NumberLong(-1)
                },
                "lastAppliedWallTime" : ISODate("2021-09-06T16:31:37.157Z"),
                "lastDurableWallTime" : ISODate("2021-09-06T16:31:37.157Z")
        },
        "lastStableRecoveryTimestamp" : Timestamp(0, 0),
        "members" : [
                {
                        "_id" : 0,
                        "name" : "127.0.0.1:27017",
                        "health" : 1,
                        "state" : 2,
                        "stateStr" : "PRIMARY",
                        "uptime" : 88,
                        "optime" : {
                                "ts" : Timestamp(1630945897, 1),
                                "t" : NumberLong(-1)
                        },
                        "optimeDate" : ISODate("2021-09-06T16:31:37Z"),
                        "syncSourceHost" : "",
                        "syncSourceId" : -1,
                        "infoMessage" : "",
                        "configVersion" : 1,
                        "configTerm" : 0,
                        "self" : true,
                        "lastHeartbeatMessage" : ""
                },
                {
                        "_id" : 1,
                        "name" : "127.0.0.1:27018",
                        "health" : 1,
                        "state" : 2,
                        "stateStr" : "SECONDARY",
                        "uptime" : 7,
                        "optime" : {
                                "ts" : Timestamp(1630945897, 1),
                                "t" : NumberLong(-1)
                        },
                        "optimeDurable" : {
                                "ts" : Timestamp(1630945897, 1),
                                "t" : NumberLong(-1)
                        },
                        "optimeDate" : ISODate("2021-09-06T16:31:37Z"),
                        "optimeDurableDate" : ISODate("2021-09-06T16:31:37Z"),
                        "lastHeartbeat" : ISODate("2021-09-06T16:31:44.678Z"),
                        "lastHeartbeatRecv" : ISODate("2021-09-06T16:31:44.776Z"),
                        "pingMs" : NumberLong(0),
                        "lastHeartbeatMessage" : "",
                        "syncSourceHost" : "",
                        "syncSourceId" : -1,
                        "infoMessage" : "",
                        "configVersion" : 1,
                        "configTerm" : 0
                },
                {
                        "_id" : 2,
                        "name" : "127.0.0.1:27019",
                        "health" : 1,
                        "state" : 7,
                        "stateStr" : "ARBITER",
                        "uptime" : 7,
                        "lastHeartbeat" : ISODate("2021-09-06T16:31:44.678Z"),
                        "lastHeartbeatRecv" : ISODate("2021-09-06T16:31:43.702Z"),
                        "pingMs" : NumberLong(0),
                        "lastHeartbeatMessage" : "",
                        "syncSourceHost" : "",
                        "syncSourceId" : -1,
                        "infoMessage" : "",
                        "configVersion" : 1,
                        "configTerm" : 0
                }
        ],
        "ok" : 1,
        "$clusterTime" : {
                "clusterTime" : Timestamp(1630945897, 1),
                "signature" : {
                        "hash" : BinData(0,"AAAAAAAAAAAAAAAAAAAAAAAAAAA="),
                        "keyId" : NumberLong(0)
                }
        },
        "operationTime" : Timestamp(1630945897, 1)
}
rs0:SECONDARY>
可以看到有三种状态的节点 Primary Secondary Arbiter
后面我们就可以愉快的利用MongoDb玩耍了!
本文来自博客园,作者:可乐加冰-Mr-Wang,转载请注明原文链接:https://www.cnblogs.com/helloworld-wang/p/15236443.html

 浙公网安备 33010602011771号