新建Spring Boot有JPA操作的项目的稳定操作
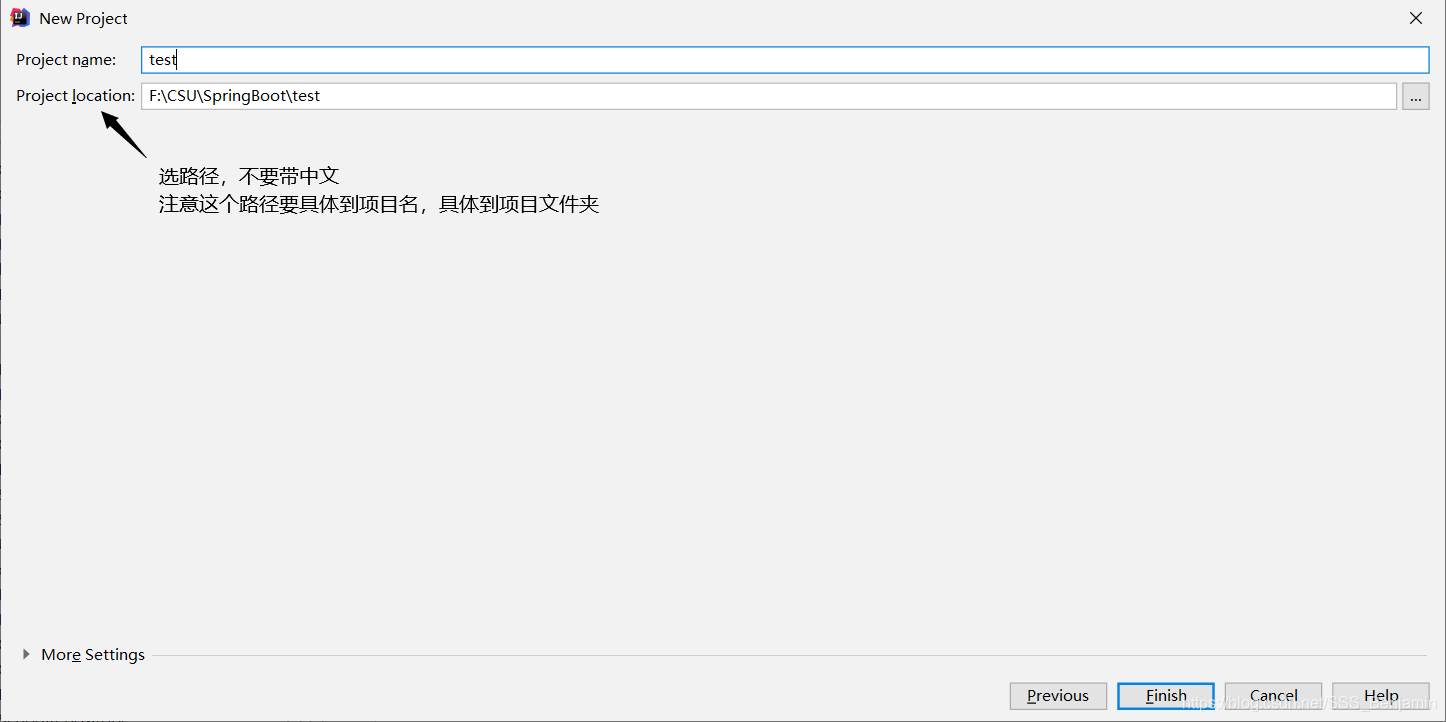
首先新建一个Spring Boot项目,常规步骤如下


本博客中,包名为blog,项目名为test。
项目创建完成后修改以下文件:
pom.xml
- 改为
2.1.3.RELEASE,为了能用JPA
![在这里插入图片描述]()
- 添加以下依赖
<dependency>
     <groupId>org.springframework.boot</groupId>
     <artifactId>spring-boot-starter-data-jpa</artifactId>
 </dependency>

 <dependency>
     <groupId>mysql</groupId>
     <artifactId>mysql-connector-java</artifactId>
 </dependency>
- 改好后右击pom.xml→Maven→Reimport
/src/test/java/com.blog.test/TestApplicationTests
替换为以下:
package com.blog.test;

import org.junit.Test;
import org.junit.runner.RunWith;
import org.springframework.boot.test.context.SpringBootTest;
import org.springframework.test.context.junit4.SpringRunner;

@RunWith(SpringRunner.class)
@SpringBootTest
public class TestApplicationTests {

    @Test
    public void contextLoads() {
    }

}
/src/main/resources/application.properties
- 重命名,把后缀名改成
.yml,比较直观 - 添加以下配置:
spring:
  datasource:
    driver-class-name: com.mysql.cj.jdbc.Driver
    url: jdbc:mysql://url/数据库名?characterEncoding=utf-8&serverTimezone=GMT%2B8
    username: root
    password:
  jpa:
    hibernate:
      ddl-auto: update
    show-sql: true
问题整理
- 数据库存储的时间与前端收到的时间不一致:
在实体类的Date属性上加上
@JsonFormat(pattern = "yyyy-MM-dd HH:mm:ss", timezone = "GMT+8")
还能方便规定格式,时区对应上面application.properties中数据库配置url的时区设置
- Spring Boot项目打包成war:https://blog.csdn.net/qq_34381084/article/details/81485319
- Maven引入本地jar
<dependency>
  <groupId>com.alibaba</groupId>
  <artifactId>fastjson</artifactId>
  <scope>system</scope>
  <version>1.1</version> <!-- groupId、artifactId和version随便写就行,version在打包成war的时候必须要有 -->
  <systemPath>${basedir}/src/main/resources/lib/json-20190722.jar</systemPath>
</dependency>
- 打包成war发布时报错找不到本地jar包:https://blog.csdn.net/bebmwnz/article/details/90484528


 浙公网安备 33010602011771号