离线安装Kubesphere
1|01.环境要求 【centos7.X】
1|11.1依赖项要求
master、node1节点安装
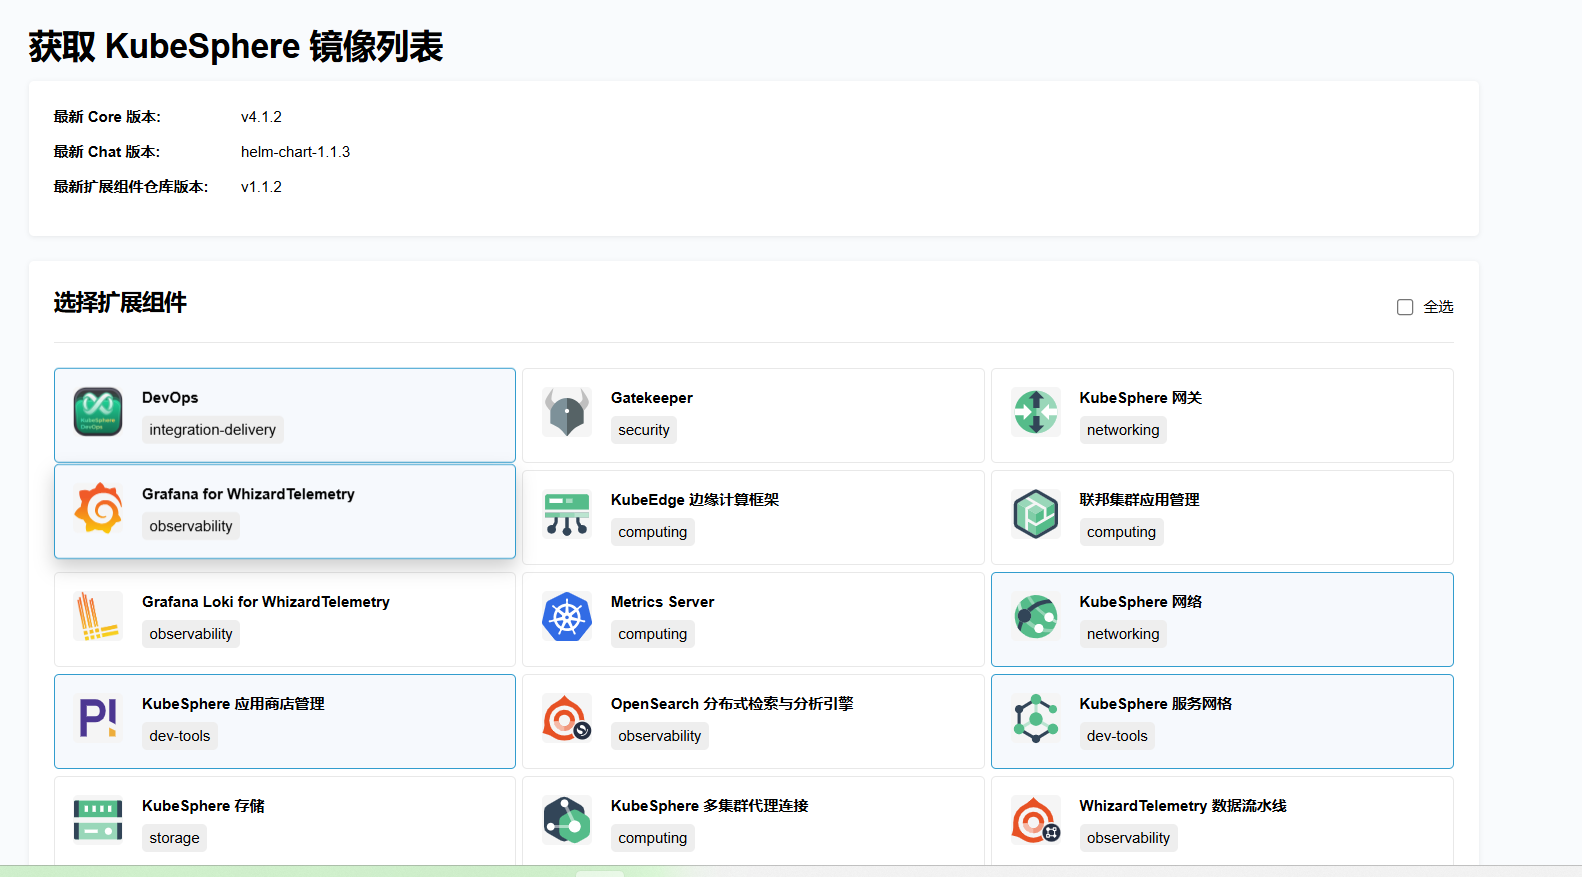
1|21.2获取镜像列表
- 访问 https://get-images.kubesphere.io/
- 选择需要部署的扩展组件。
- 填入邮箱地址。
- 点击获取镜像列表。
- 查看填写的邮箱,获取 KubeSphere 最新的版本信息以及镜像列表文件。
2|02.构建离线安装包【woker节点】
worker节点【联网主机,用于制作离线包】
2|12.1安装KubeKey
2.1.1下载上传安装包
2.1.2创建manifest文件
2.1.3编辑manifest文件
复制 kk-manifest-mirror.yaml中的镜像列表,添加到新创建的 manifest-sample.yaml 文件中。
2.1.4构建离线包
执行成功后
23:09:47 CST success: [LocalHost]
23:09:47 CST [ChownOutputModule] Chown output file
23:09:47 CST success: [LocalHost]
23:09:47 CST [ChownWorkerModule] Chown ./kubekey dir
23:09:47 CST success: [LocalHost]
23:09:47 CST Pipeline[ArtifactExportPipeline] execute successfully
3|03. 下载 KubeSphere Core Helm Chart【woker节点】
-
安装 helm。
-
下载 KubeSphere Core Helm Chart。
4|04.离线部署【master】
4|14.1 准备工作
将联网主机 node1 上的三个文件同步至离线环境的 master 节点。
kkkubesphere.tar.gzks-core-1.1.3.tgz
4|24.2.创建配置文件
-
创建离线集群配置文件。
-
修改配置文件。
4|34.3创建镜像仓库
4.3.1 创建 harbor 项目(若镜像仓库为 Harbor)[上面配置文件应该有问题]
执行以下命令创建 harbor 项目。
-
创建脚本配置文件。
-
创建 Harbor 项目。
5|05.安装Kubernetes
显示信息
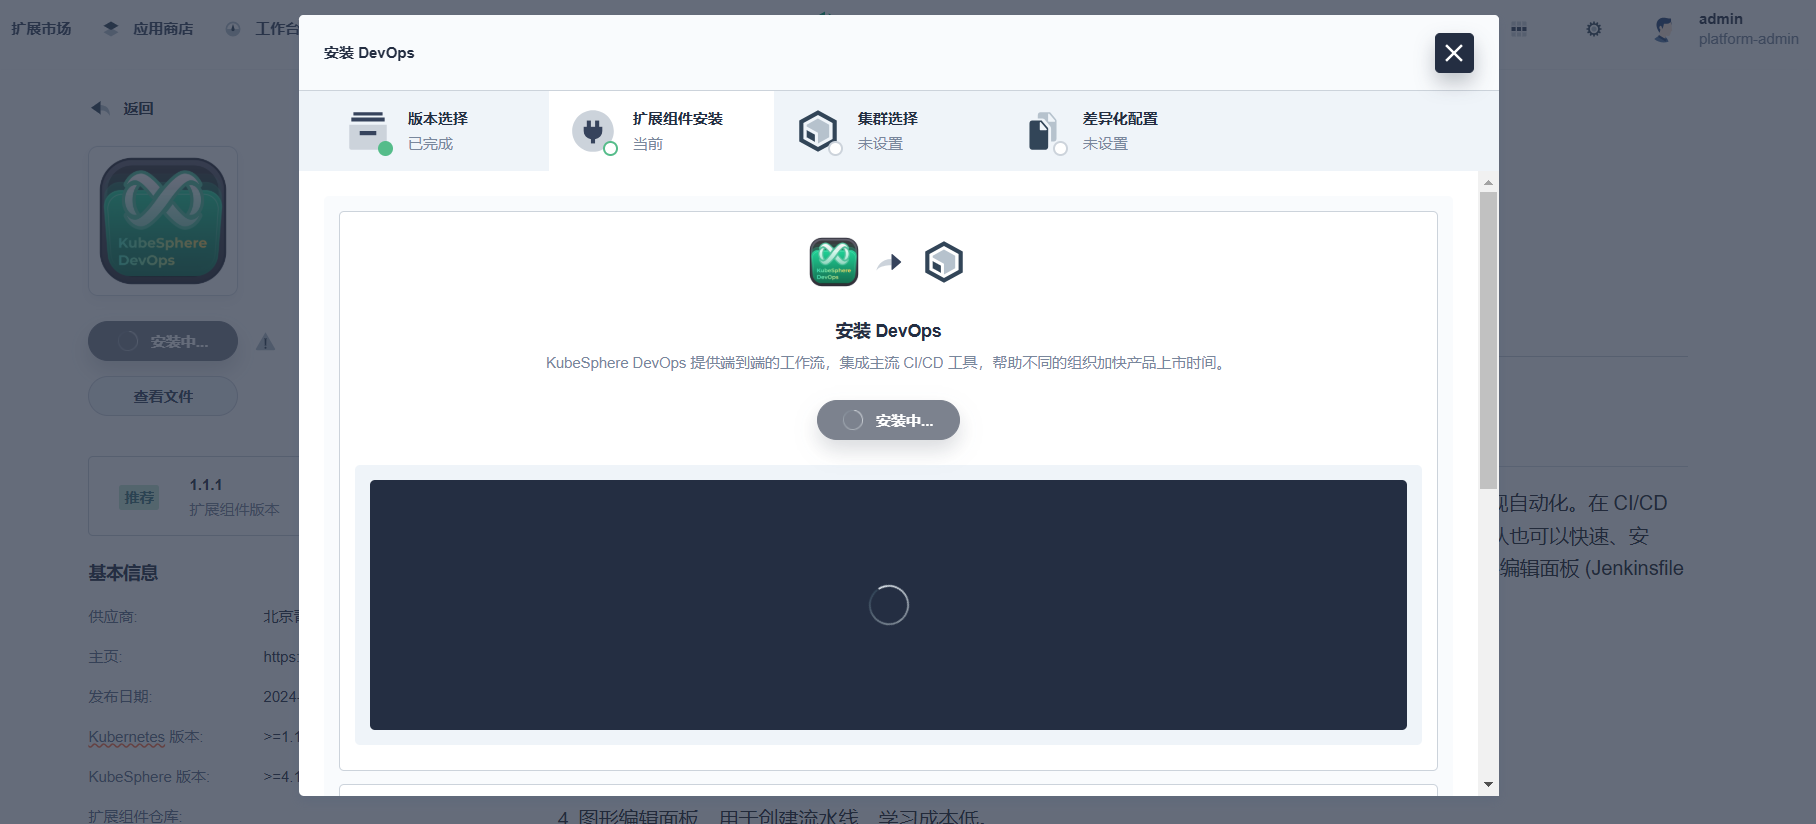
6|06. 安装 KubeSphere
安装 KubeSphere。
输出信息:


__EOF__

本文作者:执伞候佳人
本文链接:https://www.cnblogs.com/hekang520/p/18641673.html
关于博主:评论和私信会在第一时间回复。或者直接私信我。
版权声明:本博客所有文章除特别声明外,均采用 BY-NC-SA 许可协议。转载请注明出处!
声援博主:如果您觉得文章对您有帮助,可以点击文章右下角【推荐】一下。您的鼓励是博主的最大动力!
本文链接:https://www.cnblogs.com/hekang520/p/18641673.html
关于博主:评论和私信会在第一时间回复。或者直接私信我。
版权声明:本博客所有文章除特别声明外,均采用 BY-NC-SA 许可协议。转载请注明出处!
声援博主:如果您觉得文章对您有帮助,可以点击文章右下角【推荐】一下。您的鼓励是博主的最大动力!


【推荐】国内首个AI IDE,深度理解中文开发场景,立即下载体验Trae
【推荐】编程新体验,更懂你的AI,立即体验豆包MarsCode编程助手
【推荐】抖音旗下AI助手豆包,你的智能百科全书,全免费不限次数
【推荐】轻量又高性能的 SSH 工具 IShell:AI 加持,快人一步
· 无需6万激活码!GitHub神秘组织3小时极速复刻Manus,手把手教你使用OpenManus搭建本
· C#/.NET/.NET Core优秀项目和框架2025年2月简报
· 什么是nginx的强缓存和协商缓存
· 一文读懂知识蒸馏
· Manus爆火,是硬核还是营销?