spring-boot 搭建web项目
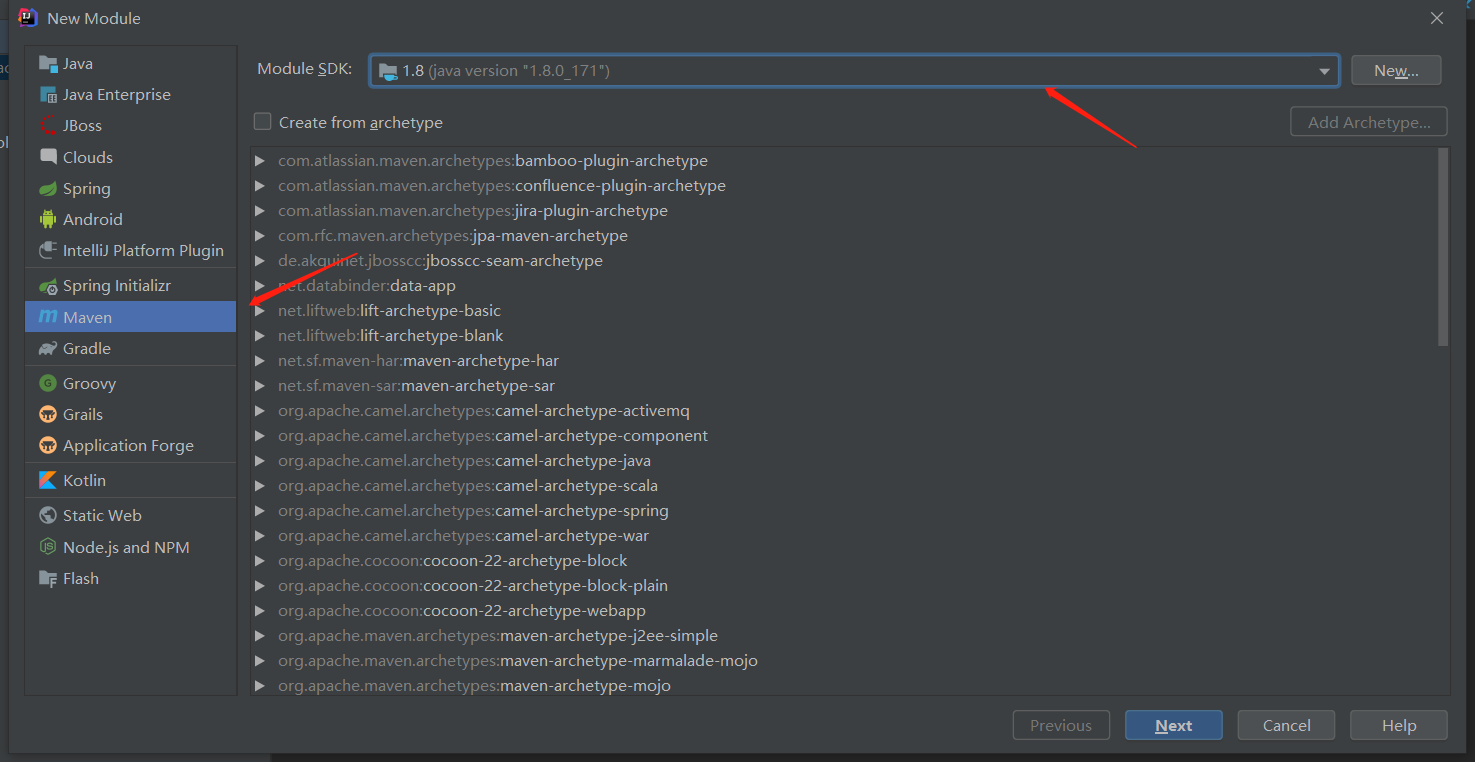
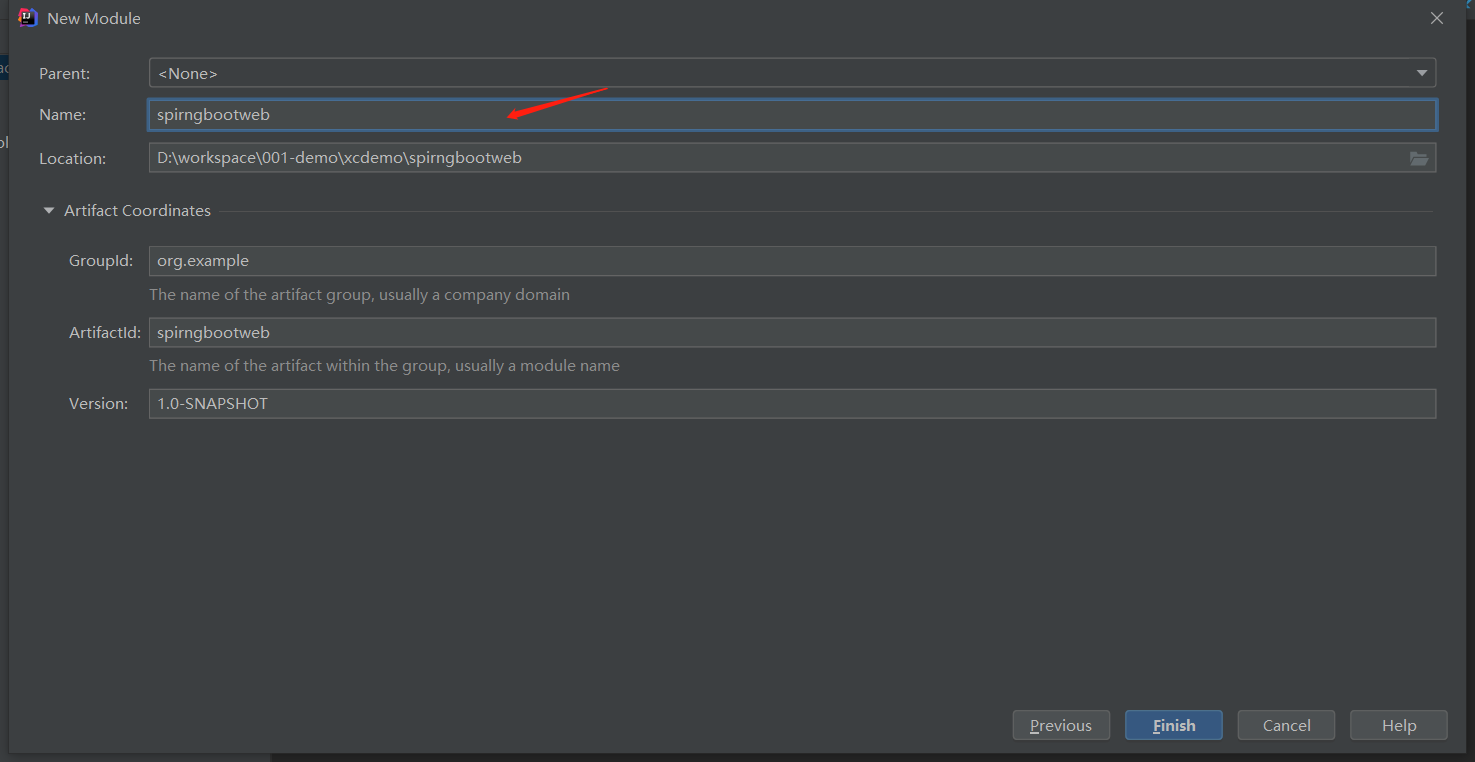
一、创建项目或模块


二、导入依赖
<?xml version="1.0" encoding="UTF-8"?>
<project xmlns="http://maven.apache.org/POM/4.0.0"
         xmlns:xsi="http://www.w3.org/2001/XMLSchema-instance"
         xsi:schemaLocation="http://maven.apache.org/POM/4.0.0 http://maven.apache.org/xsd/maven-4.0.0.xsd">
    <modelVersion>4.0.0</modelVersion>

    <groupId>org.example</groupId>
    <artifactId>spirngbootweb</artifactId>
    <version>1.0-SNAPSHOT</version>
    <!--导入spring-boot 启动父类-->
    <parent>
        <groupId>org.springframework.boot</groupId>
        <artifactId>spring-boot-starter-parent</artifactId>
        <version>2.0.1.RELEASE</version>
    </parent>

   <dependencies>
       <!--导入web依赖-->
       <dependency>
           <groupId>org.springframework.boot</groupId>
           <artifactId>spring-boot-starter-web</artifactId>
           <version>2.0.1.RELEASE</version>
       </dependency>
   </dependencies>
</project>
三、配置application.yml
在resource目录下创建application.yml,配置如下信息
server:
  port: 8080
spring:
  application:
    name: spirngbootweb
四、创建启动类
启动类位置要在项目最上层包下
package com;

import org.springframework.boot.SpringApplication;
import org.springframework.boot.autoconfigure.SpringBootApplication;

@SpringBootApplication
public class ManageApplication {
    public static void main(String[] args) {
        SpringApplication.run(ManageApplication.class);
    }
}
五、创建controller
可以将对象自动转换为json字符串
package com.itcast.controller;

import org.springframework.stereotype.Controller;
import org.springframework.web.bind.annotation.RequestMapping;
import org.springframework.web.bind.annotation.ResponseBody;

import java.util.HashMap;
import java.util.Map;

@Controller
public class DemoCotrller1 {

    @RequestMapping("list")
    @ResponseBody
    public Map findList() {


        Map map=new HashMap();
        map.put("nema","张三");
        map.put("age","15");
        map.put("job","it");
        return map;

    }

}
六、测试
路径:http://localhost:8080/list
效果:


【推荐】国内首个AI IDE,深度理解中文开发场景,立即下载体验Trae
【推荐】编程新体验,更懂你的AI,立即体验豆包MarsCode编程助手
【推荐】抖音旗下AI助手豆包,你的智能百科全书,全免费不限次数
【推荐】轻量又高性能的 SSH 工具 IShell:AI 加持,快人一步
· AI与.NET技术实操系列:向量存储与相似性搜索在 .NET 中的实现
· 基于Microsoft.Extensions.AI核心库实现RAG应用
· Linux系列:如何用heaptrack跟踪.NET程序的非托管内存泄露
· 开发者必知的日志记录最佳实践
· SQL Server 2025 AI相关能力初探
· 震惊!C++程序真的从main开始吗?99%的程序员都答错了
· 【硬核科普】Trae如何「偷看」你的代码?零基础破解AI编程运行原理
· 单元测试从入门到精通
· 上周热点回顾(3.3-3.9)
· winform 绘制太阳,地球,月球 运作规律