20-button-effect
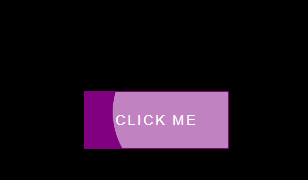
点击后
html
<!DOCTYPE html>
<html lang="en">
<head>
    <meta charset="UTF-8">
    <meta http-equiv="X-UA-Compatible" content="IE=edge">
    <meta name="viewport" content="width=device-width, initial-scale=1.0">
    <link rel="stylesheet" href="./style.css">
    <title>Button Ripple Effect</title>
</head>
<body>
    <button class="ripple">Click Me</button>
    <script src="./script.js"></script>
</body>
</html>
css
@import url('https://fonts.googleapis.com/css2?family=Roboto:wght@400;700&display=swap');

* {
  box-sizing: border-box;
}

body{
    background-color: #000;
    font-family: 'Roboto',sans-serif;
    display: flex;
    flex-direction: column;
    align-items: center;
    justify-content: center;
    height: 100vh;
    overflow: hidden;
    margin: 0;
}


button{
    background-color: purple;
    color: #fff;
    border: 1px purple solid;
    font-size: 14px;
    text-transform: uppercase;
    letter-spacing: 2px;
    padding: 20px 30px;
    overflow: hidden;
    position: relative;
}


button:focus{
    outline:none;
}

button .circle{
    position: absolute;
    background-color: #fff;
    width: 100px;
    height: 100px;
    border-radius: 50%;
    transform: translate(-50%,-50%) scale(0);
    animation: scale 0.5s ease-out;
}

@keyframes scale{
    to{
        transform: translate(-50%,-50%) scale(3);
        opacity: 0;
    }
}
javaScript
const buttons = document.querySelectorAll('.ripple')

buttons.forEach(button=>{
    button.addEventListener('click',function(e){
        const x = e.clientX
        const y = e.clientY

        const buttonTop = e.target.offsetTop
        const buttonLeft = e.target.offsetLeft

        const xInside = x-buttonLeft
        const yInside = y-buttonTop

        const circle = document.createElement('span')
        circle.classList.add('circle')
        circle.style.top=yInside + 'px'
        circle.style.left=xInside + 'px'

        this.appendChild(circle)

        setTimeout(()=>circle.remove(),500)
    })
})

 浙公网安备 33010602011771号