Spring容器
背景
谈及Spring的使用,首先的一点也是核心的一点就是Spring容器,更确切的说是Spring IoC(Inversion of Control)容器。Spring控制反转(Inversion of Control,IoC)也叫依赖注入(Dependency Injection,DI),二者所表示的意思是一样的(后者是对前者意思的简化),都是为了说明Spring bean载入到Spring容器中的过程。
Spring bean
在一个基于Spring框架的应用中,所有的Spring bean都交由Spring容器所托管,其中各个bean之间存在着相互的依赖关系。Bean一般是指普通的Java对象(POJO),而Spring Bean是组成Spring的基石,其交由Spring容器进行实例化、组装等,除此之外与普通Bean无任何差别。
Spring容器中的Bean 
Spring Bean注入
Spring容器
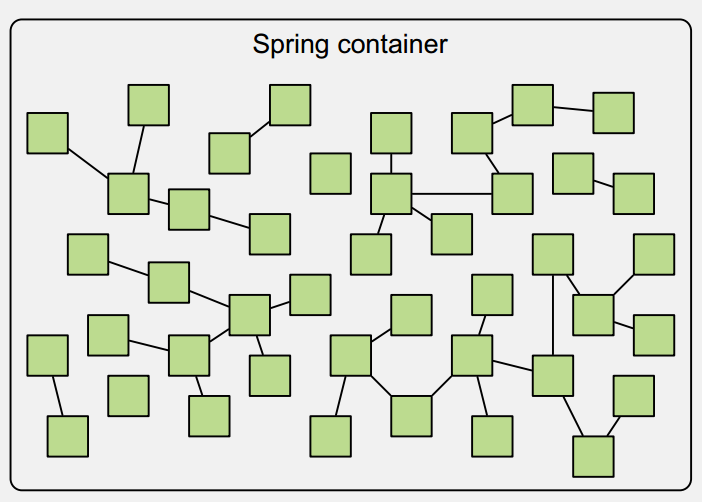
简单来说,Spring容器是用来装Spring Bean的。在Spring中,所有的java对象均交由Spring容器使用DI来进行托管,在需要时进行调用,并维护其生命周期。所以,我们看到Spring容器和Spring bean是一种包含的关系,容器装载并维护着bean。Spring中的容器是不唯一的,但大体上包括两个:
- bean工厂:由 org.springframework.beans.factory.BeanFactory接口定义,作为最简单的一类Spring容器,提供了对DI的基本支持;
- 应用上下文: 由org.springframework.context.ApplicationContext接口定义,ApplicationContext是BeanFactory的接口,相对BeanFactory接口而言,ApplicationContext接口提供了更加丰富的接口函数;
尽管我们可以使用BeanFactory或ApplicationContext来与Spring Bean进行交互,一般来说,我们主要使用的是ApplicationContext接口,BeanFactory对于大多数应用来说,则显得太低级了(Low-Level),一般在对内存要求很高的地方,如冰箱等机器等控制程序等,BeanFactory还是有用武之地的。本文主要对ApplicationContext的相关容器做介绍。
Application Context
Spring提供了多个ApplicationContext容器的实现类,其中我们最经常使用到的有以下几个(主要表现为加载配置方式的不同):
- AnnotationConfigApplicationContext:从基于Java配置类中加载Spring容器(这也是我平时工作中主要的使用方式);
Spring从3.0版本开始就提供了基于配置类的配置方式,从被@Configuration标记的配置类加载配置方式并初始化容器。
首先定义配置类:
import org.springframework.context.annotation.ComponentScan;
import org.springframework.context.annotation.Configuration;

@Configuration
@ComponentScan(basePackages="com")
public class SpringConfig {

}
SpringConfig类使用@Configuration注解来表明这是一个配置类,并使用@ComponentScan来定义来扫描的包路径(默认情况下@ComponentScan会扫描其自身所在类包);
定义一个Bean:
首先定义个接口:
public interface EchoService {
    void sayHello();
}
定义实现,并标记为Spring bean:
import com.heaven.service.EchoService;
import org.springframework.stereotype.Component;

@Component
public class EchoServiceImpl implements EchoService {
    @Override
    public void sayHello() {
        System.out.println("hello world!!!");
    }
}
在这里使用了@Component注解来对该Java类进行标记为Spring Bean(当然也可以用更具体的注解@Service等)。
启动Spring并获取容器:
import org.springframework.context.ApplicationContext;
import org.springframework.context.annotation.AnnotationConfigApplicationContext;

public class Starter {
    public static void main(String[]args){
        //启动并获取Spring容器
        ApplicationContext applicationContext = new AnnotationConfigApplicationContext(SpringConfig.class);
        //获取EchoService Bean
        EchoService echoService = applicationContext.getBean(EchoServiceImpl.class);
        echoService.sayHello();
    }
}
代码new AnnotationConfigApplicationContext(SpringConfig.class)会加载配置类SpringConfig并解析当中的配置信息,然后根据@ComponentScan中定义的类路径扫描当中的Spring Bean,凡是被@Component标记的Java类均会被装载进Spring容器中。
- ClassPathXmlApplicationContext:通过从类路径下加载XML配置文件方式获取Spring容器(包括Jar包中的);
在类路径下添加beans.xml配置文件(Maven项目的resources文件夹下)
<?xml version="1.0" encoding="UTF-8"?>
<beans xmlns="http://www.springframework.org/schema/beans"
       xmlns:xsi="http://www.w3.org/2001/XMLSchema-instance"
       xsi:schemaLocation="http://www.springframework.org/schema/beans http://www.springframework.org/schema/beans/spring-beans.xsd">

    <bean name="echoService" class="com.heaven.service.impl.EchoServiceImpl"/>

</beans>
同AnnotationConfigApplicationContext代码,添加EchoService接口和EchoServiceImpl类,在这里去掉EchoServiceImpl中的@Component注解,因为在beans.xml中已经配置了EchoService作为Spring Bean。
根据类路径下配置文件(beans.xml)启动Spring并获取容器
import com.heaven.service.EchoService;
import org.springframework.context.ApplicationContext;
import org.springframework.context.support.ClassPathXmlApplicationContext;

public class Starter {
    public static void main(String[]args){
        //启动并获取Spring容器
        ApplicationContext applicationContext = new ClassPathXmlApplicationContext("beans.xml");
        //获取EchoService Bean
        EchoService echoService = applicationContext.getBean(EchoService.class);
        echoService.sayHello();
    }
}
可以看到,XML配置文件方式跟基于注解的方式,实现的功能都是一样的,只是方式不同。Annotation方式和XML都是用于配置化工具,而近年来Annotation则更受人欢迎,我本人在开发中也是倾向于Annotation方式,简洁明了。
- SystemXmlApplicationContext:这种方式跟ClassPathXmlApplicationContext很像,区别在于SystemXmlApplicationContext可以从当前的文件系统中加载配置文件,而ClassPathXmlApplicationContext则是从当前类路径下加载;这个在这里就不多说了;
- AnnotationConfigWebApplicationContext:这种容器在SpringMVC中见到,也是最常使用的一类容器,继承自WebApplicationContext,一般用于在web.xml中配置启动;
在这里新建一个web服务应用,首先还是把上面的@Configuration类照搬下来,本来我们是通过以下方式来启动容器的:
new AnnotationConfigApplicationContext(SpringConfig.class);
接下来,我们要在web.xml文件中进行配置了:
<!DOCTYPE web-app PUBLIC
 "-//Sun Microsystems, Inc.//DTD Web Application 2.3//EN"
 "http://java.sun.com/dtd/web-app_2_3.dtd" >
<web-app>
  <display-name>Archetype Created Web Application</display-name>
  <!-- Configure ContextLoaderListener to use AnnotationConfigWebApplicationContext
        instead of the default XmlWebApplicationContext -->
  <context-param>
    <param-name>contextClass</param-name>
    <param-value>
      org.springframework.web.context.support.AnnotationConfigWebApplicationContext
    </param-value>
  </context-param>

  <!-- Configuration locations must consist of one or more comma- or space-delimited
      fully-qualified @Configuration classes. Fully-qualified packages may also be
      specified for component-scanning -->
  <context-param>
    <param-name>contextConfigLocation</param-name>
    <param-value>com.heaven.spring.SpringConfig</param-value>
  </context-param>

  <!-- Bootstrap the root application context as usual using ContextLoaderListener -->
  <listener>
    <listener-class>org.springframework.web.context.ContextLoaderListener</listener-class>
  </listener>
</web-app>
在这里是通过启动SpringConfig配置类来完成配置的加载的,你也可以使用加载xml文件方式来加载配置的;
- XmlWebApplicationContext:同样也是上面AnnotationConfigWebApplicationContext的xml方式配置版本,也是web.xml的默认Spring加载方式;在上面web.xml中去掉:
 <context-param>
    <param-name>contextClass</param-name>
    <param-value>
      org.springframework.web.context.support.AnnotationConfigWebApplicationContext
    </param-value>
  </context-param>
并将配置类包路径:
<context-param>
    <param-name>contextConfigLocation</param-name>
    <param-value>com.heaven.spring.SpringConfig</param-value>
  </context-param>
修改为xml文件路径:
<context-param>
    <param-name>contextConfigLocation</param-name>
    <param-value>classpath:beans.xml</param-value>
  </context-param>
当然,在这里只是简单构建,实际当中的配置文件尤其是WebApplicationContext相关配置还是要多一点的。不过,如果真想简单好用,建议可以尝试下Spring-boot。
以上介绍类在实际开发中最常见的四种配置方式,主要区分点就是注解Annotation方式还是配置文件XML方式,以及容器启动的环境,是普通的Application应用还是Web Application应用。我个人的建议是能用注解就该用注解,这是主流也是高效的方式;其余就是什么环境用什么容器了,我们大多数应用还是通过web服务启动的,但也不排除在服务运行过程中通过代码后期启动其它容器。
参考文献
[1] Walls, Craig. Spring in Action. Spring in action 4th edition. 2015.
[2] https://docs.spring.io/spring/docs/5.0.6.RELEASE/spring-framework-reference/core.html#beans-java
