python3使用HTMLTestRunner生成测试报告
自动化测试运行完了需要直观的了解测试结果,需要用到第三方的模块HTMLTestRunner。
一:下载 HTMLTestRunner
下载路径:https://pypi.python.org/pypi/HTMLTestRunner ,下载后放到 Python的安装目录\Lib 该目录下。
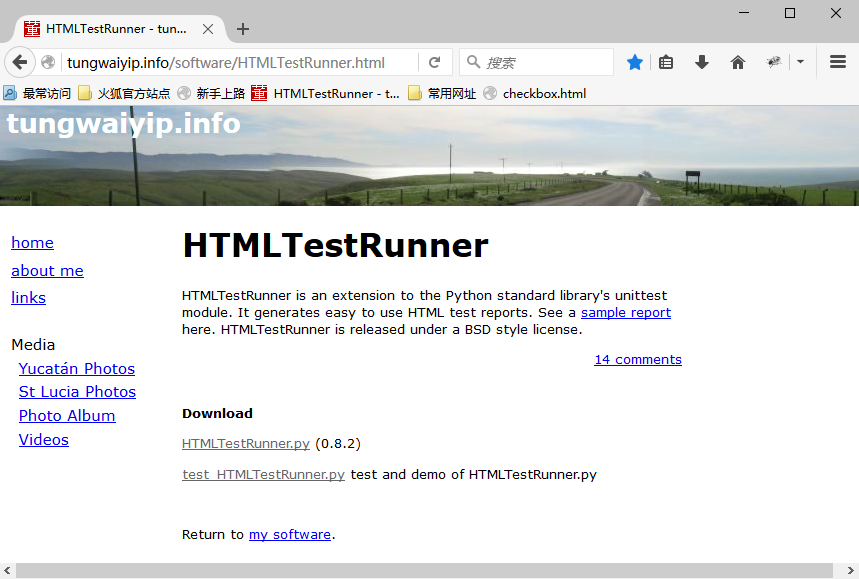
右键点击 HTMLTestRunner.py 目标另存为python的Lib的路径下。
二、修改HTMLTestRunner.py文件
如果你安装的是python2版本,那么不需要做这一步。因为HTMLTestRunner.py 原本就是python2版本,目前还没找到python3版本,所以需要我们自己修改 HTMLTestRunner.py 文件
修改内容如下:
第94行,将import StringIO修改成import io
第539行,将self.outputBuffer = StringIO.StringIO()修改成self.outputBuffer = io.StringIO()
第642行,将if not rmap.has_key(cls):修改成if not cls in rmap:
第766行,将uo = o.decode('latin-1')修改成uo = e
第772行,将ue = e.decode('latin-1')修改成ue = e
第631行,将print >> sys.stderr, '\nTime Elapsed: %s' % (self.stopTime-self.startTime)修改成print(sys.stderr, '\nTime Elapsed: %s' % (self.stopTime-self.startTime))
其中,Python3中,已经没有StringIO了。取而代之的是io.StringIO。
三、实例代码
测试用例存放路径如下
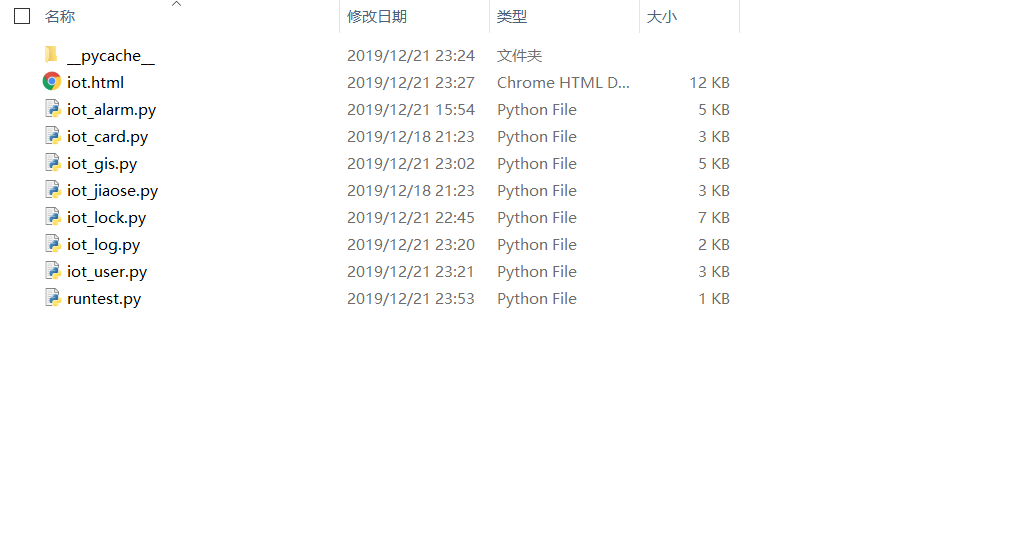
runtest.py代码如下
1 import unittest
2 from HTMLTestRunner import HTMLTestRunner
3
4 test_dir = './'#当前路径
5 discover = unittest.defaultTestLoader.discover(test_dir, pattern='iot_*.py')#iot_*.py表示iot_开头的所有测试用例
6 fp = open("./iot.html","wb")#报告存放的路径
7 runner = HTMLTestRunner(stream=fp, title='科信云测试报告',description='测试用例情况:')
8 runner.run(discover)
9 fp.close
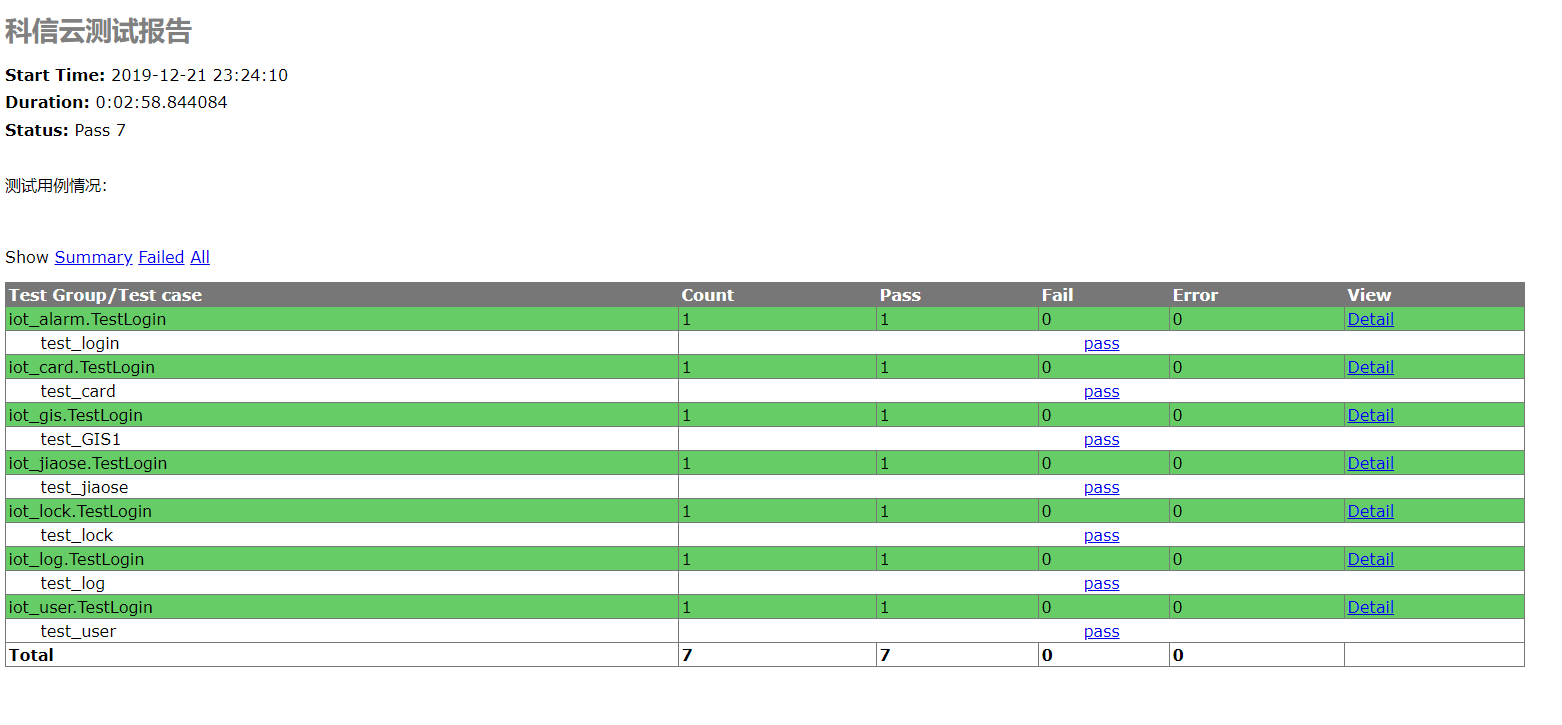
四、测试报告生成
运行runtest.py,然后跑完所有的测试用例会自动生成.html的测试报告。
报告如下图:
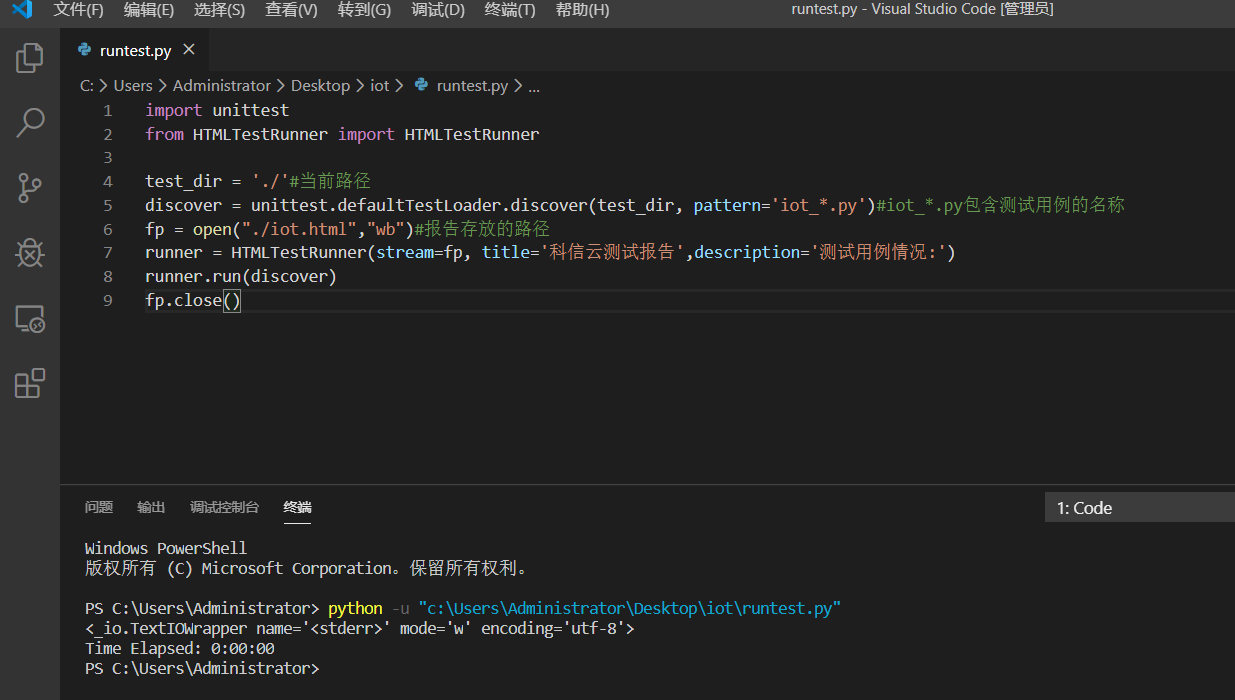
运行期间遇到的问题:博主使用VScode点击运行,一直报下图的时间提示,然后什么也没有发生。后面想起虫师说过的一句话,运行python程序有问题可能是编辑器的问题,最可信的办法是使用CMD终端
运行python文件,于是问题终于解决了。在这里感谢一下虫师的指导。
如果报告生成太多都是同一个名字就会进行覆盖掉,现在我们需要用时间来命名,又能方便看到最新的报告生成时间。
import unittest
import time
from HTMLTestRunner import HTMLTestRunner

now = time.strftime("%Y-%m-%d %H_%M_%S")
test_dir = './'#当前路径
discover = unittest.defaultTestLoader.discover(test_dir, pattern='iot_*.py')#iot_*.py包含测试用例的名称
filename = test_dir  + now + 'iot.html'
fp = open(filename,"wb")#报告存放的路径
runner = HTMLTestRunner(stream=fp, title='科信云测试报告',description='测试用例情况:')
runner.run(discover)
fp.close()
报告生成如下:

五、测试报告优化
经过上面已经能生成完整的测试报告了,从无到有,后面需要从有到优。下面我需要制作一份漂亮的测试报告。
我们已经不是第一个吃螃蟹的人了,已经有人帮我们优化了官方的HTMLTestRunner的测试报告模板并且直接兼容python3了,不需要重复造轮子了,感谢前辈无私奉献。
下面直接借用大佬的demo教程,演示一下。
下载地址:https://github.com/SeldomQA/HTMLTestRunner
HTMLTestRunner for Python3
HTMLTestRunner:http://tungwaiyip.info/software/HTMLTestRunner.html
介绍: HTMLTestRunner是针对Python2.x的unittest单元测试框架用于生成HTML测试报告的扩展。但是,它并不支持Python3.x,所以,我做了一点小小的修改,使其可以在Python3下使用。
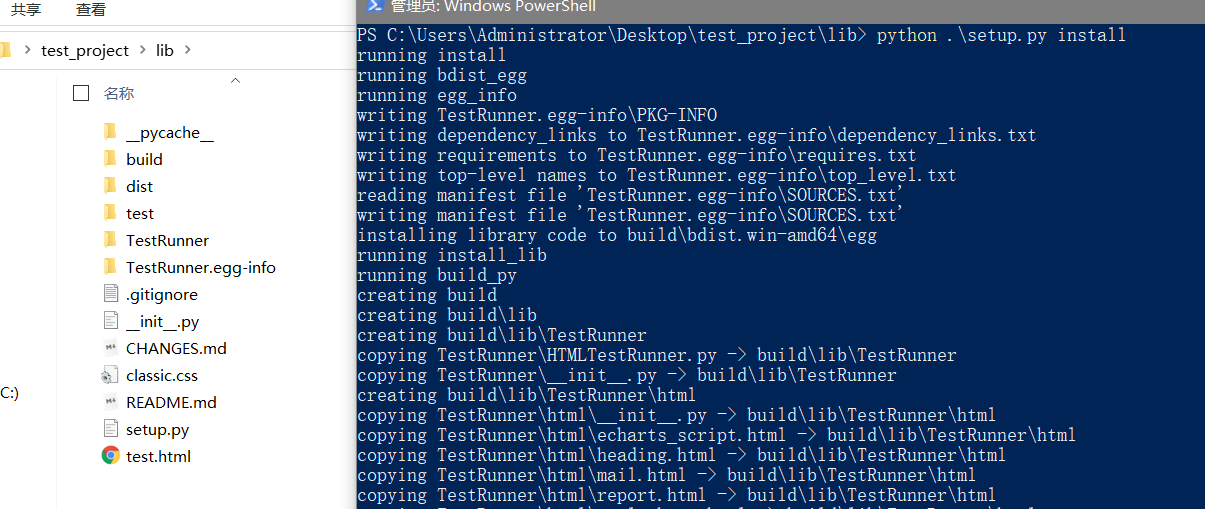
install
git clone https://github.com/SeldomQA/HTMLTestRunner #或者去github下载项目包
cd HTMLTestRunner/
python setup.py install
demo
import unittest
from TestRunner import HTMLTestRunner


class TestDemo(unittest.TestCase):
    """测试用例说明"""

    def test_success(self):
        """执行成功"""
        self.assertEqual(2 + 3, 5)

    @unittest.skip("skip case")
    def test_skip(self):
        pass

    def test_fail(self):
        self.assertEqual(5, 6)

    def test_error(self):
        self.assertEqual(a, 6)


class TestDemo2(unittest.TestCase):

    def test_success(self):
        self.assertEqual(2 + 2, 4)


class TestDemo3(unittest.TestCase):

    def test_fail(self):
        self.assertEqual(3, 4)


if __name__ == '__main__':
    suit = unittest.TestSuite()
    suit.addTest(TestDemo("test_success"))
    suit.addTest(TestDemo("test_skip"))
    suit.addTest(TestDemo("test_fail"))
    suit.addTest(TestDemo("test_error"))
    suit.addTest(TestDemo2("test_success"))
    suit.addTest(TestDemo3("test_fail"))

    with(open('result.html', 'wb')) as fp:
        runner = HTMLTestRunner(
            stream=fp,
            title='测试报告,
            description='测试用例'
        )
        runner.run(suit)
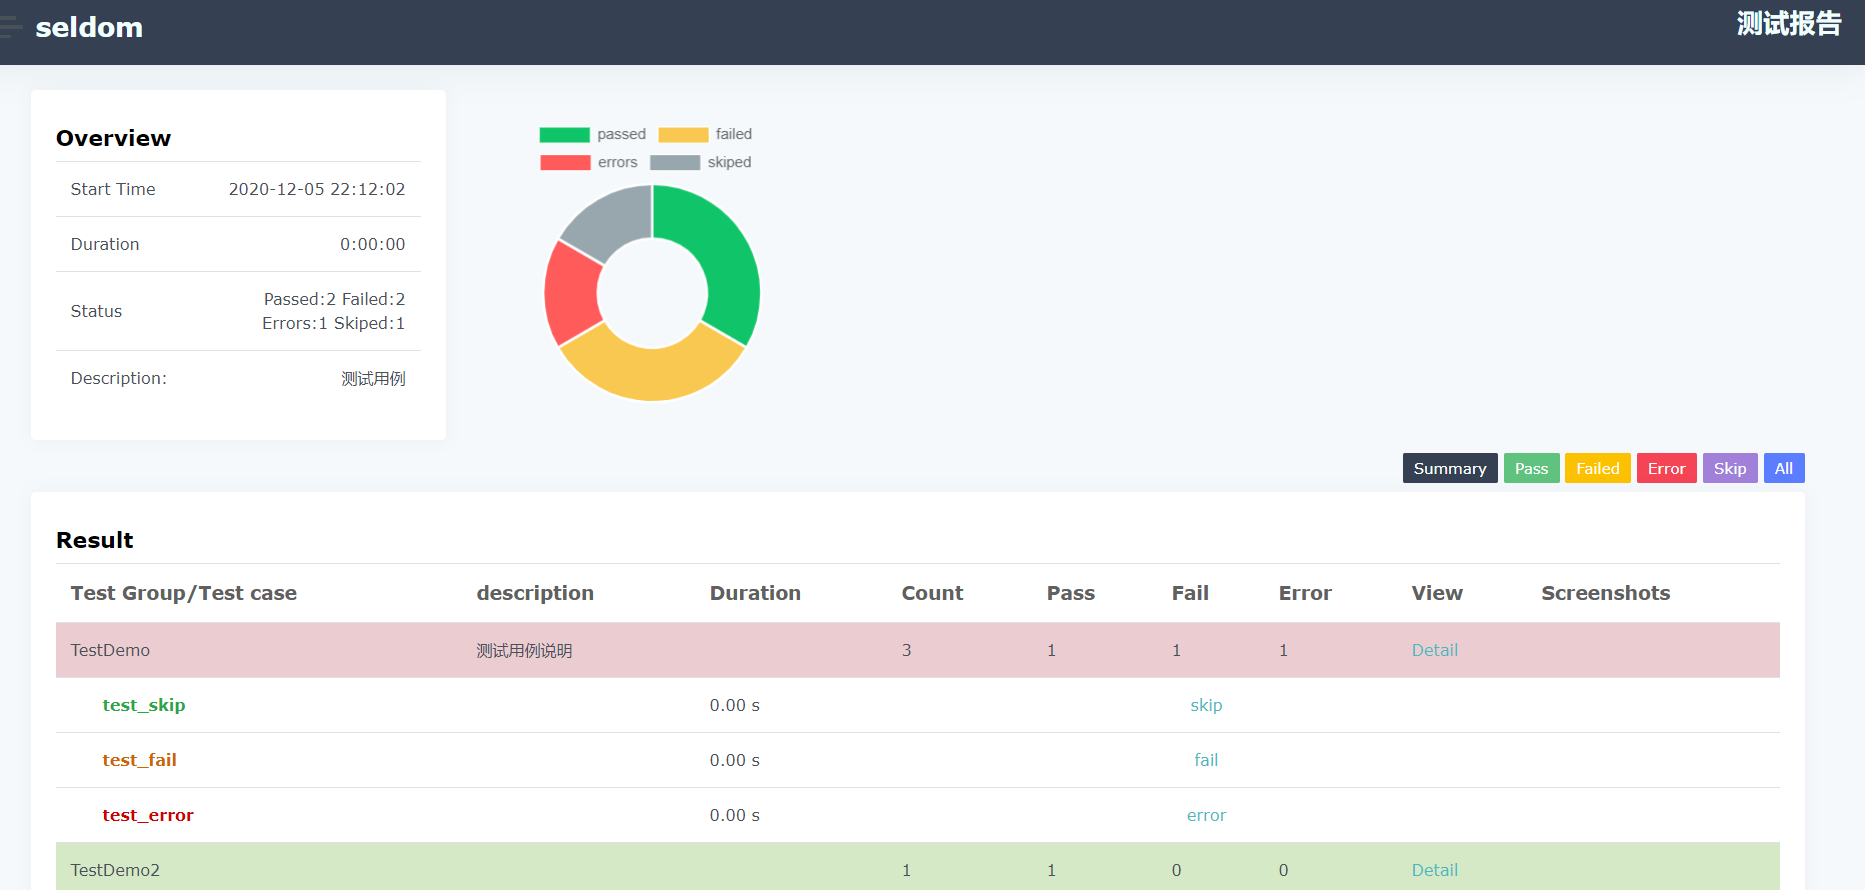
查看测试报告,比原生的漂亮了不少,作者还集成了发邮件功能。
报告生成完了,全英文版对于英语差的朋友阅读不是非常直观,于是我又修改了源码的显示部分。
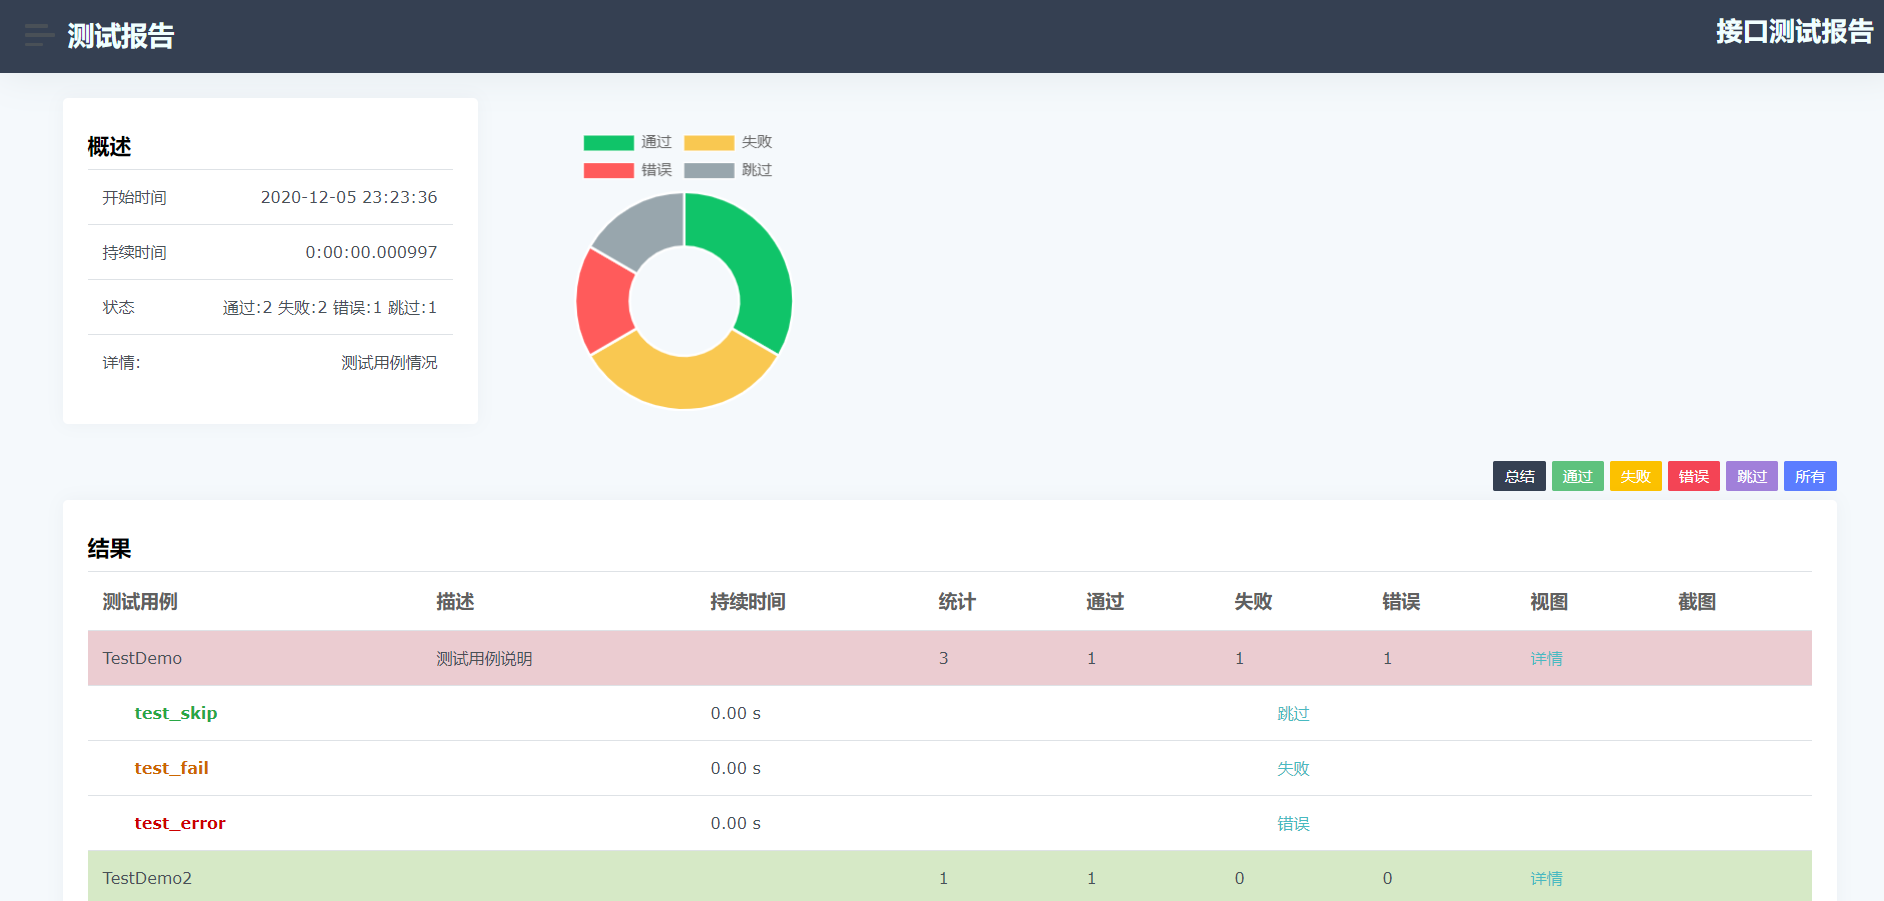
汉化版的源码包下载地址:https://github.com/hy546880109/HTMLTestRunner
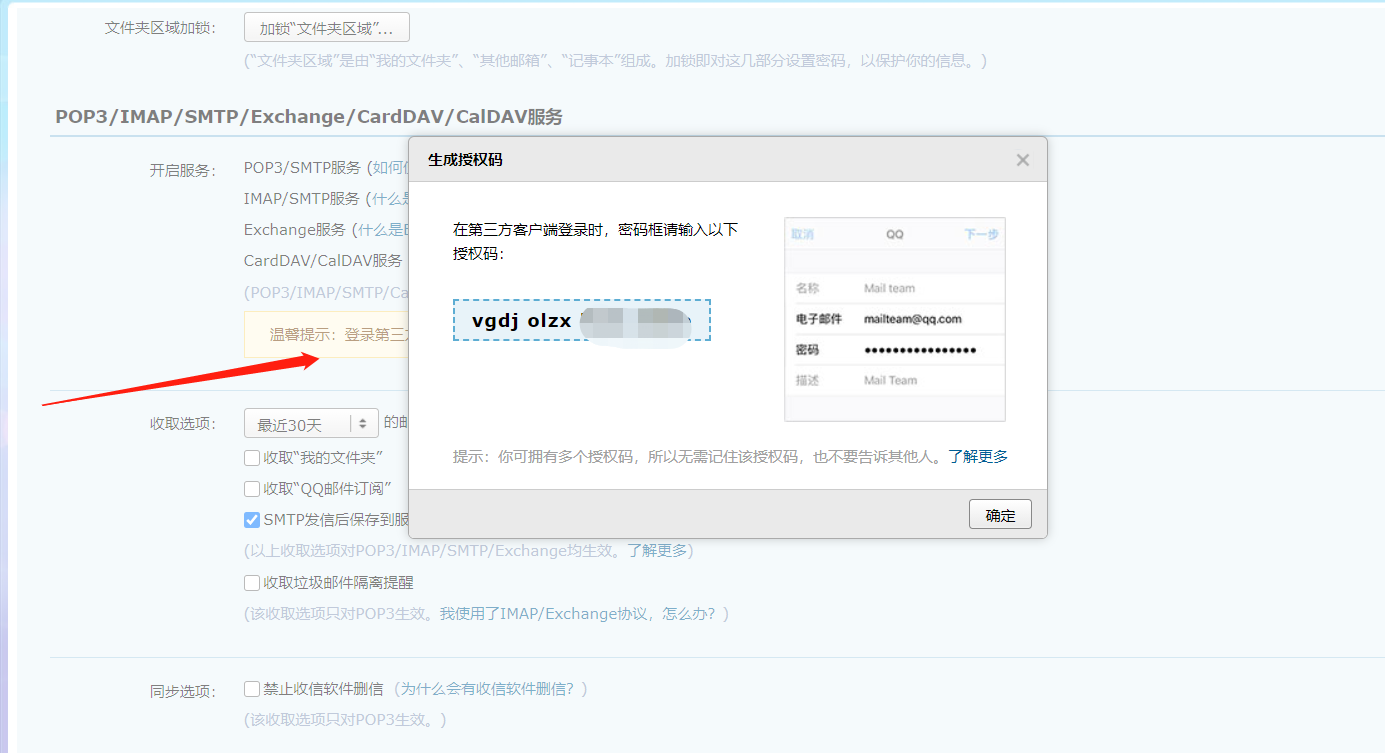
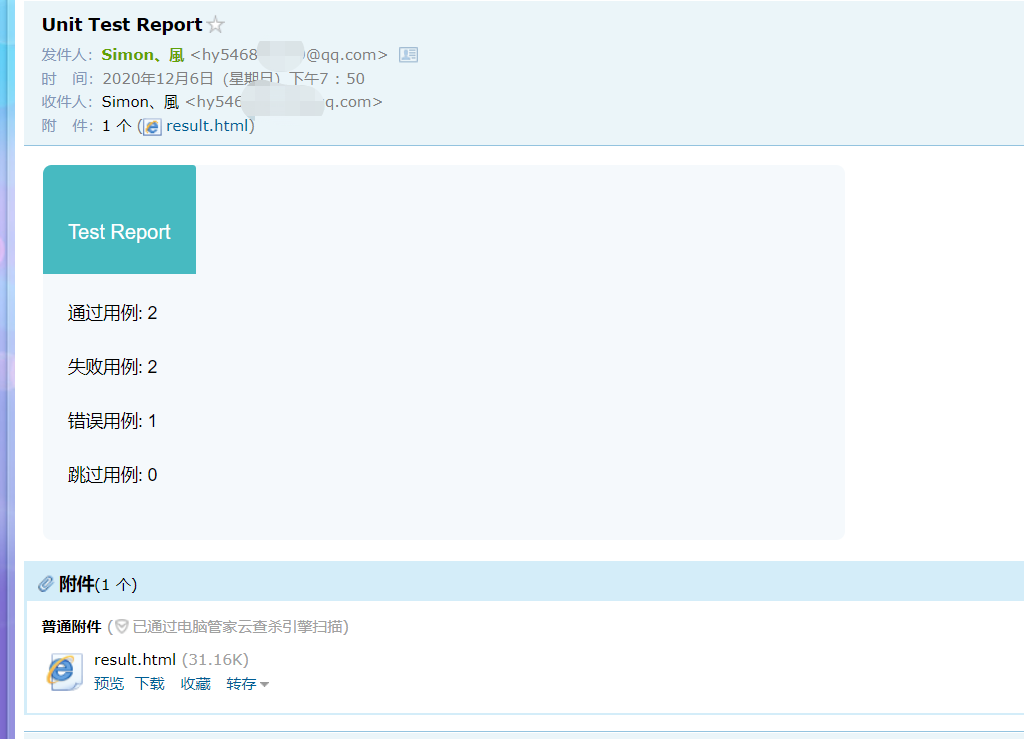
邮件发送:
首先需要获取到邮箱的授权码,这里以QQ邮箱为例。
发送测试报告到邮箱code:
import unittest
from TestRunner import HTMLTestRunner
from TestRunner import SMTP

class TestDemo(unittest.TestCase):
    """测试用例说明"""

    def test_success(self):
        """执行成功"""
        self.assertEqual(2 + 3, 5)

    @unittest.skip("skip case")
    def test_skip(self):
        pass

    def test_fail(self):
        self.assertEqual(5, 6)

    def test_error(self):
        self.assertEqual(a, 6)


class TestDemo2(unittest.TestCase):

    def test_success(self):
        self.assertEqual(2 + 2, 4)


class TestDemo3(unittest.TestCase):

    def test_fail(self):
        self.assertEqual(3, 4)


if __name__ == '__main__':
    suit = unittest.TestSuite()
    suit.addTest(TestDemo("test_success"))
    suit.addTest(TestDemo("test_skip"))
    suit.addTest(TestDemo("test_fail"))
    suit.addTest(TestDemo("test_error"))
    suit.addTest(TestDemo2("test_success"))
    suit.addTest(TestDemo3("test_fail"))

    report = "./result.html"
    with(open(report, 'wb')) as fp:
        runner = HTMLTestRunner(
            stream=fp,
            title='Seldom自动化测试报告',
            description='浏览器chrome,平台windows'
        )
        runner.run(suit)
    # 发邮件功能
    smtp = SMTP(user="user@qq.com", password="授权码", host="smtp.qq.com")  #注意这里不是填邮箱密码而是授权码,授权码需要去邮箱设置里获取
    smtp.sender(to="user@qq.com", attachments=report)
运行后查看结果:

本文来自博客园,作者:Harry_666,转载请注明原文链接:https://www.cnblogs.com/harry66/p/12078784.html

 浙公网安备 33010602011771号