Elasticsearch Linux单机安装
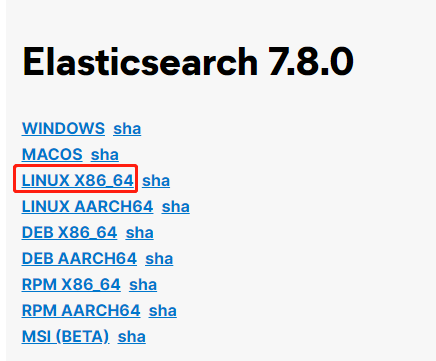
1、软件下载地址
注意:elasticsearch-7-8-0依赖jdk11。
https://www.elastic.co/cn/downloads/past-releases/elasticsearch-7-8-0
https://www.oracle.com/java/technologies/downloads/#java11

2、 软件安装
1、解压软件
# 解压缩
tar -zxvf elasticsearch-7.8.0-linux-x86_64.tar.gz -C /opt/module
# 改名
mv elasticsearch-7.8.0 es
2、修改配置文件
修改 /opt/module/es/config/elasticsearch.yml 文件
# 加入如下配置
cluster.name: elasticsearch
node.name: node-1
network.host: 0.0.0.0
http.port: 9200
cluster.initial_master_nodes: ["node-1"]
修改/etc/security/limits.conf
# 在文件末尾中增加下面内容
# 每个进程可以打开的文件数的限制
* soft nofile 65536
* hard nofile 65536
修改/etc/security/limits.d/20-nproc.conf
# 在文件末尾中增加下面内容
# 每个进程可以打开的文件数的限制
* soft nofile 65536
* hard nofile 65536
# 操作系统级别对每个用户创建的进程数的限制
* hard nproc 4096
# 注:* 带表 Linux 所有用户名称
修改/etc/sysctl.conf
# 在文件中增加下面内容
# 一个进程可以拥有的 VMA(虚拟内存区域)的数量,默认值为 65536
vm.max_map_count=655360
重新加载,sysctl -p。如果启动失败,重启虚拟机试试。
注意:因为安全问题,Elasticsearch 不允许 root 用户直接运行。
关闭防火墙
#暂时关闭防火墙
systemctl stop firewalld
#永久关闭防火墙
systemctl enable firewalld.service #打开放货抢永久性生效,重启后不会复原
systemctl disable firewalld.service #关闭防火墙,永久性生效,重启后不会复原
3、启动软件
使用 非root 用户启动。
cd /apps/es/
#启动
bin/elasticsearch
#后台启动
bin/elasticsearch -d
如果看到这个,则说明启动成功。

4、测试软件
访问地址:http://mini01:9200/

至此,elasticsearch已经启动成功,尽情的享受它吧!!!
莫听穿林打叶声,何妨吟啸且徐行!!!


