viewer 图片点击放大 用法汇总
A 不用viewer插件
1弹出框
https://www.cnblogs.com/web1/p/8989967.html
2表格中
https://www.jianshu.com/p/c17f4f62704c
3自己封装vue组件
https://www.cnblogs.com/yesyes/p/6689082.html
一、用viewer插件
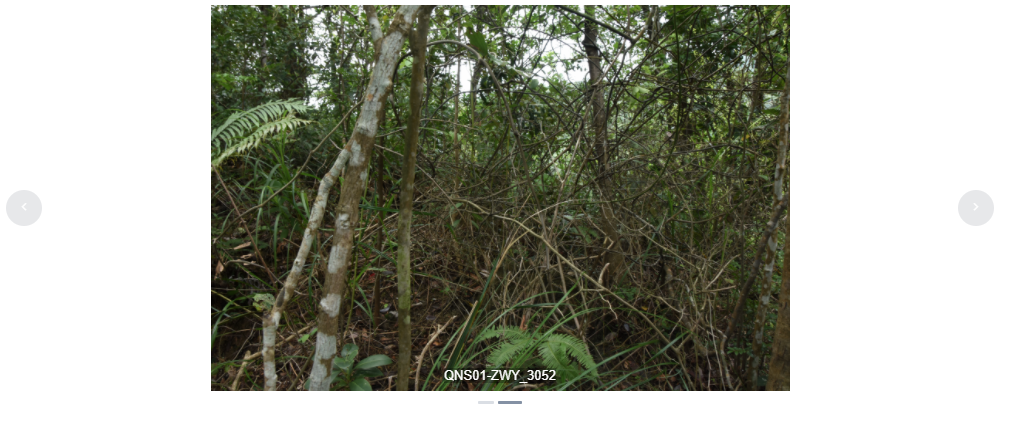
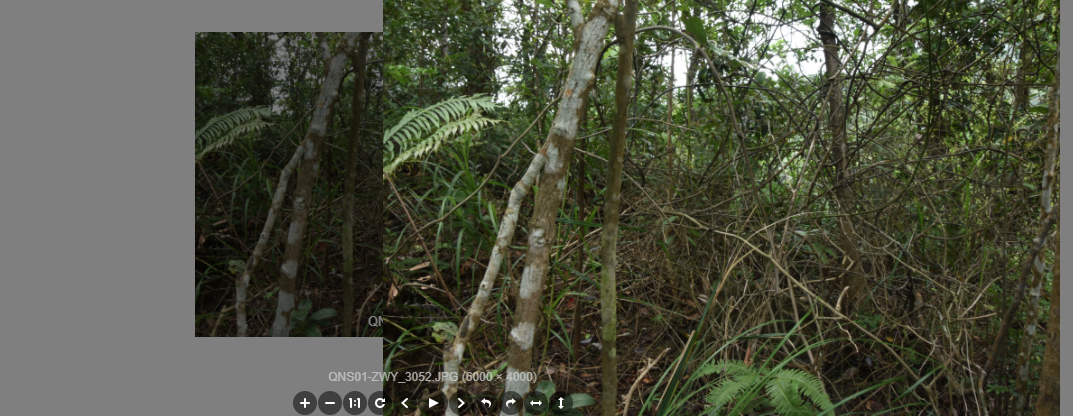
效果:

1、引入文件
JS 版本:
<link rel="stylesheet" href="css/viewer.min.css">
<script src="js/viewer.min.js"></script>
jQuery 版本:
<link rel="stylesheet" href="css/viewer.min.css">
<script src="js/jquery.min.js"></script>
<script src="js/viewer.min.js"></script>
注意:JS 版本和 jQuery 版本名字虽然一样,但代码不一样,不能通用,请到 github 上下载需要的版本。
2、HTML
<ul id="dowebok">
    <li><img src="img/tibet-1.jpg" alt="图片1"></li>
    <li><img src="img/tibet-2.jpg" alt="图片2"></li>
    <li><img src="img/tibet-3.jpg" alt="图片3"></li>
</ul>
3、JavaScript
JS 版本:
var viewer = new Viewer(document.getElementById('dowebok'));
jQuery 版本:
$('#dowebok').viewer();
配置
| 名称 | 类型 | 默认值 | 说明 |
|---|---|---|---|
| inline | 布尔值 | false | 启用 inline 模式 |
| button | 布尔值 | true | 显示右上角关闭按钮(jQuery 版本无效) |
| navbar | 布尔值/整型 | true | 显示缩略图导航 |
| title | 布尔值/整型 | true | 显示当前图片的标题(现实 alt 属性及图片尺寸) |
| toolbar | 布尔值/整型 | true | 显示工具栏 |
| tooltip | 布尔值 | true | 显示缩放百分比 |
| movable | 布尔值 | true | 图片是否可移动 |
| zoomable | 布尔值 | true | 图片是否可缩放 |
| rotatable | 布尔值 | true | 图片是否可旋转 |
| scalable | 布尔值 | true | 图片是否可翻转 |
| transition | 布尔值 | true | 使用 CSS3 过度 |
| fullscreen | 布尔值 | true | 播放时是否全屏 |
| keyboard | 布尔值 | true | 是否支持键盘 |
| interval | 整型 | 5000 | 播放间隔,单位为毫秒 |
| zoomRatio | 浮点型 | 0.1 | 鼠标滚动时的缩放比例 |
| minZoomRatio | 浮点型 | 0.01 | 最小缩放比例 |
| maxZoomRatio | 数字 | 100 | 最大缩放比例 |
| zIndex | 数字 | 2015 | 设置图片查看器 modal 模式时的 z-index |
| zIndexInline | 数字 | 0 | 设置图片查看器 inline 模式时的 z-index |
| url | 字符串/函数 | src | 设置大图片的 url |
| build | 函数 | null | 回调函数,具体查看演示 |
| built | 函数 | null | 回调函数,具体查看演示 |
| show | 函数 | null | 回调函数,具体查看演示 |
| shown | 函数 | null | 回调函数,具体查看演示 |
| hide | 函数 | null | 回调函数,具体查看演示 |
| hidden | 函数 | null | 回调函数,具体查看演示 |
| view | 函数 | null | 回调函数,具体查看演示 |
| viewed | 函数 | null | 回调函数,具体查看演示 |
GitHub 地址:
文档: https://github.com/fengyuanchen/viewerjs/blob/master/README.md#options
二:在vscode中用法
链接:https://www.jianshu.com/p/c7e7c1550f42
第一步安装:
npm install v-viewer --save
第二步注册调用:
import Viewer from 'v-viewer'
import 'viewerjs/dist/viewer.css'
第三步注册:
Vue.use(Viewer);
Viewer.setDefaults({
  Options: { "inline": true, "button": true, "navbar": true, "title": true, "toolbar": true, "tooltip": true, "movable": true, "zoomable": true, "rotatable": true, "scalable": true, "transition": true, "fullscreen": true, "keyboard": true, "url": "data-source" }
});
第四部使用:
<viewer :images="tupians">
      <i-col span="4" v-for="item in tupians">
          <div class="detailed">
            <img :src="item.img" alt="">
          </div>
      </i-col>
</viewer>
数据部分
        tupians:[
          {
            img:tupian1,
          },{
            img:tupian2,
          },{
            img:tupian3,
          }
],其他使用方法可以在github上查看viewerjs
三: js用法,可以配置不采用src来源;

<!DOCTYPE html>
<html>
    <head>
        <meta charset="utf-8" />
        <title></title>
        <link rel="stylesheet" type="text/css" href="js/viewer.css"/>
        <script src="js/viewer.js" type="text/javascript" charset="utf-8"></script>
        <style type="text/css">
            .img-list{
                clear: both;
            }
            .img-list li{
                width:200px;
                height: 200px;
                margin: 10px;
                float: left;
            }
            img{
                width: 100px;
                height: 100px;
                display: block;
            }
        </style>
    </head>
    <body>
        <ul id="images1" class="img-list">
            <li>
                <img src="img/QQ图片20170920110853.png"/>
            </li>
            <li>
                <img src="img/QQ图片20170920110853.png"/>
            </li>
            <li>
                <img src="img/QQ图片20170920110853.png"/>
            </li>
            <li>
                <img src="img/QQ图片20170920110853.png"/>
            </li>
        </ul>
        <!--二-->
        <ul id="image2" class="img-list">
            <li>
                <img src="img/QQ图片20170920110853.png" data-imgurl="img/QQ图片20170920110853.png"/>
            </li>
            <li>
                <img src="img/QQ图片20170920110853.png" data-imgurl="img/QQ图片20170920110853.png"/>
            </li>
            <li>
                <img src="img/QQ图片20170920110853.png" data-imgurl="img/QQ图片20170920110853.png"/>
            </li>
            <li>
                <img src="img/QQ图片20170920110853.png" data-imgurl="img/QQ图片20170920110853.png"/>
            </li>
        </ul>
    </body>
    <script type="text/javascript">
        window.onload = function(){
            var viewer = new Viewer(document.getElementById('images1'), {});
            //
            var viewer = new Viewer(document.getElementById('image2'), {
                url: 'data-imgurl'
            });
        }
    </script>
</html>
在非Vscode项目的用法跟普通js用法一样。
this.$nextTick(function () {
viewer = new Viewer(document.getElementById('dowebok'));
})
this.$nextTick(function () {
//viewer = new Viewer(document.getElementById('dowebok'), {
// viewed: function () {
// $("body").append($(".viewer-container"))
// }
//});
})
                                    <div id="dowebok_qm">

                                        <Carousel v-bind:radius-dot="carouselDot_qm" dots="outside" v-bind:height="imgHeight2+'px'" v-model="carouselValue_qm" style="text-align:center;">
                                            <div v-for="item in imgData_qm">
                                                <Carousel-Item>
                                                    <img v-bind:src="item.src" style="height:inherit;width:auto;cursor:pointer;" />
                                                    <div><span class="carousel-text"> {{item.textName}}</span></div>
                                                </Carousel-Item>
                                            </div>
                                        </Carousel>
                                    </div>
图片名称显示的样式
.carousel-text {
position: relative;
bottom: 25px;
width: 100%;
font-size: 13px;
/*width: auto;*/ /*也可以*/
text-align: center;
color: white;
background-color: rgba(0,0,0,0.3);
}
vue的 methods中写方法
getImageListByPlantID: function (id) {
//根据id发送 ajax请求 从数据库获取该id对应的图片数据列表
this.imgData_qm=[];
let srcPart = '/ProjectFrist/Api/image/'
for (i = 0, len = imageList.length; i < len; i++) {
// 拼接对象
that.imgData_qm.push({ src: srcPart + imageList[i].ImageID + part, name: imageList[i].FileName, textName: imageList[i].textName });
}
if (that.imgData_qm.length > 10) {
that.carouselDot_qm = true; //如果图片数量大于10个则将轮播图的 横杠 换成 点。
}
vm.$nextTick(function () {
console.log("dowebok_qm 被点中");
viewer = new Viewer(document.getElementById('dowebok_qm'));
});
}
效果如下

点击图片,viewer在弹出一张大图。


【推荐】国内首个AI IDE,深度理解中文开发场景,立即下载体验Trae
【推荐】编程新体验,更懂你的AI,立即体验豆包MarsCode编程助手
【推荐】抖音旗下AI助手豆包,你的智能百科全书,全免费不限次数
【推荐】轻量又高性能的 SSH 工具 IShell:AI 加持,快人一步
· 开发者必知的日志记录最佳实践
· SQL Server 2025 AI相关能力初探
· Linux系列:如何用 C#调用 C方法造成内存泄露
· AI与.NET技术实操系列(二):开始使用ML.NET
· 记一次.NET内存居高不下排查解决与启示
· 阿里最新开源QwQ-32B,效果媲美deepseek-r1满血版,部署成本又又又降低了!
· 开源Multi-agent AI智能体框架aevatar.ai,欢迎大家贡献代码
· Manus重磅发布:全球首款通用AI代理技术深度解析与实战指南
· 被坑几百块钱后,我竟然真的恢复了删除的微信聊天记录!
· AI技术革命,工作效率10个最佳AI工具
2017-06-12 php date() 函数
2017-06-12 ajax接收遍历处理json格式数据