MongoDB部署、使用、监控及调优
MongoDB部署
系统环境:CentOS7 下载地址:http://mirrors.163.com/centos/7.9.2009/isos/x86_64/CentOS-7-x86_64-DVD-2009.iso
MongoDB安装包版本:4.0.5 下载地址:https://fastdl.mongodb.org/linux/mongodb-linux-x86_64-rhel70-4.0.5.tgz
在CentOS上安装软件基本就是一些命令,以下列出所使用的命令:
1、关闭防火墙
systemctl stop firewalld.service
systemctl disable firewalld.service
2、上传安装包并解压
tar zxvf mongodb-linux-x86_64-rhel70-4.0.5.tgz
3、剪切到/usr/local下
mv mongodb-linux-x86_64-rhel70-4.0.5 /usr/local/mongodb
4、创建MongoDB相应的文件夹
mkdir -p /data/db
mkdir -p /data/log
mkdir -p /data/conf 在当前文件夹下创建一个配置文件mongodb.conf,内容如下:
1 dbpath=/data/db
2 #logpath=/data/log/mongodb.log
3 bind_ip=0.0.0.0
4 port=27017
5、进入/usr/local/mongodb/bin目前启动MongoDB
./mongod --config /data/conf/mongodb.conf
6、用浏览器访问如出现如下即为安装成功

MongoDB使用指南
使用的连接客户端是Robo 3T,下载地址:https://robomongo.org/download
如下为我在本地创建的集合:

如下为经常会使用到的查询语句:
 1 //查询姓名为小小的数据【.pretty() 可以json化文档内容】
 2
 3 db.getCollection('student').find({"name":"xiaoxiao"}).pretty()
 4
 5 //并列查询and
 6
 7 db.getCollection('student').find({"name":"xiaoxiao","age":29})
 8
 9 //查询age小于29
10
11 db.getCollection('student').find({"age":{$lt:29}})
12
13 //或 查询语句
14
15 db.getCollection('student').find({$or:[{"age":28},{"age":30}]})
16
17 //limit查询
18
19 db.getCollection('student').find({}).limit(2)
20
21 //skip跳过前两条进行 查询
22
23 db.getCollection('student').find({}).skip(2)
24
25 //按age字段进行升序排序(1),降序排序(-1)
26
27 db.getCollection('student').find({}).sort({"age":1})
28
29 //模糊查询name值带有xiao(类似于SQL中的like)
30
31 db.getCollection('student').find({"name":{"$regex":"xiao"}})
过滤出status为A的数据并分别统计出每个name总的年龄:
1 db.getCollection('student').aggregate([
2     {$match:{"status":"A"}},
3     {$group:{_id:"$name",total:{$sum:"$age"}}}
4     ])
MongoDB监控
MongoDB监控可以使用自带的命令进行监控,当然也可以使用zabbix。
这里介绍下两个MongoDB自带的命令用于监控:
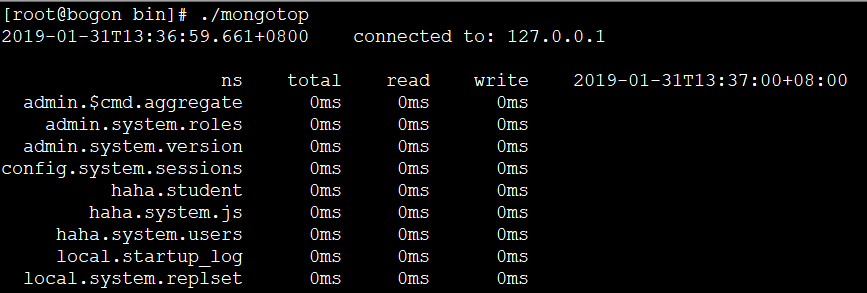
1、mongotop

2、mongostat

MongoDB调优
MongoDB数据库很多用于日志的记录、地理位置存储,所以在调优上主要涉及到比较多的是数据库索引。
如何创建MongoDB的索引呢?
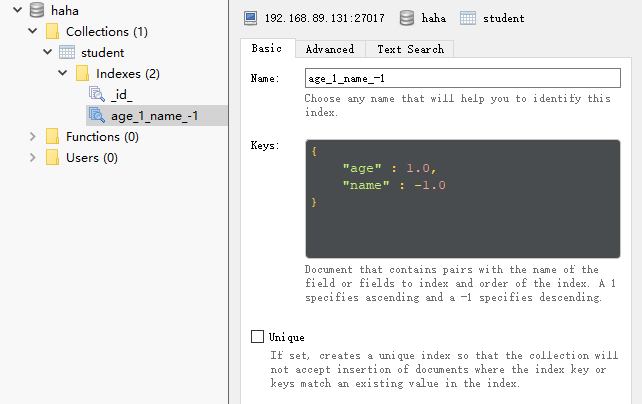
db.getCollection('student').ensureIndex({"age":1,"name":-1},{background:true})

如上创建了age字段正序,name字段倒序的索引。


