MIT6.S081 Lab Page Tables
实验开始前的折腾
突然发现 2023 版的和 2020 版的实验内容其实还不一样……
因为我正在看的视频以及参考资料都是基于 2020 版的课程,因此我还是决定将之前的实验都迁移到 2020 版的 xv6-lab-2020 来。
在自己的 Macbook Air 上折腾了好久……还是没能成功。
因此还是用上了我在阿里云上租的 1 核 2G 丐版服务器,直接按照实验配置说明一行 sudo apt install 就把环境成功配完了……还能正常运行实验内容。
这就是高贵的 Linux 吗?
Print a page table (easy)
To help you learn about RISC-V page tables, and perhaps to aid future debugging, your first task is to write a function that prints the contents of a page table.
Define a function called
vmprint(). It should take apagetable_targument, and print that pagetable in the format described below. Insertif(p->pid==1) vmprint(p->pagetable)in exec.c just before thereturn argc, to print the first process's page table. You receive full credit for this assignment if you pass thepte printouttest ofmake grade.
大概就是要写一个函数,输出一个 Page Table 的内容。
很简单,可以按照提示参考一下 freewalk 的写法,即使不参考也不难写出来。
有一个小小的点在于,如果直接在 vmprint 函数中递归的话,这个函数并没有参数来表示 level(而 level 也不能通过 PTE 的内容判断出来),因此我们可以另外定义一个函数 vmprint_rec(pagetable, level) 来执行这个递归。
void vmprint_rec(pagetable_t pagetable, int level) {
  for (int i = 0; i < 512; ++i) {
    pte_t pte = pagetable[i];
    if (!(pte & PTE_V)) continue;

    printf("..");
    for (int j = 0; j < level; ++j) printf(" ..");
    printf("%d: pte %p pa %p\n", i, pte, PTE2PA(pte));

    if (!(pte & (PTE_R | PTE_W | PTE_X)))
      vmprint_rec((pagetable_t)PTE2PA(pte), level + 1);
  }
}
void vmprint(pagetable_t pagetable) {
  printf("page table %p\n", pagetable);
  vmprint_rec(pagetable, 0);
}
还有就是要按照题目要求,在 exec.c 中 exec 函数的 return argc 前面插入对这个函数的调用:
int
exec(char *path, char **argv)
{
  // ...
  if(p->pid==1) vmprint(p->pagetable);

  return argc; // this ends up in a0, the first argument to main(argc, argv)
  // ...
}
以及在 kernel/defs.h 中加上对这个函数的声明:
void            vmprint(pagetable_t);
// line 181
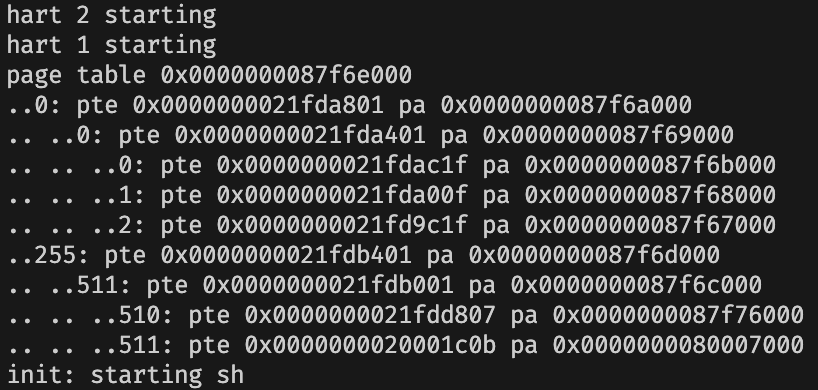
评测:

A kernel page table per process (hard)
Xv6 has a single kernel page table that's used whenever it executes in the kernel. The kernel page table is a direct mapping to physical addresses, so that kernel virtual address x maps to physical address x. Xv6 also has a separate page table for each process's user address space, containing only mappings for that process's user memory, starting at virtual address zero. Because the kernel page table doesn't contain these mappings, user addresses are not valid in the kernel. Thus, when the kernel needs to use a user pointer passed in a system call (e.g., the buffer pointer passed to
write()), the kernel must first translate the pointer to a physical address. The goal of this section and the next is to allow the kernel to directly dereference user pointers.Your first job is to modify the kernel so that every process uses its own copy of the kernel page table when executing in the kernel. Modify
struct procto maintain a kernel page table for each process, and modify the scheduler to switch kernel page tables when switching processes. For this step, each per-process kernel page table should be identical to the existing global kernel page table. You pass this part of the lab ifusertestsruns correctly.
简单地说,在原本的 xv6 设计中,只有一个内核页表,而对于每个进程的用户地址空间都有一个独立页表。我们的这个任务就是为每一个进程都单独建立一个内核页表。
我们跟着实验提供的 Hints 一步一步走即可。
在进程中创建字段
Add a field to
struct procfor the process's kernel page table.
在 proc.h 中的 struct proc 中新建一个 kernel_pagetable 成员,用来存储每个进程的用户页表的地址。
// Per-process state
struct proc {
  // ...
  pagetable_t kernel_pagetable; // Kernel page table
};
kvminit 函数的修改版本并在 allocproc 调用
A reasonable way to produce a kernel page table for a new process is to implement a modified version of
kvminitthat makes a new page table instead of modifyingkernel_pagetable. You'll want to call this function fromallocproc.
为了在一个进程初始化的时候创建这个进程自己的内核页表的同时,保持系统调用的功能和原来一致,我们要将系统内核页表默认的初始化修改一份到进程内核页表的初始化中。
首先我们观察到 kvminit 函数都是在调用 kvmmap 函数进行页表内容的分配。但是,这个函数是直接对 kernel_pagetable 的全局变量进行修改,而不能指定某个页表,因此我们需要先做一个修改版的 ukvmmap。
void
ukvmmap(pagetable_t kernel_pagetable, uint64 va, uint64 pa, uint64 sz, int perm)
{
  if(mappages(kernel_pagetable, va, sz, pa, perm) != 0)
    panic("ukvmmap");
}
然后我们将 kvminit 函数复制一份到 ukminit 函数中,在这个函数中,我们分配一个页帧存放第一级页目录。然后,我们将函数中调用 kvmmap 的地方都改成调用 ukvmmap。最后,我们将这个页帧的地址返回回去。
pagetable_t ukvminit() {
  pagetable_t kernel_pagetable = (pagetable_t) kalloc();
  memset(kernel_pagetable, 0, PGSIZE);

  // uart registers
  ukvmmap(kernel_pagetable, UART0, UART0, PGSIZE, PTE_R | PTE_W);

  // virtio mmio disk interface
  ukvmmap(kernel_pagetable, VIRTIO0, VIRTIO0, PGSIZE, PTE_R | PTE_W);

  // CLINT
  ukvmmap(kernel_pagetable, CLINT, CLINT, 0x10000, PTE_R | PTE_W);

  // PLIC
  ukvmmap(kernel_pagetable, PLIC, PLIC, 0x400000, PTE_R | PTE_W);

  // map kernel text executable and read-only.
  ukvmmap(kernel_pagetable, KERNBASE, KERNBASE, (uint64)etext-KERNBASE, PTE_R | PTE_X);

  // map kernel data and the physical RAM we'll make use of.
  ukvmmap(kernel_pagetable, (uint64)etext, (uint64)etext, PHYSTOP-(uint64)etext, PTE_R | PTE_W);

  // map the trampoline for trap entry/exit to
  // the highest virtual address in the kernel.
  ukvmmap(kernel_pagetable, TRAMPOLINE, (uint64)trampoline, PGSIZE, PTE_R | PTE_X);

  return kernel_pagetable;
}
然后,在 proc.c 中的 allocproc 函数中,我们调用这个函数,将返回回来的页目录地址存进 kernel_pagetable 中。
static struct proc*
allocproc(void)
{
  // ...
  // An empty user page table.
  p->pagetable = proc_pagetable(p);
  if(p->pagetable == 0){
    freeproc(p);
    release(&p->lock);
    return 0;
  }

  // 此处是新添加的代码 kernel pagetable
  p->kernel_pagetable = ukvminit();
  if(p->kernel_pagetable == 0){
    freeproc(p);
    release(&p->lock);
    return 0;
  }
  // ...
}
内核栈
Make sure that each process's kernel page table has a mapping for that process's kernel stack. In unmodified xv6, all the kernel stacks are set up in
procinit. You will need to move some or all of this functionality toallocproc.
在原本的 xv6 中,在系统启动的时候,为 NRPOC 个进程都分配了一个内核栈空间,其地址统一存放在内核页表中。这个过程在 proc.c 中的 procinit 函数中实现。
在我们的每个进程都有内核页表的版本中,我们将在一个进程初始化的时候再分配这个内核栈,并将这个内核栈分配到同一个虚拟地址。
首先,我们将 procinit 中初始化内核栈的代码复制下来,并将原本的代码注释掉:
void
procinit(void)
{
  struct proc *p;

  initlock(&pid_lock, "nextpid");
  for(p = proc; p < &proc[NPROC]; p++) {
      initlock(&p->lock, "proc");

      // Allocate a page for the process's kernel stack.
      // Map it high in memory, followed by an invalid
      // guard page.
      // char *pa = kalloc();
      // if(pa == 0)
      //   panic("kalloc");
      // uint64 va = KSTACK((int) (p - proc));
      // kvmmap(va, (uint64)pa, PGSIZE, PTE_R | PTE_W);
      // p->kstack = va;
  }
  kvminithart();
}
然后,这个时候每个进程的内核栈不同的虚拟地址已经没有意义了,因此我们将 uint64 va = KSTACK((int) (p - proc)); 改成 uint64 va = KSTACK(0);。
其余部分可以直接复制。
static struct proc*
allocproc(void)
{
  // ... 在之前加入内核页表的地方后面
  // map kernel stack
  char *pa = kalloc();
  if(pa == 0)
    panic("kalloc");
  uint64 va = KSTACK(0);
  ukvmmap(p->kernel_pagetable, va, (uint64)pa, PGSIZE, PTE_R | PTE_W);
  p->kstack = va;
  // ...
}
修改调度函数
Modify
scheduler()to load the process's kernel page table into the core'ssatpregister (seekvminithartfor inspiration). Don't forget to callsfence_vma()after callingw_satp().
scheduler()should usekernel_pagetablewhen no process is running.
在进行进程调度的时候,我们需要切换到这个进程的内核页表。因此我们要在 proc.c 的 scheduler 函数中修改一下。
在两次进程调度之间,可能会有一段没有进程运行的空闲期,我们需要在这个阶段将 SATP 寄存器设置为系统内核页表。
切换页表的语句可以模仿 sfence_vma() 函数的写法。
void
scheduler(void)
{
    	// ...
		// Switch to chosen process.  It is the process's job
        // to release its lock and then reacquire it
        // before jumping back to us.
        p->state = RUNNING;
        c->proc = p;

        w_satp(MAKE_SATP(p->kernel_pagetable));
        sfence_vma();

        swtch(&c->context, &p->context);

        kvminithart();

        // Process is done running for now.
    	// ...
}
释放页表
Free a process's kernel page table in
freeproc.You'll need a way to free a page table without also freeing the leaf physical memory pages.
在一个进程结束的时候,我们需要释放它的内核页表。但是,我们需要注意的是,不能在释放内核页表的时候,把页目录的叶子——那些共享的物理页面给分配了。
当然,每个进程单独的内核栈也是叶子,这个需要单独释放掉。
首先,我们先定义一个函数来专门释放内核页表。
static void
freeproc(struct proc *p)
{
  // ...
  if(p->kernel_pagetable)
    proc_freekernelpagetable(p);
  p->state = UNUSED;
}
这个 proc_freekernelpagetable 函数接受一个进程指针,我们在这个函数中释放掉页表和内核栈。
vm.c 中有两个函数,可以用来帮助我们完成页表的释放。第一个是 uvmunmap,这个函数接收一个页目录指针,一个虚拟地址,一个页帧数,可以将页表中从这个虚拟地址开始的若干页释放,还有一个 do_free 参数,可以用来决定是否需要 free 叶子的物理内容。
还有一个 freewalk 函数。这个函数可以接受一个已经释放了所有叶子的物理页面的页表,然后释放页表的所有内容。它不会去释放叶子,而是会判断叶子是否已经释放干净了——因此,这个函数本身不符合我们的要求,但是我们只需要将判断叶子是否已经释放的语句删去就可以了:
void
freewalk_withleaf(pagetable_t pagetable)
{
  // there are 2^9 = 512 PTEs in a page table.
  for(int i = 0; i < 512; i++){
    pte_t pte = pagetable[i];
    if((pte & PTE_V) && (pte & (PTE_R|PTE_W|PTE_X)) == 0){
      // this PTE points to a lower-level page table.
      uint64 child = PTE2PA(pte);
      freewalk_withleaf((pagetable_t)child);
      pagetable[i] = 0;
    } // else if(pte & PTE_V){
    //  panic("freewalk: leaf");
    // }
  }
  kfree((void*)pagetable);
}
所以我们先调用 uvmunmap 释放掉内核栈空间,然后调用修改版的 freewalk 来释放剩余的页表内容即可。
void
proc_freekernelpagetable(struct proc *p)
{
  uvmunmap(p->kernel_pagetable, p->kstack, 1, 1);
  freewalk_withleaf(p->kernel_pagetable);
}
一个小问题
如果你现在直接开始测试,你可能会发现一个小问题:
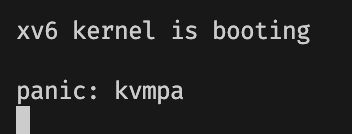
当我们输入 make qemu 启动系统的时候,系统会打印一行 panic: kvmpa,然后卡住。
我们在搜索 kvmpa 这个字符串,发现它是一个 kernel/vm.c 中的一个函数,它长这样:
// translate a kernel virtual address to
// a physical address. only needed for
// addresses on the stack.
// assumes va is page aligned.
uint64
kvmpa(uint64 va)
{
  uint64 off = va % PGSIZE;
  pte_t *pte;
  uint64 pa;

  pte = walk(kernel_pagetable, va, 0);
  if(pte == 0)
    panic("kvmpa");
  if((*pte & PTE_V) == 0)
    panic("kvmpa");
  pa = PTE2PA(*pte);
  return pa+off;
}
在这个函数中,程序会在内核页表中查找一个虚拟地址,并转换成物理地址。如果没有找到,那么就会显示上面的 panic。
因此,我们有理由怀疑,某个进程的内核状态会在什么地方调用这个函数,而这个函数默认使用的系统的内核页表,导致查找失败。因此,我们将代码中的 walk(kernel_pagetable, va, 0) 修改为 walk(myproc()->kernel_pagetable, va, 0) 即可。
但是需要注意的是,因为 defs.h 中没有 struct proc 的原型,因此我们要补上 proc.h 的头文件,以及 proc.h 需要的 spinlock.h 的头文件。
测试
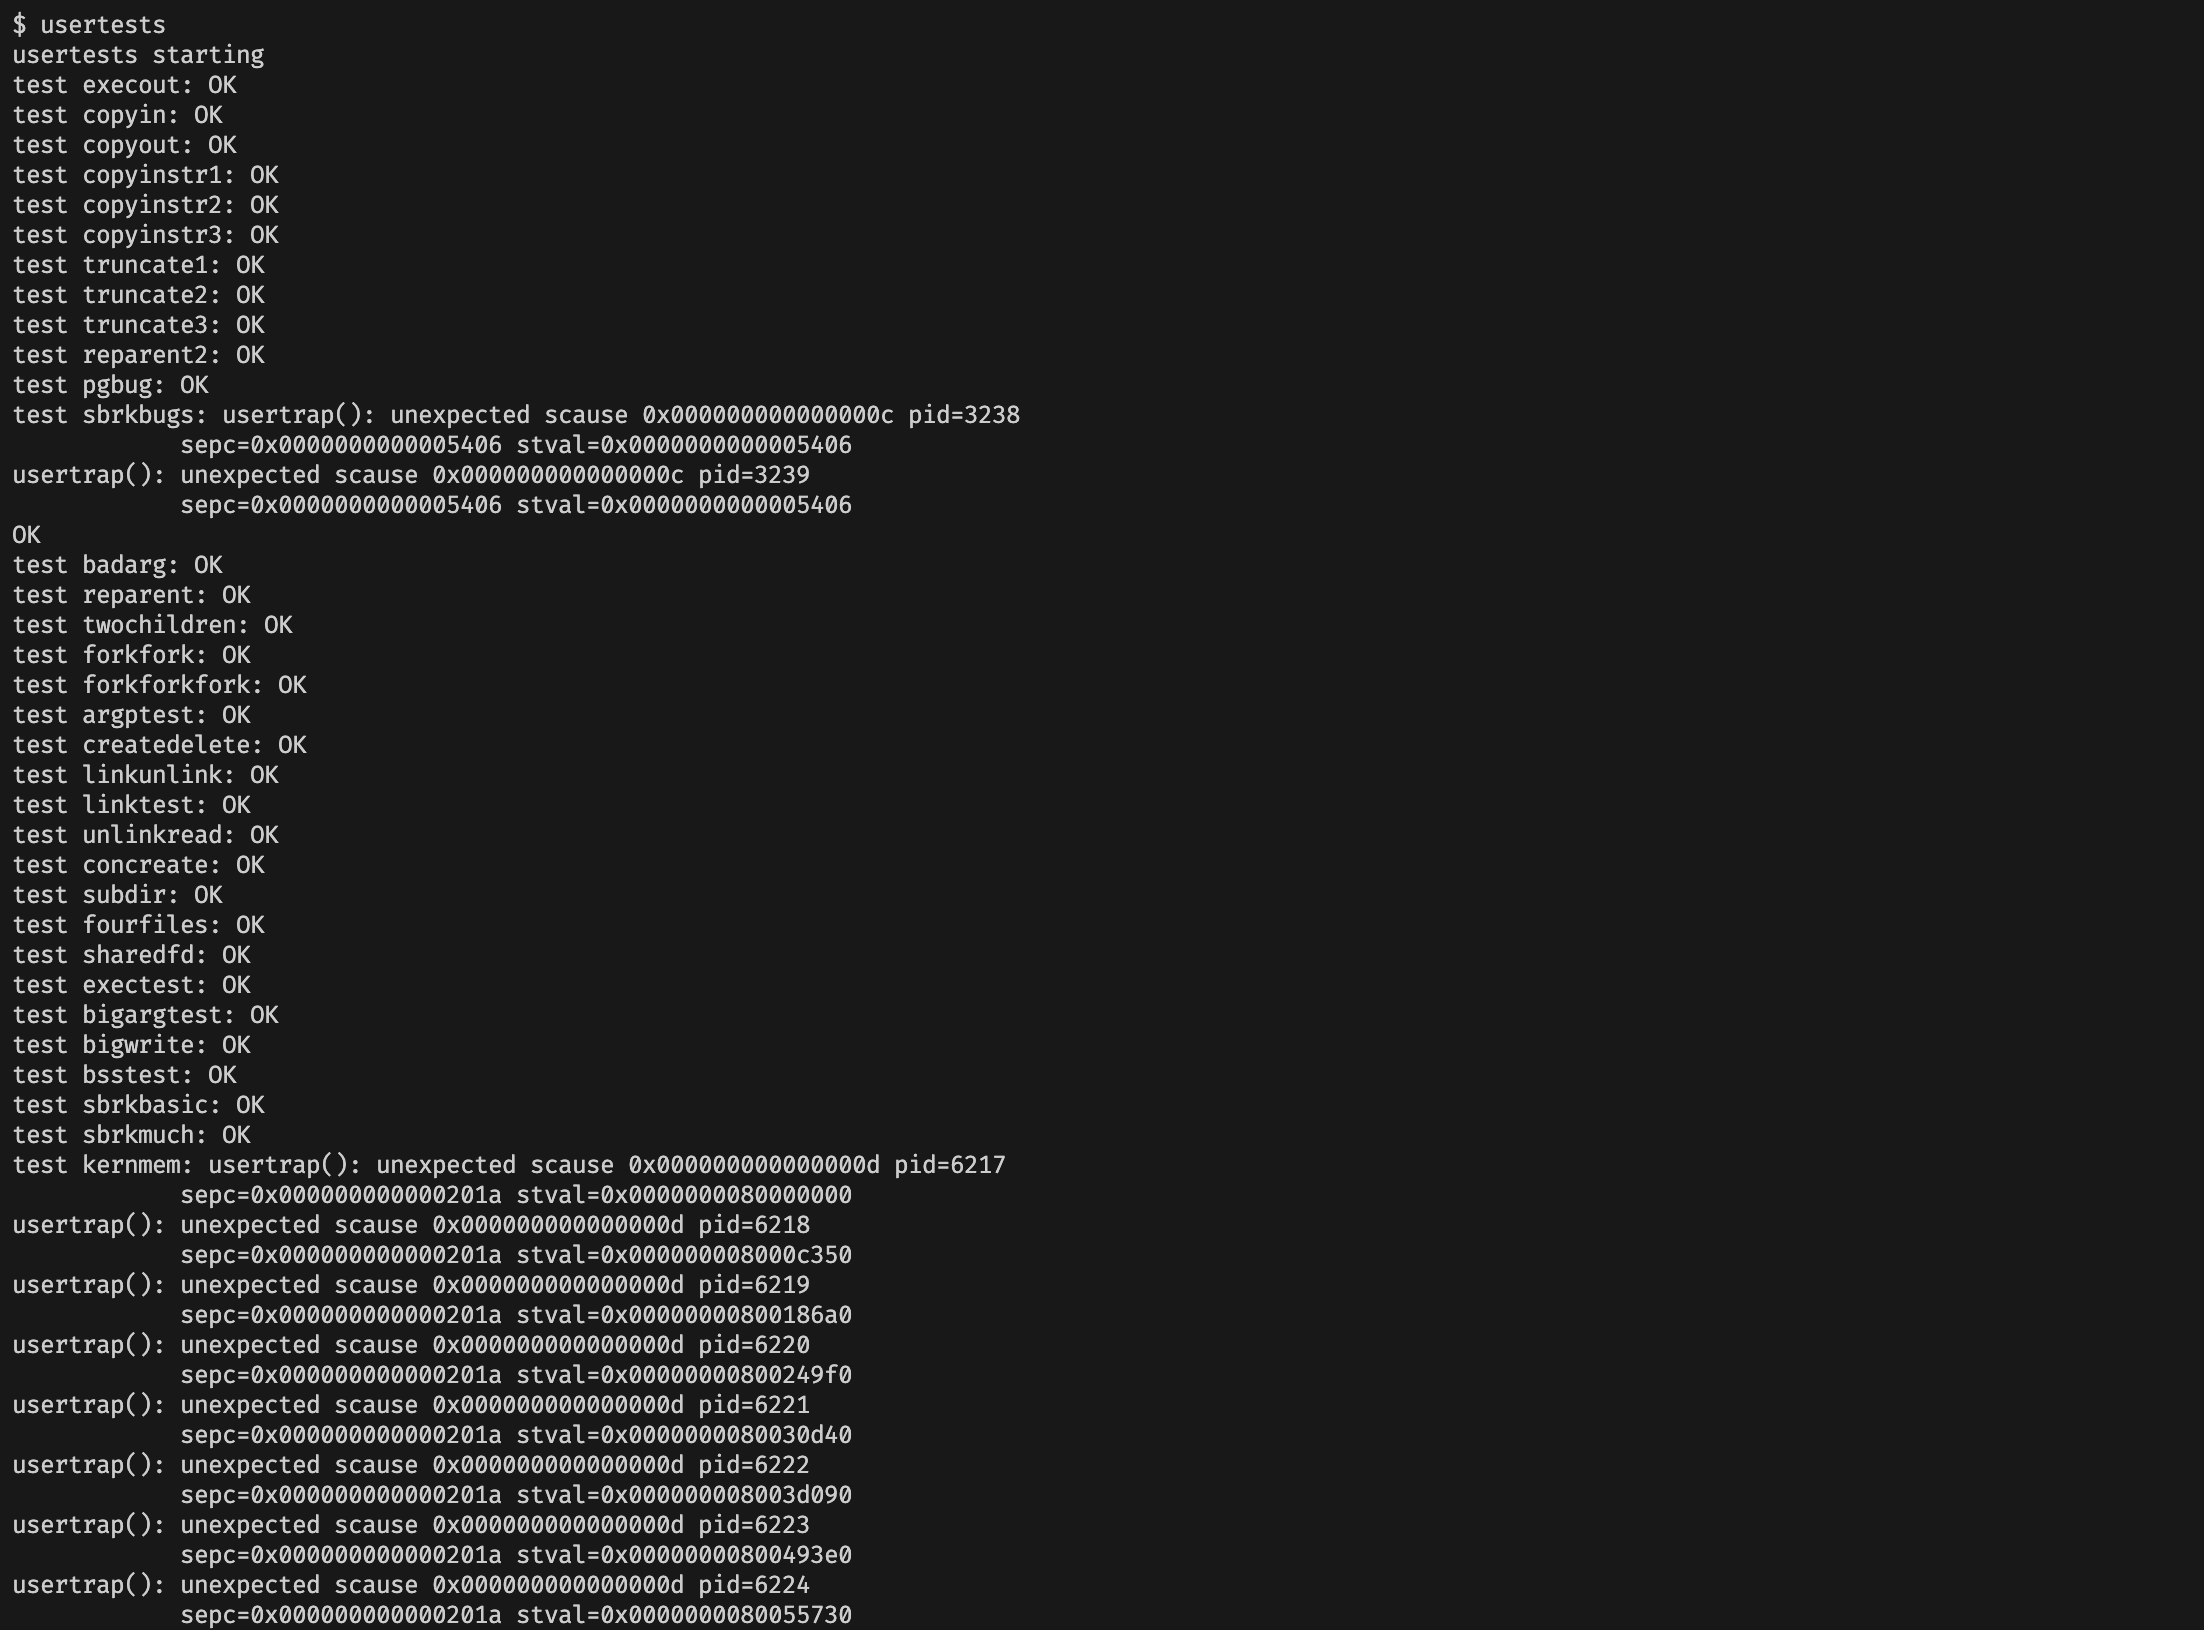
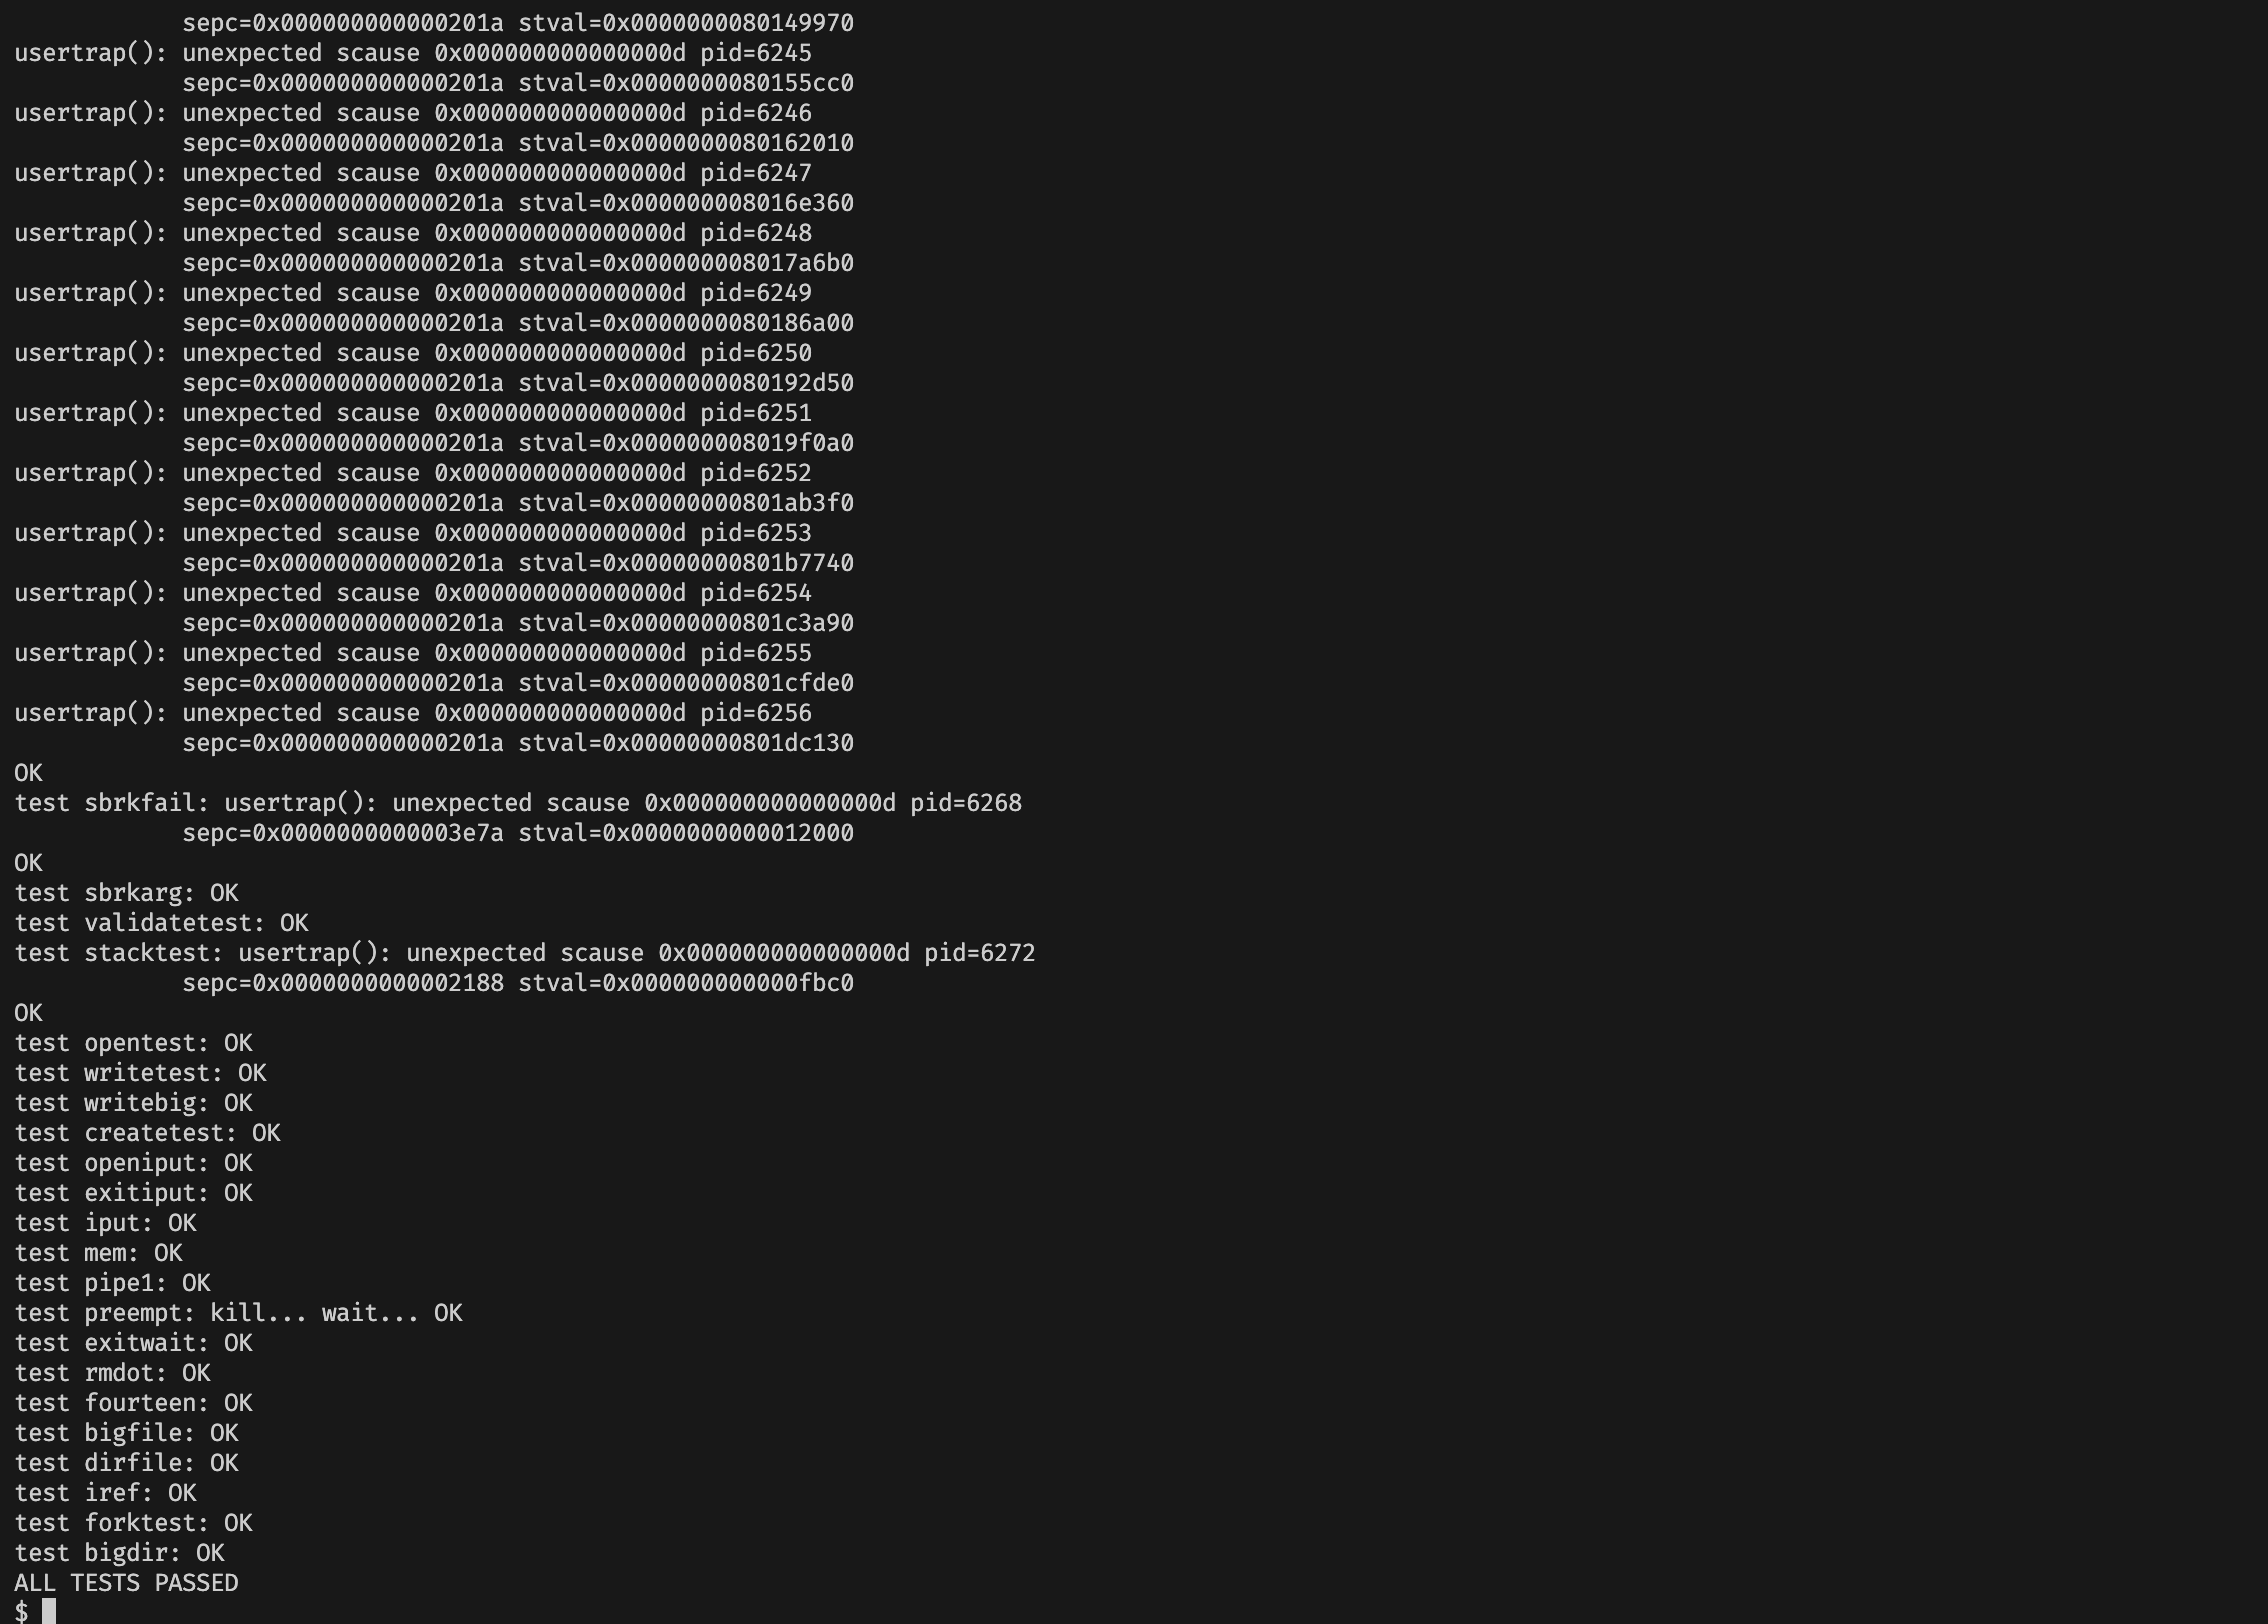
通过是通过了……但是我这里测试的时候有点不稳定,偶尔 bigdir 这个任务会出错我也不知道为什么。
Simplify copyin/copyinstr (hard)
The kernel's
copyinfunction reads memory pointed to by user pointers. It does this by translating them to physical addresses, which the kernel can directly dereference. It performs this translation by walking the process page-table in software. Your job in this part of the lab is to add user mappings to each process's kernel page table (created in the previous section) that allowcopyin(and the related string functioncopyinstr) to directly dereference user pointers.Replace the body of
copyininkernel/vm.cwith a call tocopyin_new(defined inkernel/vmcopyin.c); do the same forcopyinstrandcopyinstr_new. Add mappings for user addresses to each process's kernel page table so thatcopyin_newandcopyinstr_newwork. You pass this assignment ifusertestsruns correctly and all themake gradetests pass.This scheme relies on the user virtual address range not overlapping the range of virtual addresses that the kernel uses for its own instructions and data. Xv6 uses virtual addresses that start at zero for user address spaces, and luckily the kernel's memory starts at higher addresses. However, this scheme does limit the maximum size of a user process to be less than the kernel's lowest virtual address. After the kernel has booted, that address is
0xC000000in xv6, the address of the PLIC registers; seekvminit()inkernel/vm.c,kernel/memlayout.h, and Figure 3-4 in the text. You'll need to modify xv6 to prevent user processes from growing larger than the PLIC address.
这个任务需要在我们实现的进程内核页表,添加用户页表的副本,使得我们可以通过内核的进程页表,直接对用户传入的指针解引用,从而在 copyin 和 copyinstr 更快地读取用户内存的数据。
删除 CLINT 的映射
注意到用户地址空间的界限是 PLIC,即 0x0C000000。即用户地址空间会使用 0 到 0x0C000000 之间的地址。
而在内核页表的映射中,有一个 CLINT 段被映射在了 0x02000000,这是心本地中断器的映射,这可能会与我们的用户地址空间的映射冲突。但是,这个映射只会在启动的时候使用到,因此我们在进程内核页表中,可以将这个映射删去。
pagetable_t ukvminit() {
  // ...
  // CLINT
  // ukvmmap(kernel_pagetable, CLINT, CLINT, 0x10000, PTE_R | PTE_W);
  // ...
}
修改 copyin 和 copyinstr
Replace
copyin()with a call tocopyin_newfirst, and make it work, before moving on tocopyinstr.
原本 copyin 和 copyinstr 两个函数实现了手动从用户页表中翻译物理地址的过程,我们现在需要将它们改成对 copyin_new 和 copyinstr_new 两个函数的直接调用,这两个新函数会直接对原指针进行解引用,而不会借助进程的用户页表。
int
copyin(pagetable_t pagetable, char *dst, uint64 srcva, uint64 len)
{
  return copyin_new(pagetable, dst, srcva, len);
}

int
copyinstr(pagetable_t pagetable, char *dst, uint64 srcva, uint64 max)
{
  return copyinstr_new(pagetable, dst, srcva, max);
}
同步用户页表的修改
At each point where the kernel changes a process's user mappings, change the process's kernel page table in the same way. Such points include
fork(),exec(), andsbrk().
准备一个页表复制函数 copymap
为了方便我们将用户页表的修改直接同步到内核页表,我们实现了一个函数 copymap,这个函数将用户页表 pagetable 中虚拟地址 va 开始的 sz 字节对应的页表条目复制到内核页表。
实现的思路就是枚举从 va 开始的每一页,通过 walk 函数得到页表项,从而读取到物理地址和标记,在内核页表中做相同的映射。
int copymap(pagetable_t pagetable, pagetable_t kernel_pagetable, uint64 va, uint64 sz) {
  for (uint64 i = PGROUNDUP(va); i < va + sz; i += PGSIZE) {
    pte_t *pte = walk(pagetable, i, 0);
    if (pte == 0) panic("copymap");
    if (!(*pte & PTE_V)) panic("copymap");
    uint64 pa = PTE2PA(*pte);
    uint64 flags = PTE_FLAGS(*pte) & ~PTE_U;
    if (mappages(kernel_pagetable, i, PGSIZE, pa, flags) == -1) {
      uvmunmap(kernel_pagetable, va, (i - va) / PGSIZE, 0);
      return -1;
    }
  }
  return 0;
}
有两个注意点:
- 我们在设置页表条目的标记时,要记得加上
& ~PTE_U,将这一页设置为用户程序不能直接访问。 - 因为我们在
copymap中传入的虚拟地址不一定是对齐PGSIZE的,因此我如果虚拟地址在一页的中间,我们认为这一页已经同步完成了。所以我们一开始i的初始值设置为PGROUNDUP(va)。不能直接将va变成PGROUNDUP(va),因为我们必须严格卡好复制长度的上限。
修改 fork
其实同步的时候,我们只需要找到所有对于用户页表修改的地方即可。
在 fork 函数中,我们将父进程用户虚拟内存拷贝到了子进程的用户虚拟内存。我们只需要在新进程中同步这个变化,将新进程的用户页表复制到内核页表即可。
int
fork(void)
{
  // ...
  if(uvmcopy(p->pagetable, np->pagetable, p->sz) < 0){
    freeproc(np);
    release(&np->lock);
    return -1;
  }
  if(copymap(np->pagetable, np->kernel_pagetable, 0, p->sz) < 0){
    freeproc(np);
    release(&np->lock);
    return -1;
  }
  // ...
}
修改 exec 函数
exec 函数中,为了执行一个新的程序,我们会将进程原先的用户页表以及对应的物理内存释放掉,然后建立一个崭新的用户页表,将程序使用的空间初始化。
为了同步这个修改,我们也将内核页表中用户地址空间的映射全部清楚,然后将新建立的用户页表拷贝到内核页表。
int
exec(char *path, char **argv)
{
  // ...
  // Commit to the user image.
  oldpagetable = p->pagetable;
  p->pagetable = pagetable;
  p->sz = sz;

  uvmunmap(p->kernel_pagetable, 0, PGROUNDUP(oldsz) / PGSIZE, 0);
  copymap(pagetable, p->kernel_pagetable, 0, sz);

  p->trapframe->epc = elf.entry;  // initial program counter = main
  p->trapframe->sp = sp; // initial stack pointer
  proc_freepagetable(oldpagetable, oldsz);

  // ...
}
修改 growproc 函数
题目提示里面虽然让我们修改 sbrk() 函数,但是这个函数实际上是扩大用户空间的函数,会调用 growproc() 函数,因此我们实际上要修改的是 growproc() 函数。
首先我们这里多维护一个变量 oldsz,存储原先的用户空间大小,因为在修改完用户空间以后,原先的代码顺手把 sz 改掉了。
这个函数中的用户地址空间的变化分为两类,第一类是增长。在这种情况下,为了保持用户地址空间不超过 PLIC 的限制,我这里加上了 sz >= PLIC 的判断。然后,我们将新增加的那一部分空间,调用 copymap 复制到内核页表中。
第二类是缩减了。那么在这种情况下,我们调用 uvmunmap 函数,将新 sz 和原先 oldsz 之间的页表映射删除掉。需要注意的是,调用 uvmunmap 函数中的 sz 和 oldsz 都要向上找到找到最近的整页,因为如果不是整页,说明这一页内仍有用户内存空间,我们不能删除。
int
growproc(int n)
{
  uint sz;
  struct proc *p = myproc();

  sz = p->sz;
  uint oldsz = sz;
  if(n > 0){
    if((sz = uvmalloc(p->pagetable, sz, sz + n)) == 0) {
      return -1;
    }
    if (sz >= PLIC) {
      panic("user address larger than PLIC");
      return -1;
    }
    if(copymap(p->pagetable, p->kernel_pagetable, oldsz, n) != 0) {
      return -1;
    }
  } else if(n < 0){
    sz = uvmdealloc(p->pagetable, sz, sz + n);
    uvmunmap(p->kernel_pagetable, PGROUNDUP(sz), (PGROUNDUP(oldsz) - PGROUNDUP(sz)) / PGSIZE, 0);
  }
  p->sz = sz;
  return 0;
}
修改 userinit
Don't forget that to include the first process's user page table in its kernel page table in
userinit.
系统的第一个进程 init 不是通过 fork 建立的,因此我们要手动将用户页表复制进内核页表:
void
userinit(void)
{
  struct proc *p;

  p = allocproc();
  initproc = p;

  // allocate one user page and copy init's instructions
  // and data into it.
  uvminit(p->pagetable, initcode, sizeof(initcode));
  p->sz = PGSIZE;

  copymap(p->pagetable, p->kernel_pagetable, 0, PGSIZE);

  // prepare for the very first "return" from kernel to user.
  p->trapframe->epc = 0;      // user program counter
  p->trapframe->sp = PGSIZE;  // user stack pointer

  safestrcpy(p->name, "initcode", sizeof(p->name));
  p->cwd = namei("/");

  p->state = RUNNABLE;

  release(&p->lock);
}
加上 PLIC 限制
Don't forget about the above-mentioned PLIC limit.
除了刚刚在 growproc 中提到了 PLIC 检查,我们还要在 exec 中,判断初始化后的用户地址空间是否超过 PLIC:
int
exec(char *path, char **argv)
{
  // ...
  // Load program into memory.
  for(i=0, off=elf.phoff; i<elf.phnum; i++, off+=sizeof(ph)){
    if(readi(ip, 0, (uint64)&ph, off, sizeof(ph)) != sizeof(ph))
      goto bad;
    if(ph.type != ELF_PROG_LOAD)
      continue;
    if(ph.memsz < ph.filesz)
      goto bad;
    if(ph.vaddr + ph.memsz < ph.vaddr)
      goto bad;
    uint64 sz1;
    if((sz1 = uvmalloc(pagetable, sz, ph.vaddr + ph.memsz)) == 0 || sz1 >= PLIC)
      goto bad; // 加上了 sz1 >= PLIC 的判断
    sz = sz1;
    if(ph.vaddr % PGSIZE != 0)
      goto bad;
    if(loadseg(pagetable, ph.vaddr, ip, ph.off, ph.filesz) < 0)
      goto bad;
  }
  // ...
}
测试结果
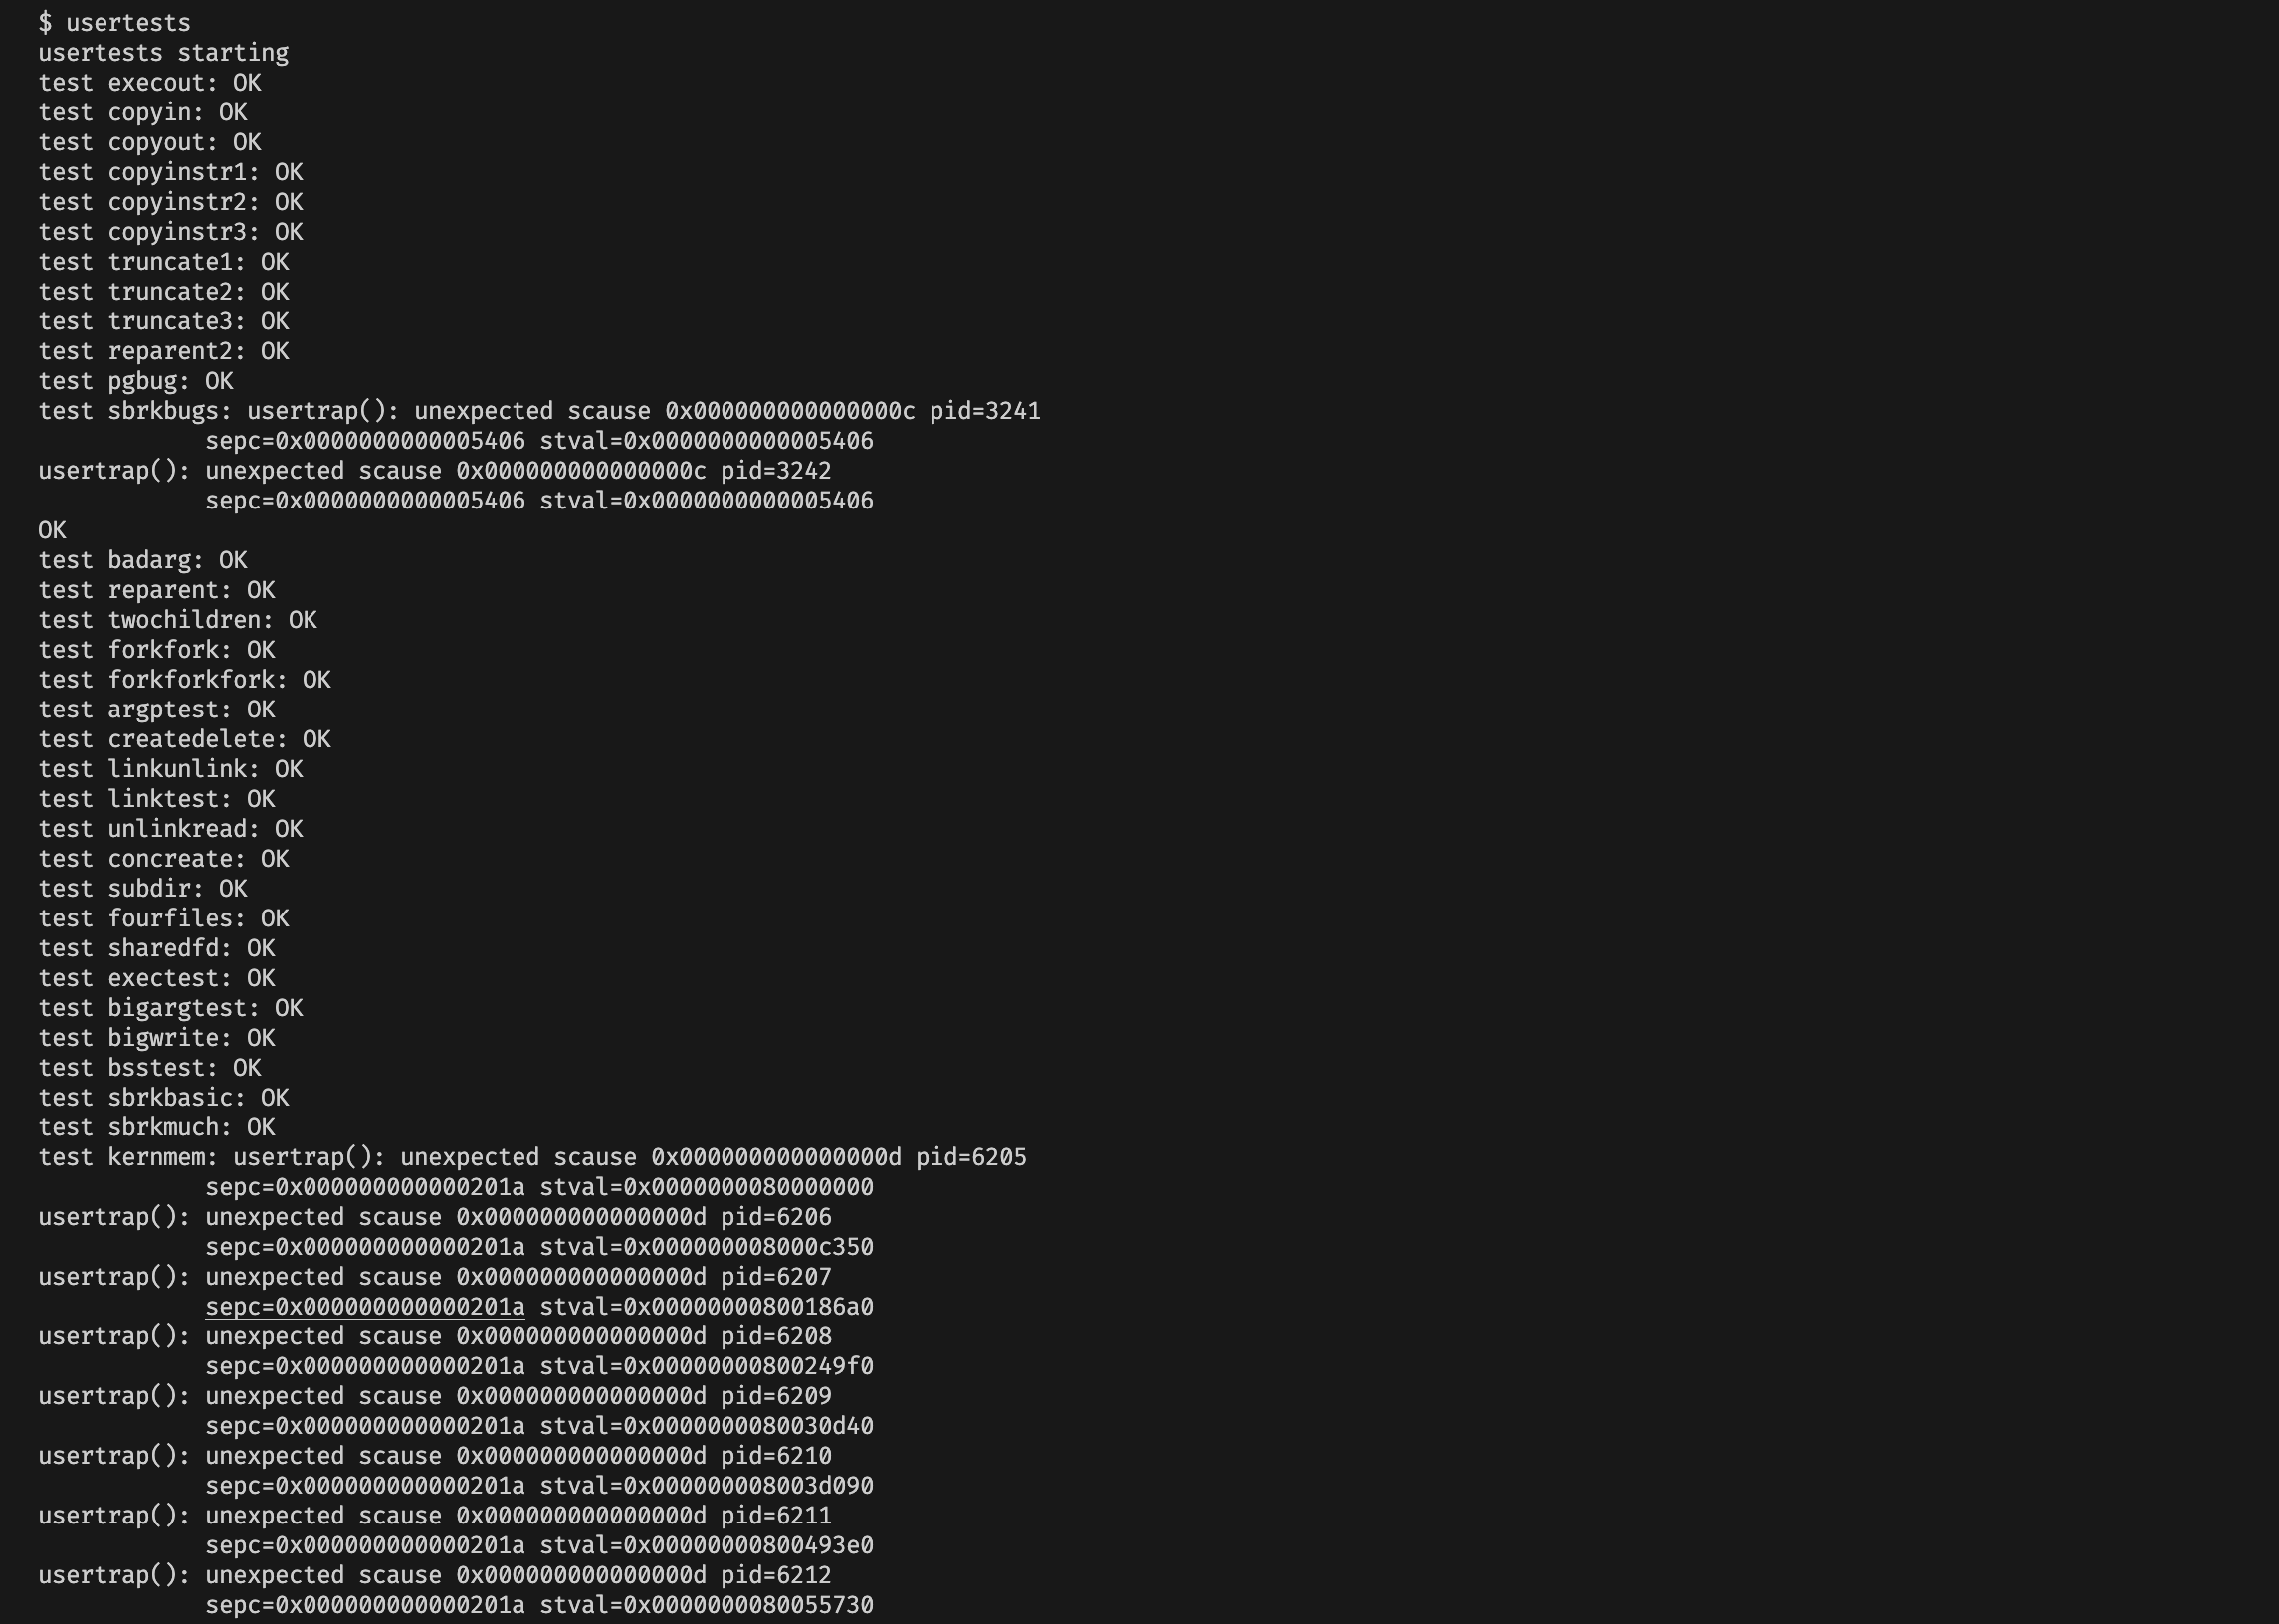
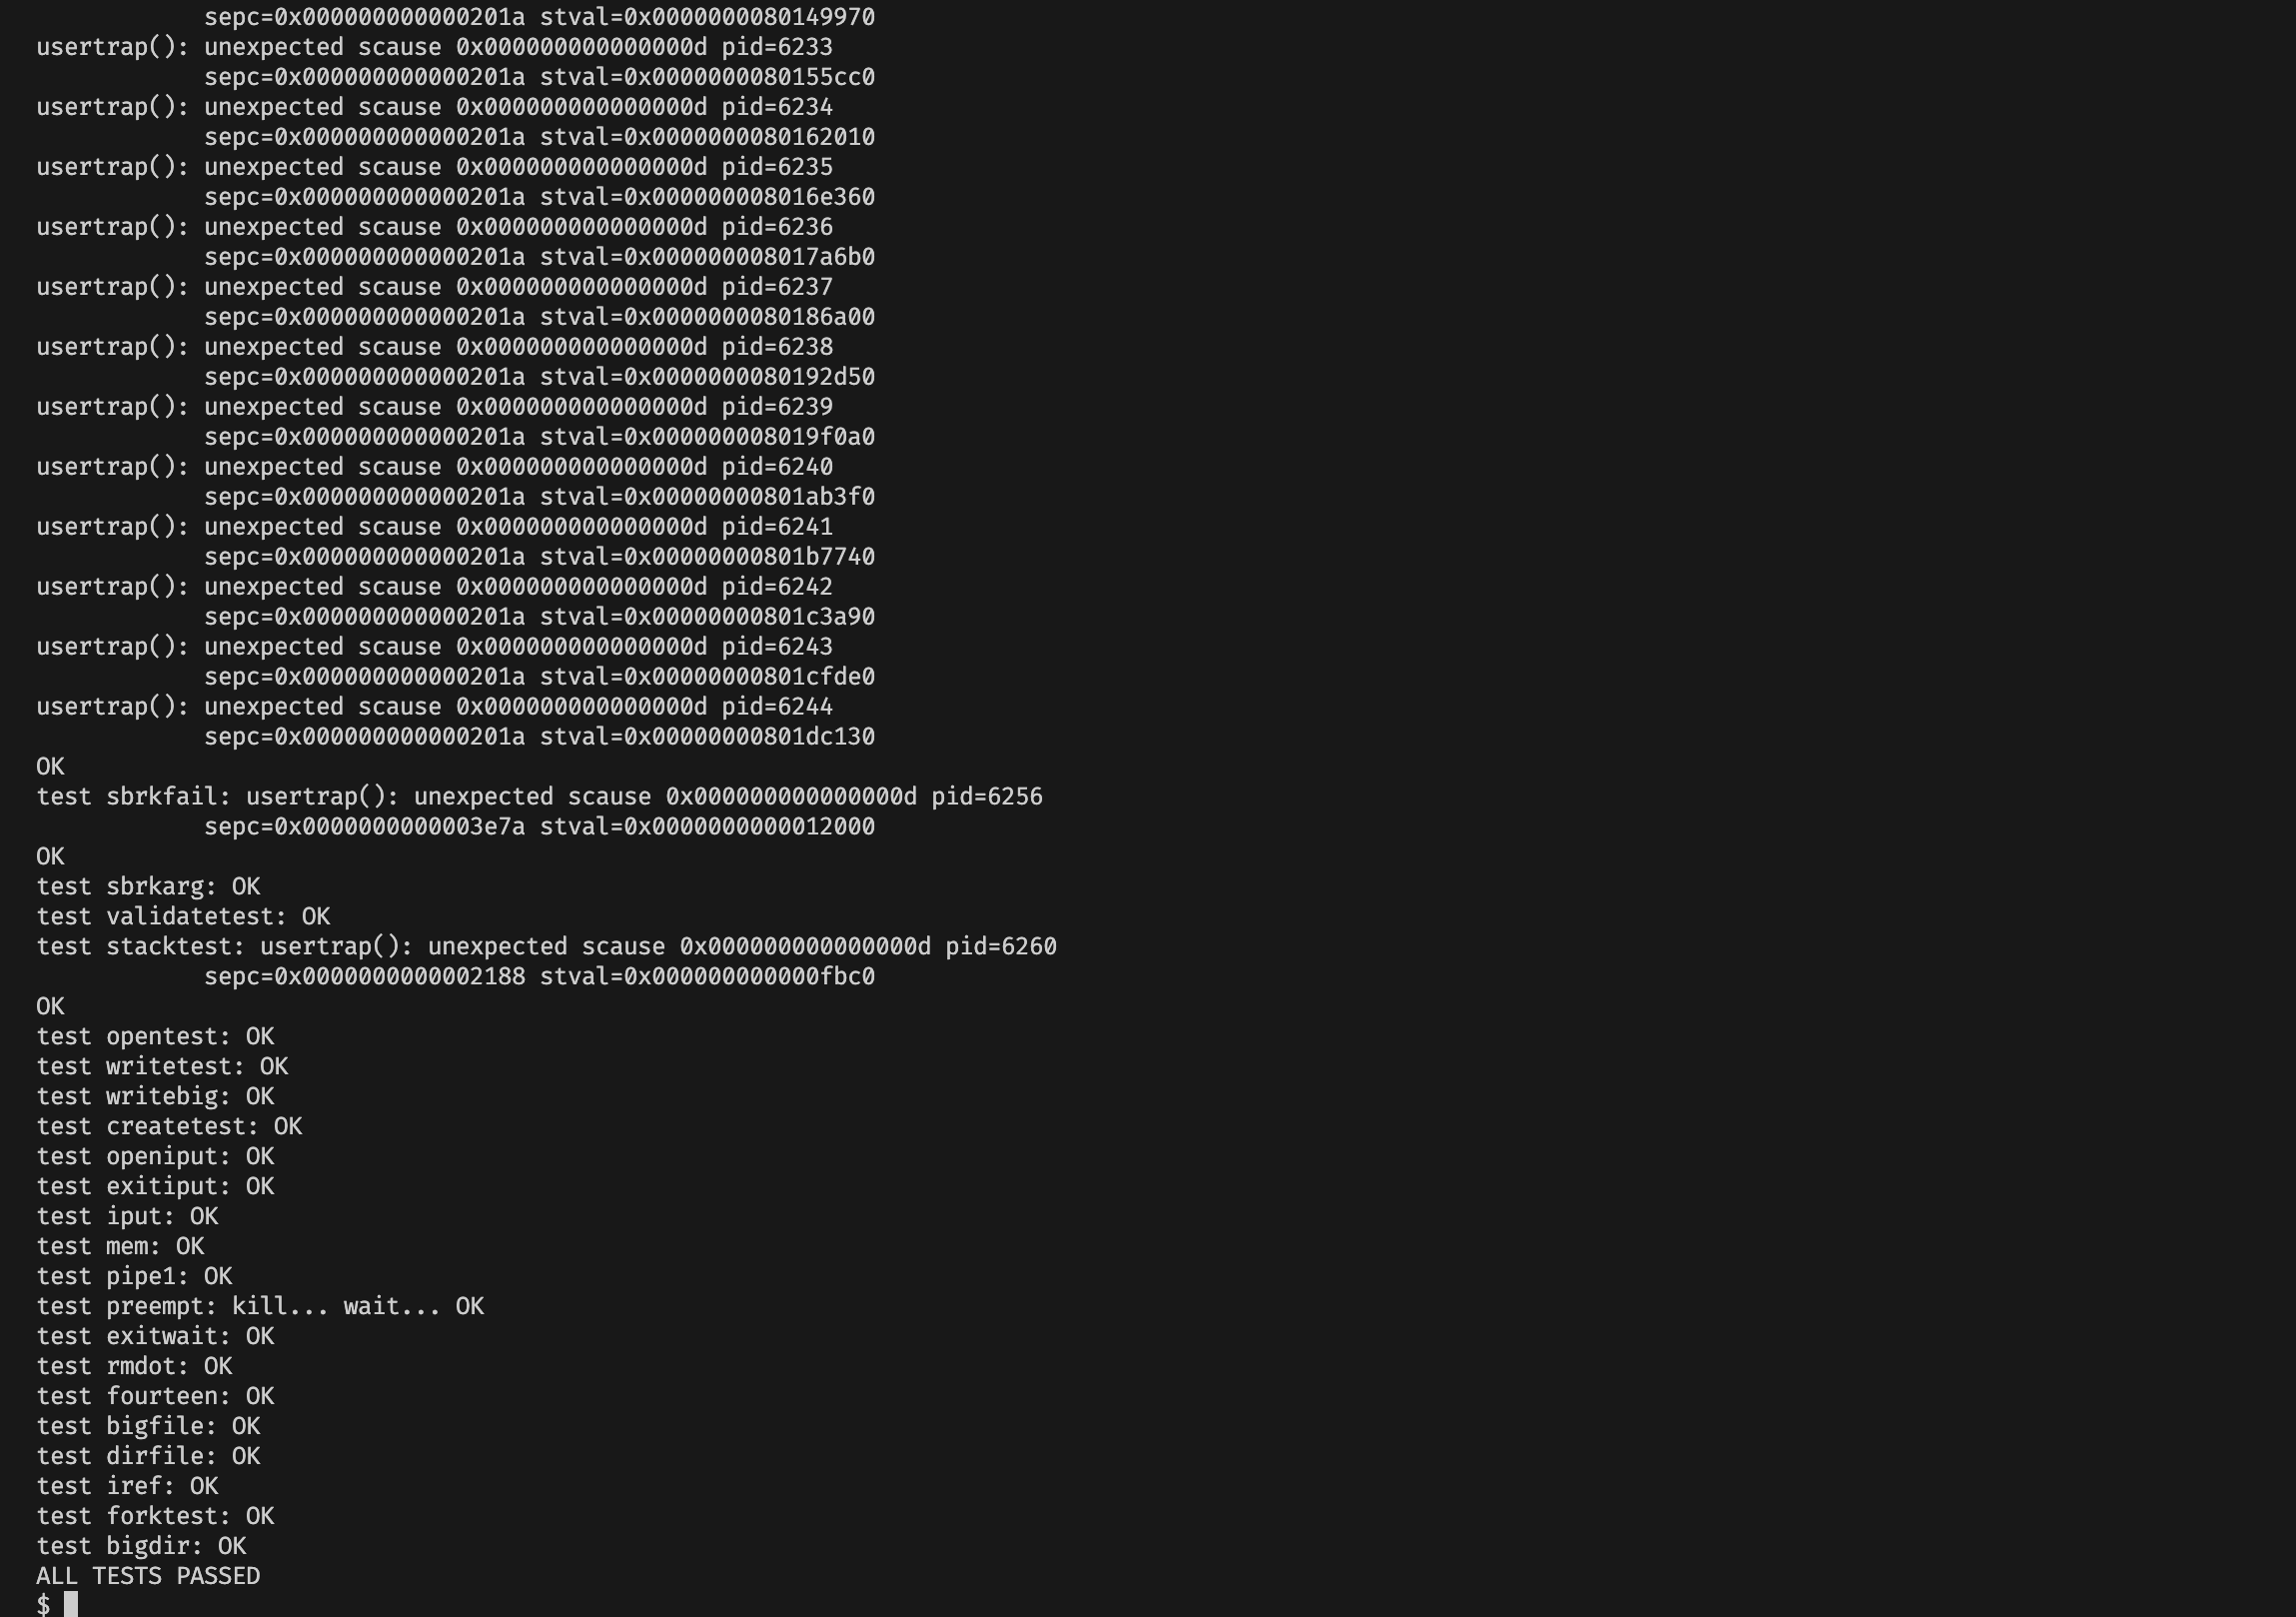
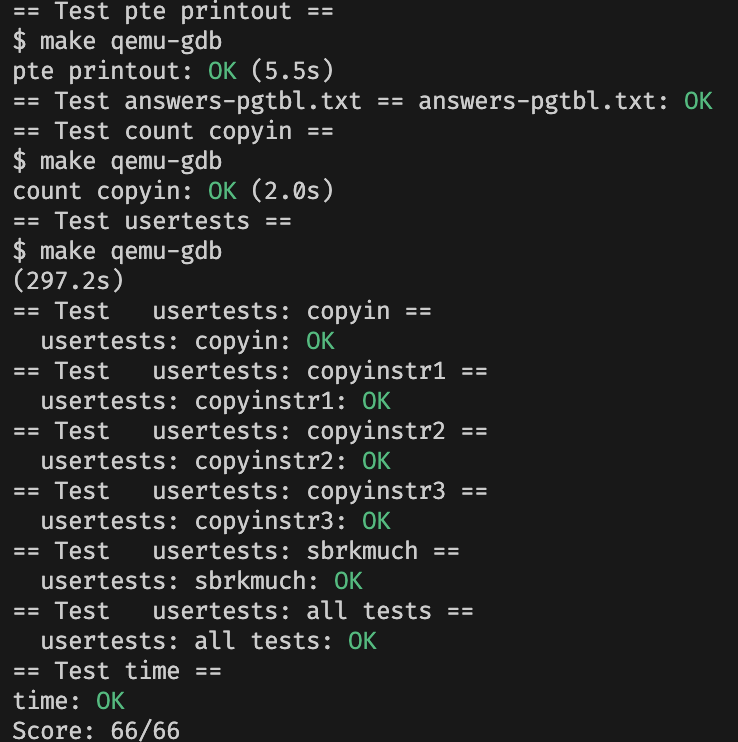
总测试


 浙公网安备 33010602011771号