winform selfhost 创建的webapi自建https证书
1、打开PowerShell,输入以下命令,该命令会创建一个证书,并颁发给localhost
New-SelfSignedCertificate -certstorelocation cert:\localmachine\my -dnsname localhost -NotAfter 2060-01-01
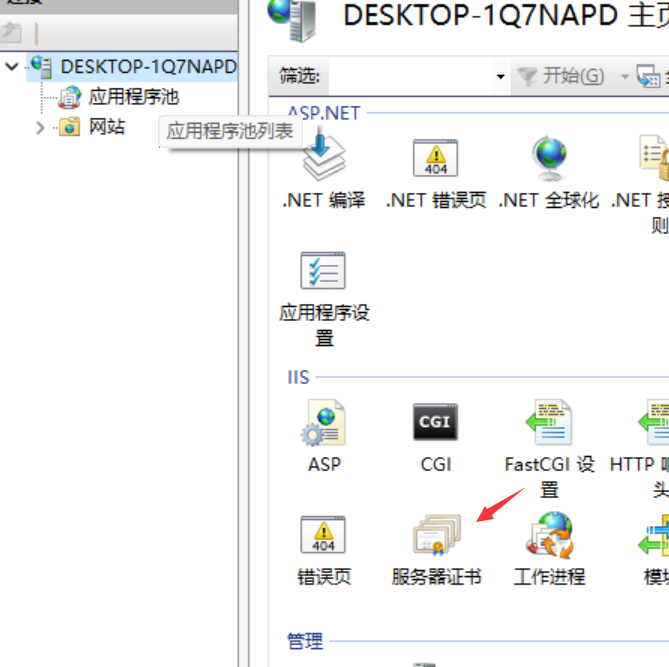
打开IIS,可以看得到


2、修改证书密码aa123
$pwd = ConvertTo-SecureString -String "aa123" -Force -AsPlainText
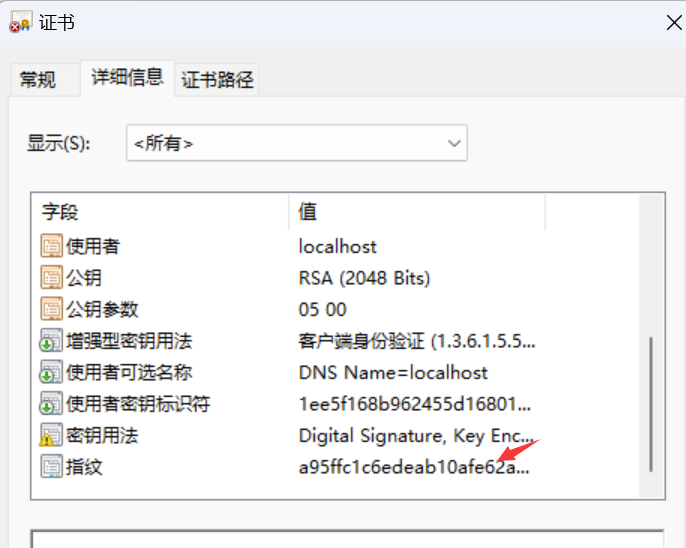
3、导出证书,标红色部门为证书指纹,根据实际情况修改,双击第一步详情可以看得到,或第一步创建完后可以看得到
Export-PfxCertificate -cert cert:\localMachine\my\A95FFC1C6EDEAB10AFE62A59219F28D02D8EB45B -FilePath d:cert.pfx -Password $pwd

4、输入命令
netsh
5、拿到该证书的指纹并监听ip以及端口
http add sslcert ipport=0.0.0.0:19191 certhash=A95FFC1C6EDEAB10AFE62A59219F28D02D8EB45B appid={41992502-E5D4-4794-BB01-D4A7414480CC}
6、winform里面的启动的API记得改为https
var config = new HttpSelfHostConfiguration("https://localhost:19191");

            config.EnableCors();
查看绑定端口:netsh http show sslcert
删除绑定端口:netsh http delete sslcert ipport=0.0.0.0:443
参考:
https://learn.microsoft.com/en-us/powershell/module/pki/new-selfsignedcertificate?view=windowsserver2022-ps
https://www.cnblogs.com/scoluo/p/10190570.html
https://blog.csdn.net/martian665/article/details/139649456


【推荐】国内首个AI IDE,深度理解中文开发场景,立即下载体验Trae
【推荐】编程新体验,更懂你的AI,立即体验豆包MarsCode编程助手
【推荐】抖音旗下AI助手豆包,你的智能百科全书,全免费不限次数
【推荐】轻量又高性能的 SSH 工具 IShell:AI 加持,快人一步
· TypeScript + Deepseek 打造卜卦网站:技术与玄学的结合
· 阿里巴巴 QwQ-32B真的超越了 DeepSeek R-1吗?
· 【译】Visual Studio 中新的强大生产力特性
· 【设计模式】告别冗长if-else语句:使用策略模式优化代码结构
· 10年+ .NET Coder 心语 ── 封装的思维:从隐藏、稳定开始理解其本质意义