PHPStudy 安装tp8 php8.1.3 安装XDbug、redis扩展
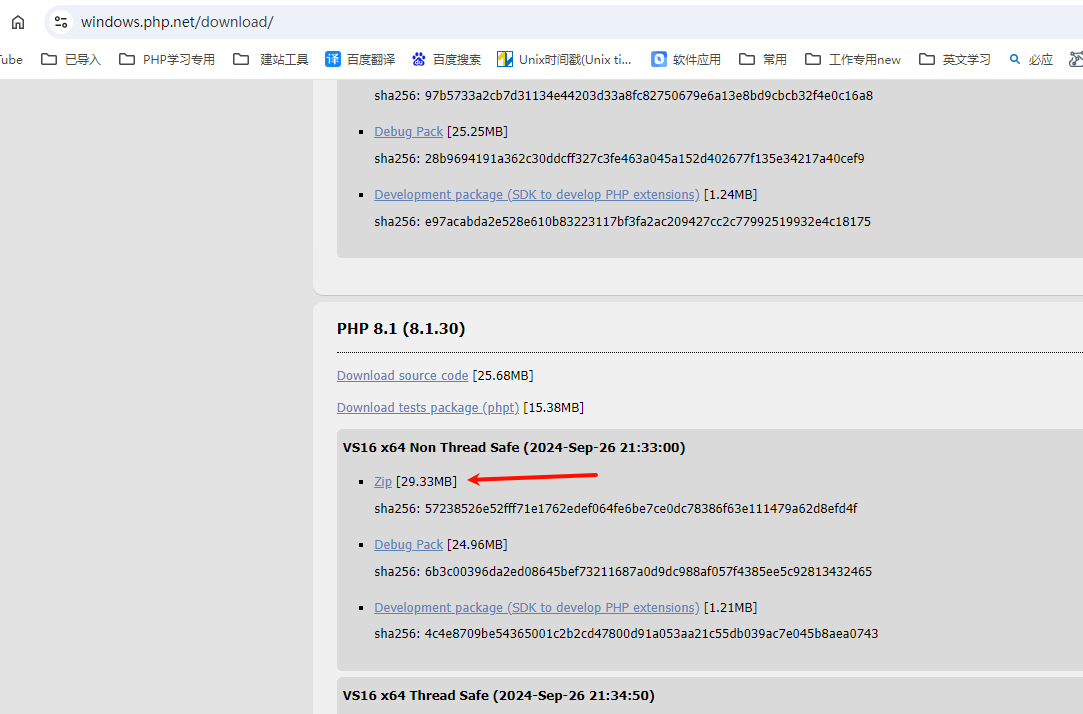
1.1 下载php安装包
https://windows.php.net/download/

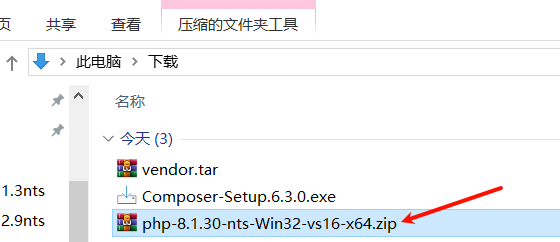
1.2 下载的的安装包

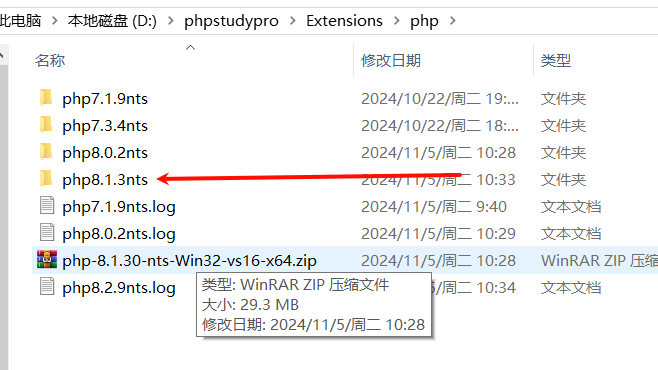
1.3 解压
解压到D:\phpstudypro\Extensions\php\php8.1.3nts

1.4 修改php8.1.3的php.ini文件
将php8.1.3nts目录下的php.ini-development文件复职一份并改文件名为 php.ini 。然后可以将php.ini里面的内容修改一下,修改也很简单,如果不会的话其他可以参考PhpStudy目前自带的8.1.3版里面的 php.ini 。
可以使用一些文件对比工具,比如:Beyond Compare 和 Diffinity,这样可以更加方便的进行修改比对,减少出错。
1.5 扩展路径
;extension_dir = "ext"
改为
extension_dir="D:\phpstudypro\Extensions\php\php8.1.3nts\ext"
1.6 扩展开启
需要打开扩展,就把前边的 ; 去掉即可。比对8.0.2,开启
extension=bz2
extension=curl
extension=fileinfo
extension=gd
extension=gettext
extension=mbstring
extension=mysqli
extension=openssl
extension=pdo_mysql
extension=zip
1.8、PhpStudy重启
关掉重新打开PhpStudy,并启动服务,一定要重启环境这样配置才能生效,这个时候就能在PhpStudy里面正常使用php8.1.3了。
php8.1.3 的php.in Xdebug配置
安装XDbug扩展
下载:Xdebug: Historical Releases
https://xdebug.org/download/historical
[Xdebug]
xdebug.profiler_append = 0
xdebug.profiler_enable=On
xdebug.profiler_enable_trigger = 0
xdebug.trace_output_dir=D:/phpstudypro/Extensions/php/php8.1.3nts.xdebug.trace
xdebug.profiler_output_dir=D:/phpstudy_pro/Extensions/php/php8.1.3nts.xdebug.profiler
xdebug.profiler_output_name = "cache.out.%t-%s"
xdebug.remote_enable=On
xdebug.remote_handler="dbgp"
zend_extension = xdebug
xdebug.collect_return=1
xdebug.remote_host=localhost
xdebug.remote_port=9003
xdebug.collect_params=1

xdebug.mode = debug
xdebug.start_with_request = yes
参考文档:
https://blog.csdn.net/haibo0668/article/details/132404272
安装xdebug
https://hb168.blog.csdn.net/article/details/122656081
[Haima的博客]
http://www.cnblogs.com/haima/

