redis集成
1、linux下源码安装redis
官网http://redis.io下载redis
解压
tar -zxvf redis-7.0.11.tar.gz
移动到usr/local路径下
mv redis-7.0.11 /usr/local/redis
进入redis文件夹
cd /usr/local/redis
使用两个cpu编译文件,速度快点。因为服务器是2核,根据自己配置即可
make -j 2
将编译完成的可执行文件添加到启动目录中
make install
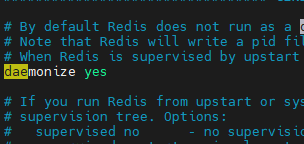
修改redis.confo配置文件
vim redis.conf
修改bind参数、和daemonize参数

指定配置文件启动redis
redis-server ./redis.conf
查看是否启动成功
ps -ef | grep redis
redis添加密码,修改配置文件requirepass参数
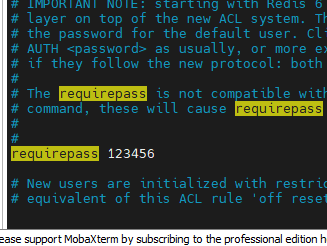
重启redis

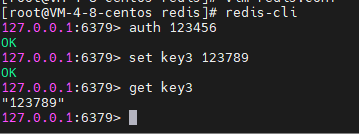
访问redis,及基本使用
redis-cli
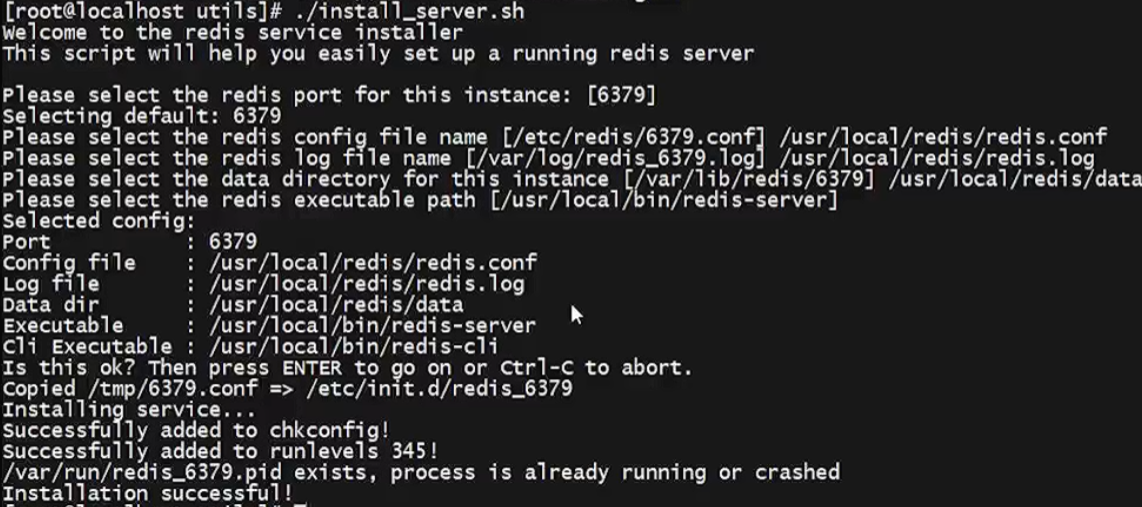
2、将redis做成系统服务
进入util目录
cd untils
执行install_server.sh
./install_server.sh
查看服务是否存在
chkconfig --list | grep redis

查看systemd服务状态
systemctl status redis_6379
停止进程
systemctl stop redis_6379
启动进程
systemctl start redis_6379
查看服务对应shell脚本内容
vim /etc/init.d/redis_6379
3、添加jedis依赖
手写依赖原生jedis,不使用RedisTemplate。
4、 添加fastjson依赖
序列化时用fastjson将Java对象转华为json字符串写到redis中,
对象序列化效率最高的时google的protobuf和FlatBuffer,但是序列化之后时不可读的二进制格式,效率是fastjson的一倍
fastjson序列化后,是可读的json文件,方便查看等操作,


【推荐】国内首个AI IDE,深度理解中文开发场景,立即下载体验Trae
【推荐】编程新体验,更懂你的AI,立即体验豆包MarsCode编程助手
【推荐】抖音旗下AI助手豆包,你的智能百科全书,全免费不限次数
【推荐】轻量又高性能的 SSH 工具 IShell:AI 加持,快人一步
· 被坑几百块钱后,我竟然真的恢复了删除的微信聊天记录!
· 没有Manus邀请码?试试免邀请码的MGX或者开源的OpenManus吧
· 【自荐】一款简洁、开源的在线白板工具 Drawnix
· 园子的第一款AI主题卫衣上架——"HELLO! HOW CAN I ASSIST YOU TODAY
· Docker 太简单,K8s 太复杂?w7panel 让容器管理更轻松!