【UWP】手动实现 WebAuthenticationBroker
在 UWP 中,如果要进行 OAuth 授权,那很大概率是会用上 WebAuthenticationBroker 这个类的,例如微博授权这种。
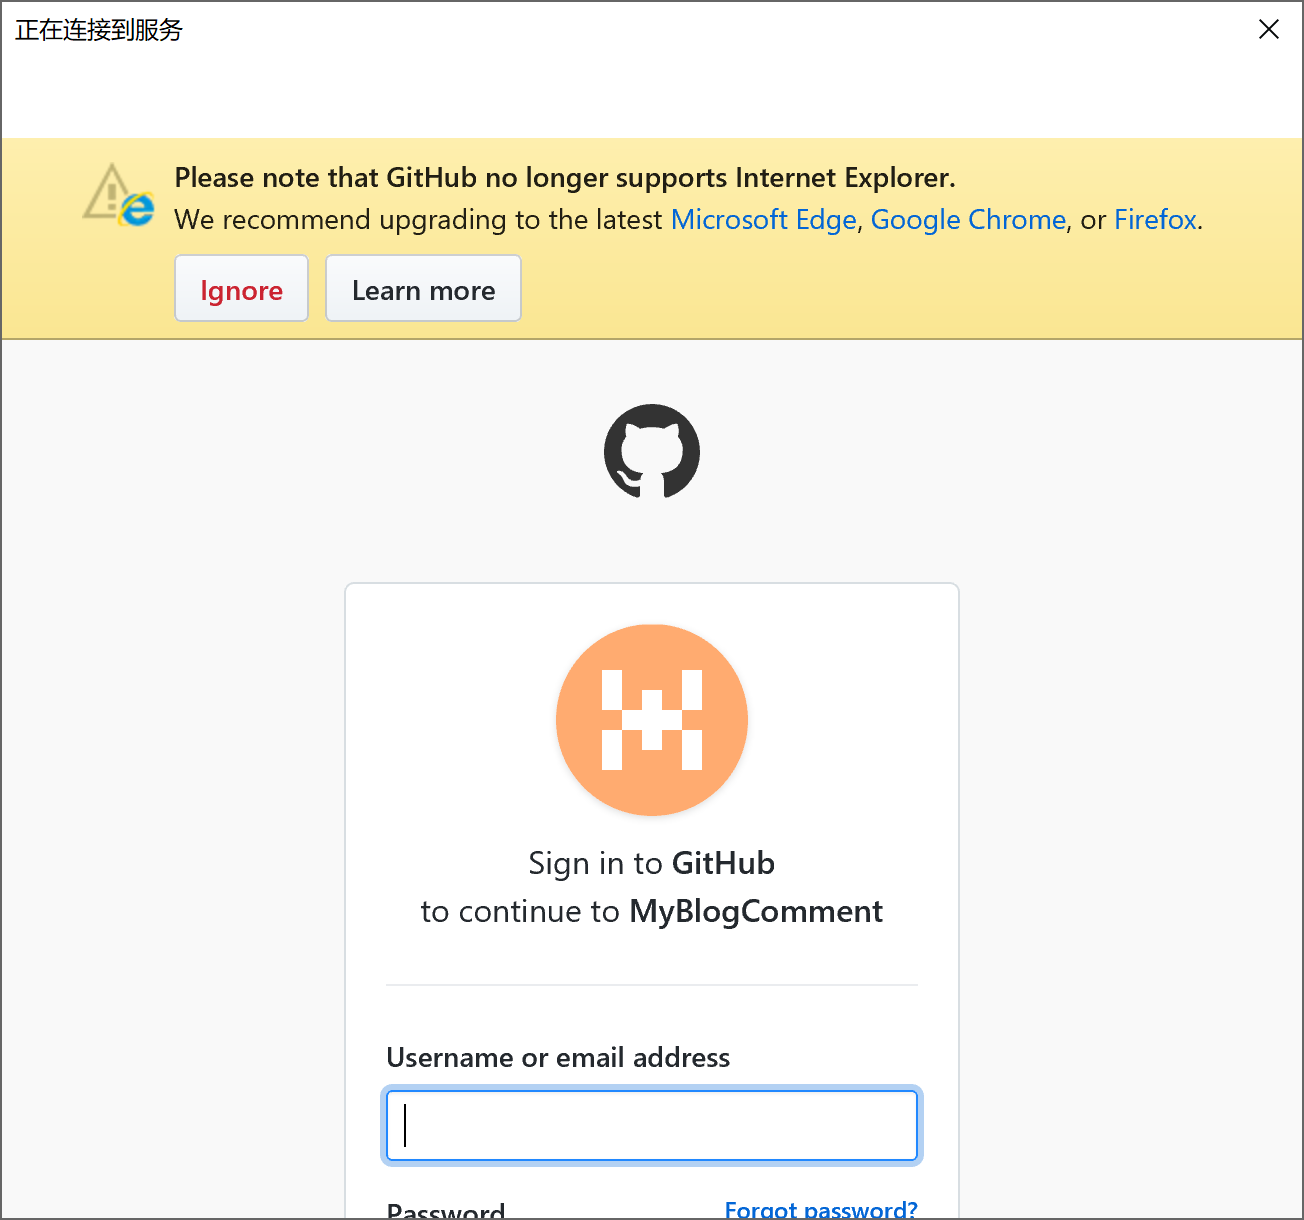
在一般情况下来说,WebAuthenticationBroker 是足够用的了,但是,如果你是碰上 Github 授权的话,那么就会碰到这样的情况:
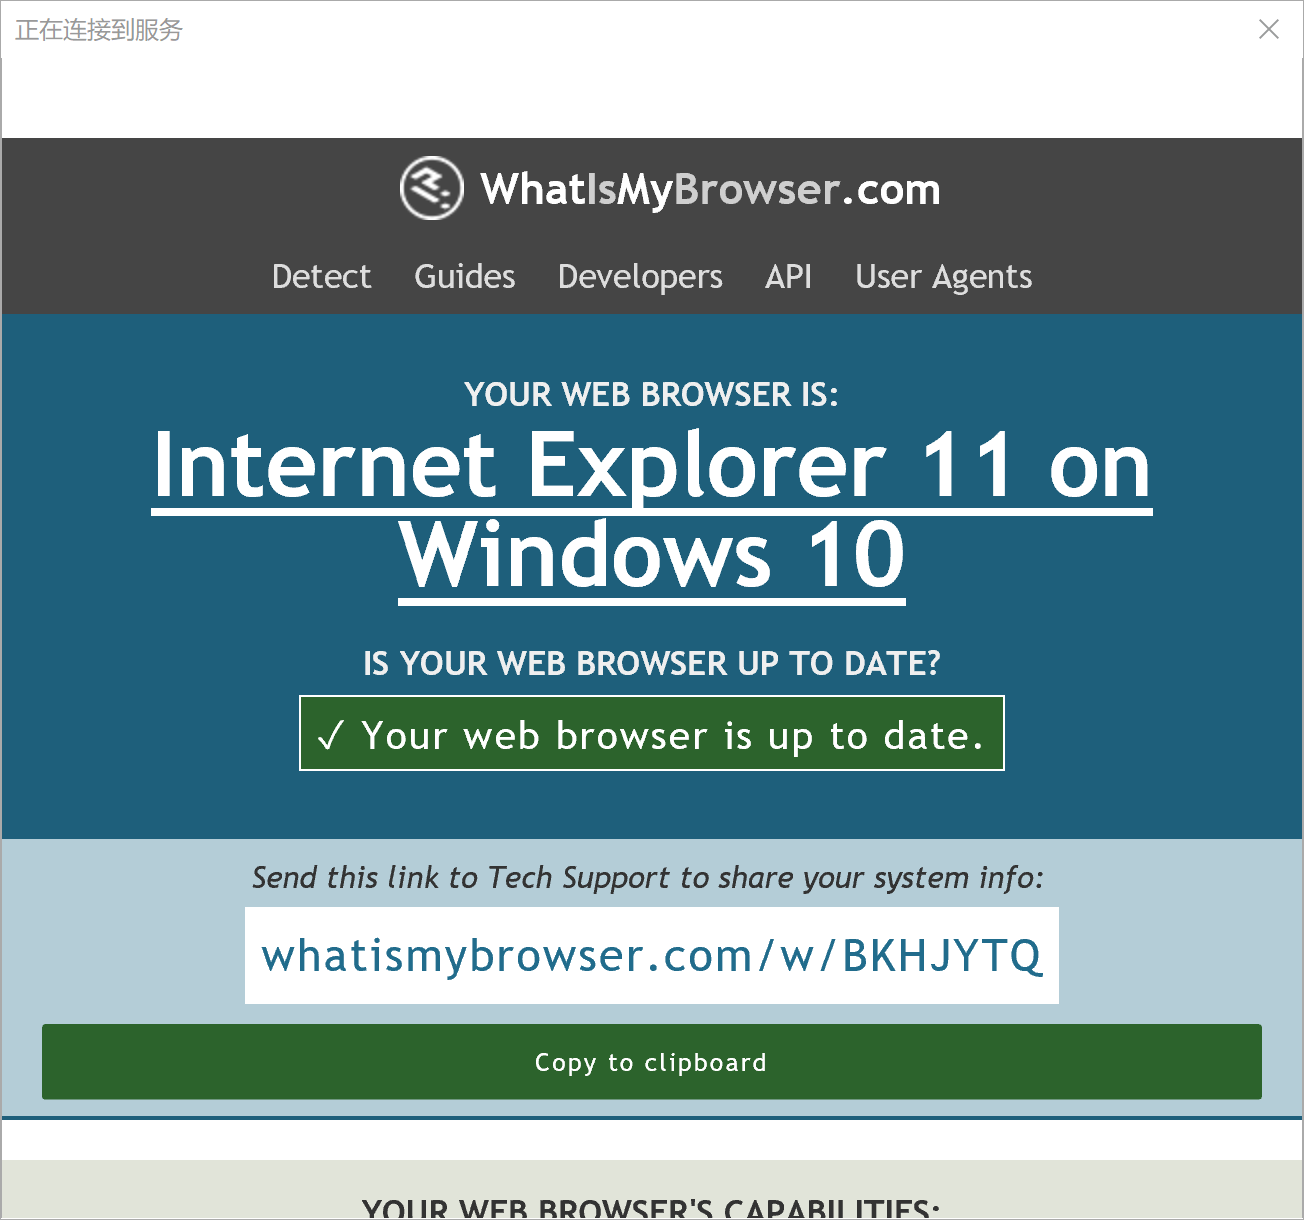
蹦出一大个警告,让人看上去相当不爽。归根的原因是 WebAuthenticationBroker 使用的是 IE 内核,这个我们可以通过 https://www.whatismybrowser.com/ 验证。
连 Edge 内核都不是,不给力啊,老湿。
那么有没有办法把 WebAuthenticationBroker 换成 Edge 内核呢?简单的办法是没有的了,但我们还有 WebView,WebView 是使用 Edge 内核的,可以通过 WebView 来手动实现我们自己的 WebAuthenticationBroker。
参考 WebAuthenticationBroker 类的 AuthenticateAsync,编写如下代码:
public static class MyWebAuthenticationBroker
    {
        public static Task<MyWebAuthenticationResult> AuthenticateAsync(Uri requestUri, Uri callbackUri)
        {
            throw new NotImplementedException();
        }
    }
WebAuthenticationBroker 的 AuthenticateAsync 这个方法有 3 个参数,但第一个参数并不是很常用,所以这里就只使用后面的两个参数了。另外因为 WebAuthenticationResult 没有公共构造函数,所以定义一个 MyWebAuthenticationResult 来代替。
public class MyWebAuthenticationResult
    {
        public string ResponseData { get; internal set; }

        public uint ResponseErrorDetail { get; internal set; }

        public WebAuthenticationStatus ResponseStatus { get; internal set; }
    }
接下来就是如何实现的问题。这里我们可以使用一个 ContentDialog 套 WebView 的方式。
在项目添加一个内容对话框(这里我叫 AuthorizationDialog),并编写如下代码:
<ContentDialog x:Class="WebAuthenticationBrokerDemo.AuthorizationDialog"
               xmlns="http://schemas.microsoft.com/winfx/2006/xaml/presentation"
               xmlns:x="http://schemas.microsoft.com/winfx/2006/xaml"
               xmlns:d="http://schemas.microsoft.com/expression/blend/2008"
               xmlns:mc="http://schemas.openxmlformats.org/markup-compatibility/2006"
               Title="正在连接到服务"
               CloseButtonText="取消"
               FullSizeDesired="True"
               mc:Ignorable="d">
    <ContentDialog.Resources>
        <ResourceDictionary>
            <x:Double x:Key="ContentDialogMinWidth">800</x:Double>
        </ResourceDictionary>
    </ContentDialog.Resources>
    <Grid>
        <WebView x:Name="WebView"
                 NavigationFailed="WebView_NavigationFailed"
                 NavigationStarting="WebView_NavigationStarting" />
    </Grid>
</ContentDialog>
设置 FullSizeDesired 使高度占满窗口,资源字典中覆盖默认的对话框宽度。WebView 则订阅 Starting 和 Failed 事件。编写后台 cs 代码:
public sealed partial class AuthorizationDialog
    {
        private readonly Uri _callbackUri;

        public AuthorizationDialog(Uri requestUri, Uri callbackUri)
        {
            if (requestUri == null)
            {
                throw new ArgumentNullException(nameof(requestUri));
            }
            if (callbackUri == null)
            {
                throw new ArgumentNullException(nameof(callbackUri));
            }

            _callbackUri = callbackUri;

            InitializeComponent();

            WebView.Source = requestUri;
        }

        public Uri ResponseUri { get; private set; }

        public WebAuthenticationStatus Result { get; private set; } = WebAuthenticationStatus.UserCancel;

        public WebErrorStatus WebErrorStatus { get; private set; }

        private bool CheckUri(Uri uri)
        {
            if (uri.Host == _callbackUri.Host)
            {
                Result = WebAuthenticationStatus.Success;
                ResponseUri = uri;
                return true;
            }

            return false;
        }

        private void WebView_NavigationFailed(object sender, WebViewNavigationFailedEventArgs e)
        {
            if (CheckUri(e.Uri))
            {
                Hide();
                return;
            }

            Result = WebAuthenticationStatus.ErrorHttp;
            ResponseUri = e.Uri;
            WebErrorStatus = e.WebErrorStatus;
            Hide();
        }

        private void WebView_NavigationStarting(WebView sender, WebViewNavigationStartingEventArgs args)
        {
            if (CheckUri(args.Uri))
            {
                Hide();
            }
        }
    }
可以通过 Hide 方法来关闭对话框。需要注意的是 Failed 的时候需要先检查一次,因为可能 callback 的地址是无法访问的。
接下来可以补完一开始的 AuthenticateAsync 方法了。
public static class MyWebAuthenticationBroker
    {
        public static async Task<MyWebAuthenticationResult> AuthenticateAsync(Uri requestUri, Uri callbackUri)
        {
            var authorizationDialog = new AuthorizationDialog(requestUri, callbackUri);
            await authorizationDialog.ShowAsync();
            if (authorizationDialog.Result == WebAuthenticationStatus.UserCancel)
            {
                return new MyWebAuthenticationResult
                {
                    ResponseStatus = WebAuthenticationStatus.UserCancel
                };
            }
            else if (authorizationDialog.Result == WebAuthenticationStatus.Success)
            {
                return new MyWebAuthenticationResult
                {
                    ResponseStatus = WebAuthenticationStatus.Success,
                    ResponseData = authorizationDialog.ResponseUri.OriginalString
                };
            }
            else
            {
                return new MyWebAuthenticationResult
                {
                    ResponseStatus = WebAuthenticationStatus.ErrorHttp,
                    ResponseData = authorizationDialog.ResponseUri.OriginalString,
                    ResponseErrorDetail = (uint)authorizationDialog.WebErrorStatus
                };
            }
        }
    }
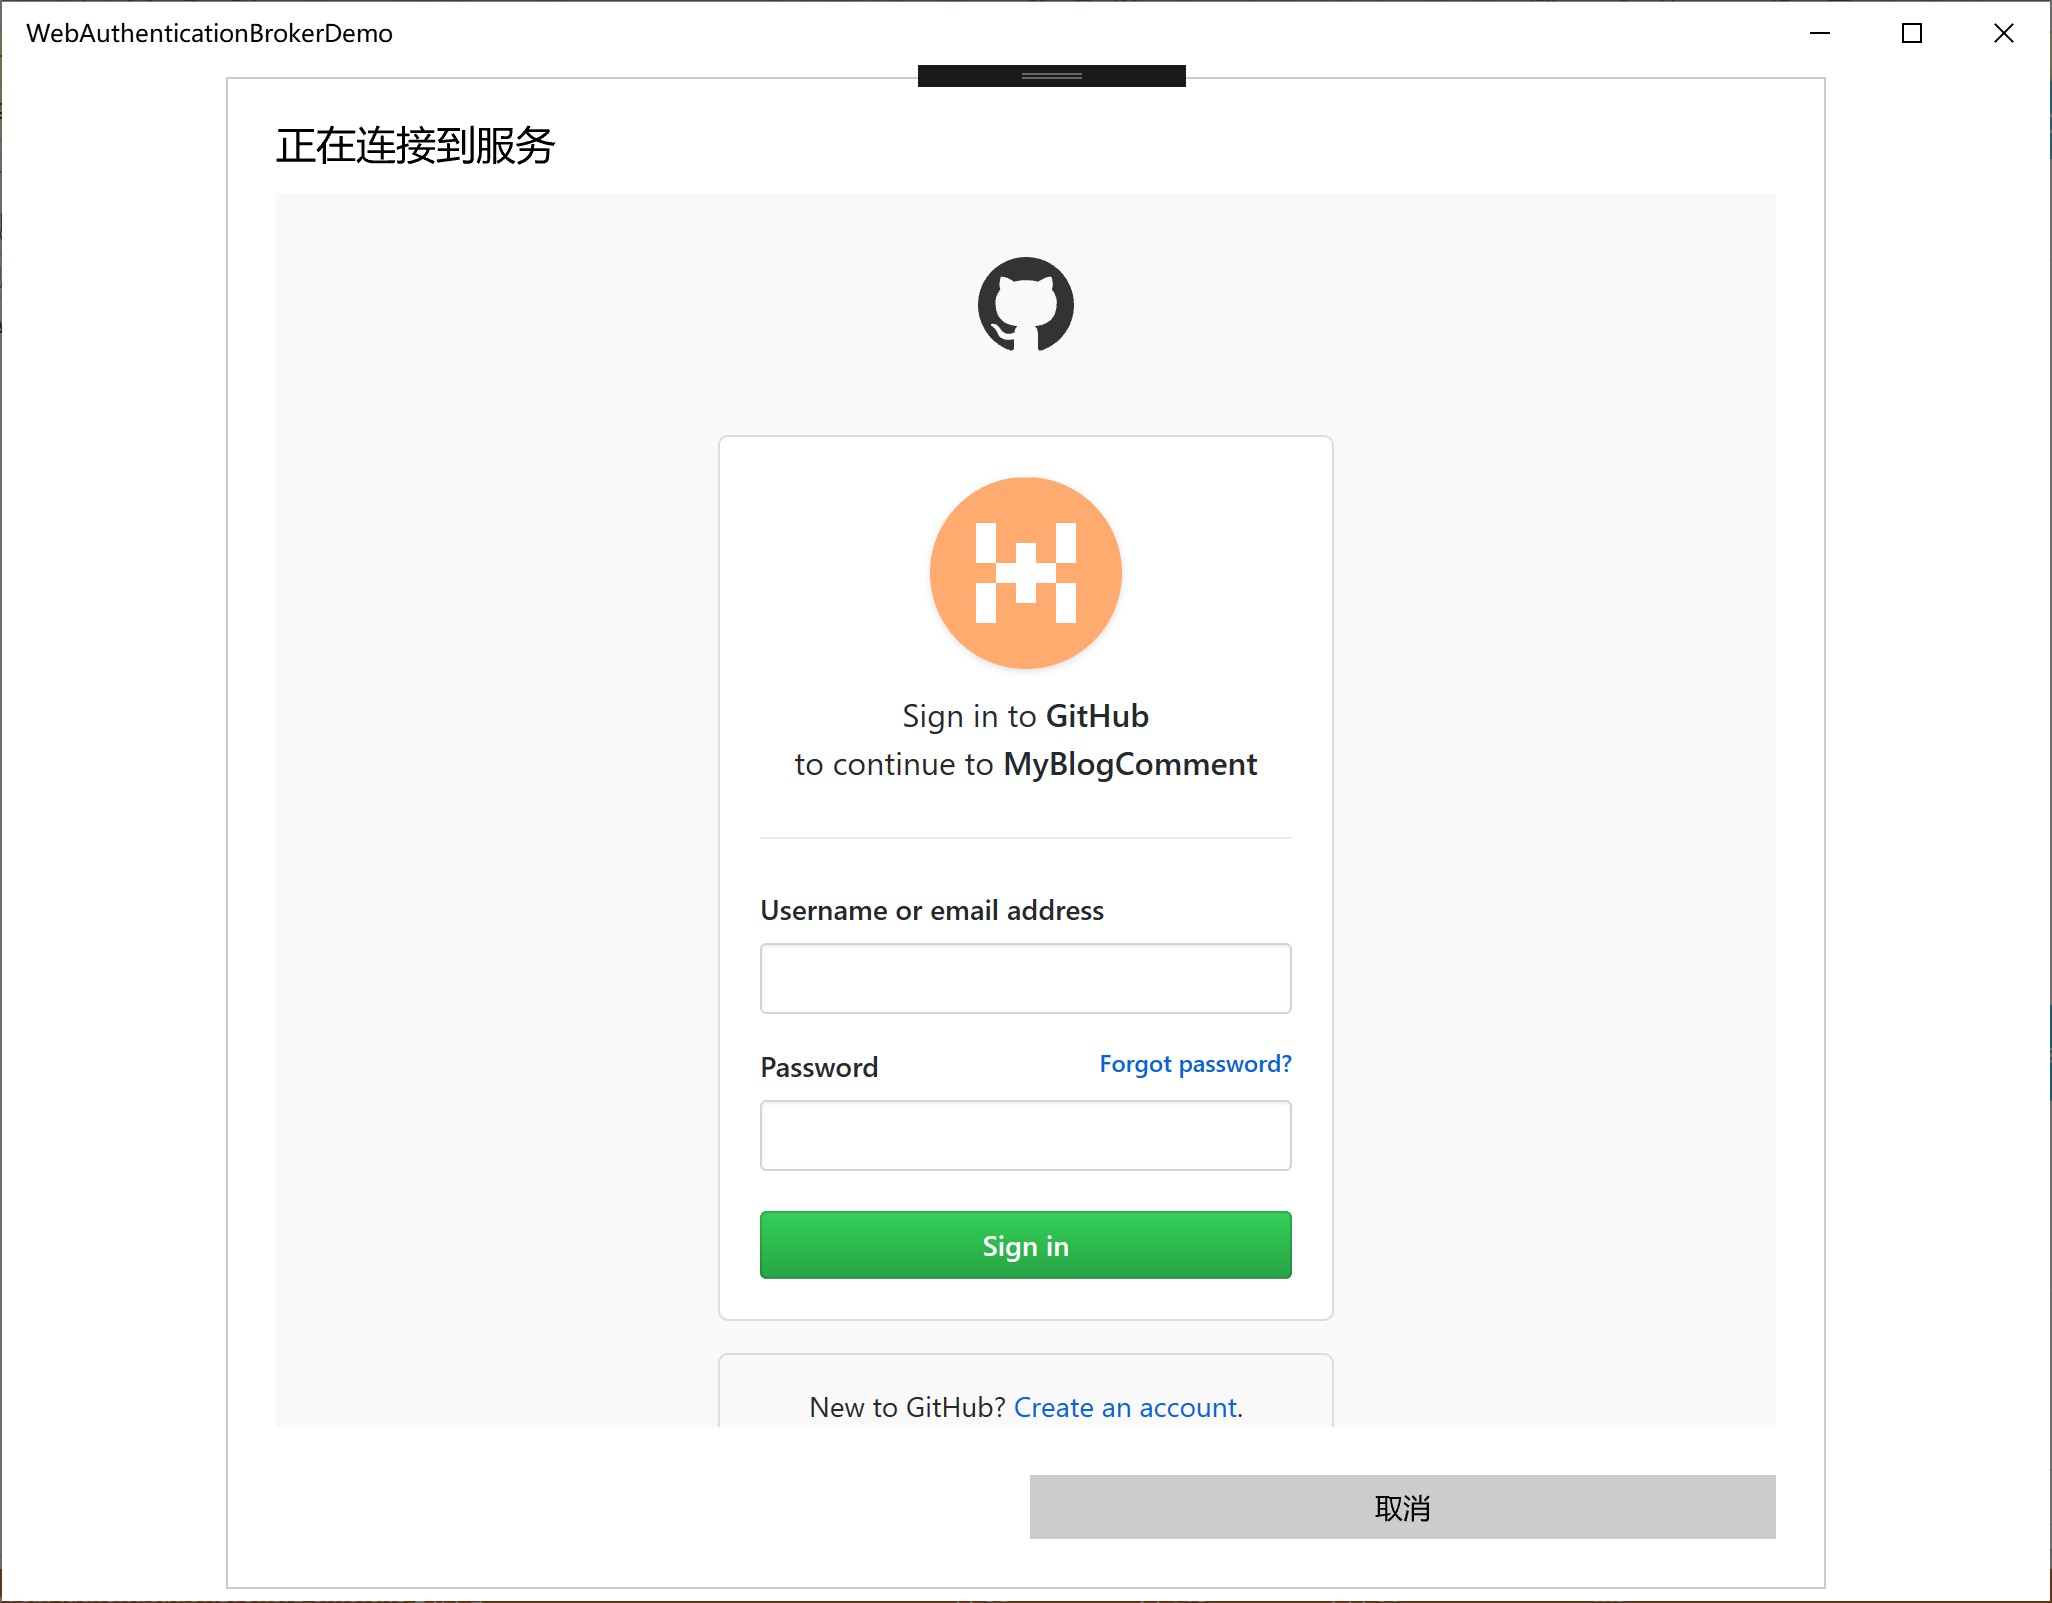
那么现在我们再去连 Github 之类的授权就不会有警告了,因为内核已经换成了 Edge。
而且因为是使用 WebView,所以还能再进行一些定制化的操作,例如执行 JavaScript,获取 Cookie 之类的。


