

vue 语法
插值绑定是Vue中最常见、最基本的语法,绑定的内容主要有文本插值和HTML插值两种。
文本插值的方式十分简单,只要用双大括号(Mustache语法)将要绑定的变量、值、表达式括住就可以实现,Vue将会获取计算后的值,并以文本的形式将其展示出来。
<template>
<div>
<p>
<label class="pro file"> 变量: </label>{{num}}
</p>
<p>
<label class="pro file"> 计算: </label>{{num + 5}}
</p>
<p>
<label class="pro file"> 三目运算符: </label>{{num !== 5 ? 'A' : 'B'}}
</p>
<p>
<label class="pro file"> 匿名函数: </label>{{ (()=>num + 5)() }}
</p>
<p>
<label class="pro file"> 对象: </label>{{ {num1:16} }}
</p>
<p>
<label class="pro file"> 函数对象: </label>{{ getNum }}
</p>
<p>
<label class="pro file"> html代码(表达式): </label>{{ '<span>15</span>' }}
</p>
<p>
<label class="pro file"> html代码(变量): </label>{{ html }}
</p>
</div>
</template>
<script>
export default {
name: "InsertValue",
data() {
return {
num: 15,
html: '<span>15</span>'
}
},
methods: {
getNum() {
return this.num
}
}
}
</script>
<style scoped>
.pro file {
display: inline-block;
width: 300px;
}
</style>
![]()

可以看到,无论是变量、表达式、执行函数还是DOM代码,Vue都只将结果当作文本处理。另外,如果插值绑定的内容是变量或与变量有关,当变量的值改变时,视图也会同步更新。
HTML插值
HTML插值可以动态渲染DOM节点,常用于处理开发者无可预知和难以控制的DOM结构,如渲染用户随意书写的文档结构等,这在一些论坛和博客平台上可以看到,下面来看一段相关代码:
<template>
<div>
<div v-html="html"></div>
</div>
</template>
<script>
export default {
name: "InnerHtml",
data() {
return {
html: '<div id="main-message" jstcache="0">\n' +
' ... </div>\n' +
' </div>'
};
}
}
</script>
<style scoped>
</style>
![]()
属性绑定
v-bind
<template>
<div id="app" >
<p v-bind:class="className" v-bind:title="title">title</p>
<p v-bind:class="className" :title="title">title</p>
<button class="className" v-bind:disabled="0 === 1 - 1"></button>
<button class="className" :disabled="0 === 1 - 1"></button>
<input v-bind:placeholder="title === 'title' ? '请输入' : '不要输入'">
<input :placeholder="title === 'title' ? '请输入' : '不要输入'">
</div>
</template>
<script>
export default {
name: "v-bind",
data() {
return {
className: 'className',
title: 'title'
}
}
}
</script>
<style scoped>
.className {
background-color: #42b983;
/*width: 5vw;*/
height: 5vh;
}
</style>
![]()
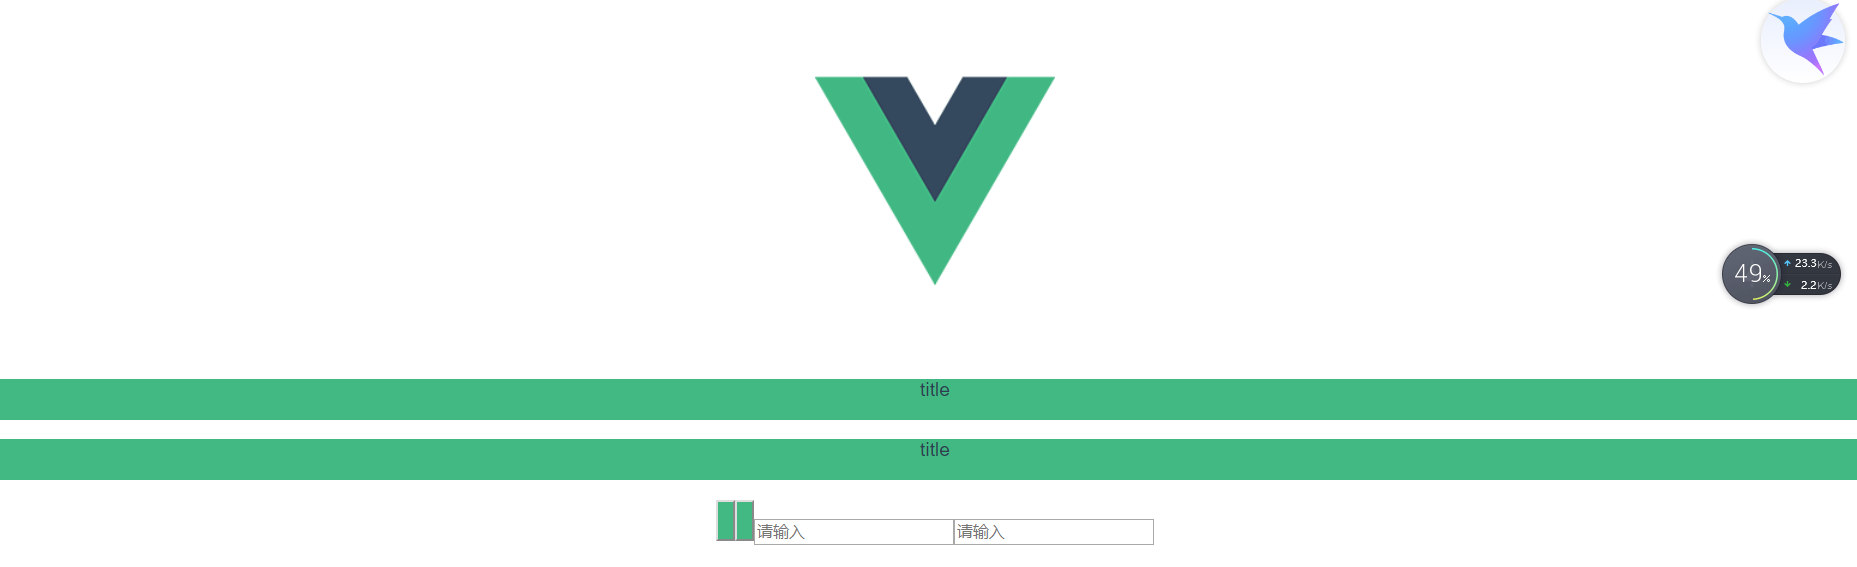
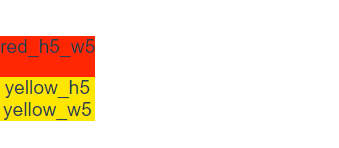
类名和样式绑定
由于类名class和样式style在节点属性中是两个比较奇怪的存在(虽然他们可接收的类型都是字符串,但类名实际上是由数组拼接而成,而样式则是由对象键值对拼接而成的),所以Vue在绑定类名和样式时也采用不一样的机制。我们可以通过字符串、数组和对象三种方式为节点动态绑定类名属性,代码如下:
<template>
<div id="app">
<p v-bind:class="className" v-bind:title="title">title</p>
<p v-bind:class="className" :title="title">title</p>
<button class="className" v-bind:disabled="0 === 1 - 1"></button>
<button class="className" :disabled="0 === 1 - 1"></button>
<input v-bind:placeholder="title === 'title' ? '请输入' : '不要输入'">
<input :placeholder="title === 'title' ? '请输入' : '不要输入'">
<div></div>
<br>
<div>
<label>class样式绑定</label>
<div v-bind:class="red_h5_w5"> red_h5_w5 </div>
<div v-bind:class="yellow_h5"> yellow_h5</div>
<div v-bind:class="yellow_w5"> yellow_w5</div>
</div>
</div>
</template>
<script>
export default {
name: "v-bind",
data() {
return {
className: 'className',
title: 'title',
yellow_w5: {
c_yellow: true,
w5: true
},
yellow_h5: ['c_yellow', 'w5'],
red_h5_w5: 'c_red h5 w5'
}
}
}
</script>
<style scoped>
.className {
background-color: #42b983;
/*width: 5vw;*/
}
.c_yellow {
background-color: #ffe600;
/*width: 5vw;*/
}
.c_red {
background-color: #ff2600;
/*width: 5vw;*/
/*height: 5vh;*/
}
.h5 {
/*width: 5vw;*/
height: 5vh;
}
.w5 {
/*width: 5vw;*/
width: 5vw;
}
</style>
![]()
事件绑定
Vue使用v-on指令监听DOM事件,开发者可以将事件代码通过v-on指令绑定到DOM节点上,基本使用方法如下:
<template>
<div id="app">
<button v-on:click="logInfo()"> v-on:click 打印默认消息</button>
<button v-on:click="logInfo('hahaha')"> v-on:click 打印 hahaha</button>
<button @click="logInfo('hahaha')"> @click 打印 hahaha</button>
<button @click="getEvent"> @click= 打印 获取事件对象</button>
<input type="text" @keyup="getEvent($event)"> @keyup 获取事件对象
</div>
</template>
<script>
export default {
name: "Listener",
methods: {
logInfo(msg) {
console.log(msg || 'hello word')
},
getEvent(event) {
console.log(event)
}
}
}
</script>
<style scoped>
</style>
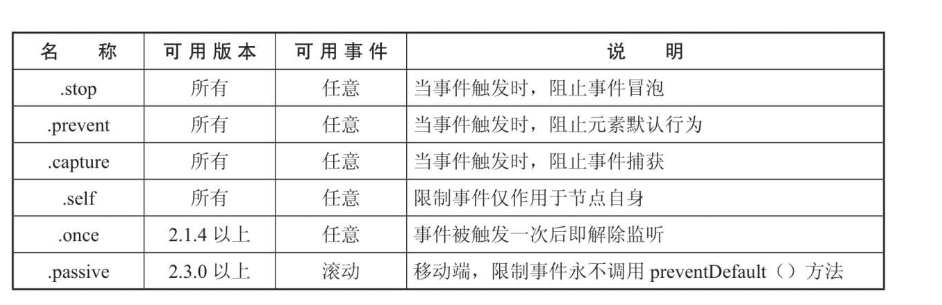
常见修饰符
event.preventDefault()(阻止节点默认行为)和event.stopPropagation()(阻止事件冒泡),这是处理DOM事件时很常见的方法,Vue将其封装成简短易用的事件修饰符,可以后缀于事件名称之后。
<template>
<div>
<label @click="iAmYourFather"> 没有stop修饰符 两个事件都触发
<button class="w5-h5" @click="iAmYourGrandpa">我是你爷爷</button>
</label>
<br>
<label @click="iAmYourFather"> stop修饰符 只触发iAmYourGrandpa
<button class="w5-h5" @click.stop="iAmYourGrandpa">我是你爷爷</button>
</label>
<hr>
<form @submit="submitCount"> 刷新页面 count一直为输出1
<button class="w5-h5" type="submit">提交</button>
</form>
<form @submit.prevent="submitCount"> prevent 阻止元素默认方法 阻止刷新
<button class="w5-h5" type="submit">提交</button>
</form>
<hr>
<label @click.capture="iAmYourFather"> 爸爸先执行
<button class="w5-h5" @click="iAmYourGrandpa">我是你爷爷</button>
</label>
<br>
<label @click.s="iAmYourFather"> 爷爷我先来
<button class="w5-h5" @click.capture="iAmYourGrandpa">我是你爷爷</button>
</label>
<hr>
<label @click.self="iAmYourFather"> self 只能响应 我是你爷爷
<button class="w5-h5" @click.self="iAmYourGrandpa">我是你爷爷</button>
</label>
<br>
<hr>
<label > 在怎么点 你也只有一个爷爷
<button class="w5-h5" @click.once="iAmYourGrandpa">爷爷</button>
</label>
<br>
</div>
</template>
<script>
export default {
name: "Modifier",
data() {
return {
count: 0
}
},
methods: {
iAmYourFather() {
console.