


- 引入element-ui
- 写入标签
<el-pagination
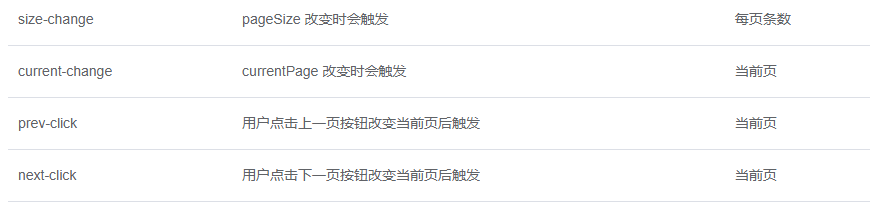
//每页的条数
@size-change="handleSizeChange"
//当前页
@current-change="handleCurrentChange"
//当前页数
:current-page.sync="currentPage2"
:page-sizes="[100, 200, 300, 400]"
:page-size="100"``
//按钮
layout="sizes, prev, pager, next"
//总条数
:total="1000">
</el-pagination>
事件
          <el-pagination
            @prev-click="prePage"
            @next-click="nextPage"
            @current-change="handleCurrentChange"
            :current-page.sync="queryParams.pageNum"
            layout="prev, pager, next, jumper"
            :total="totalPage">
          </el-pagination>
    //分页器事件
    //前进
    prePage(){
      this.queryParams.pageNum -= 1
      console.log(this.queryParams.pageNum,'前进')
      this.queryCrouse()
    },
    //后退
    nextPage(){
      this.queryParams.pageNum += 1
      console.log(this.queryParams.pageNum,'后退')
      this.queryCrouse()
    },
    //直接输页码跳转
    handleCurrentChange(val){
      this.queryParams.pageNum = val
      this.queryCrouse()
    }


【推荐】国内首个AI IDE,深度理解中文开发场景,立即下载体验Trae
【推荐】编程新体验,更懂你的AI,立即体验豆包MarsCode编程助手
【推荐】抖音旗下AI助手豆包,你的智能百科全书,全免费不限次数
【推荐】轻量又高性能的 SSH 工具 IShell:AI 加持,快人一步
· 分享一个免费、快速、无限量使用的满血 DeepSeek R1 模型,支持深度思考和联网搜索!
· 25岁的心里话
· 基于 Docker 搭建 FRP 内网穿透开源项目(很简单哒)
· 闲置电脑爆改个人服务器(超详细) #公网映射 #Vmware虚拟网络编辑器
· ollama系列01:轻松3步本地部署deepseek,普通电脑可用