实现主机之间跨路由跨网段通讯
实现主机之间跨路由跨网段通讯。写下配置步骤

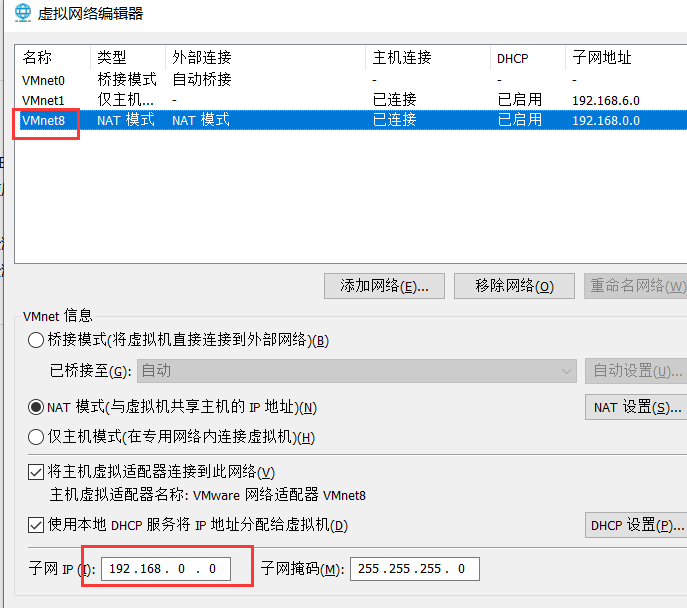
一,IP地址配置
A
[root@localhost network-scripts]# cat ifcfg-eth0
NAME=eth0
DEVICE=eth0
ONBOOT=yes
BOOTPROTO=static
IPADDR=172.16.0.10
PREFIX=24
R1
[root@localhost network-scripts]# cat ifcfg-eth0
NAME=eth0
DEVICE=eth0
ONBOOT=yes
BOOTPROTO=static
IPADDR=172.16.0.254
PREFIX=24
[root@localhost network-scripts]# cat ifcfg-eth1
NAME=eth1
DEVICE=eth1
ONBOOT=yes
BOOTPROTO=static
IPADDR=10.0.0.252
PREFIX=24
R2
[root@localhost network-scripts]# cat ifcfg-eth1
NAME=eth1
DEVICE=eth1
ONBOOT=yes
BOOTPROTO=static
IPADDR=10.0.0.253
PREFIX=24
[root@localhost network-scripts]# cat ifcfg-eth0
NAME=eth0
DEVICE=eth0
ONBOOT=yes
BOOTPROTO=static
IPADDR=192.168.0.254
PREFIX=24
B
[root@localhost network-scripts]# cat ifcfg-eth0
NAME=eth0
DEVICE=eth0
ONBOOT=yes
BOOTPROTO=static
IPADDR=192.168.0.10
PREFIX=24
二,路由配置
echo 1 > /proc/sys/net/ipv4/ip_forward
[root@localhost ~]# vi /etc/sysctl.conf
[root@localhost ~]# sysctl -p
net.ipv4.ip_forward = 1
默认有直连路由
[root@localhost ~]# route -n
Kernel IP routing table
Destination     Gateway         Genmask         Flags Metric Ref    Use Iface
10.0.0.0        0.0.0.0         255.255.255.0   U     101    0        0 eth1
192.168.0.0     0.0.0.0         255.255.255.0   U     100    0        0 eth0
192.168.122.0   0.0.0.0         255.255.255.0   U     0      0        0 virbr0
[root@localhost ~]# ip route
10.0.0.0/24 dev eth1 proto kernel scope link src 10.0.0.253 metric 101
192.168.0.0/24 dev eth0 proto kernel scope link src 192.168.0.254 metric 100
192.168.122.0/24 dev virbr0 proto kernel scope link src 192.168.122.1 linkdown
加主机路由用-host选项,加网段用-net 192.168.0.0/24
第一种方法
过去
A
route add -net 192.168.0.0/24 gw 10.0.0.254
R1
route add -net 192.168.0.0/24 gw 10.0.0.253
回来
B
route add -net 172.16.0.0/24 ge 192.168.0.254
R2
route add -net 172.16.0.0/24 gw 10.0.0.252
第二种方法
A
route add -net 192.168.0.0/24 gw 10.0.0.254 dev eth0
R1
route add -net 192.168.0.0/24 gw 10.0.0.253 dev eth1
回来
B
route add -net 172.16.0.0/24 ge 192.168.0.254 dev eth0
R2
route add -net 172.16.0.0/24 gw 10.0.0.252 dev eth1
测试
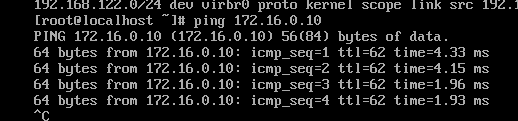
route 命令添加的路由,机器重启或者网卡重启后就没掉了,在/etc/rc.local里添加如下命令

 浙公网安备 33010602011771号