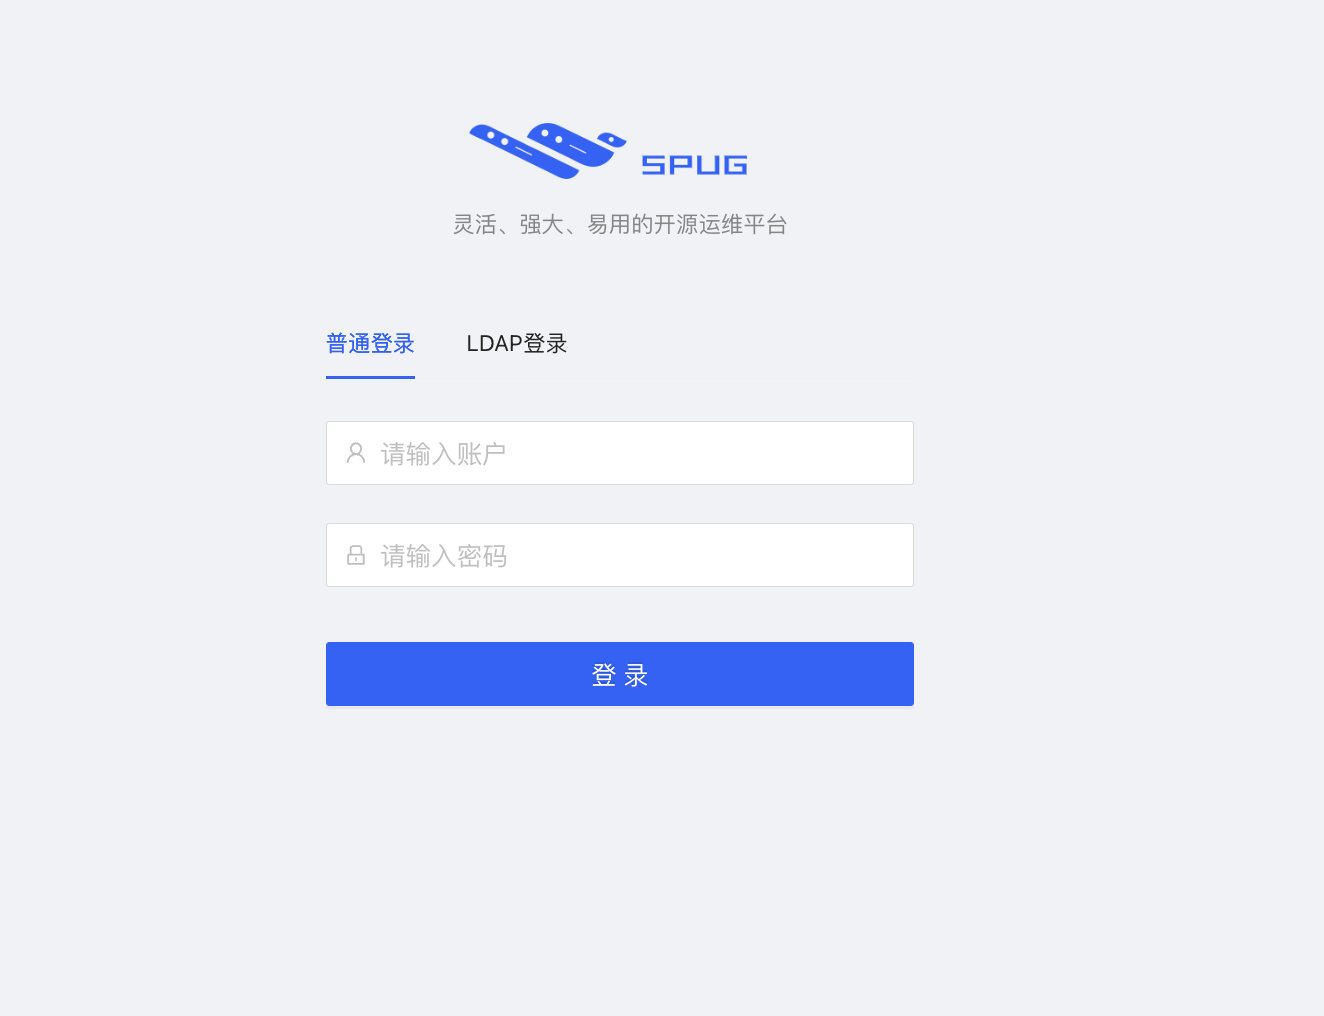
自动化发布工具 spug 部署
环境:
centos7.x
1、安装docker
yum install -y yum-utils
yum-config-manager --add-repo https://download.docker.com/linux/centos/docker-ce.repo
yum install docker-ce docker-compose-plugin
systemctl enable docker
systemctl start docker
2、创建 docker-compose.yaml
version: "3.3"
services:
  db:
    image: mariadb:10.8.2
    container_name: spug-db
    restart: always
    command: --port 3306 --character-set-server=utf8mb4 --collation-server=utf8mb4_unicode_ci
    volumes:
      - /data/spug/mysql:/var/lib/mysql
    environment:
      - MYSQL_DATABASE=spug
      - MYSQL_USER=spug
      - MYSQL_PASSWORD=spug.cc
      - MYSQL_ROOT_PASSWORD=spug.cc
  spug:
    image: openspug/spug-service
    container_name: spug
    privileged: true
    restart: always
    volumes:
      - /data/spug/service:/data/spug
      - /data/spug/repos:/data/repos
    ports:
      # 如果80端口被占用可替换为其他端口,例如: - "8000:80"
      - "80:80"
    environment:
      - MYSQL_DATABASE=spug
      - MYSQL_USER=spug
      - MYSQL_PASSWORD=spug.cc
      - MYSQL_HOST=db
      - MYSQL_PORT=3306
    depends_on:
      - db
3、启动容器
docker compose up -d
4、初始化
以下操作会创建一个用户名为 admin 密码为 spug.dev 的管理员账户,可自行替换管理员账户/密码。
docker exec spug init_spug admin spug.dev
5、访问测试
浏览器输入 IP:80

6、注意事项
如过前端使用了代理。这些代理工具默认无法处理 Weboscket 请求, 这就需要你配置其支持转发 Websocket 请求,下边给个 Nginx 的例子,这里假设你用 docker 部署的 Spug, 映射了宿主机的 8000 端口:(除了 ip:port 、 server_name 其余全部不用修改。)
server {
  listen 80;
  server_name xxx.xxx.xxx;

  location / {
    proxy_pass http://127.0.0.1:8000;
    proxy_set_header X-Forwarded-For $proxy_add_x_forwarded_for;
  }

  location ^~ /api/ws/ {
    proxy_pass http://127.0.0.1:8000;
    proxy_http_version 1.1;
    proxy_set_header Upgrade $http_upgrade;
    proxy_set_header Connection "Upgrade";
    proxy_set_header X-Forwarded-For $proxy_add_x_forwarded_for;
  }

  error_page 404 /index.html;
}
转自:https://spug.cc/docs/use-problem


【推荐】国内首个AI IDE,深度理解中文开发场景,立即下载体验Trae
【推荐】编程新体验,更懂你的AI,立即体验豆包MarsCode编程助手
【推荐】抖音旗下AI助手豆包,你的智能百科全书,全免费不限次数
【推荐】轻量又高性能的 SSH 工具 IShell:AI 加持,快人一步
· 无需6万激活码!GitHub神秘组织3小时极速复刻Manus,手把手教你使用OpenManus搭建本
· C#/.NET/.NET Core优秀项目和框架2025年2月简报
· Manus爆火,是硬核还是营销?
· 终于写完轮子一部分:tcp代理 了,记录一下
· 【杭电多校比赛记录】2025“钉耙编程”中国大学生算法设计春季联赛(1)