thymeleaf使用
1.依赖
| <parent> |
| <artifactId>spring-boot-starter-parent</artifactId> |
| <groupId>org.springframework.boot</groupId> |
| <version>2.1.6.RELEASE</version> |
| </parent> |
| |
| <dependencies> |
| <dependency> |
| <groupId>org.springframework.boot</groupId> |
| <artifactId>spring-boot-starter-thymeleaf</artifactId> |
| </dependency> |
| <dependency> |
| <groupId>org.springframework.boot</groupId> |
| <artifactId>spring-boot-starter-web</artifactId> |
| </dependency> |
| </dependencies> |
| |
2.配置前缀后缀
| spring: |
| thymeleaf: |
| prefix: classpath:/templates/ |
| suffix: .html |
| cache: false # 开发时禁用缓存 |
| |
3.在resource下新建目录

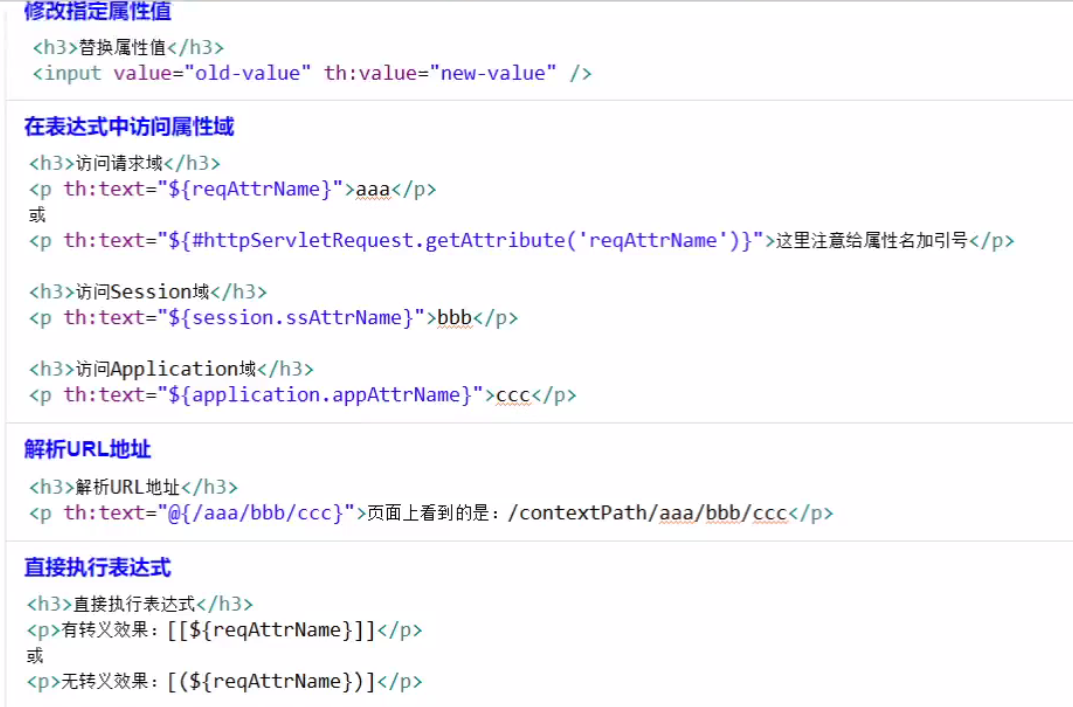
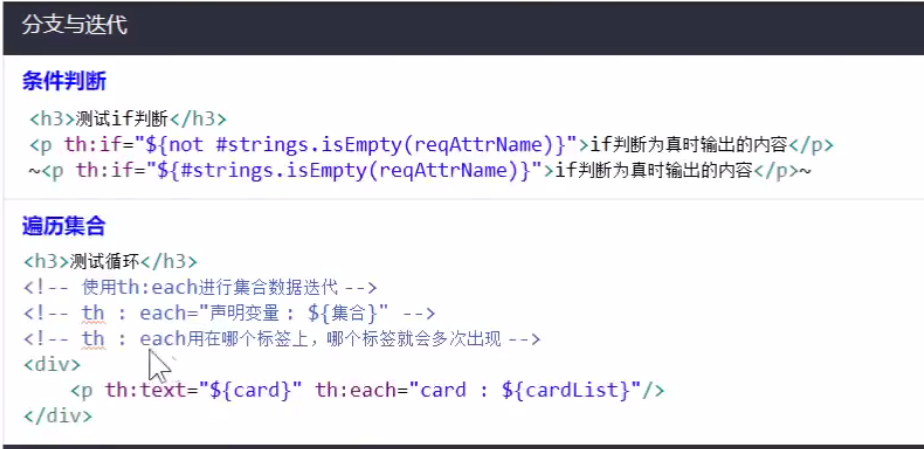
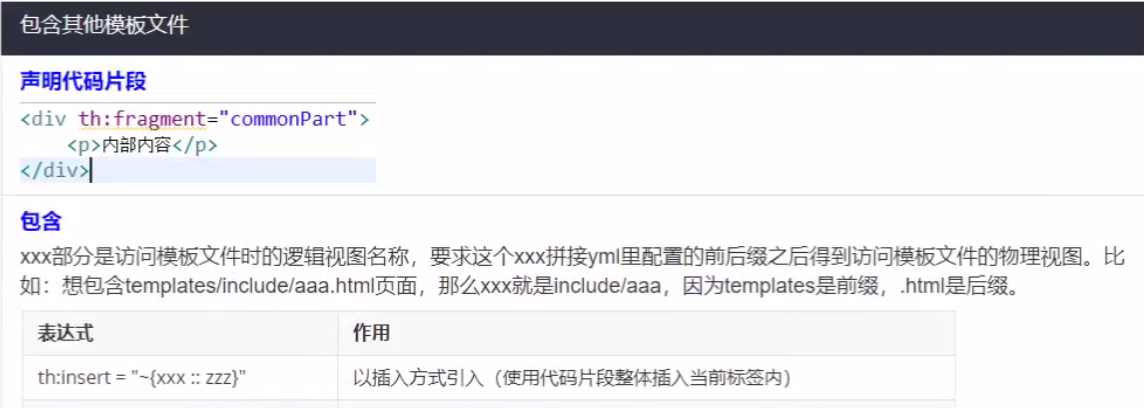
4.基础用法: