anaconda的新建环境sklearn下安装numpy库和scikit-learn库
1.首先打开anaconda的新建环境sklearn下的执行窗口
2.接着上文讲,我们在jupyter notebook中可以分块运行程序,我们输入命令行
3.import numpy as np 点击运行,出现报错如下,没有找到模块numpy

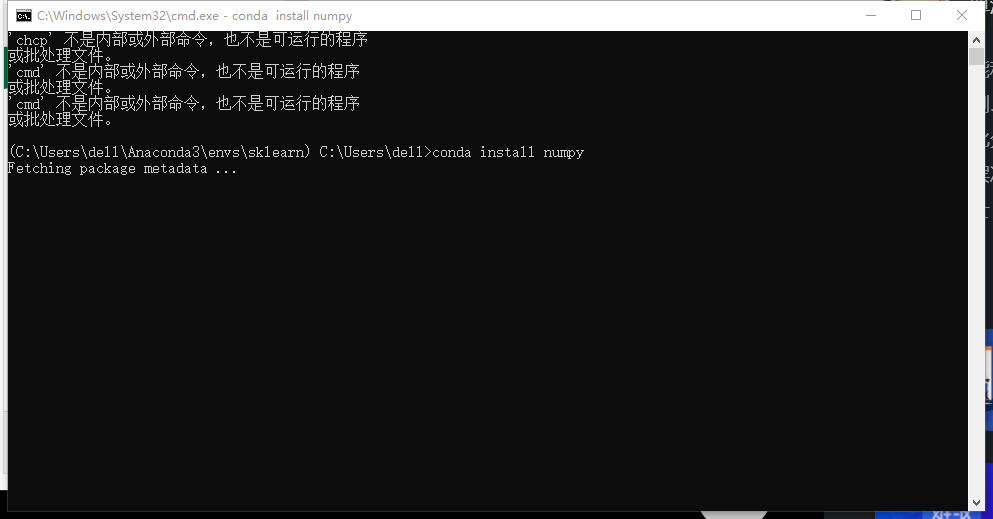
4.此时我们需要安装一下numpy模块,输入命令行conda install numpy回车

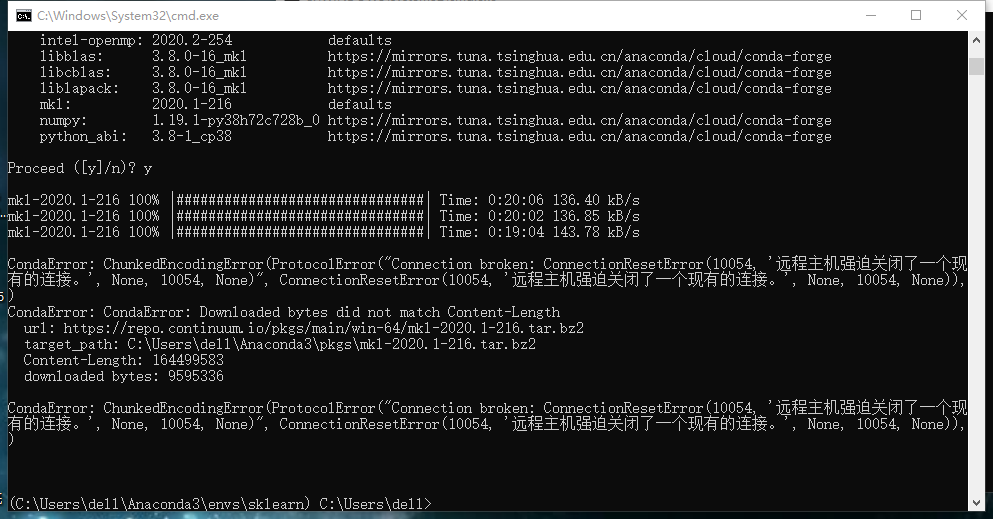
5.耐心等待,结果三个进度条后,又报错,远程主机拒绝访问

6.解决方法是采用清华镜像下载,教程网站
conda config --add channels https://mirrors.tuna.tsinghua.edu.cn/anaconda/cloud/msys2/
conda config --add channels https://mirrors.tuna.tsinghua.edu.cn/anaconda/cloud/conda-forge/
conda config --add channels https://mirrors.tuna.tsinghua.edu.cn/anaconda/pkgs/free/
conda config --set show_channel_urls yes
conda config --add channels https://mirrors.tuna.tsinghua.edu.cn/anaconda/cloud/conda-forge/
conda config --add channels https://mirrors.tuna.tsinghua.edu.cn/anaconda/pkgs/free/
conda config --set show_channel_urls yes
conda install numpy
7.结果还是漫长等待后报同样错误,小关此时很抓狂……
8.在厕所吃了十斤核桃后,灵感喷涌而出,换用命令行pip install numpy


9.结果刷的一下,下载完成,整挺好,现在来运行一下

10.这次没有报错,运行结果为一个矩阵模块即为成功
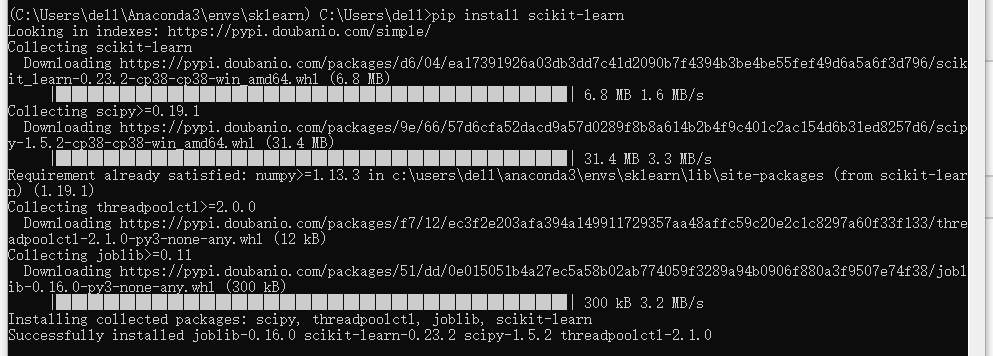
11.至于scikit-learn库的安装方法同上输入命令行pip install scikit-learn回车

12.迅速完成下载,到这里我们anaconda的新建环境sklearn下安装numpy库和scikit-learn库这些基本开发环境就部署好了
关注小关,带你脱坑!
希望能帮到大家,问你们要一个赞,你们会给吗,谢谢大家
版权声明:本文版权归作者(@攻城狮小关)和博客园共有,欢迎转载,但未经作者同意必须保留此段声明,且在文章页面明显位置给出原文连接,否则保留追究法律责任的权利。
大家写文都不容易,请尊重劳动成果~
交流加Q:1909561302
CSDN地址https://blog.csdn.net/Mumaren6/


