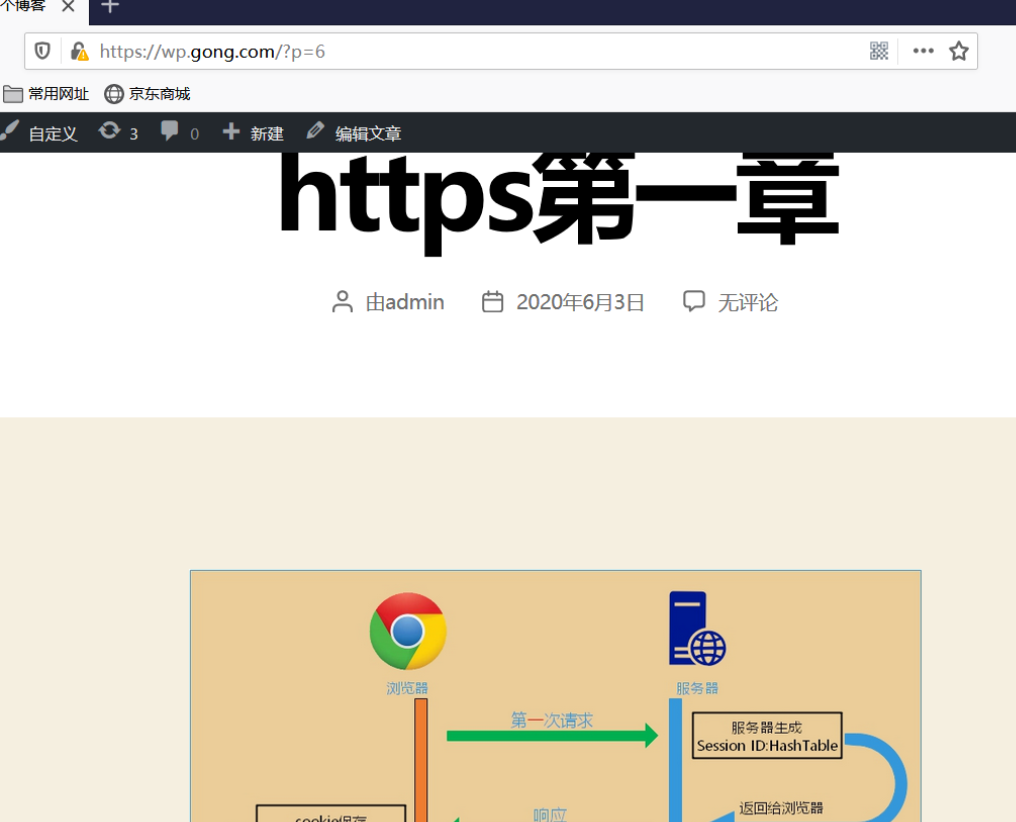
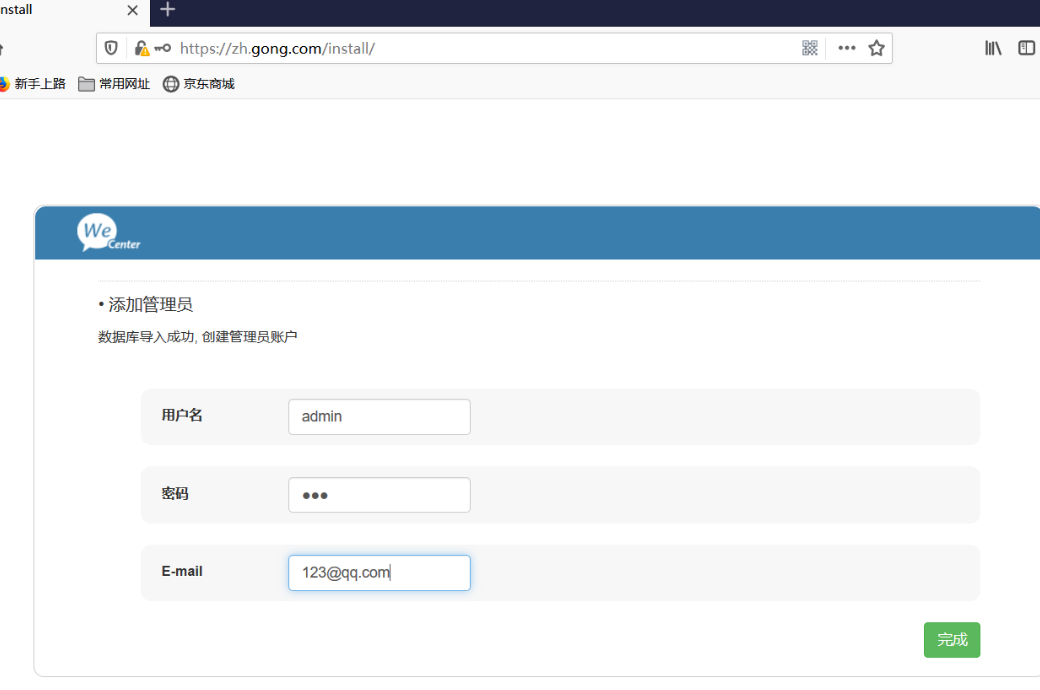
nginx_Https实践
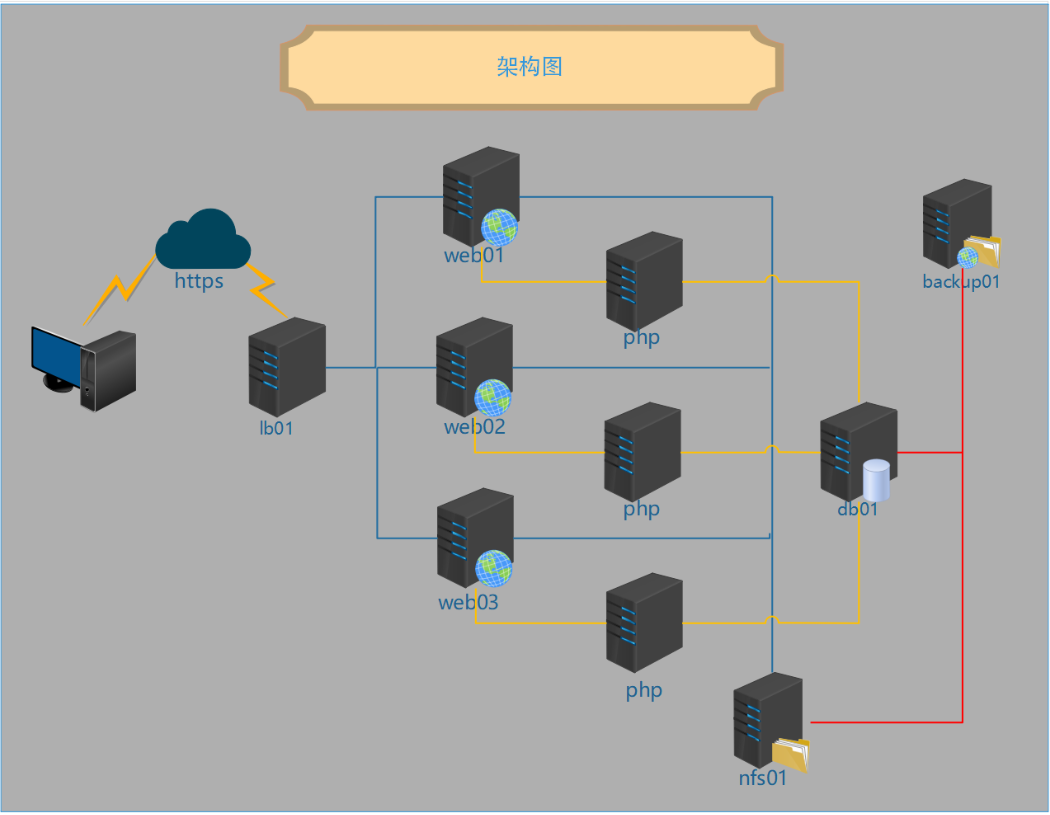
架构图
环境
| hostname | WanIP | LanIP | use |
|---|---|---|---|
| lb01 | 10.0.0.5 | 172.16.1.5 | 负载均衡器 |
| web01 | - | 172.16.1.7 | web服务器 |
| web02 | - | 172.16.1.8 | web服务器 |
| web03 | - | 172.16.1.9 | web服务器 |
| nfs01 | - | 172.16.1.31 | 共享存储 |
| db01 | - | 172.16.1.51 | 数据库服务器 |
| backup | - | 172.16.1.41 | 备份服务器 |
配置
一、配置备份服务器
# 1、安装rsync
[root@backup ~]#  yum -y install rsync

# 2、编辑配置文件
[root@backup ~]# vi /etc/rsyncd.conf
uid = www
gid = www
port = 873
fake super = yes
use chroot = no
max connections = 200
timeout = 600
ignore errors
read only = false
list = false
auth users = rsync_backup
secrets file = /etc/rsync.passwd
log file = /var/log/rsyncd.log
#####################################
[zh_backup]
path = /zh_data

[wp_backup]
path = /wp_data

# 3、创建管理进程的用户
[root@backup ~]# groupadd -g666 www
[root@backup ~]# useradd www -u666 -g 666

# 4、创建共享的目录
[root@backup ~]# mkdir /zh_data
[root@backup ~]# mkdir /wp_data

# 5、授权
[root@backup ~]# chown -R www.www /zh_data/ /wp_data/

# 创建认证文件,权限必须是600
[root@backup ~]# echo 'rsync_backup:123' >/etc/rsync.passwd
[root@backup ~]# chmod 600 /etc/rsync.passwd

[root@backup ~]# systemctl start rsyncd
[root@backup ~]# systemctl enable rsyncd
二、配置nfs
# 1、安装nfs
[root@nfs01 ~]#  yum -y install nfs-utils

# 2、编辑配置文件
[root@nfs01 ~]# vi /etc/exports
/zh_data 172.16.1.0/24(rw,sync,all_squash,anonuid=666,anongid=666)
/wp_data 172.16.1.0/24(rw,sync,all_squash,anonuid=666,anongid=666)

# 3、创建管理用户
[root@nfs01 ~]# groupadd www -g666
[root@nfs01 ~]# useradd www -u666 -g666 -s /sbin/nologin -M

# 4、创建共享目录并授权
[root@nfs01 ~]# mkdir /zh_data
[root@nfs01 ~]# mkdir /wp_data
[root@nfs01 ~]# chown -R www.www /zh_data/ /wp_data/

# 5、启动开机自启
[root@nfs01 ~]# systemctl start rpcbind nfs-server
[root@nfs01 ~]# systemctl enable rpcbind nfs-server

# 6、部署rsync
[root@nfs01 ~]# yum -y install rsync inotify-tools

# 7、下载rsync
[root@nfs01 ~]# wget https://raw.githubusercontent.com/wsgzao/sersync/master/sersync2.5.4_64bit_binary_stable_final.tar.gz

# 8、解压
[root@nfs01 ~]# tar xf sersync2.5.4_64bit_binary_stable_final.tar.gz

# 9、移动并安装
[root@nfs01 ~]# mv GNU-Linux-x86/ /usr/local/sersync

# 10、监控两个文件就写两个配置文件
[root@nfs01 ~]# cp /usr/local/sersync/confxml.xml /usr/local/sersync/wp_confxml.xml
[root@nfs01 ~]# cp /usr/local/sersync/confxml.xml /usr/local/sersync/zh_confxml.xml

# 11、编辑配置文件
[root@nfs01 ~]# vi /usr/local/sersync/zh_confxml.xml
......
<inotify>
        <delete start="true"/>
        <createFolder start="true"/>
        <createFile start="true"/>
        <closeWrite start="true"/>
        <moveFrom start="true"/>
        <moveTo start="true"/>
        <attrib start="true"/>
        <modify start="true"/>
    </inotify>

    <sersync>
        <localpath watch="/zh_data">
            <remote ip="172.16.1.41" name="zh_backup"/>
        </localpath>

        <rsync>
            <commonParams params="-az"/>
            <auth start="true" users="rsync_backup" passwordfile="/etc/rsync.passwd"/>
            <userDefinedPort start="false" port="874"/><!-- port=874 -->
            <timeout start="false" time="100"/><!-- timeout=100 -->
            <ssh start="false"/>
        </rsync>
......


[root@nfs01 ~]# vi /usr/local/sersync/wp_confxml.xml
......
 <inotify>
        <delete start="true"/>
        <createFolder start="true"/>
        <createFile start="true"/>
        <closeWrite start="true"/>
        <moveFrom start="true"/>
        <moveTo start="true"/>
        <attrib start="true"/>
        <modify start="true"/>
    </inotify>

    <sersync>
        <localpath watch="/wp_data">
            <remote ip="172.16.1.41" name="wp_backup"/>
            <!--<remote ip="192.168.8.39" name="tongbu"/>-->
            <!--<remote ip="192.168.8.40" name="tongbu"/>-->
        </localpath>

        <rsync>
            <commonParams params="-az"/>
            <auth start="true" users="rsync_backup" passwordfile="/etc/rsync.passwd"/>
            <userDefinedPort start="false" port="874"/><!-- port=874 -->
            <timeout start="false" time="100"/><!-- timeout=100 -->
            <ssh start="false"/>
        </rsync>
.................

# 12、认证的密码,注意权限
[root@nfs01 ~]# echo '123' >/etc/rsync.passwd
[root@nfs01 ~]# chmod 600 /etc/rsync.passwd

# 13、测试
[root@nfs01 ~]# rsync -az /zh_data rsync_backup@10.0.0.41::zh_backup --password-file=/etc/rsync.passwd
[root@nfs01 ~]# rsync -az /wp_data rsync_backup@10.0.0.41::wp_backup --password-file=/etc/rsync.passwd

# 14、启动sersync
[root@nfs01 ~]# /usr/local/sersync/sersync2 -rdo /usr/local/sersync/zh_confxml.xml
[root@nfs01 ~]# /usr/local/sersync/sersync2 -rdo /usr/local/sersync/wp_confxml.xml
三、配置数据库服务器
# 1、安装数据库
[root@db01 ~]# yum -y install mariadb-server
# 2、启动、开机自启
[root@db01 ~]# systemctl start mariadb
[root@db01 ~]# systemctl enable mariadb
# 4、创建密码
[root@db01 ~]# mysqladmin -uroot password '123'
# 5、登陆数据库
[root@db01 ~]# mysql -uroot -p123
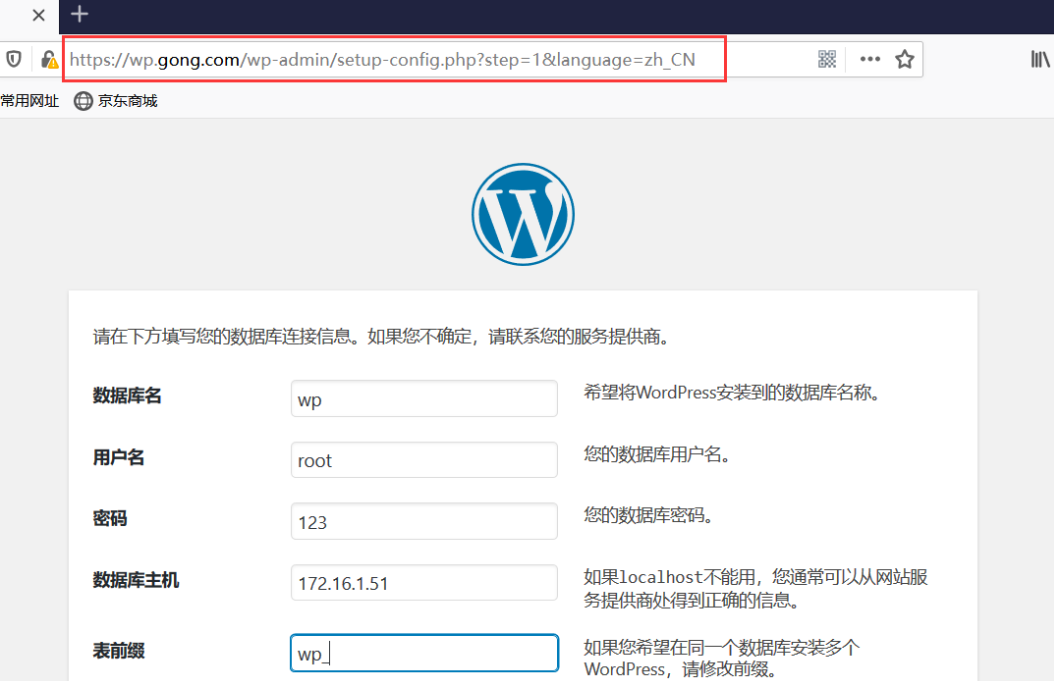
MariaDB [(none)]> create database wp;
Query OK, 1 row affected (0.00 sec)
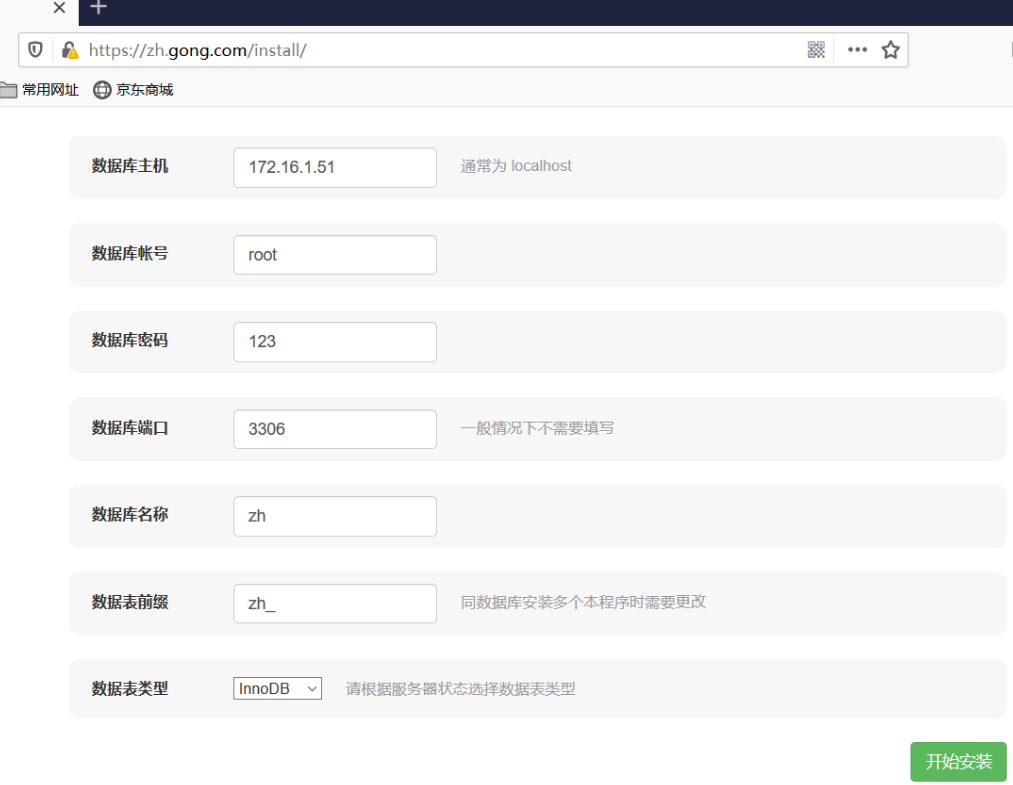
MariaDB [(none)]> create database zh;
Query OK, 1 row affected (0.00 sec)
MariaDB [(none)]> grant all on *.* to root@'%' identified by '123';
四、配置web
# 1、上传本地的rpm包
[root@web01 ~]# ll
total 36996
-rw-------. 1 root root     1444 Apr 30 20:47 anaconda-ks.cfg
-rw-r--r--. 1 root root      287 May  1 00:05 change_ip.sh
-rw-r--r--  1 root root 16502341 May 20 18:21 nginx_and_php.tar.gz
-rw-r--r--  1 root root  8451194 May 21 15:54 WeCenter_3-2-1.zip
-rw-r--r--  1 root root 12918762 May 20 18:08 wordpress-5.4-zh_CN.tar.gz

# 2、分发要安装的包
[root@web01 ~]# scp nginx_and_php.tar.gz 172.16.1.8:~
[root@web01 ~]# scp nginx_and_php.tar.gz 172.16.1.9:~

# 3、解压
[root@web01 ~]# tar -xf nginx_and_php.tar.gz

# 4、安装
[root@web01 ~]# cd nginx_php/
[root@web01 ~/nginx_php]# yum -y localinstall *.rpm

# 5、编辑配置文件
[root@web01 ~]# vi /etc/nginx/conf.d/wp.conf
server {
        listen 80;
        server_name wp.gong.com;
        root /website/wp;
        index index.php;

        location ~ \.php$ {
                fastcgi_pass 127.0.0.1:9000;
                fastcgi_index index.php;
                fastcgi_param SCRIPT_FILENAME $document_root$fastcgi_script_name;

			   fastcgi_param HTTPS on;
                include fastcgi_params;
        }
}

[root@web01 /etc/nginx/conf.d]# vi zh.conf
server {
        listen 80;
        server_name zh.gong.com;
        root /website/zh;
        index index.php;

        location ~ \.php$ {
                fastcgi_pass 127.0.0.1:9000;
                fastcgi_index index.php;
                fastcgi_param SCRIPT_FILENAME $document_root$fastcgi_script_name;

			   fastcgi_param HTTPS on;
                include fastcgi_params;
        }
}

# 6、创建进程管理用户
[root@web01 ~]# groupadd www -g 666
[root@web01 ~]# useradd -u666 -g666 www

# 7、创建站点目录
[root@web01 ~]# mkdir -p /website/{wp,zh}

# 8、部署代码
[root@web01 ~]# cp WeCenter_3-2-1.zip /website/zh/
[root@web01 ~]# cp wordpress-5.4-zh_CN.tar.gz /website/wp

[root@web01 /website/zh]# unzip WeCenter_3-2-1.zip
[root@web01 /website/zh]# mv WeCenter_3-2-1/* ./

[root@web01 /website/wp]# tar -xf wordpress-5.4-zh_CN.tar.gz
[root@web01 /website/wp]# mv wordpress/* ./

# 9、创建共享目录
[root@web01 /website]# mkdir -p /website/wp/wp-content/uploads/

# 10、授权
[root@web01 ~]# chown -R www.www /website/

# 11、更改程序启动用户
[root@web01 ~]# vi /etc/nginx/nginx.conf

user  www;

[root@web01 ~]# vi /etc/php-fpm.d/www.conf
; Start a new pool named 'www'.
[www]

; Unix user/group of processes
; Note: The user is mandatory. If the group is not set, the default user's group
;       will be used.
; RPM: apache Choosed to be able to access some dir as httpd
user = www
; RPM: Keep a group allowed to write in log dir.
group = www

[root@web01 ~]# systemctl start nginx php-fpm
[root@web01 ~]# systemctl enable nginx php-fpm

# 12、挂载共享存储
[root@web01 ~]# mount -t nfs 172.16.1.31:/wp_data /website/wp/wp-content/uploads/
[root@web01 ~]# mount -t nfs 172.16.1.31:/zh_data /website/zh/uploads/
五、配置lb01
# 1、安装nginx
[root@lb01 ~]# rpm -ivh nginx-1.18.0-1.el7.ngx.x86_64.rpm
# 1、生成证书
[root@lb01 ~]# openssl genrsa -idea -out server.key 2048
Generating RSA private key, 2048 bit long modulus
......................................................................................................................................................................................+++
.............................................+++
e is 65537 (0x10001)
Enter pass phrase for server.key:
139802566571920:error:28069065:lib(40):UI_set_result:result too small:ui_lib.c:831:You must type in 4 to 1023 characters
Enter pass phrase for server.key:
Verifying - Enter pass phrase for server.key:
139802566571920:error:28069065:lib(40):UI_set_result:result too small:ui_lib.c:831:You must type in 4 to 1023 characters
Enter pass phrase for server.key:
Verifying - Enter pass phrase for server.key:
# 输入两次相同的字符 ,比如1234
[root@lb01 ~]# ll
total 784
-rw-------. 1 root root 1444 Apr 30 20:47 anaconda-ks.cfg
-rw-r--r--. 1 root root 287 May 1 00:05 change_ip.sh
-rw-r--r-- 1 root root 790284 Jun 3 18:13 nginx-1.18.0-1.el7.ngx.x86_64.rpm
-rw-r--r-- 1 root root 1739 Jun 3 18:15 server.key
[root@lb01 ~]# openssl req -days 36500 -x509 -sha256 -nodes -newkey rsa:2048 -keyout server.key -out server.crt
Generating a 2048 bit RSA private key
..........................................+++
.......................................................+++
writing new private key to 'server.key'
-----
You are about to be asked to enter information that will be incorporated
into your certificate request.
What you are about to enter is what is called a Distinguished Name or a DN.
There are quite a few fields but you can leave some blank
For some fields there will be a default value,
If you enter '.', the field will be left blank.
-----
Country Name (2 letter code) [XX]:ch
State or Province Name (full name) []:chongqing
Locality Name (eg, city) [Default City]:dazu
Organization Name (eg, company) [Default Company Ltd]:cmtc
Organizational Unit Name (eg, section) []:shelldon
Common Name (eg, your name or your server''s hostname) []:shelldon.g
Email Address []:123@qq.com
[root@lb01 ~]# ll
total 788
-rw-------. 1 root root 1444 Apr 30 20:47 anaconda-ks.cfg
-rw-r--r--. 1 root root 287 May 1 00:05 change_ip.sh
-rw-r--r-- 1 root root 790284 Jun 3 18:13 nginx-1.18.0-1.el7.ngx.x86_64.rpm
-rw-r--r-- 1 root root 1403 Jun 3 18:18 server.crt
-rw-r--r-- 1 root root 1704 Jun 3 18:18 server.key
# 2、创建证书的管理目录
[root@lb01 ~]# mkdir /etc/nginx/ssl
[root@lb01 ~]# mv server.* /etc/nginx/ssl
[root@lb01 ~]# ll /etc/nginx/ssl
total 8
-rw-r--r-- 1 root root 1403 Jun 3 18:18 server.crt
-rw-r--r-- 1 root root 1704 Jun 3 18:18 server.key
# 3、编辑负载均衡,提前布置好https,先在web01上布置,等布置好之后再把配置文件,和代码复制到web02和web03
[root@lb01 ~]# vi /etc/nginx/conf.d/upstream.conf
upstream blog {
server 172.16.1.7;
server 172.16.1.8 down;
server 172.16.1.9 down;
}
server {
listen 80;
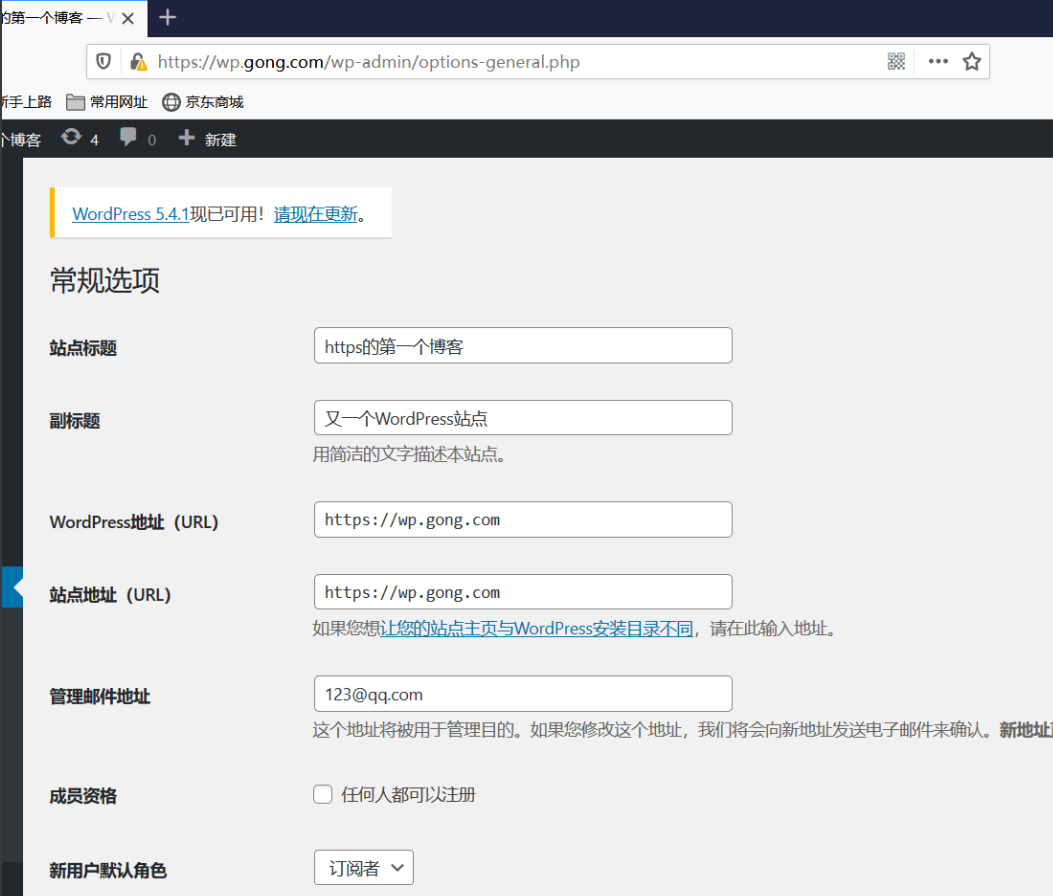
server_name wp.gong.com;
return 302 https://$server_name$request_uri;
}
server {
listen 80;
server_name zh.gong.com;
return 302 https://$server_name$request_uri;
}
server {
listen 443 ssl;
server_name wp.gong.com;
ssl_certificate ssl/server.crt;
ssl_certificate_key ssl/server.key;
location / {
proxy_pass http://blog;
include proxy_params;
}
}
server {
listen 443 ssl;
server_name zh.gong.com;
ssl_certificate ssl/server.crt;
ssl_certificate_key ssl/server.key;
location / {
proxy_pass http://blog;
include proxy_params;
}
}
[root@lb01 ~]# cd /etc/nginx/
[root@lb01 /etc/nginx]# vi /etc/nginx/proxy_params
proxy_set_header Host $host;
proxy_set_header X-Real-IP $remote_addr;
proxy_set_header X-Forwarded-For $proxy_add_x_forwarded_for;
proxy_connect_timeout 60s;
proxy_read_timeout 60s;
proxy_send_timeout 60s;
proxy_buffering on;
proxy_buffer_size 4k;
proxy_buffers 8 4k;

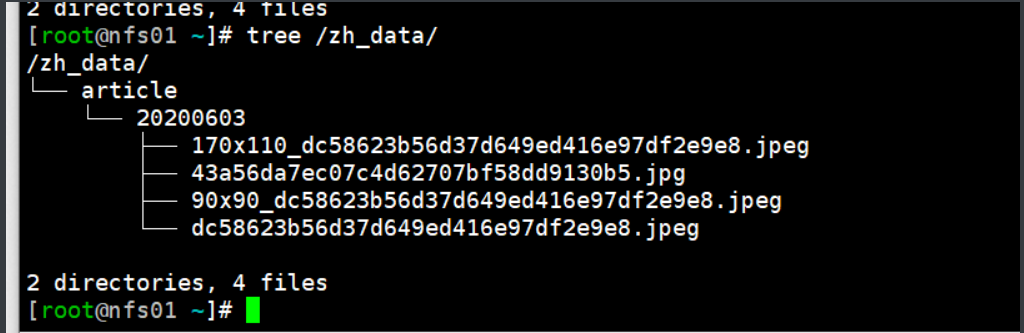
共享存储中上传的图片。
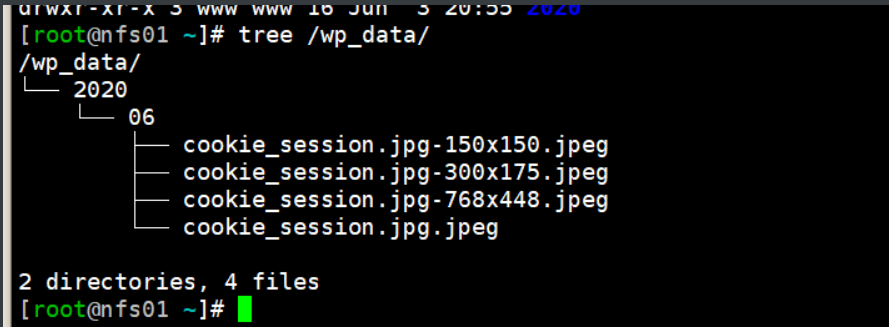
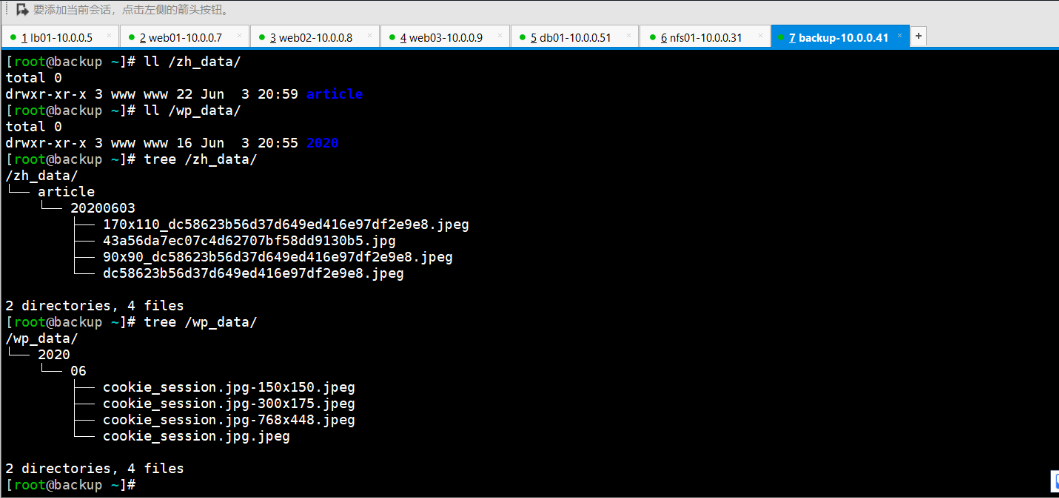
实时同步共享存储的中上传文件。
六、把配置上上传到web02和web03
########### web02和web03同样的配置 #############
# 1、把web01的上的代码复制到,其余两台服务器上
[root@web01 ~]# rsync -az /website root@172.16.1.8:/
[root@web01 ~]# rsync -az /website root@172.16.1.9:/

# 2、复制配置文件
[root@web01 ~]# scp /etc/nginx/conf.d/* root@172.16.1.8:/etc/nginx/conf.d/
[root@web01 ~]# scp /etc/nginx/conf.d/* root@172.16.1.9:/etc/nginx/conf.d/

# 3、挂载共享目录
[root@web02 ~/nginx_php]# mount -t nfs 172.16.1.31:/wp_data /website/wp/wp-content/uploads/
[root@web02 ~/nginx_php]# mount -t nfs 172.16.1.31:/zh_data /website/zh/uploads/

[root@web03 ~/nginx_php]# mount -t nfs 172.16.1.31:/wp_data /website/wp/wp-content/uploads/
[root@web03 ~/nginx_php]# mount -t nfs 172.16.1.31:/zh_data /website/zh/uploads/
最后把负载均衡上的主机再改回来就好了。
[root@lb01 ~]# vi /etc/nginx/conf.d/upstream.conf
upstream blog {
        server 172.16.1.7;
        server 172.16.1.8;
        server 172.16.1.9;
}
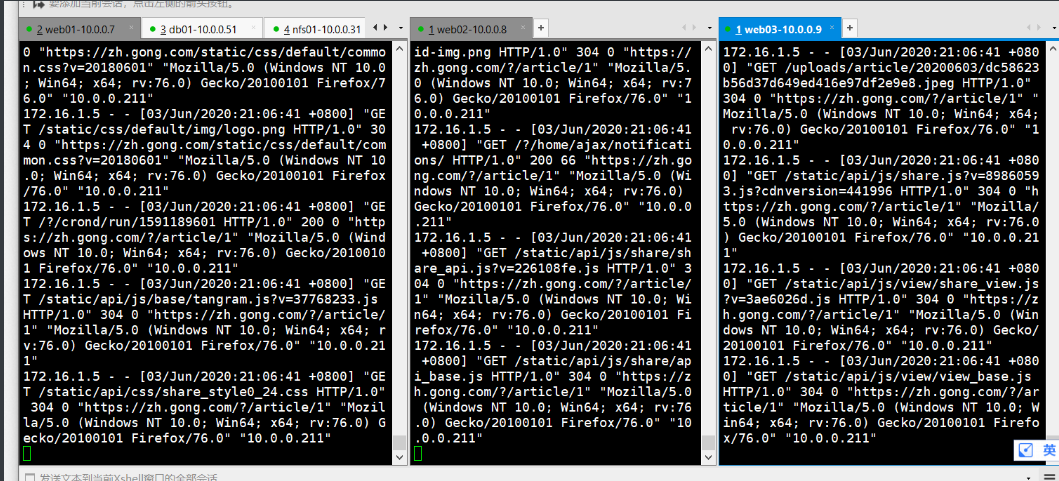
访问zh的日志
访问wp的日志


 浙公网安备 33010602011771号