


使用QuickPart开发WebPart
在MOSS开发中,每个朋友都能够很自然的想到WebPart,的确,在当今的web开发中,为了满足更多用户的需求,个性化定制成为了开发人员的一个大难题,不过现在大家似乎不用在为这个问题犯困了,实际上微软已经帮我们解决了,那就是开发WebPart,但是由于很多朋友不知道WebPart的工作机制,使得开发起来难度较大,现在笔者就介绍一种简单的WebPart开发方式------使用QuickPart;那么QuickPart是什么东西呢?让我来告诉您,QuickPart就是一种可以将ASP.NET里头的WebUserControl打包成标准的SharePoint WebPart,下面笔者通过一些例子介绍如何如何使用QuickPart进行WebPart的快速开发.
此例子要实现的效果是将文档库的目录结构绑定至TreeView控件,采用对象模型(Object Model)编程
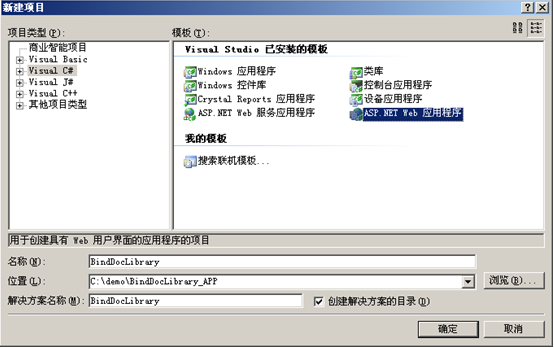
笔者新建的是ASP.NET Web应用程序,使用的语言是Visual C#,您可根据自己擅长的编程语言创建ASP.NET网站或者ASP.NET Web应用程序,这都是可以的
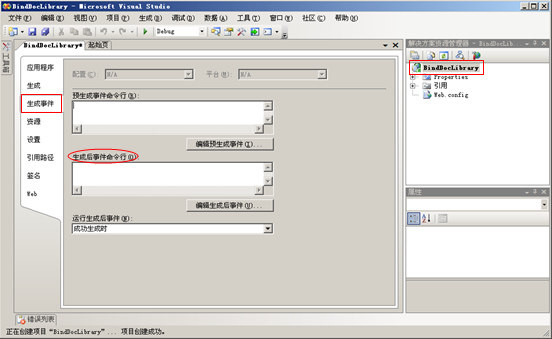
在编码之前,笔者先配置环境,使得每次一生成项目,就能够自动的把我们要的.dll和.ascx拷贝到对应的SharePoint站点目录的BIN文件夹和WPRESOURCES下,右击项目名称,选择属性,在跳出的页面上选择”生成事件”,编辑其生成后的命令行

上图中命令的意思是将生成的.dll文件拷贝至SharePoint站点所在的目录” C:\Inetpub\wwwroot\wss\VirtualDirectories\80\bin”下,将项目文件夹下的所有用户控件拷贝至” C:\Inetpub\wwwroot\wss\VirtualDirectories\80\wpresources”目录下,当然,您如果不想配置该命令行,每次生成项目后也可手动拷贝,单击确定

您可以将项目下的Default.aspx删除,添加一个Web用户控件,笔者取名为TreeCatalog.ascx,往页面上拖拽一个TreeView控件,ID设为tvTreeCatalog,笔者建议使用有意义的ID号
由于需要使用到SharePoint命名空间,所以笔者这里将Microsoft.SharePoint.dll引用至项目中,该.dll所在目录为” C:\Program Files\Common Files\Microsoft Shared\web server extensions\12\ISAPI”
TeeCatalog.ascx.cs代码如下:
Using Microsoft.SharePoint;
Using Micorosft.SharePoint.WebControls;
protected void Page_Load(object sender, EventArgs e)
{
//Page Init
if (!IsPostBack)
{
//calling the method
BindDocLibrary();
}
}
//main method,bind the document library
private void BindDocLibrary()
{
//get the current web content,include list,listitem,folder and so on
SPWeb spWeb = SPContext.Current.Web;
//attention please!your document library must called "我的文档"
SPList spList = spWeb.Lists["我的文档"];
//add the node into treeview by calling the method
tvTreeCatalog.Nodes.Add(CreateNodeByList(spList));
}
private TreeNode CreateNodeByList(SPList spList)
{
TreeNode node = new TreeNode();
//this node is a root node,also is the root node of document library
node.Text = spList.Title;
//get the root folder url of document library
node.Value = spList.RootFolder.Url;
foreach (SPFolder subFolder in spList.RootFolder.SubFolders)
{
//sharepoint site hava a default folder named "Forms",we don't need it
if (subFolder.Name != "Forms")
{
//add the node into treeview by calling the method
node.ChildNodes.Add(CreateNodeByFolder(subFolder));
}
}
return node;
}
private TreeNode CreateNodeByFolder(SPFolder spFolder)
{
TreeNode node = new TreeNode();
node.Text = spFolder.Name;
node.Value = spFolder.Url;
//appoint the node imageurl
node.ImageUrl = SPControl.GetContextWeb(Context).Url + "/_layouts/images/folder.gif";
foreach (SPFolder subFolder in spFolder.SubFolders)
{
//here is uses a recursive process! remark:recursive 递归
node.ChildNodes.Add(CreateNodeByFolder(subFolder));
}
return node;
}
以上四个方法就是本例子的代码,由于页面较长,笔者就不截图了,注释也都写上,核心的思想就是使用递归算法,请注意,当您直接使用笔者的代码时请确保您的sharepoint站点下存在名为”我的文档”的文档库
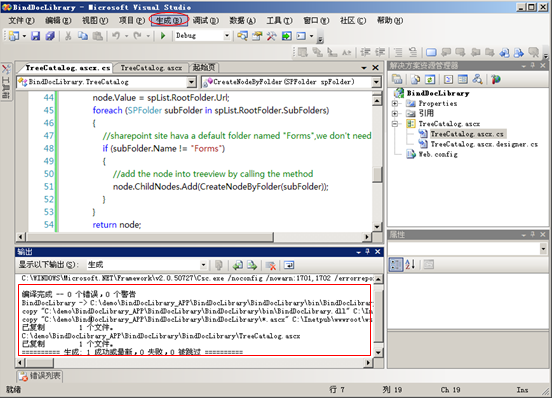
生成项目,可以在输出框中看到已经自动将.dll和.ascx文件复制到sharepoint站点的bin和wpresources目录下
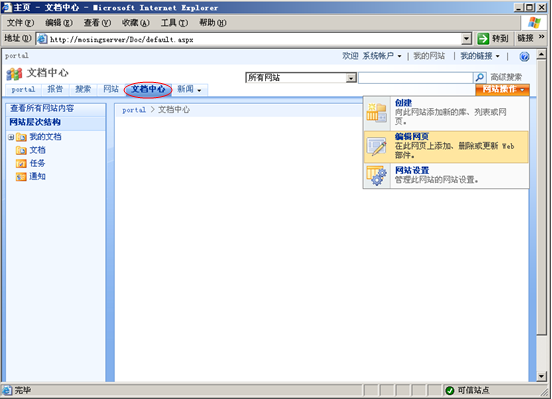
打开sharepoint网站首页,进入”文档中心”子站点,依次选择”网站操作”->”编辑网页”
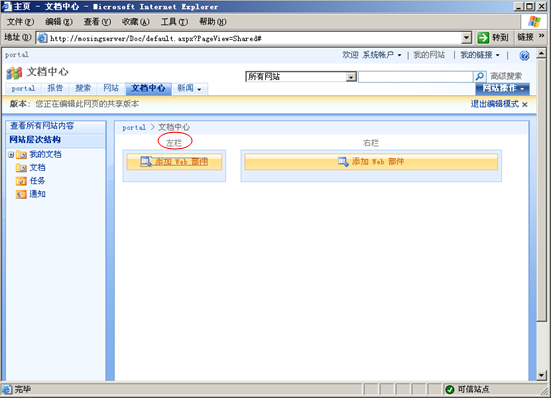
在左栏区域单击”添加Web部件”
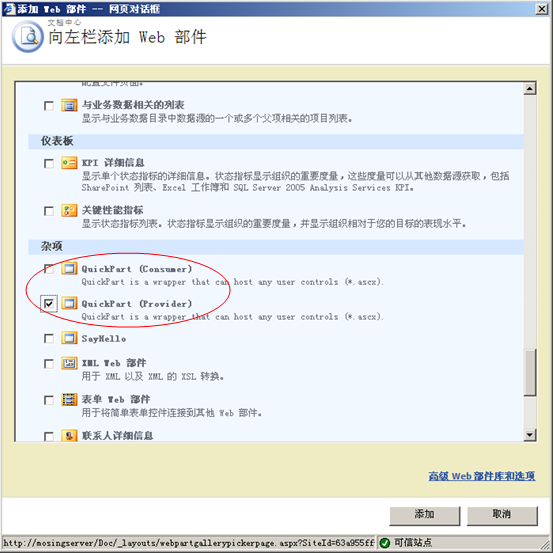
找到QuickPart,二者选一个即可,单击添加按钮
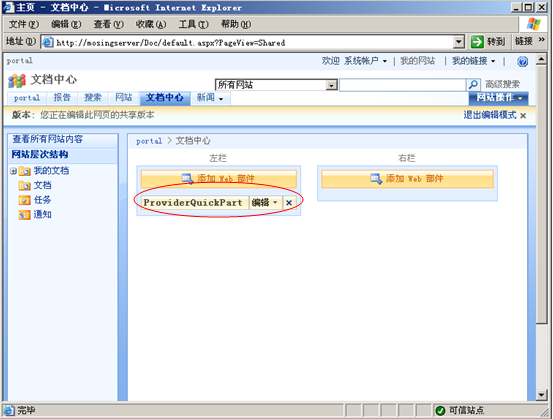
此时页面仍然处于编辑状态,并且在左栏的WebPart区域成功添加了ProviderQuickPart部件,下面我们编辑它
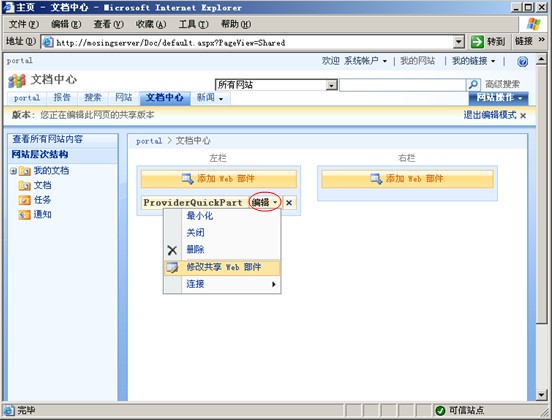
选择”编辑”->”修改共享Web部件”
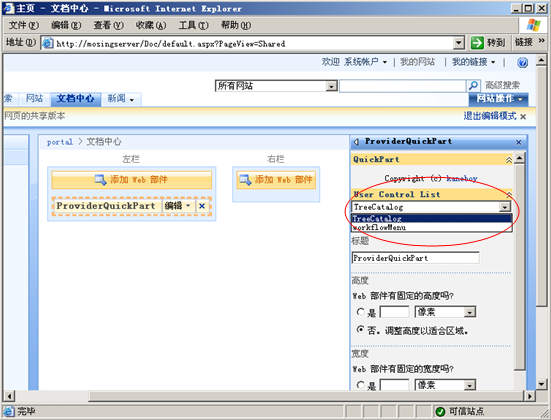
在页面右边弹出的SideBar上就可以看到我们生成的用户控件TreeCatalog了,选择它并单击确定按钮
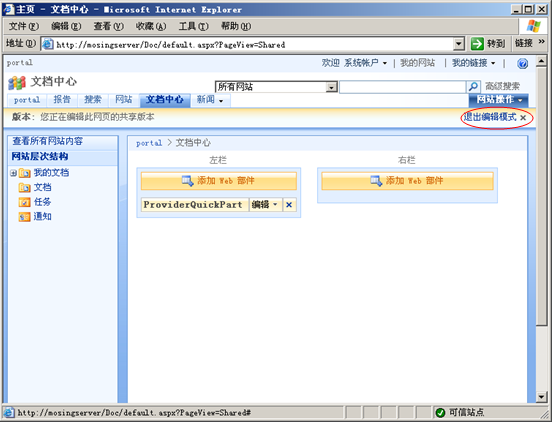
选择”退出编辑模式”
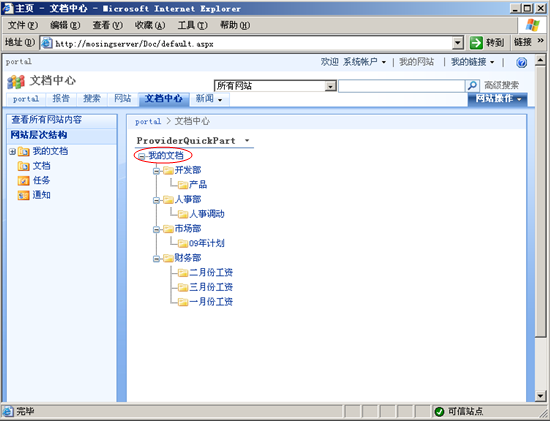
当您重新打开sharepoint站点时就可以看到将名为”我的文档”的文档库成功绑定到TreeView控件上了.
本文来自CSDN博客:http://blog.csdn.net/showilove/archive/2009/08/31/4503768.aspx
