vue实现tab栏切换
注意:
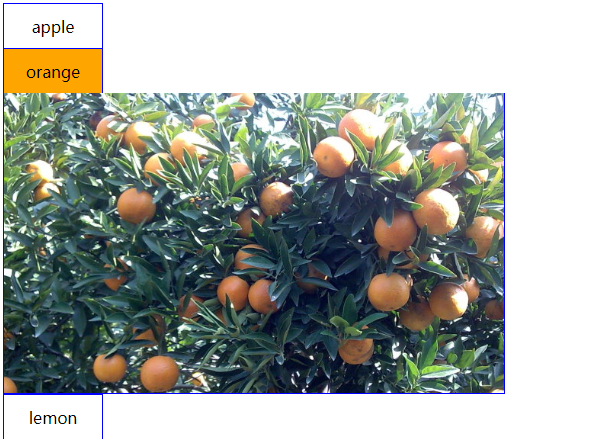
若在最外层tab盒子进行v-for遍历列表,就会出现如下效果:

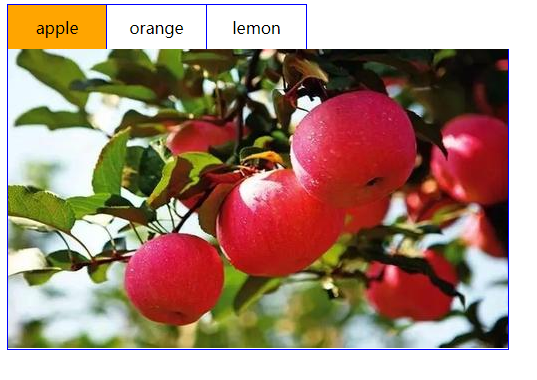
正确效果:

<!DOCTYPE html>
<html lang="en">
<head>
	<meta charset="UTF-8">
	<title>Document</title>
	<style>
	.tab ul{
		overflow: hidden;
		margin: 0;
		padding: 0;
	}
	.tab ul li{
		box-sizing: border-box;
		padding: 0;
		float: left;
		width: 100px;
		height: 45px;
		line-height: 45px;
		list-style: none;
		text-align: center;
		border-top: 1px solid blue;
		border-right: 1px solid blue;
		cursor
	}
	.tab ul li:first-child {
		border-left: 1px solid blue;
	}
	.tab ul li.active {
      background-color: orange;
    }
    .tab div {
      width: 500px;
      height: 300px;
      display: none;
      text-align: center;
      font-size: 30px;
      line-height: 300px;
      border: 1px solid blue;
      border-top: 0px;
    }
    .tab div.current {
      display: block;
    }

	</style>
</head>
<body>
<div id="app">
	<!-- tab栏 -->
	<div class="tab">
	<ul>
		<li :class='currentIndex==index?"active":""' v-for='(item,index) in list' :key='item.id' v-on:click="change(index)">{{item.title}}</li>
	</ul>
	<!-- 显示对应的图片 -->
	 <div  v-for='(item,index) in list' :key='item.id' :class='currentIndex==index?"current":""'>
	 <img :src="item.path">
	 </div>
	</div>


</div>
<script type="text/javascript" src="js/vue.js"></script>
<script>

var vm = new Vue({
	el:'#app',
	data:{
		currentIndex: 0,
		list: [{
			id:1,
			title:'apple',
			path: 'img/apple.png'
		},{
          id: 2,
          title: 'orange',
          path: 'img/orange.png'
        },{
          id: 3,
          title: 'lemon',
          path: 'img/lemon.png'
        }]

	},
	methods:{
		change:function(index){
			console.log(index)
			this.currentIndex=index

		}

	}

})
</script>

</body>
</html>


